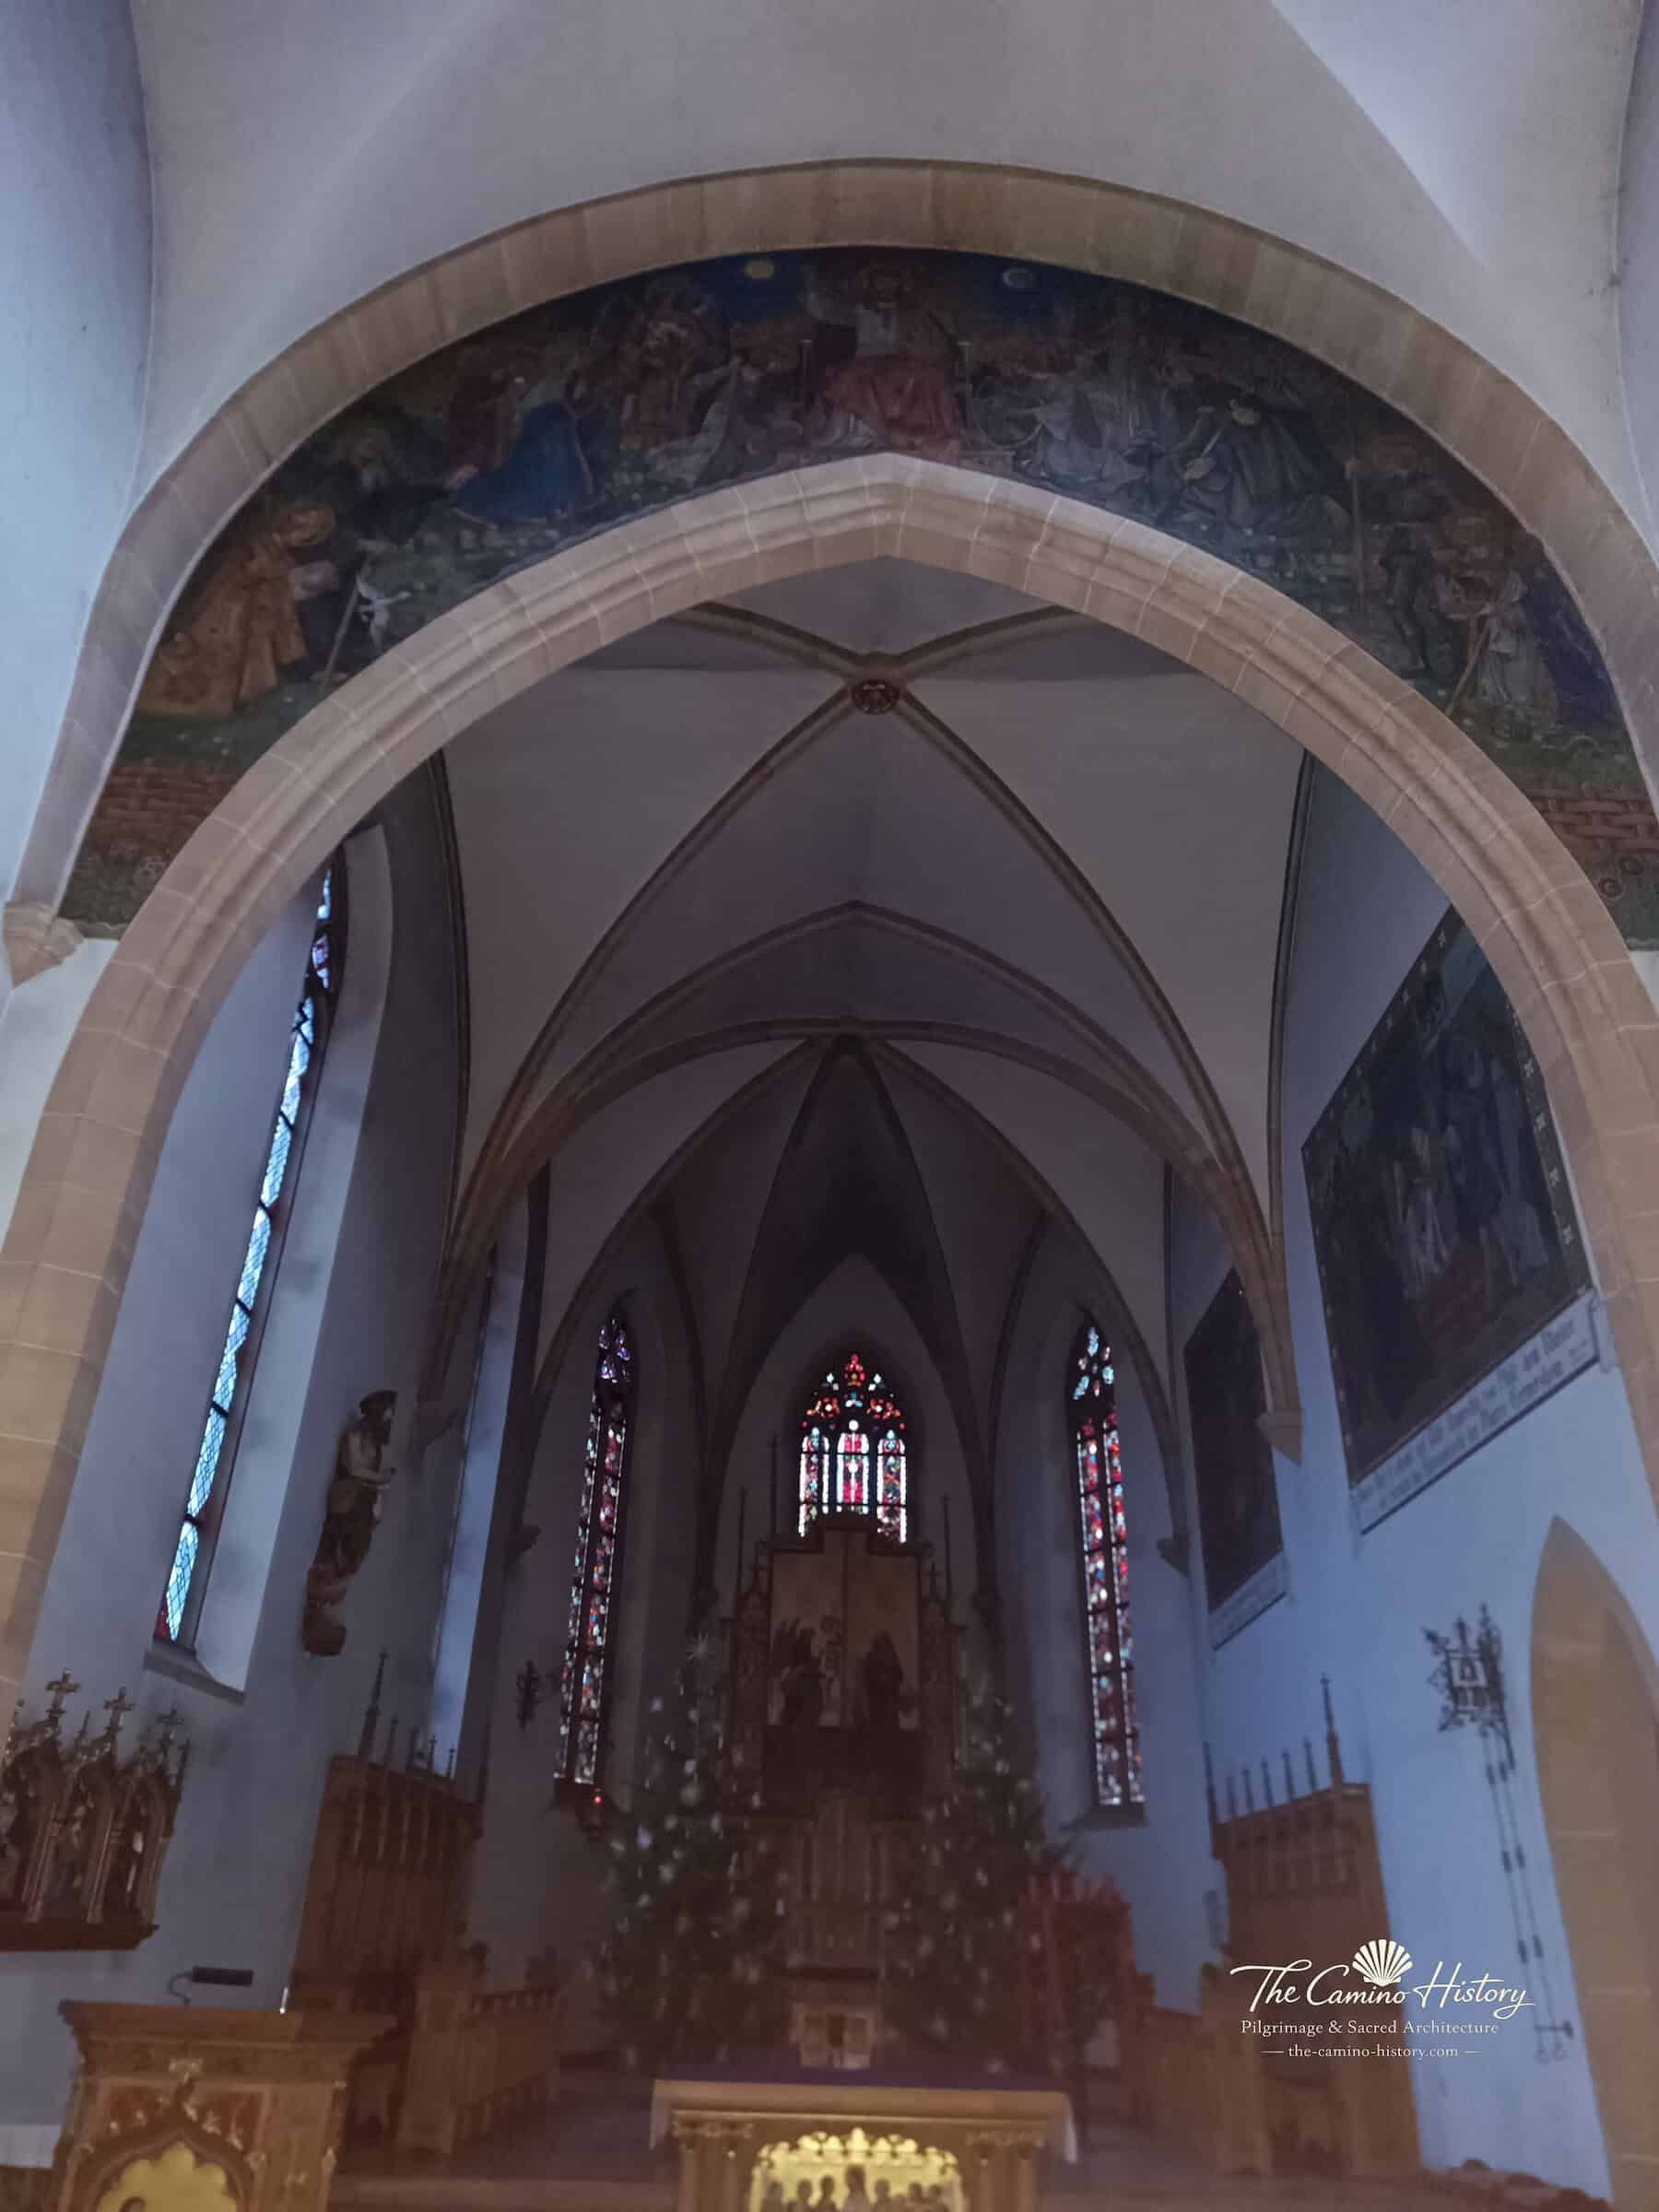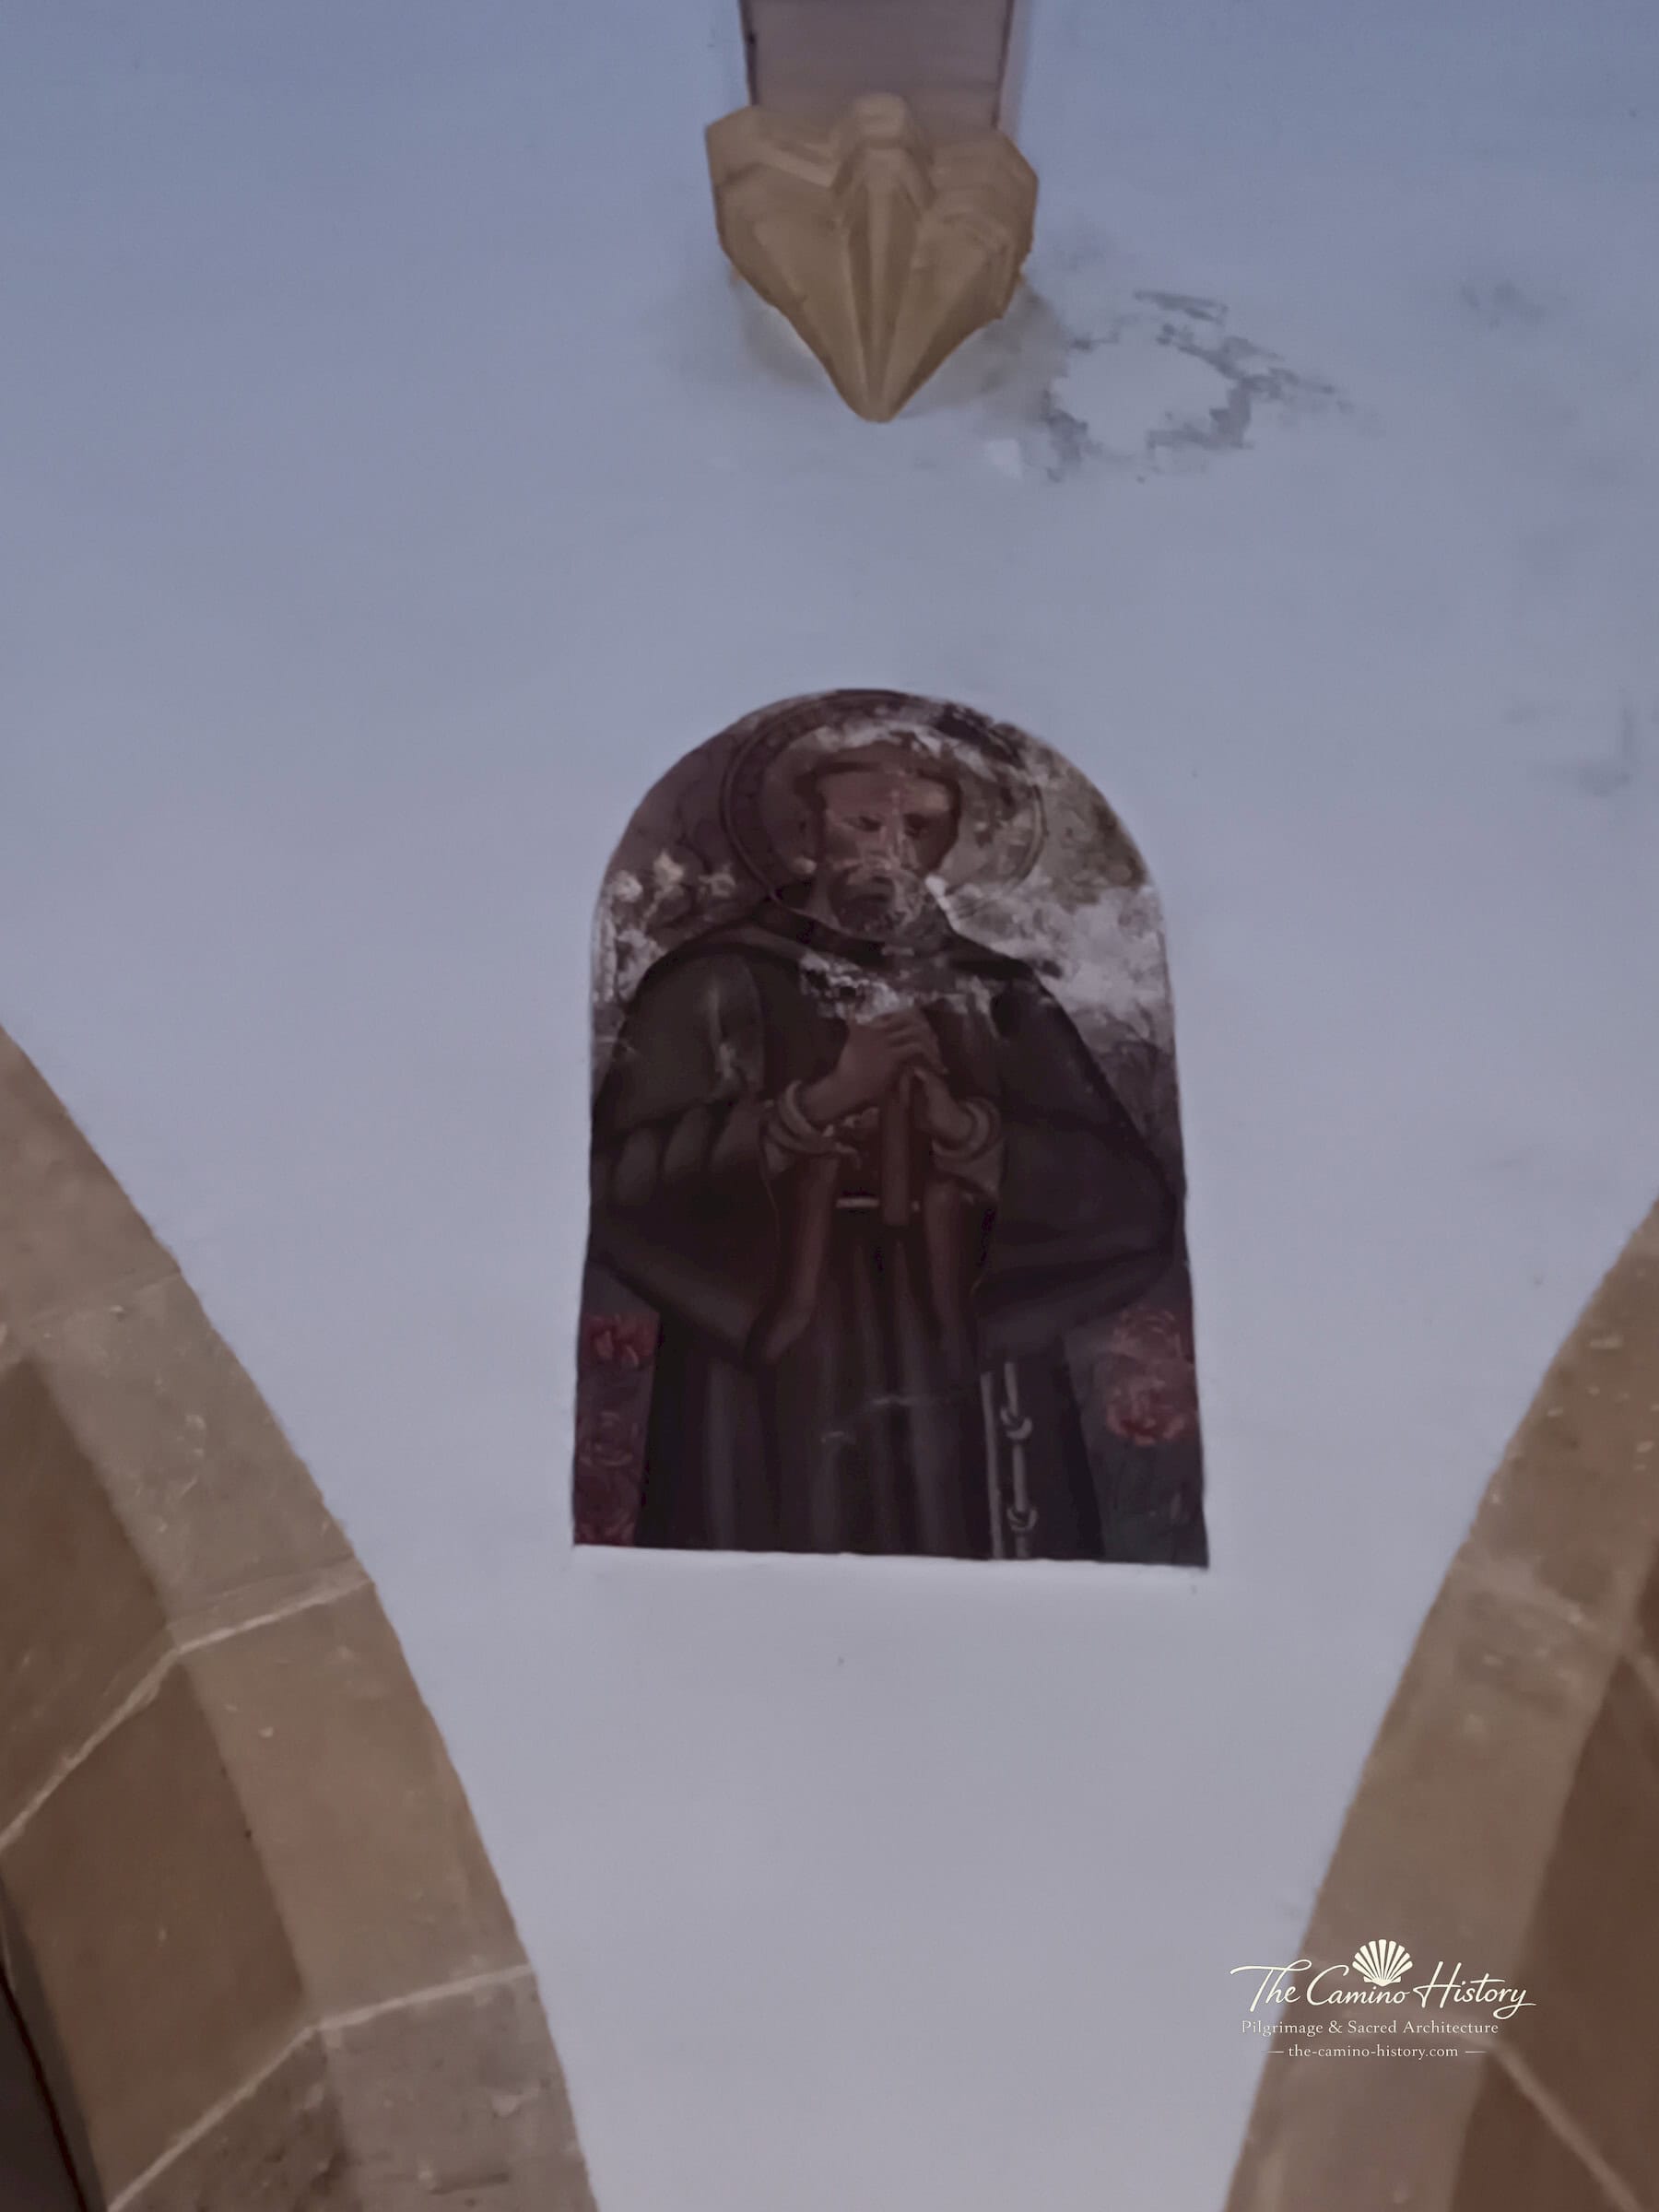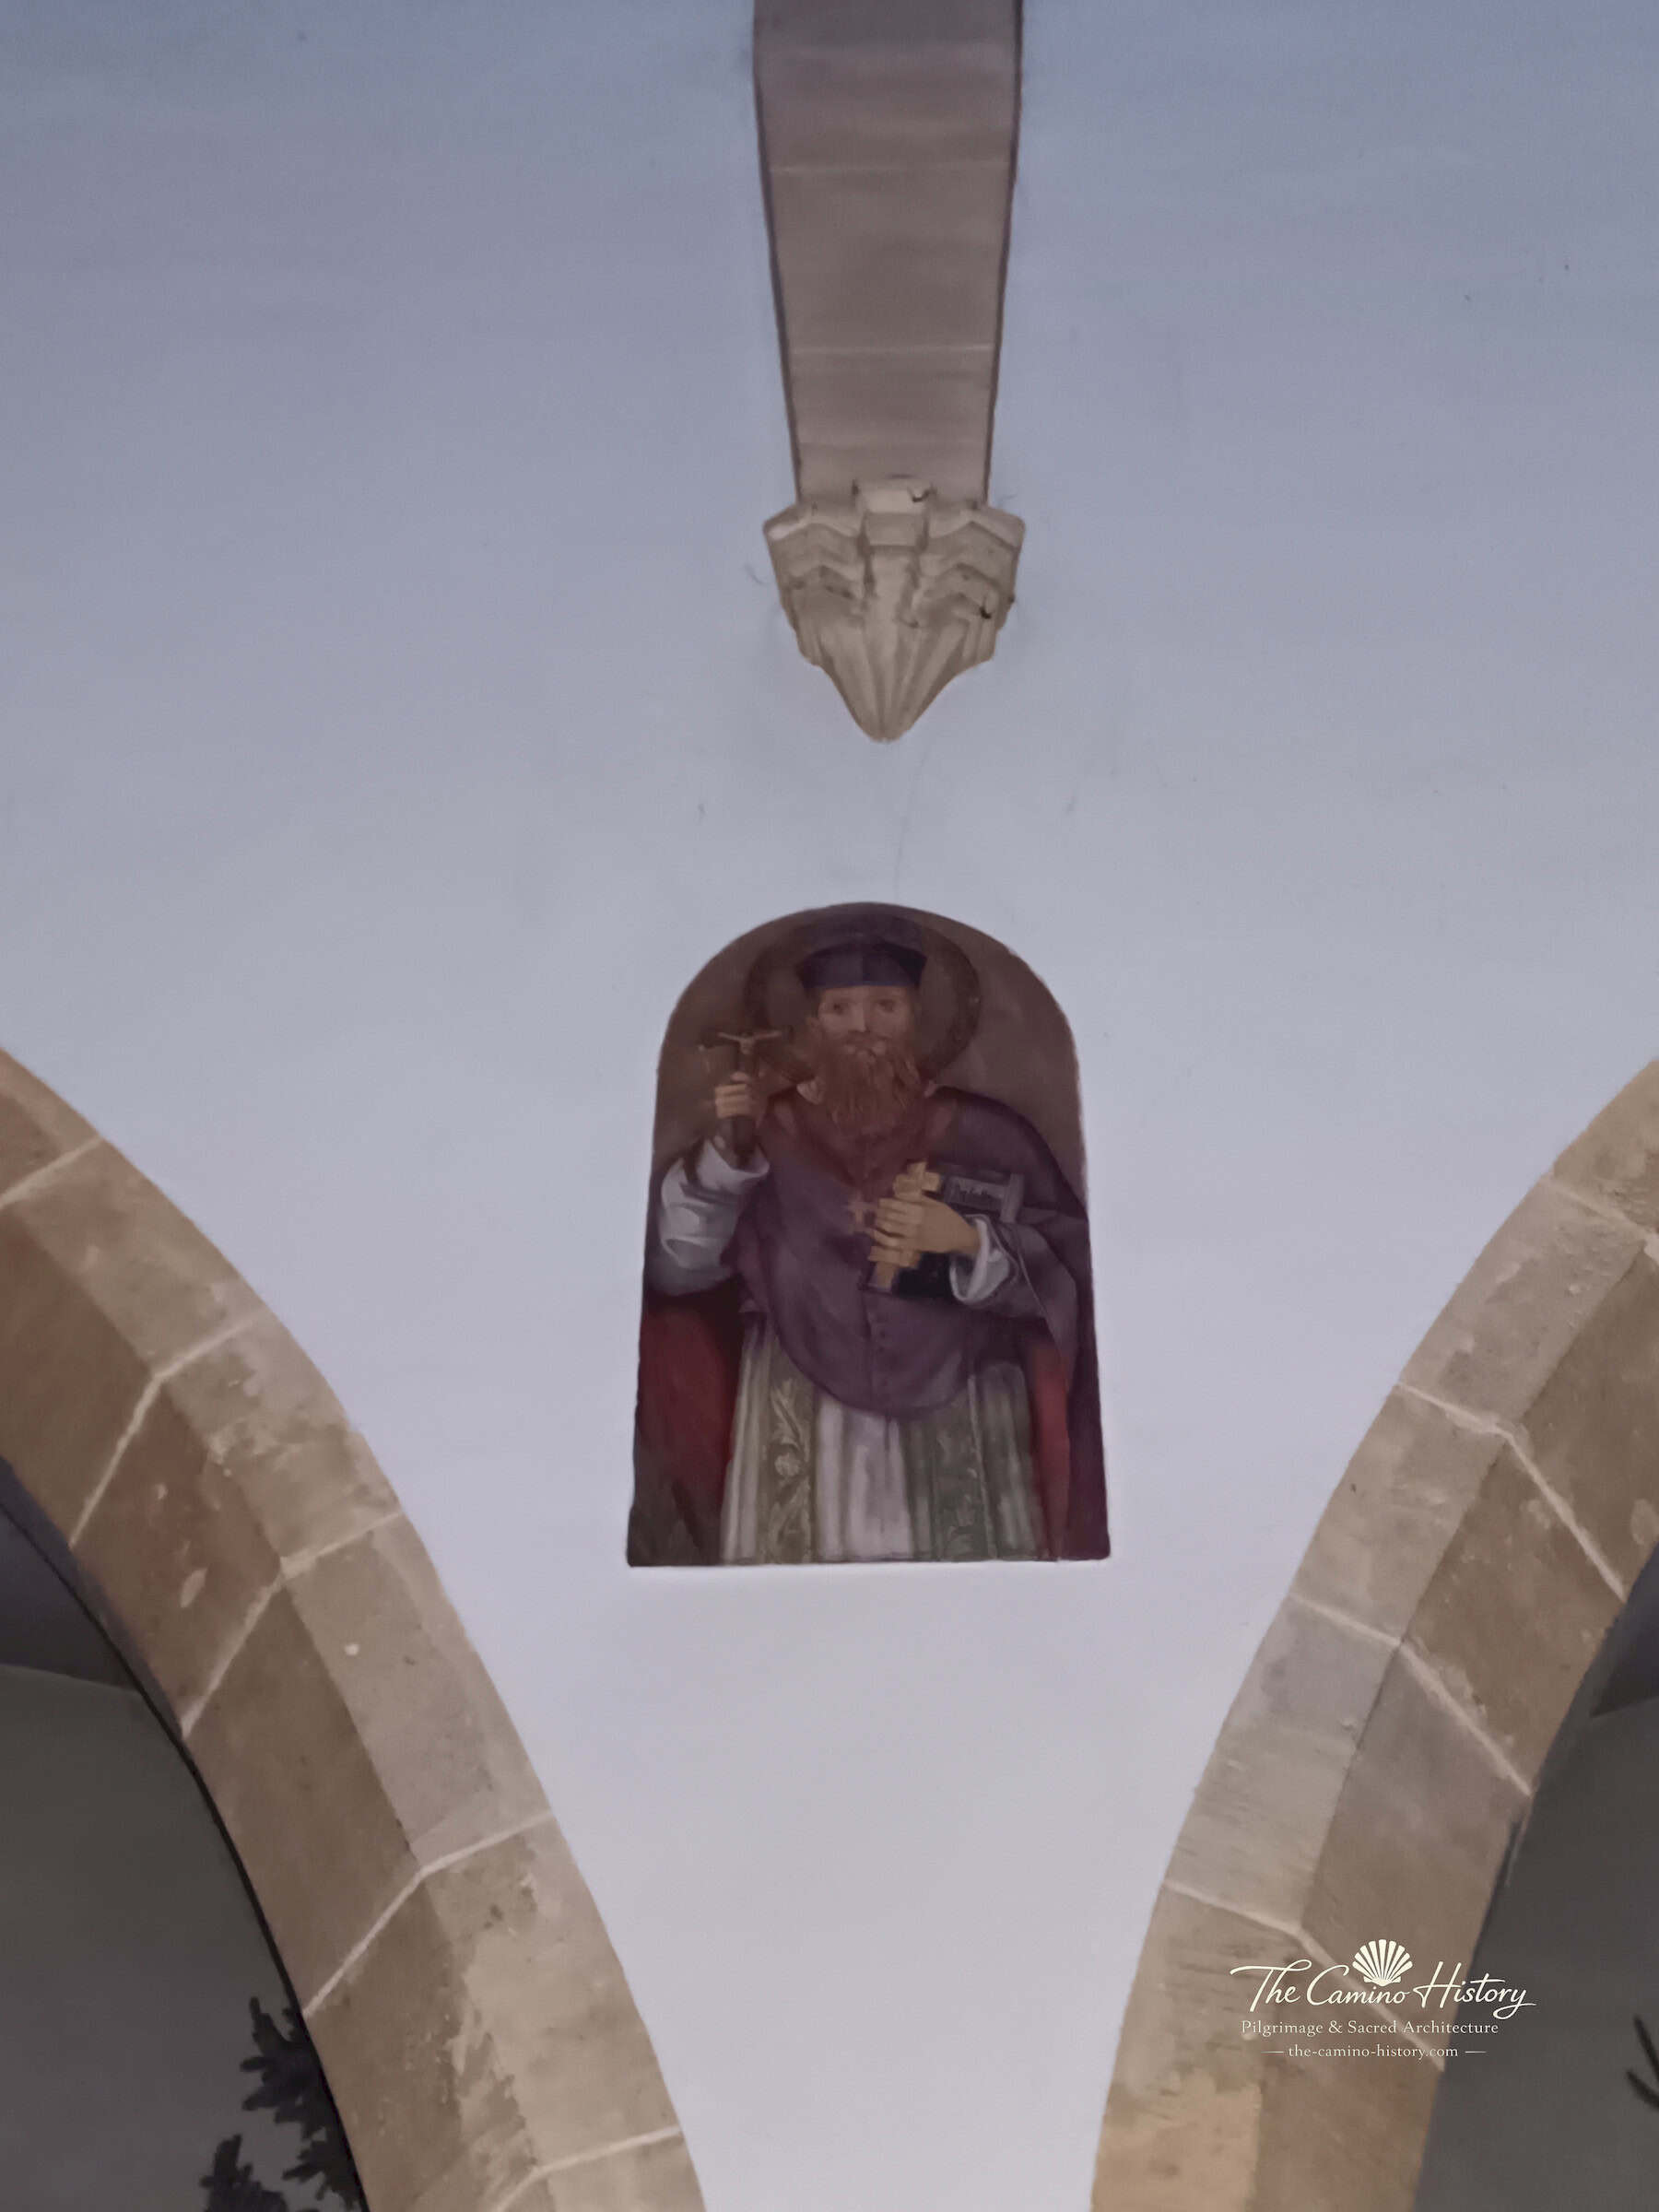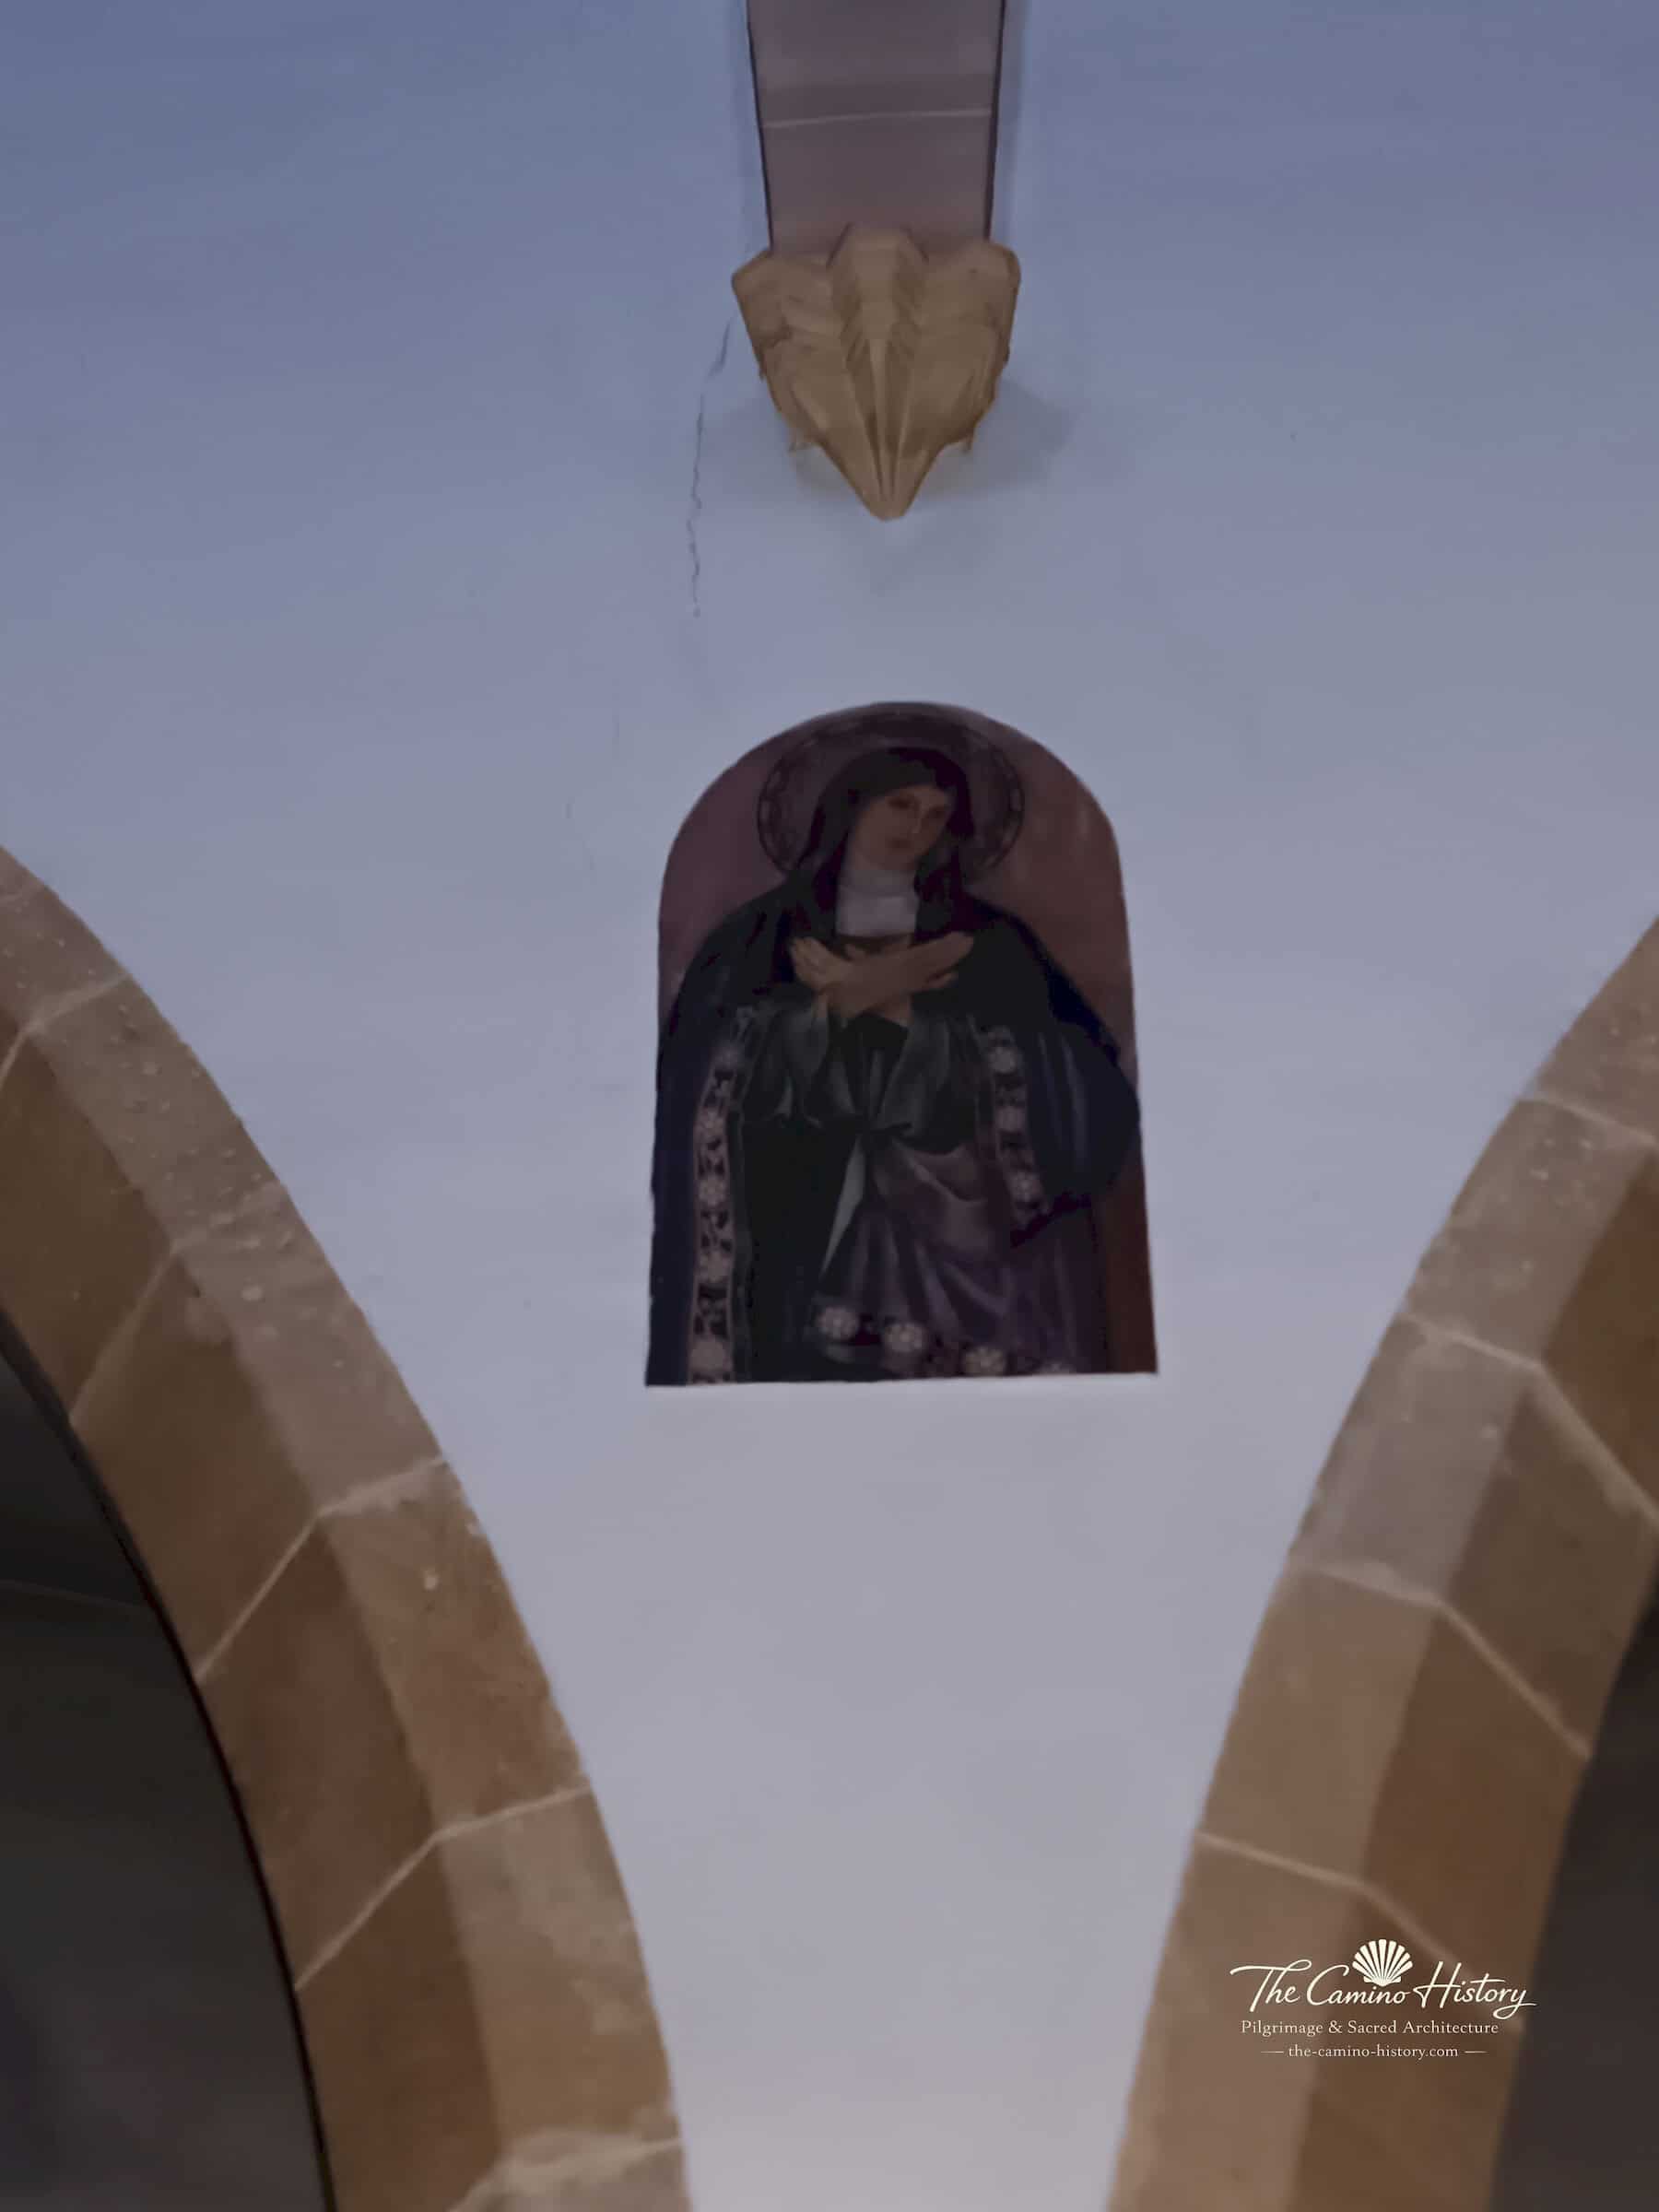
The Camino History · Kunst und Kultur

Historische Fresken
und Wandmalereien Europas

Eine fotografische Sammlung historischer Wand- und Deckenmalereien europäischer Kirchen – vom Mittelalter bis in die Neuzeit.

Mittelalterliche Wandmalereien, überwiegend 14. Jahrhundert

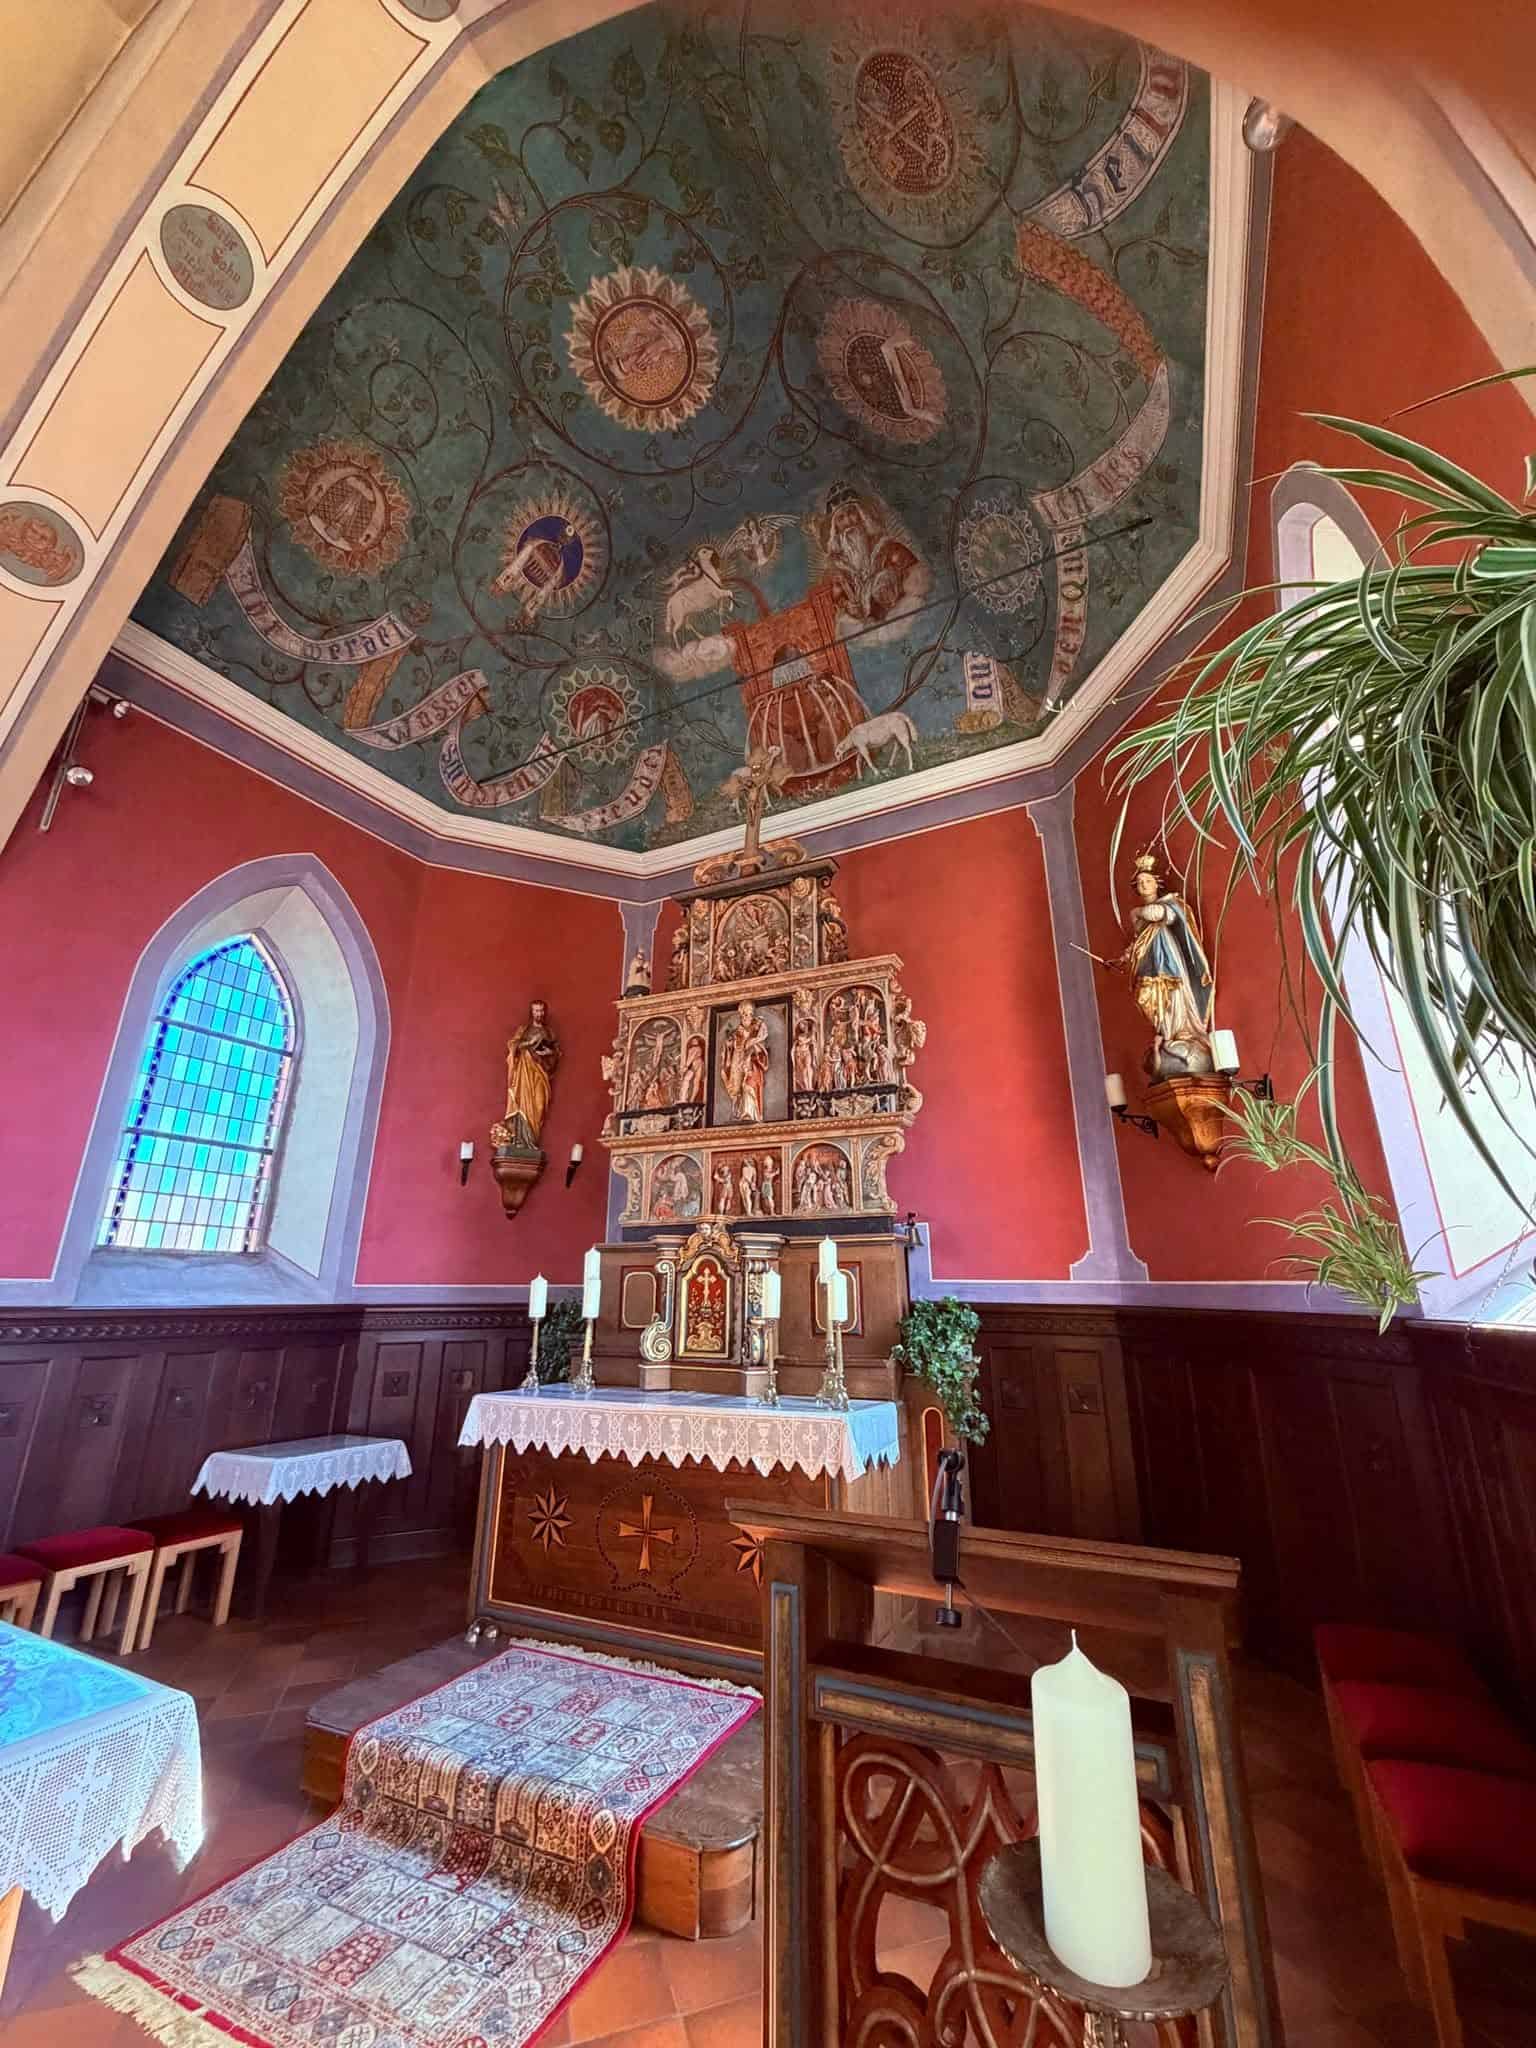
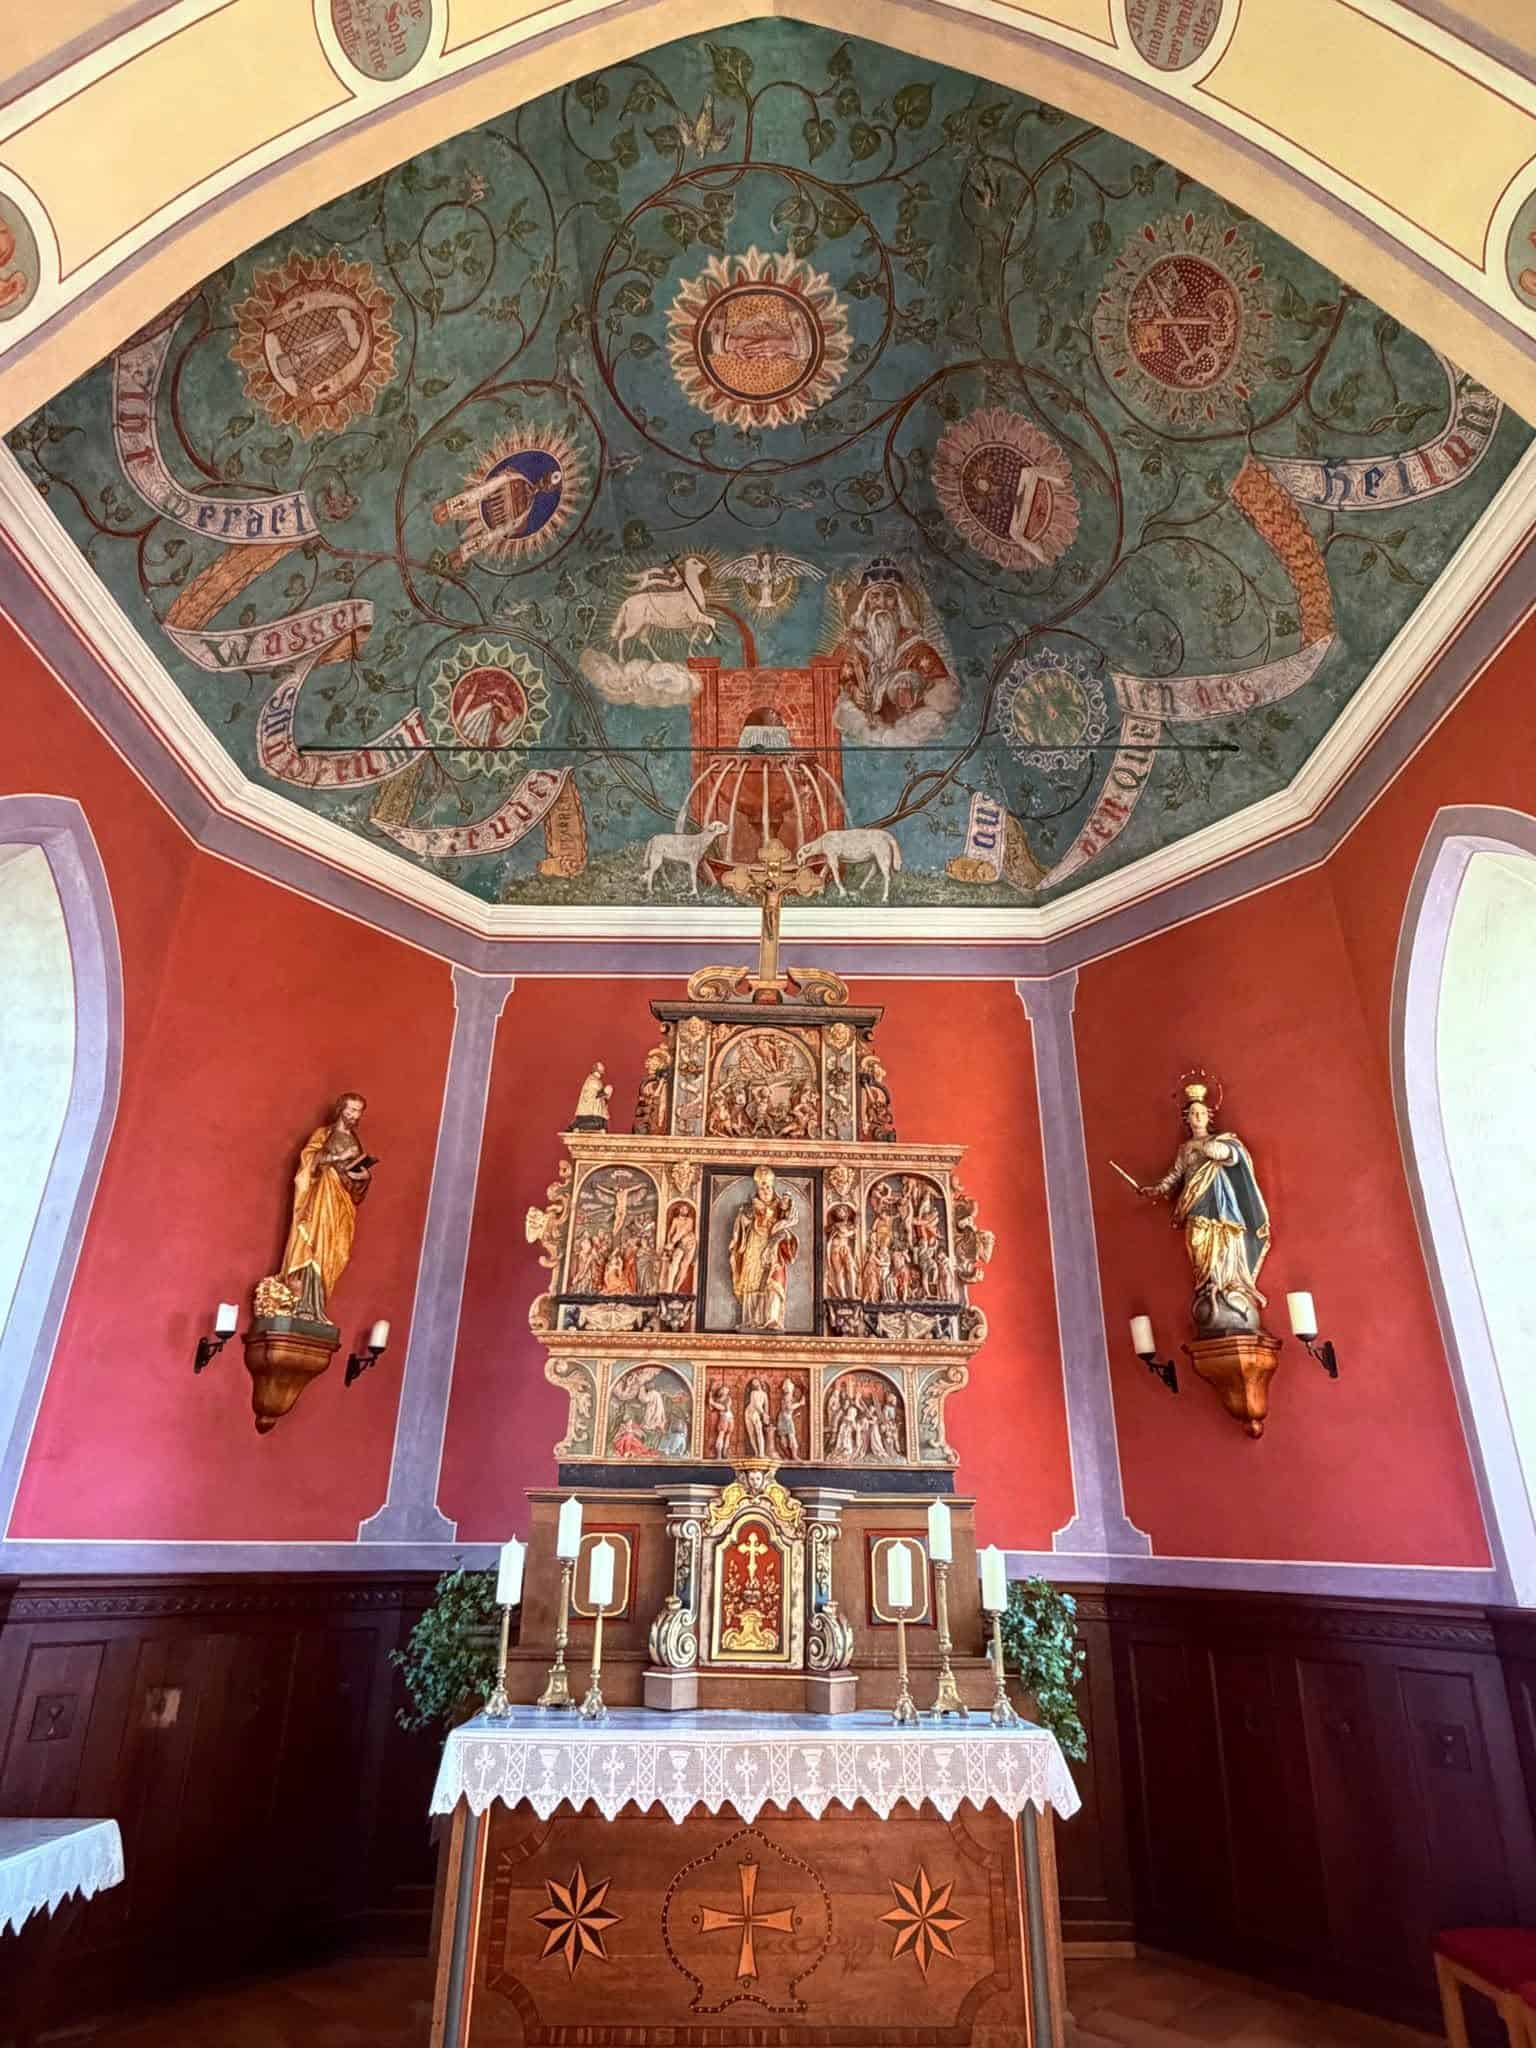
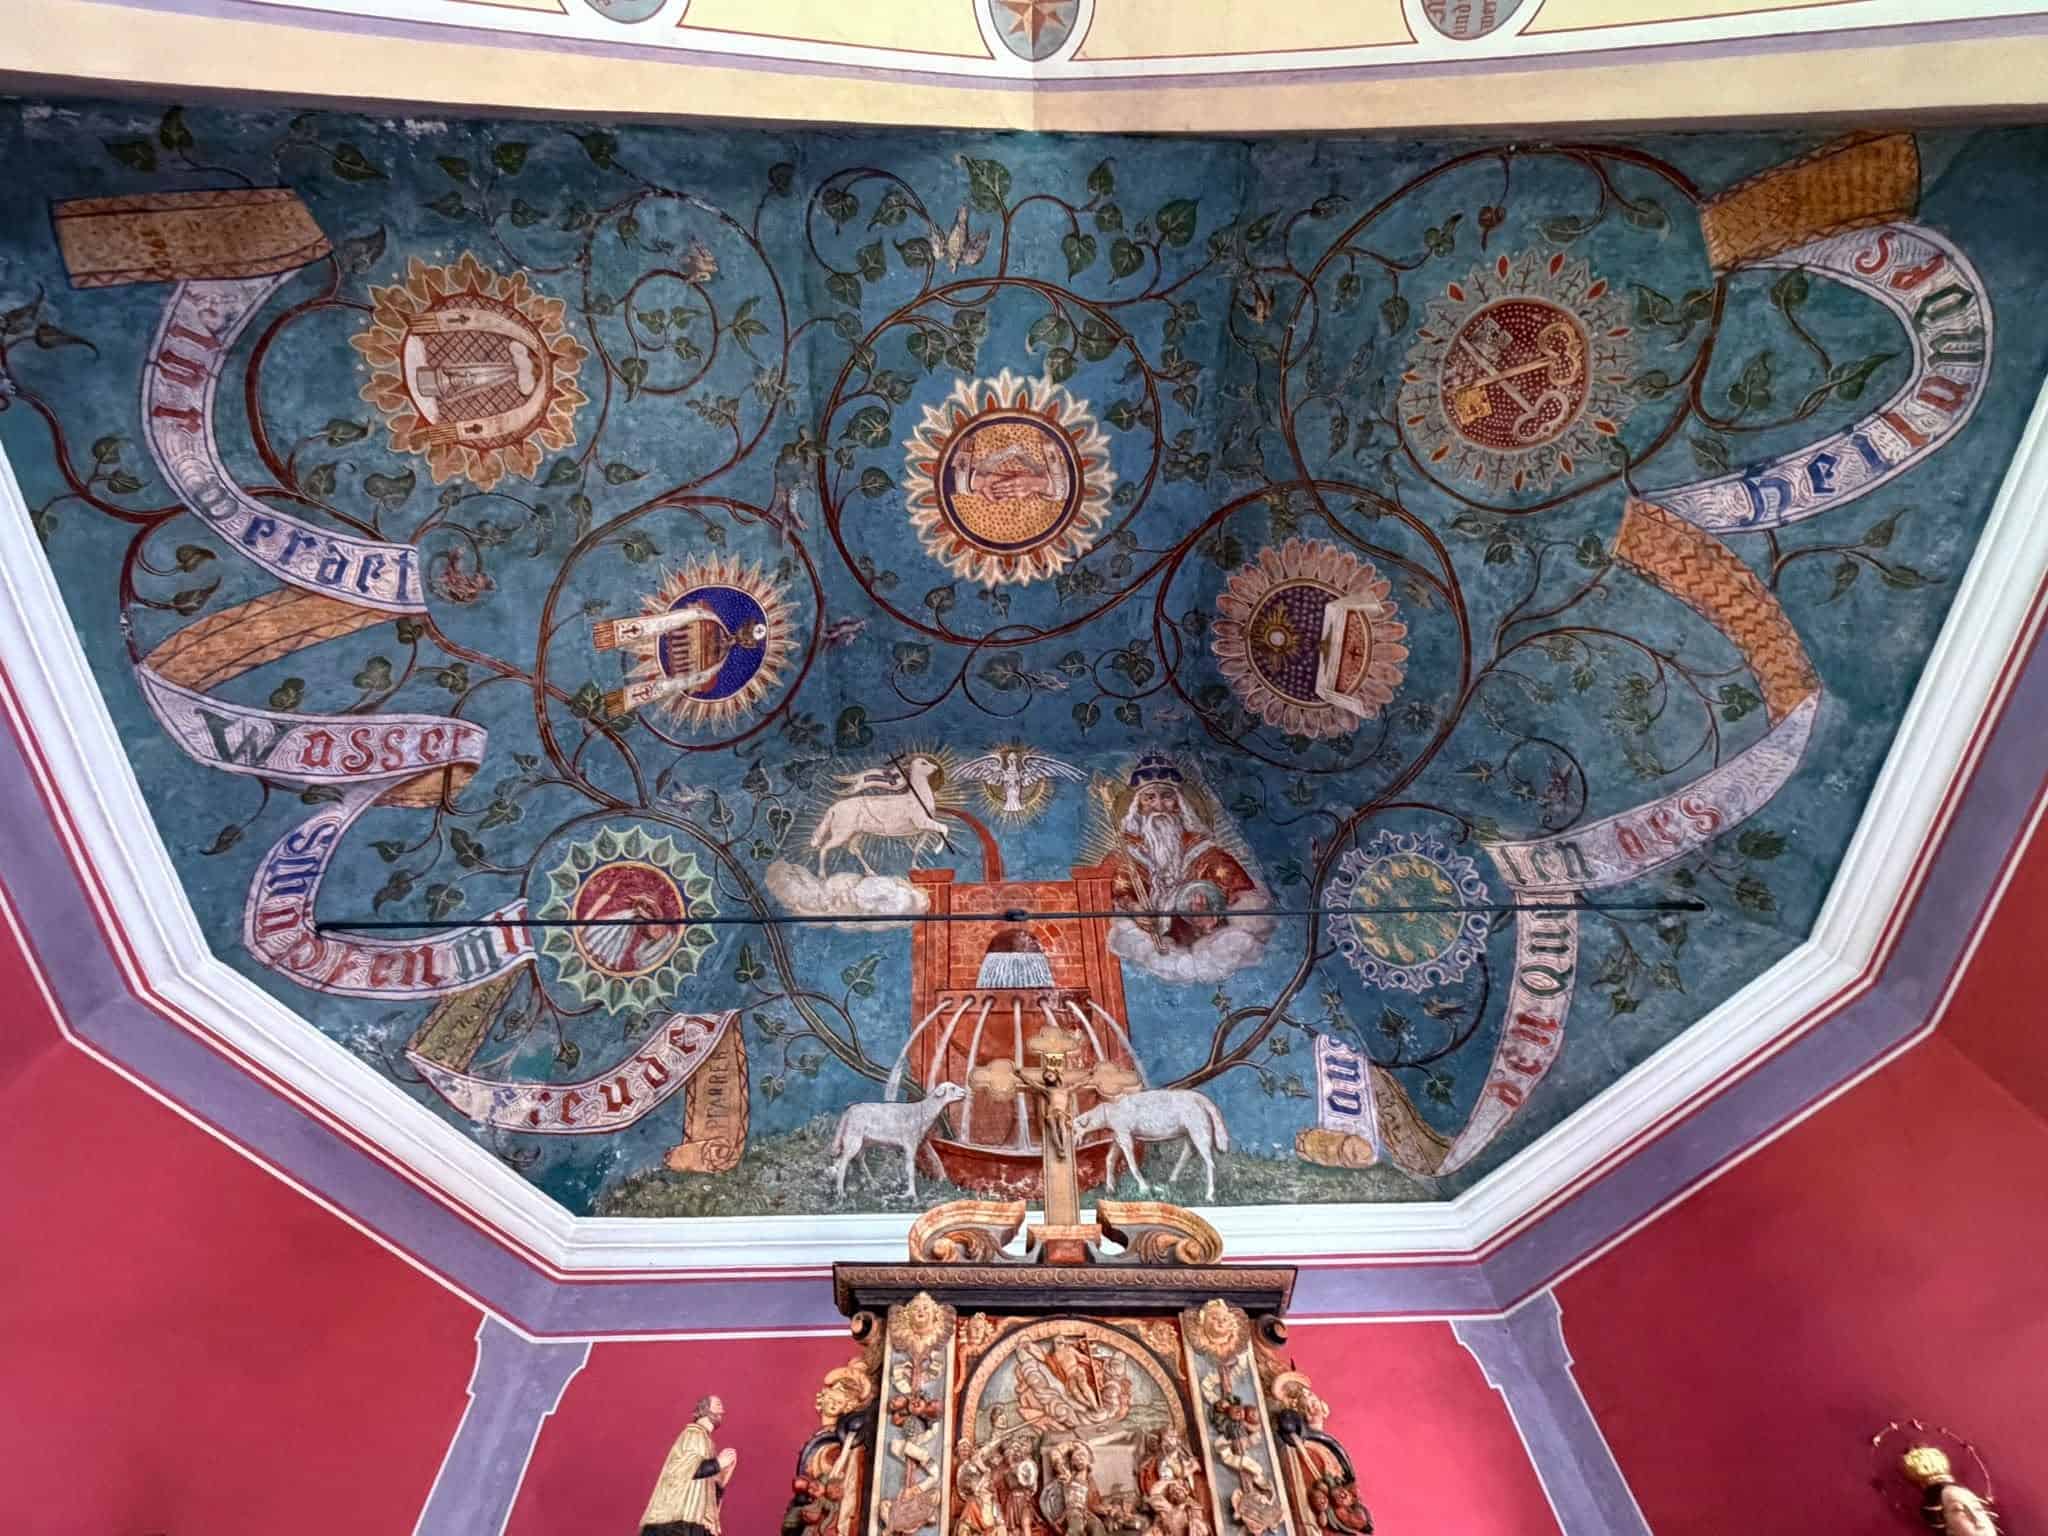
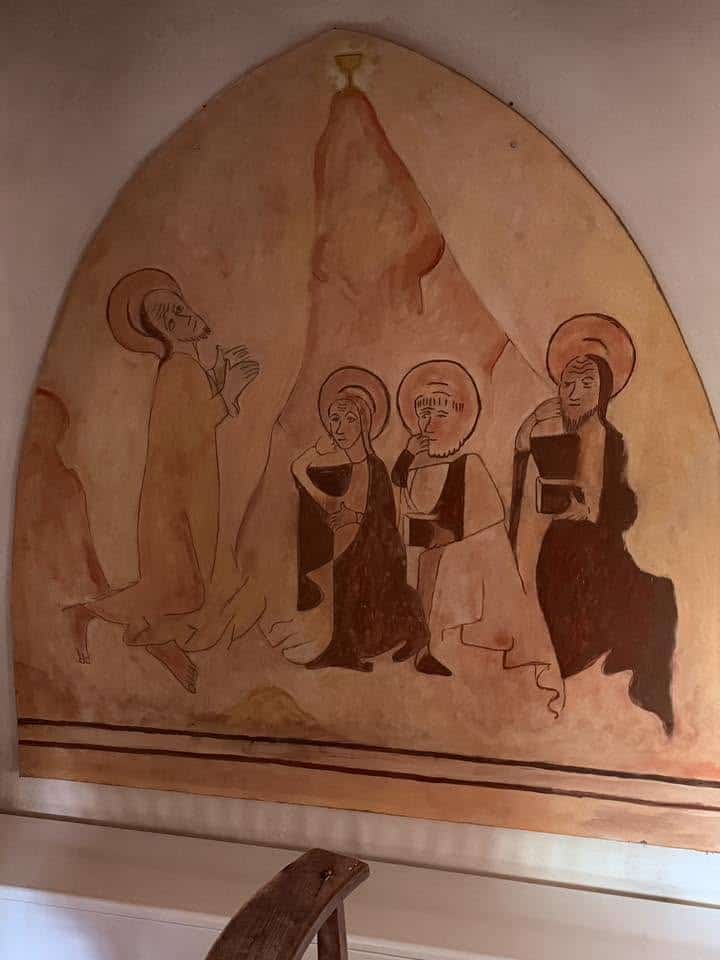
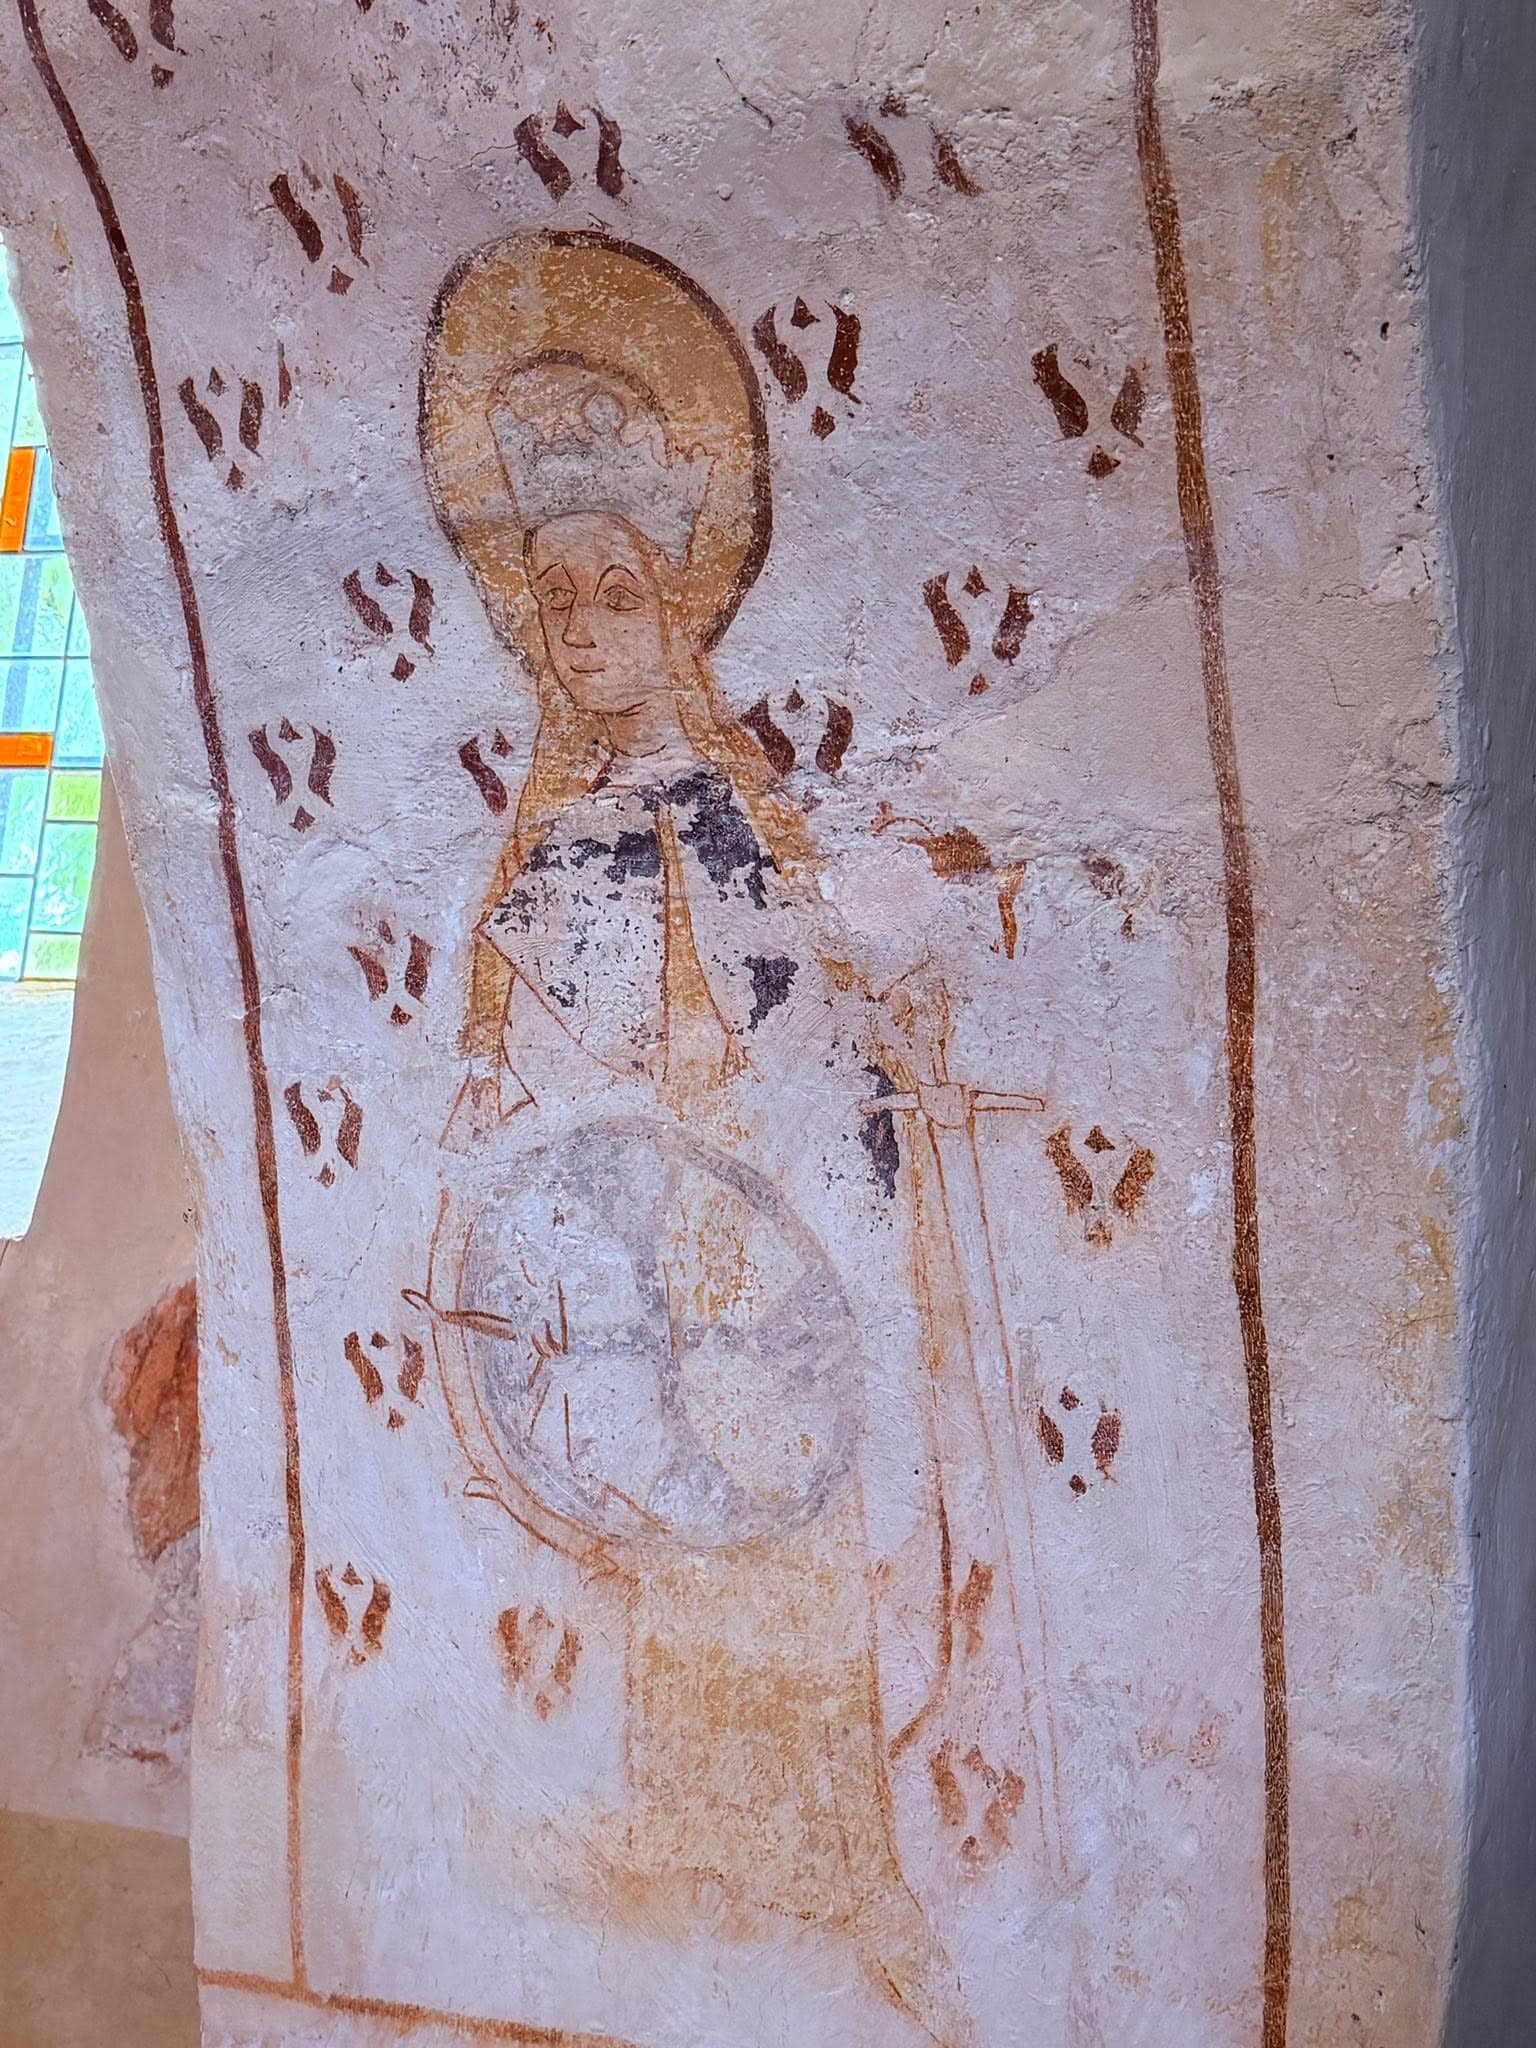
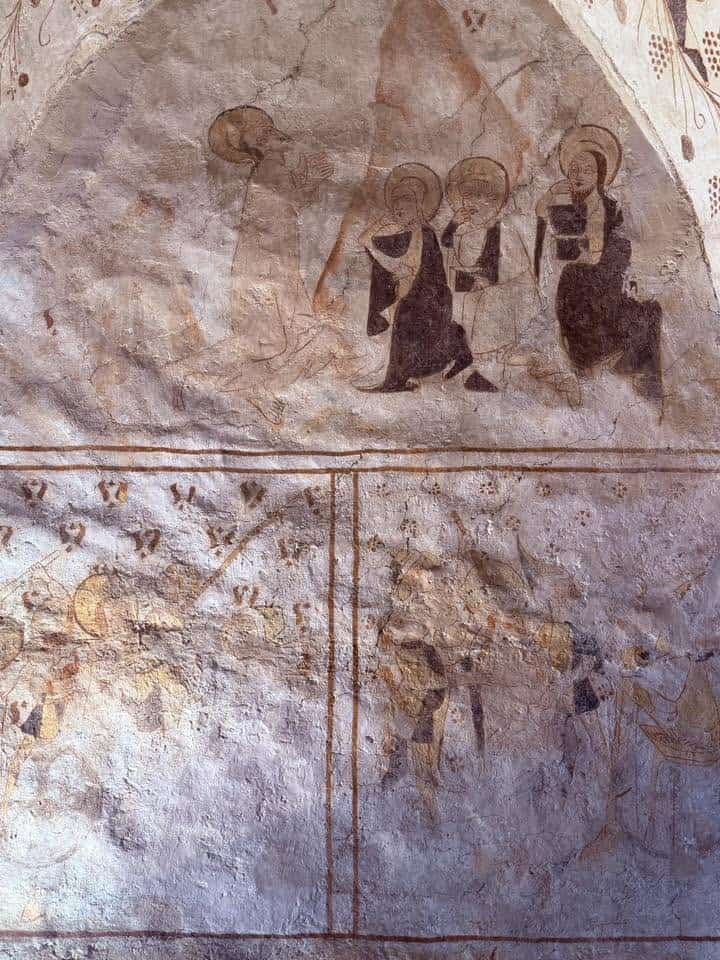
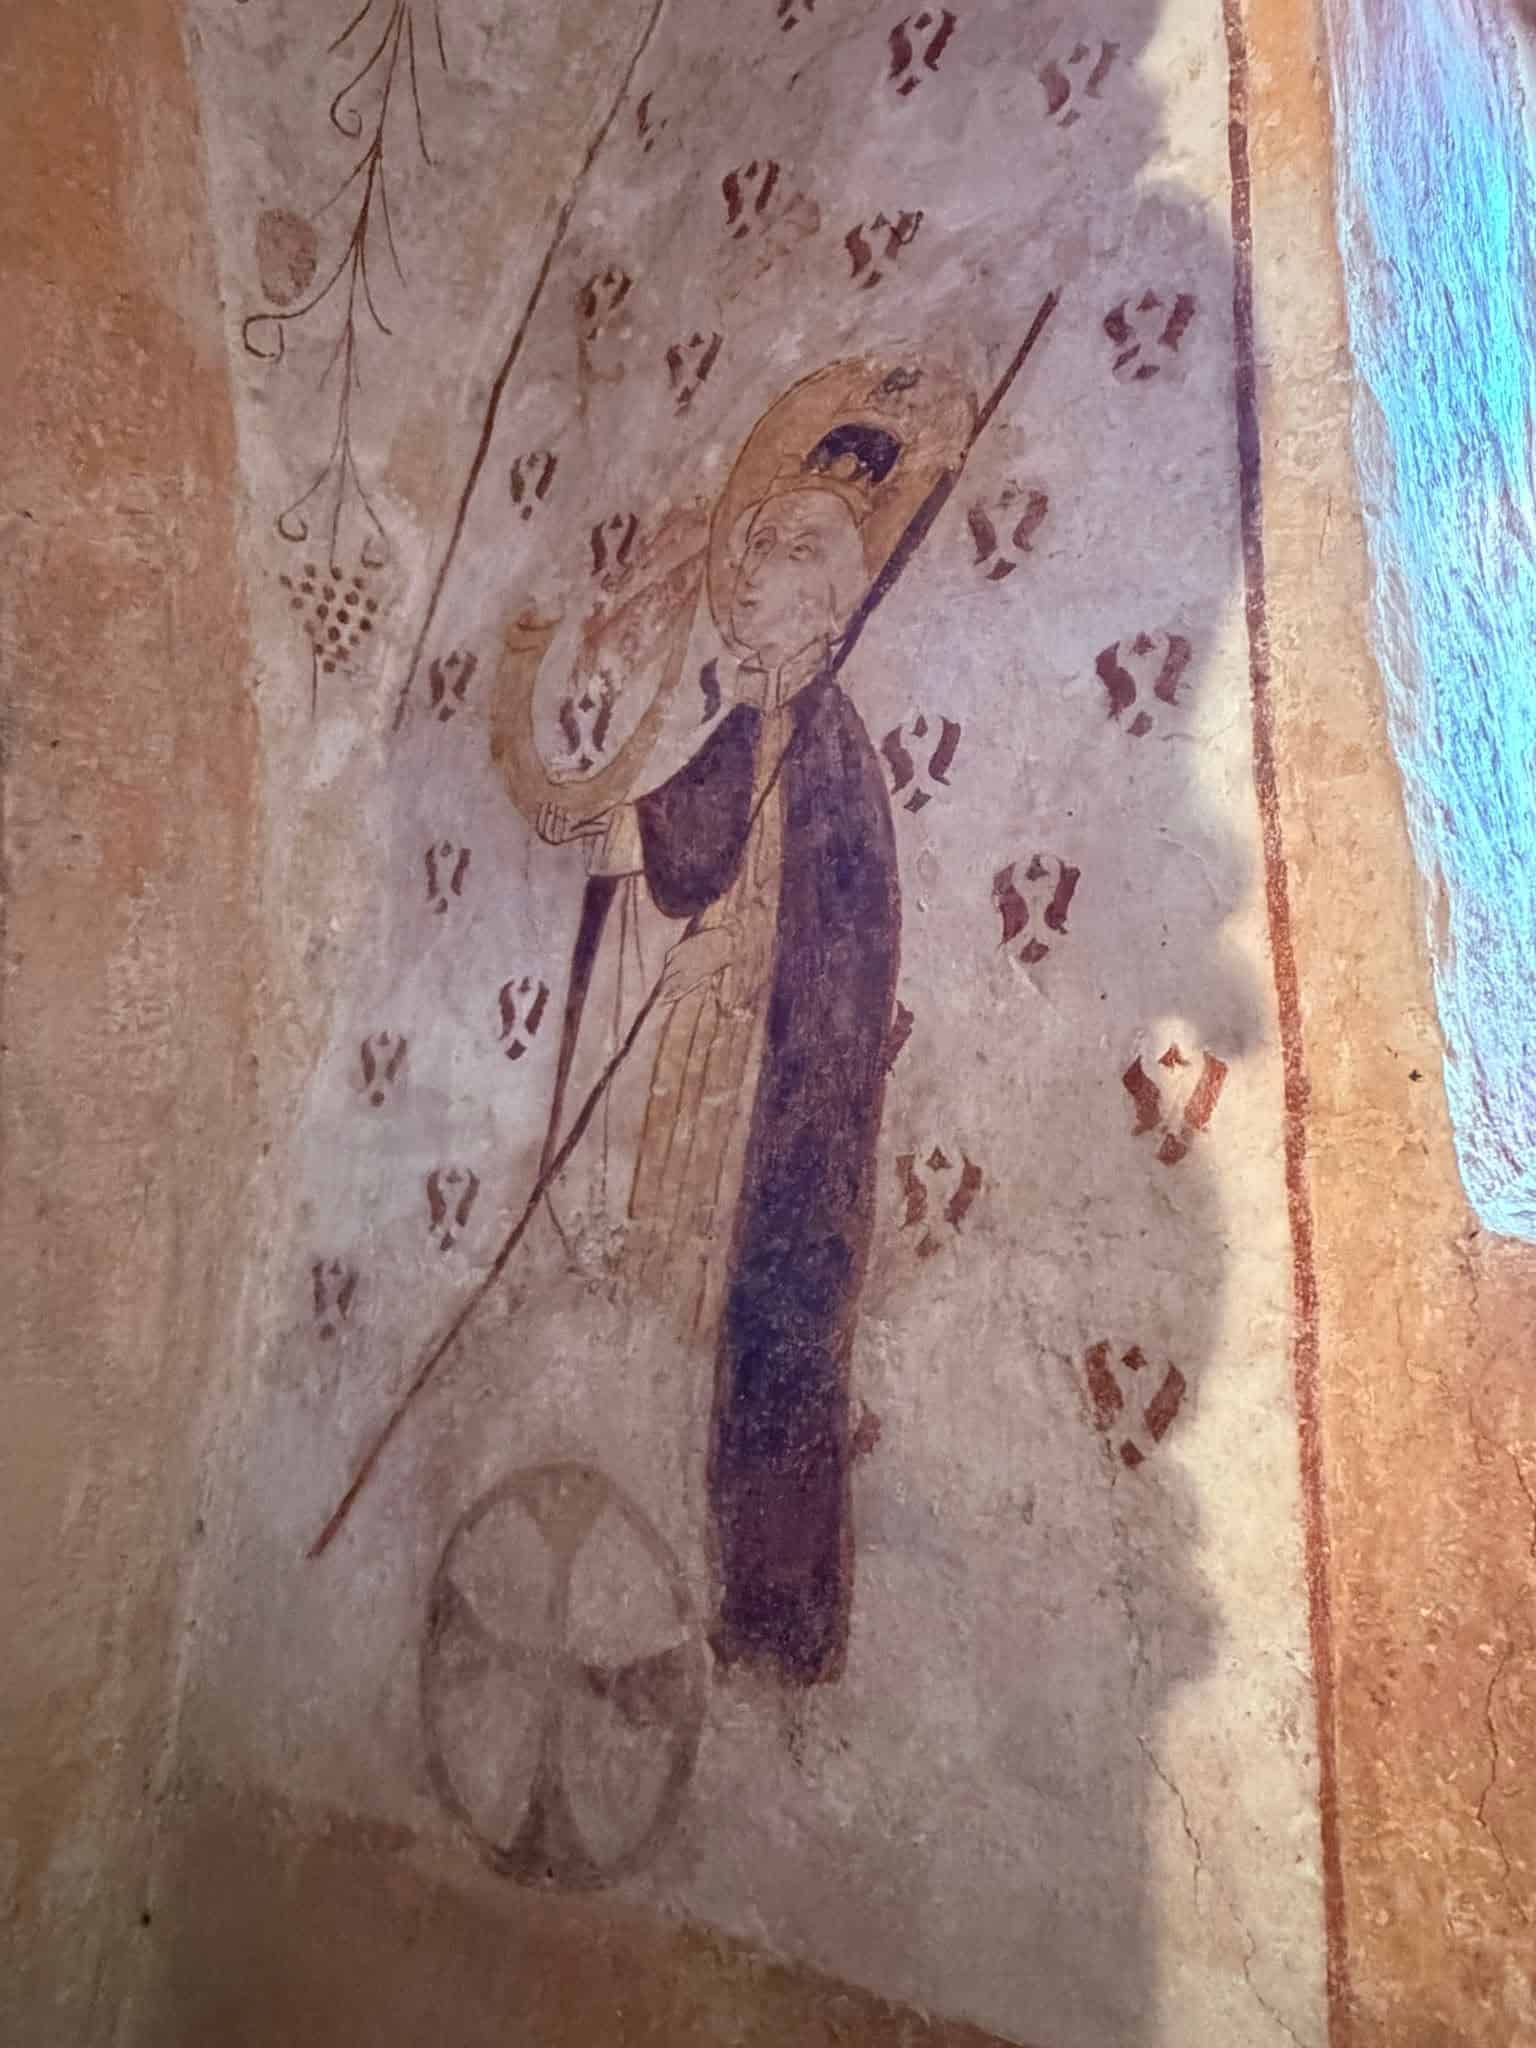
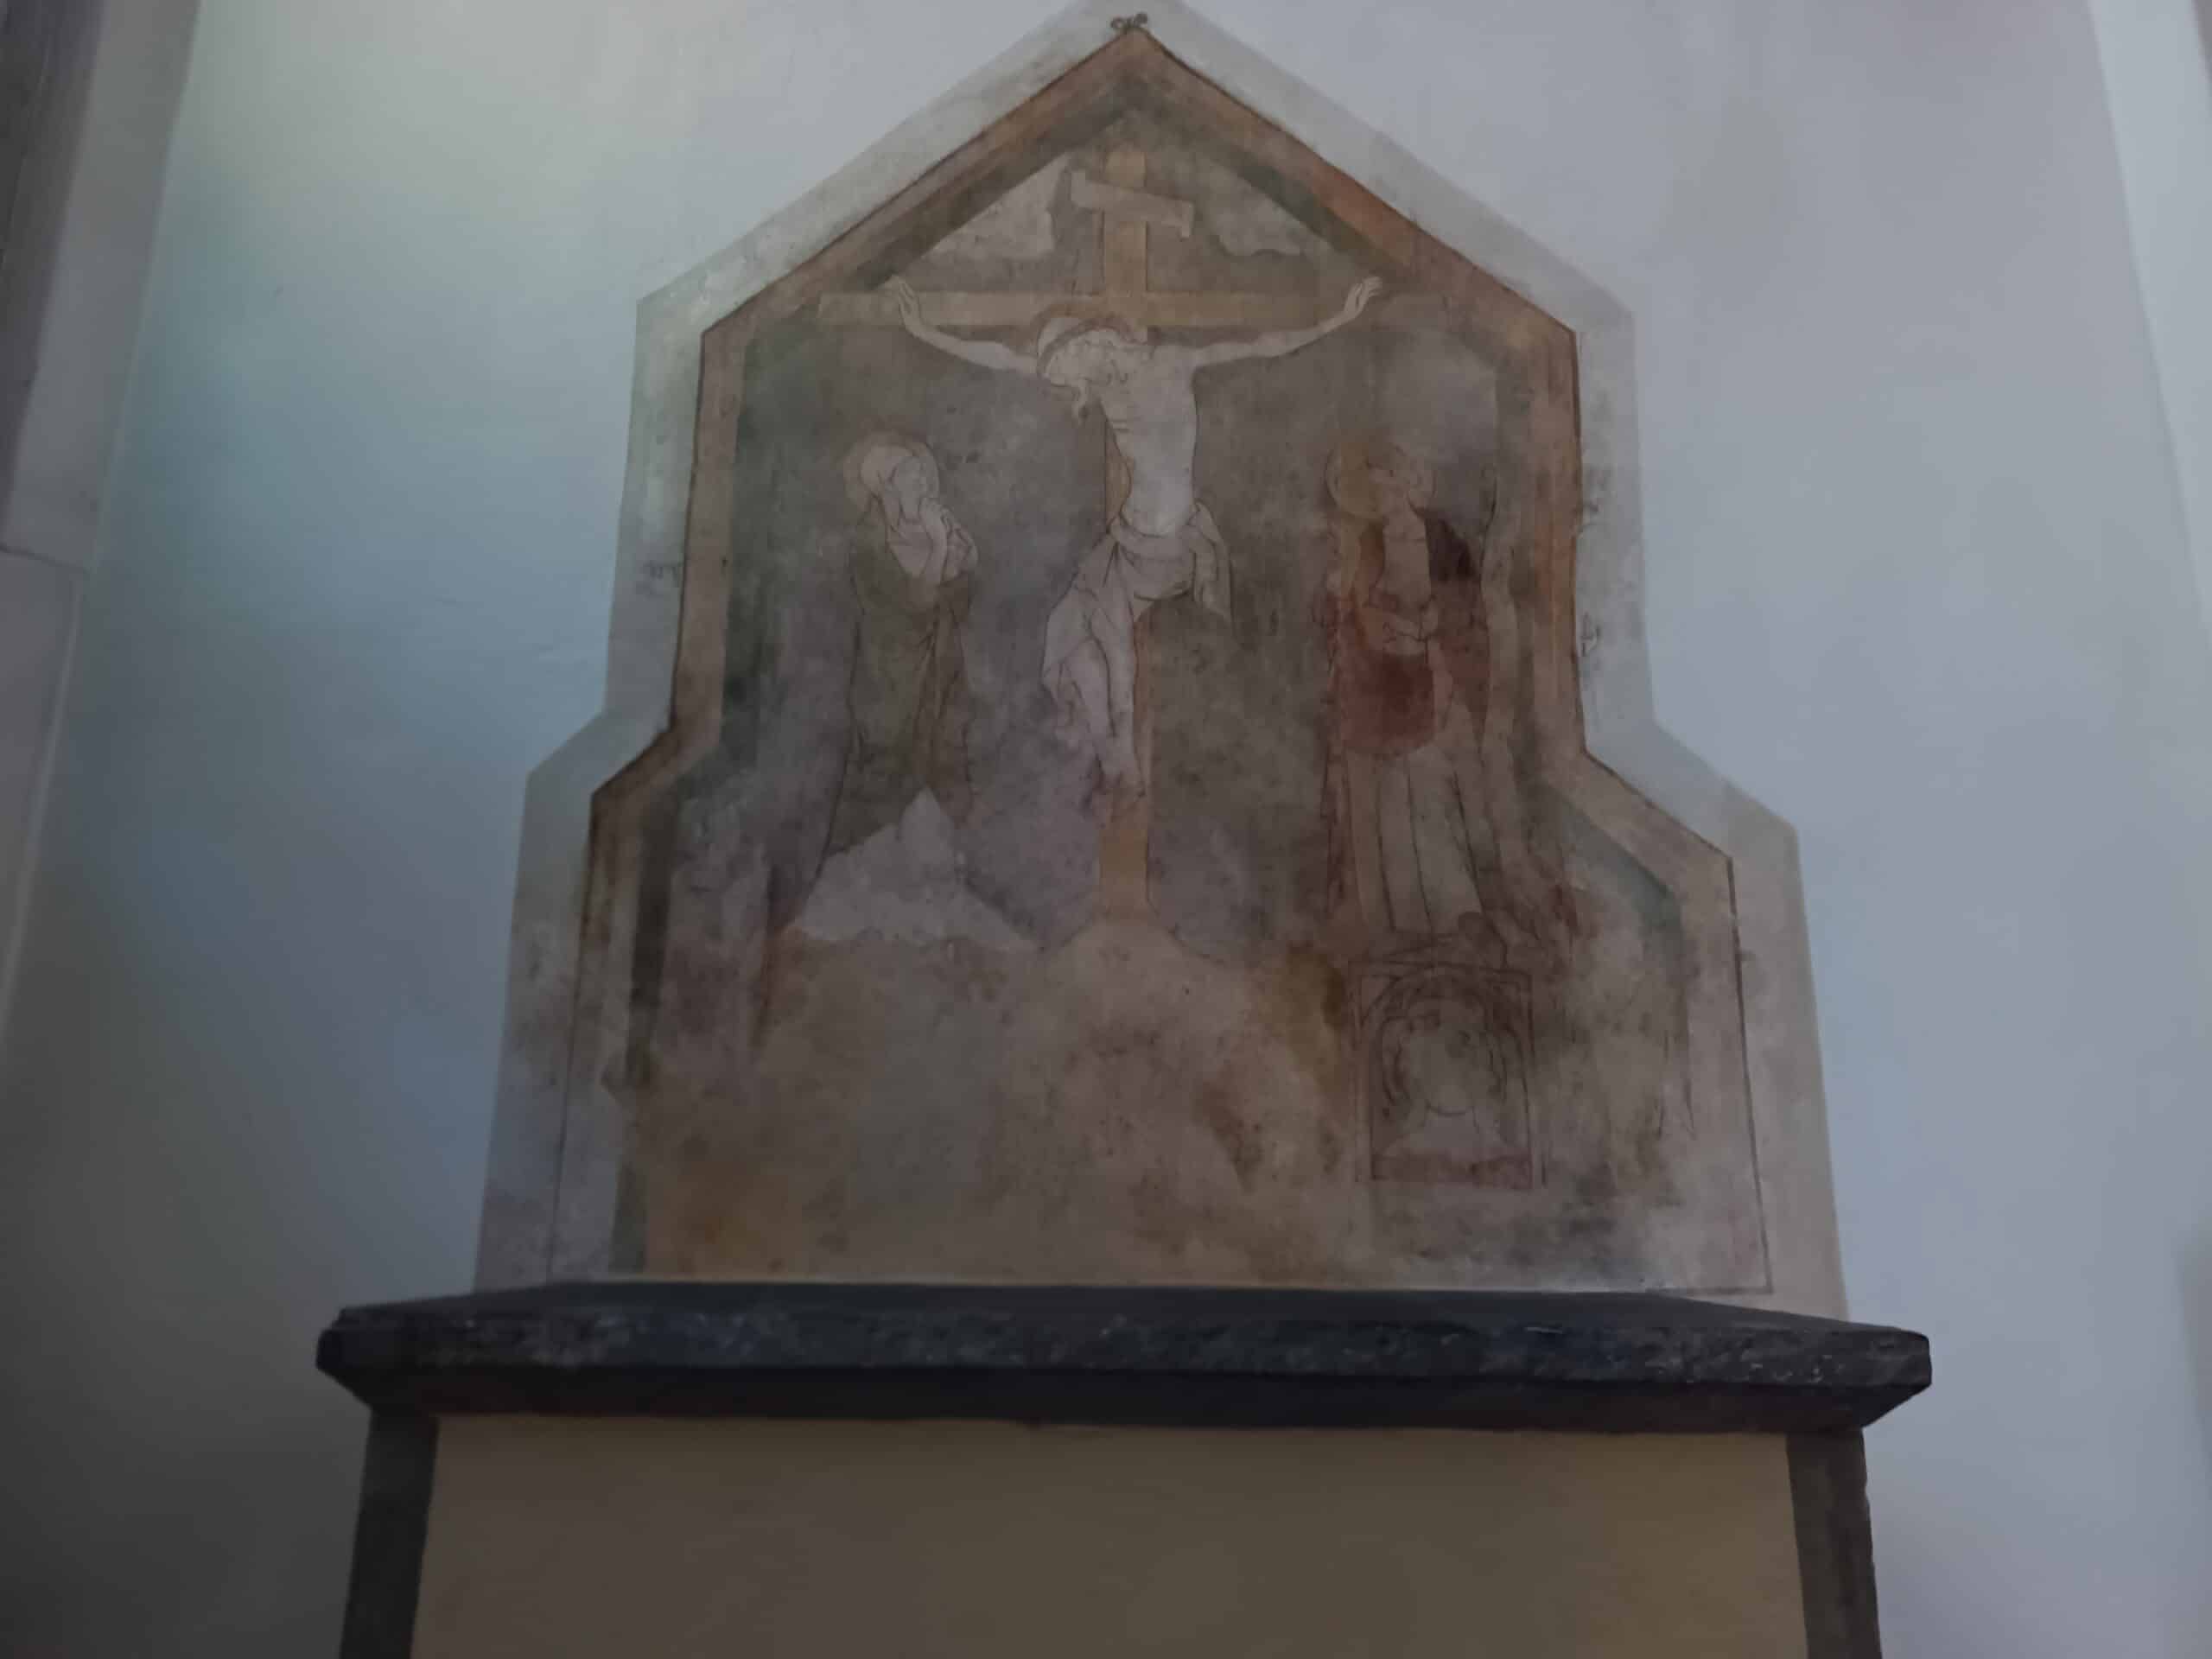
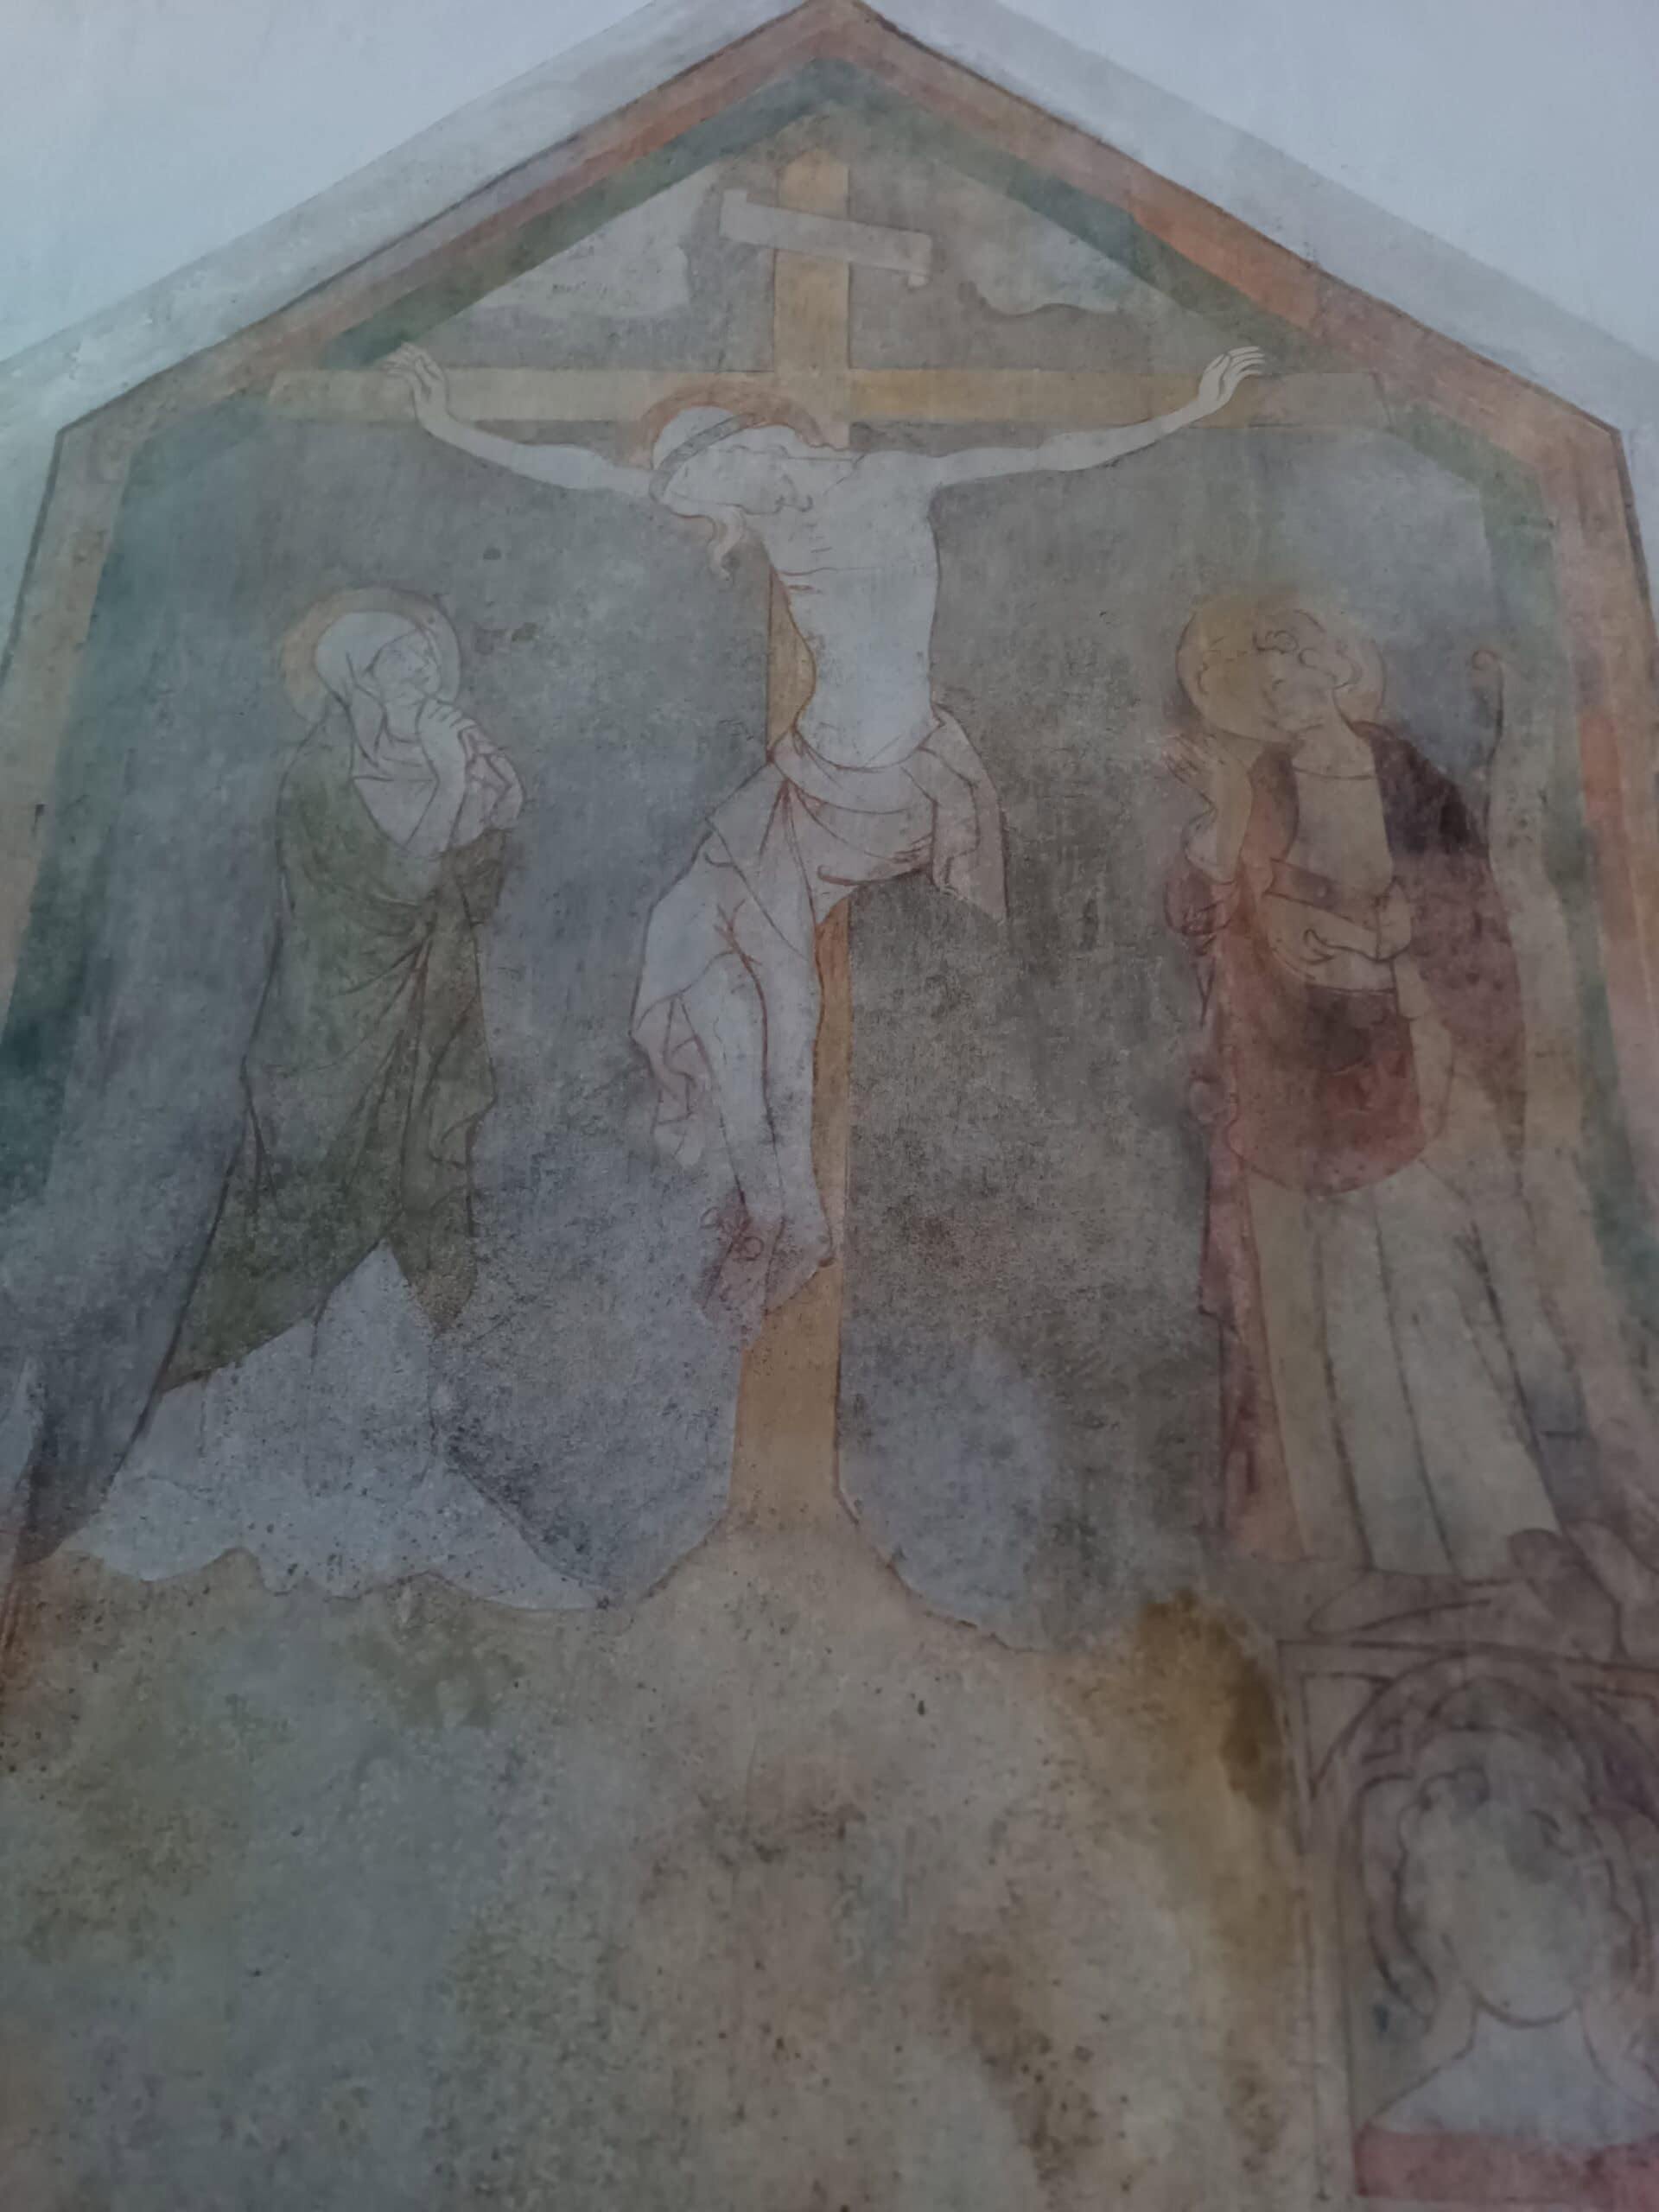
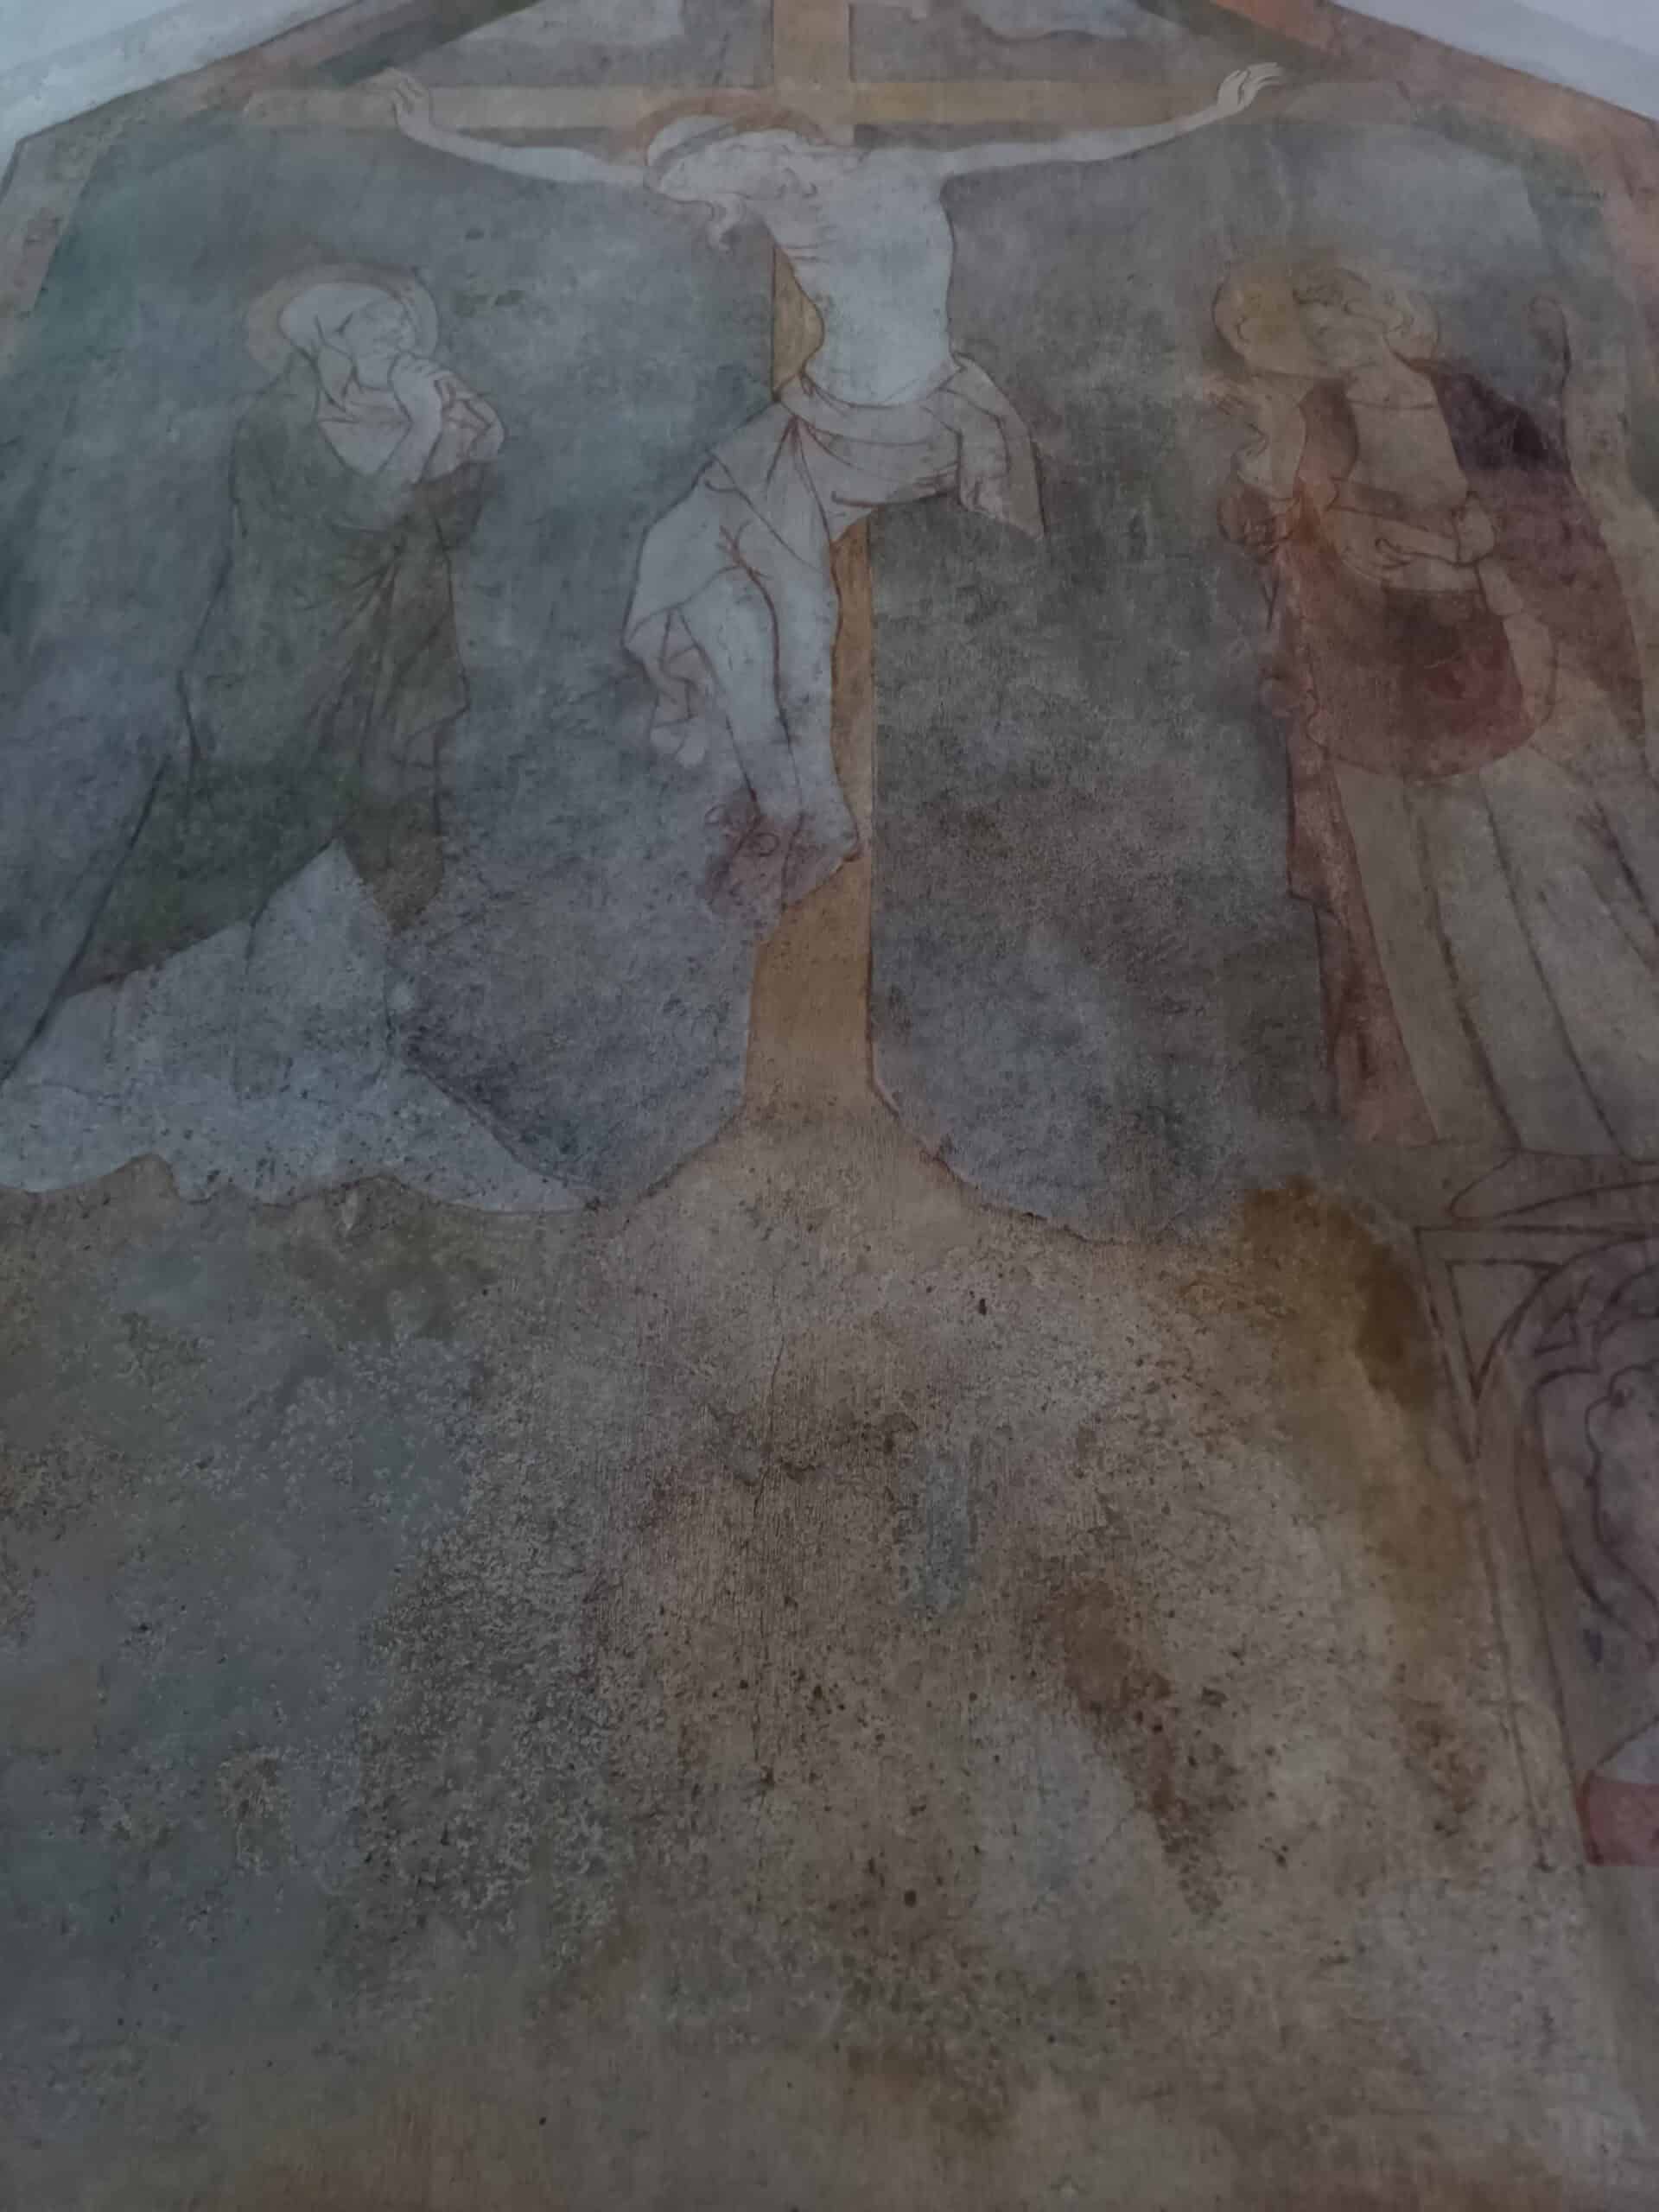
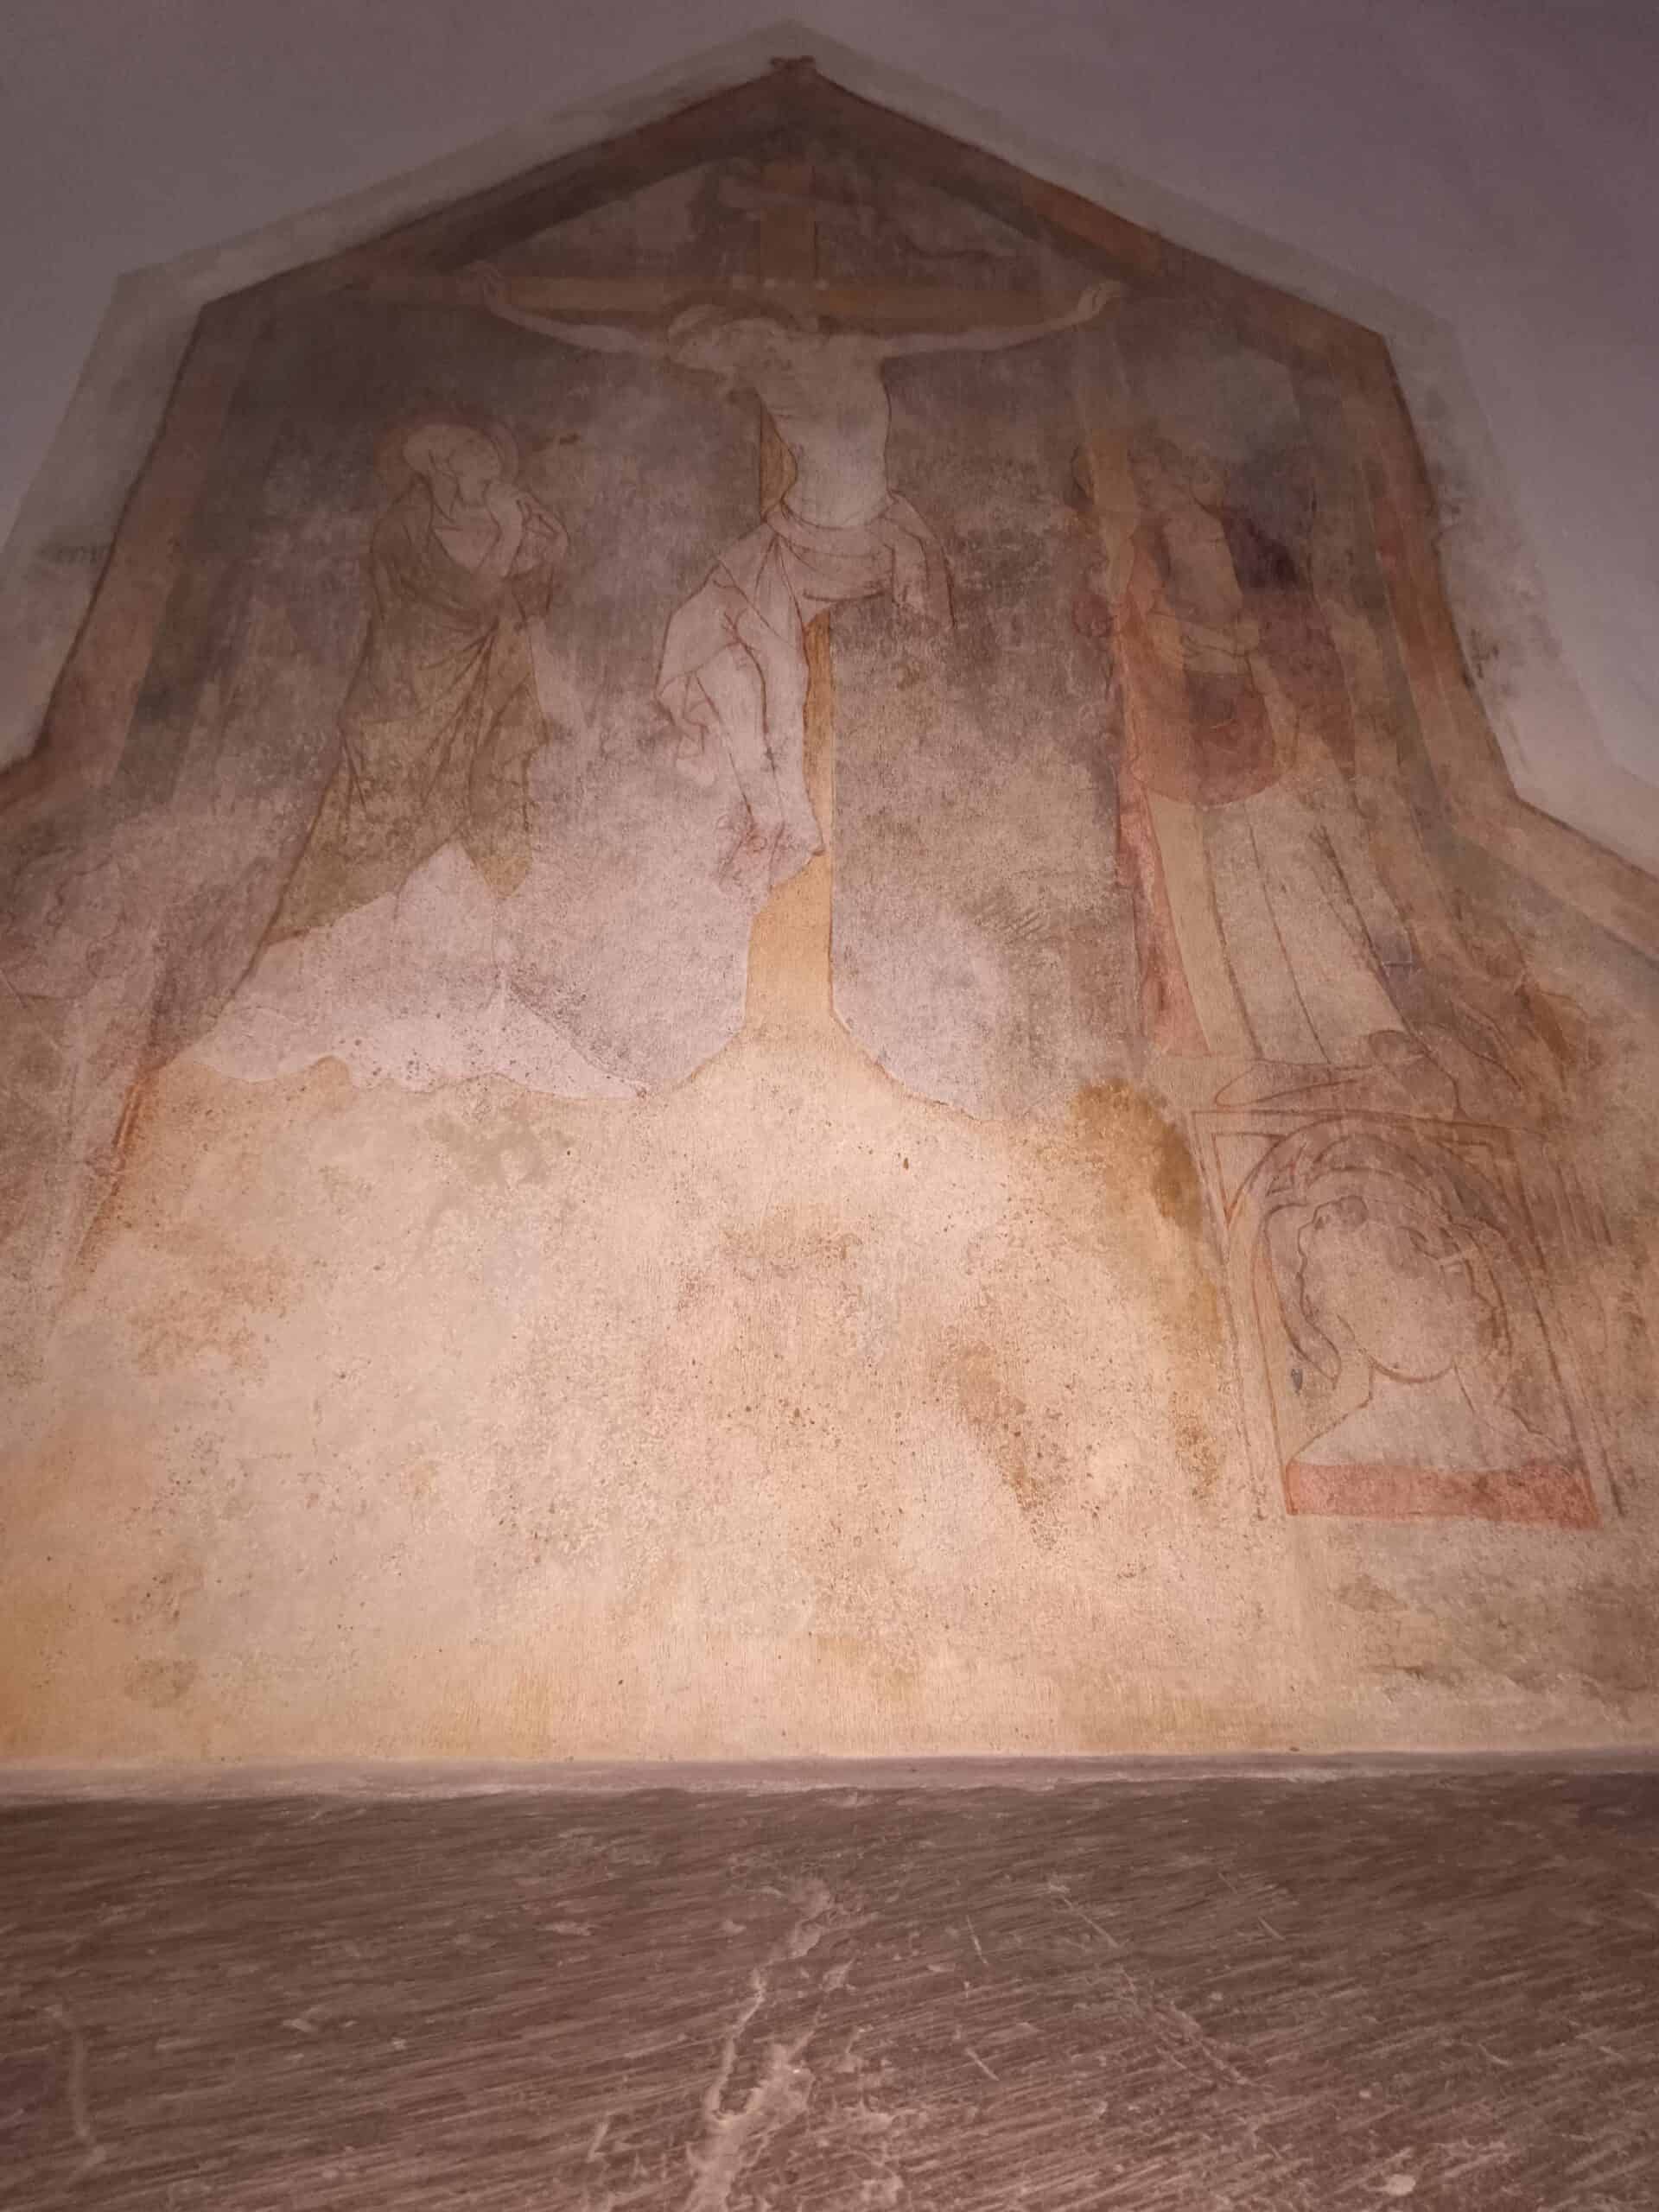
Rumbach – Christuskirche

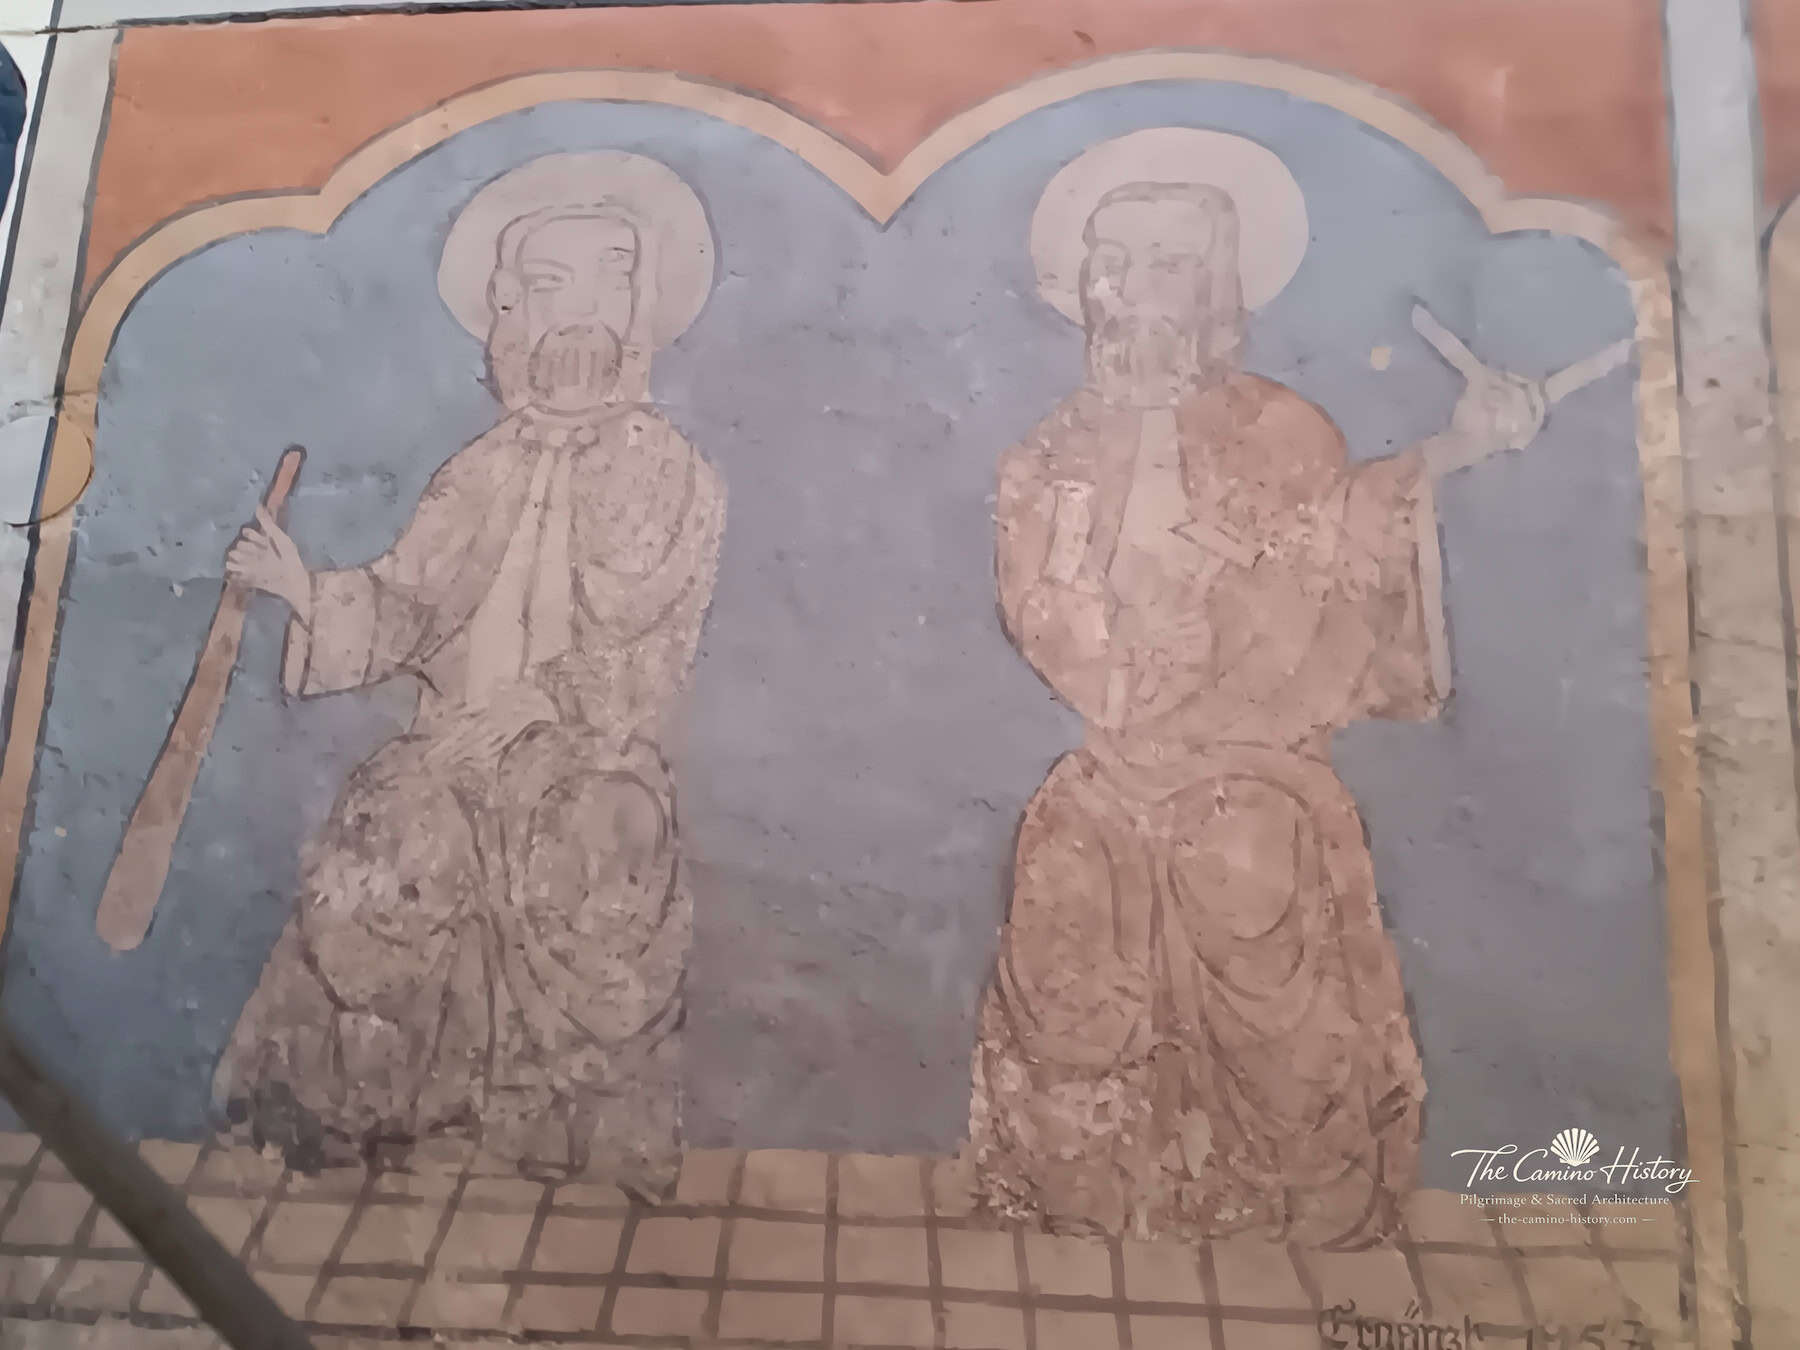
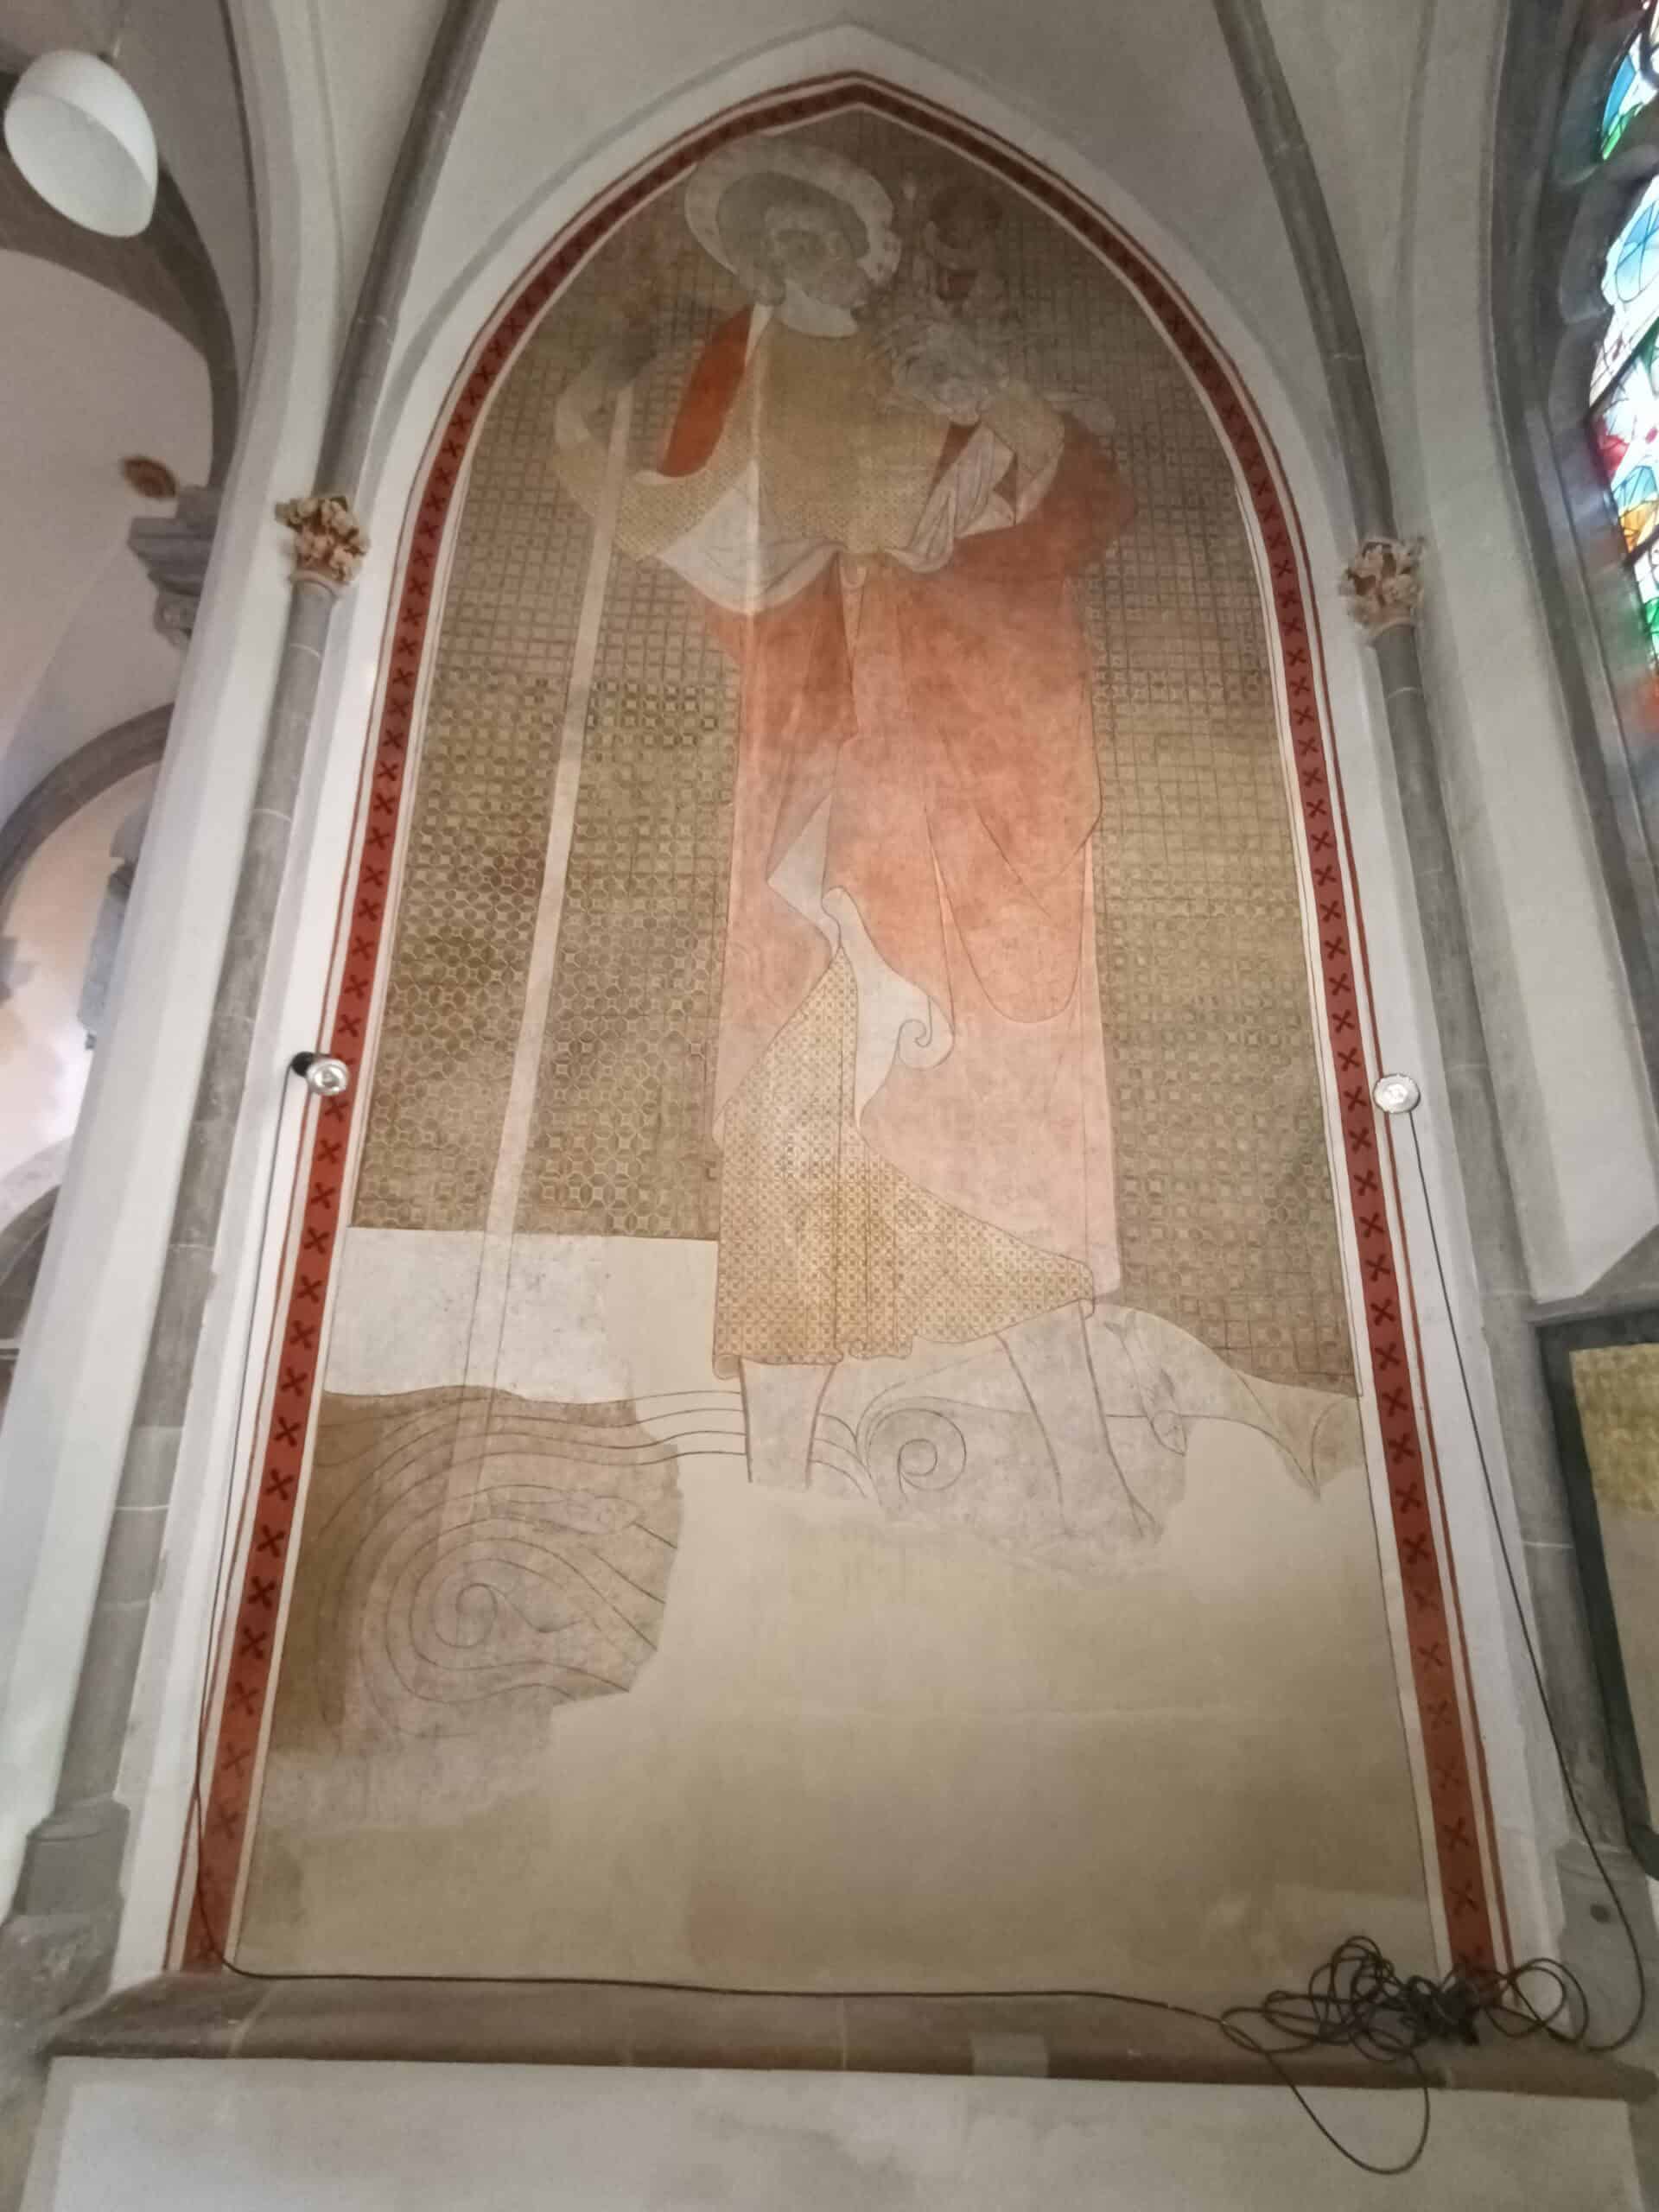
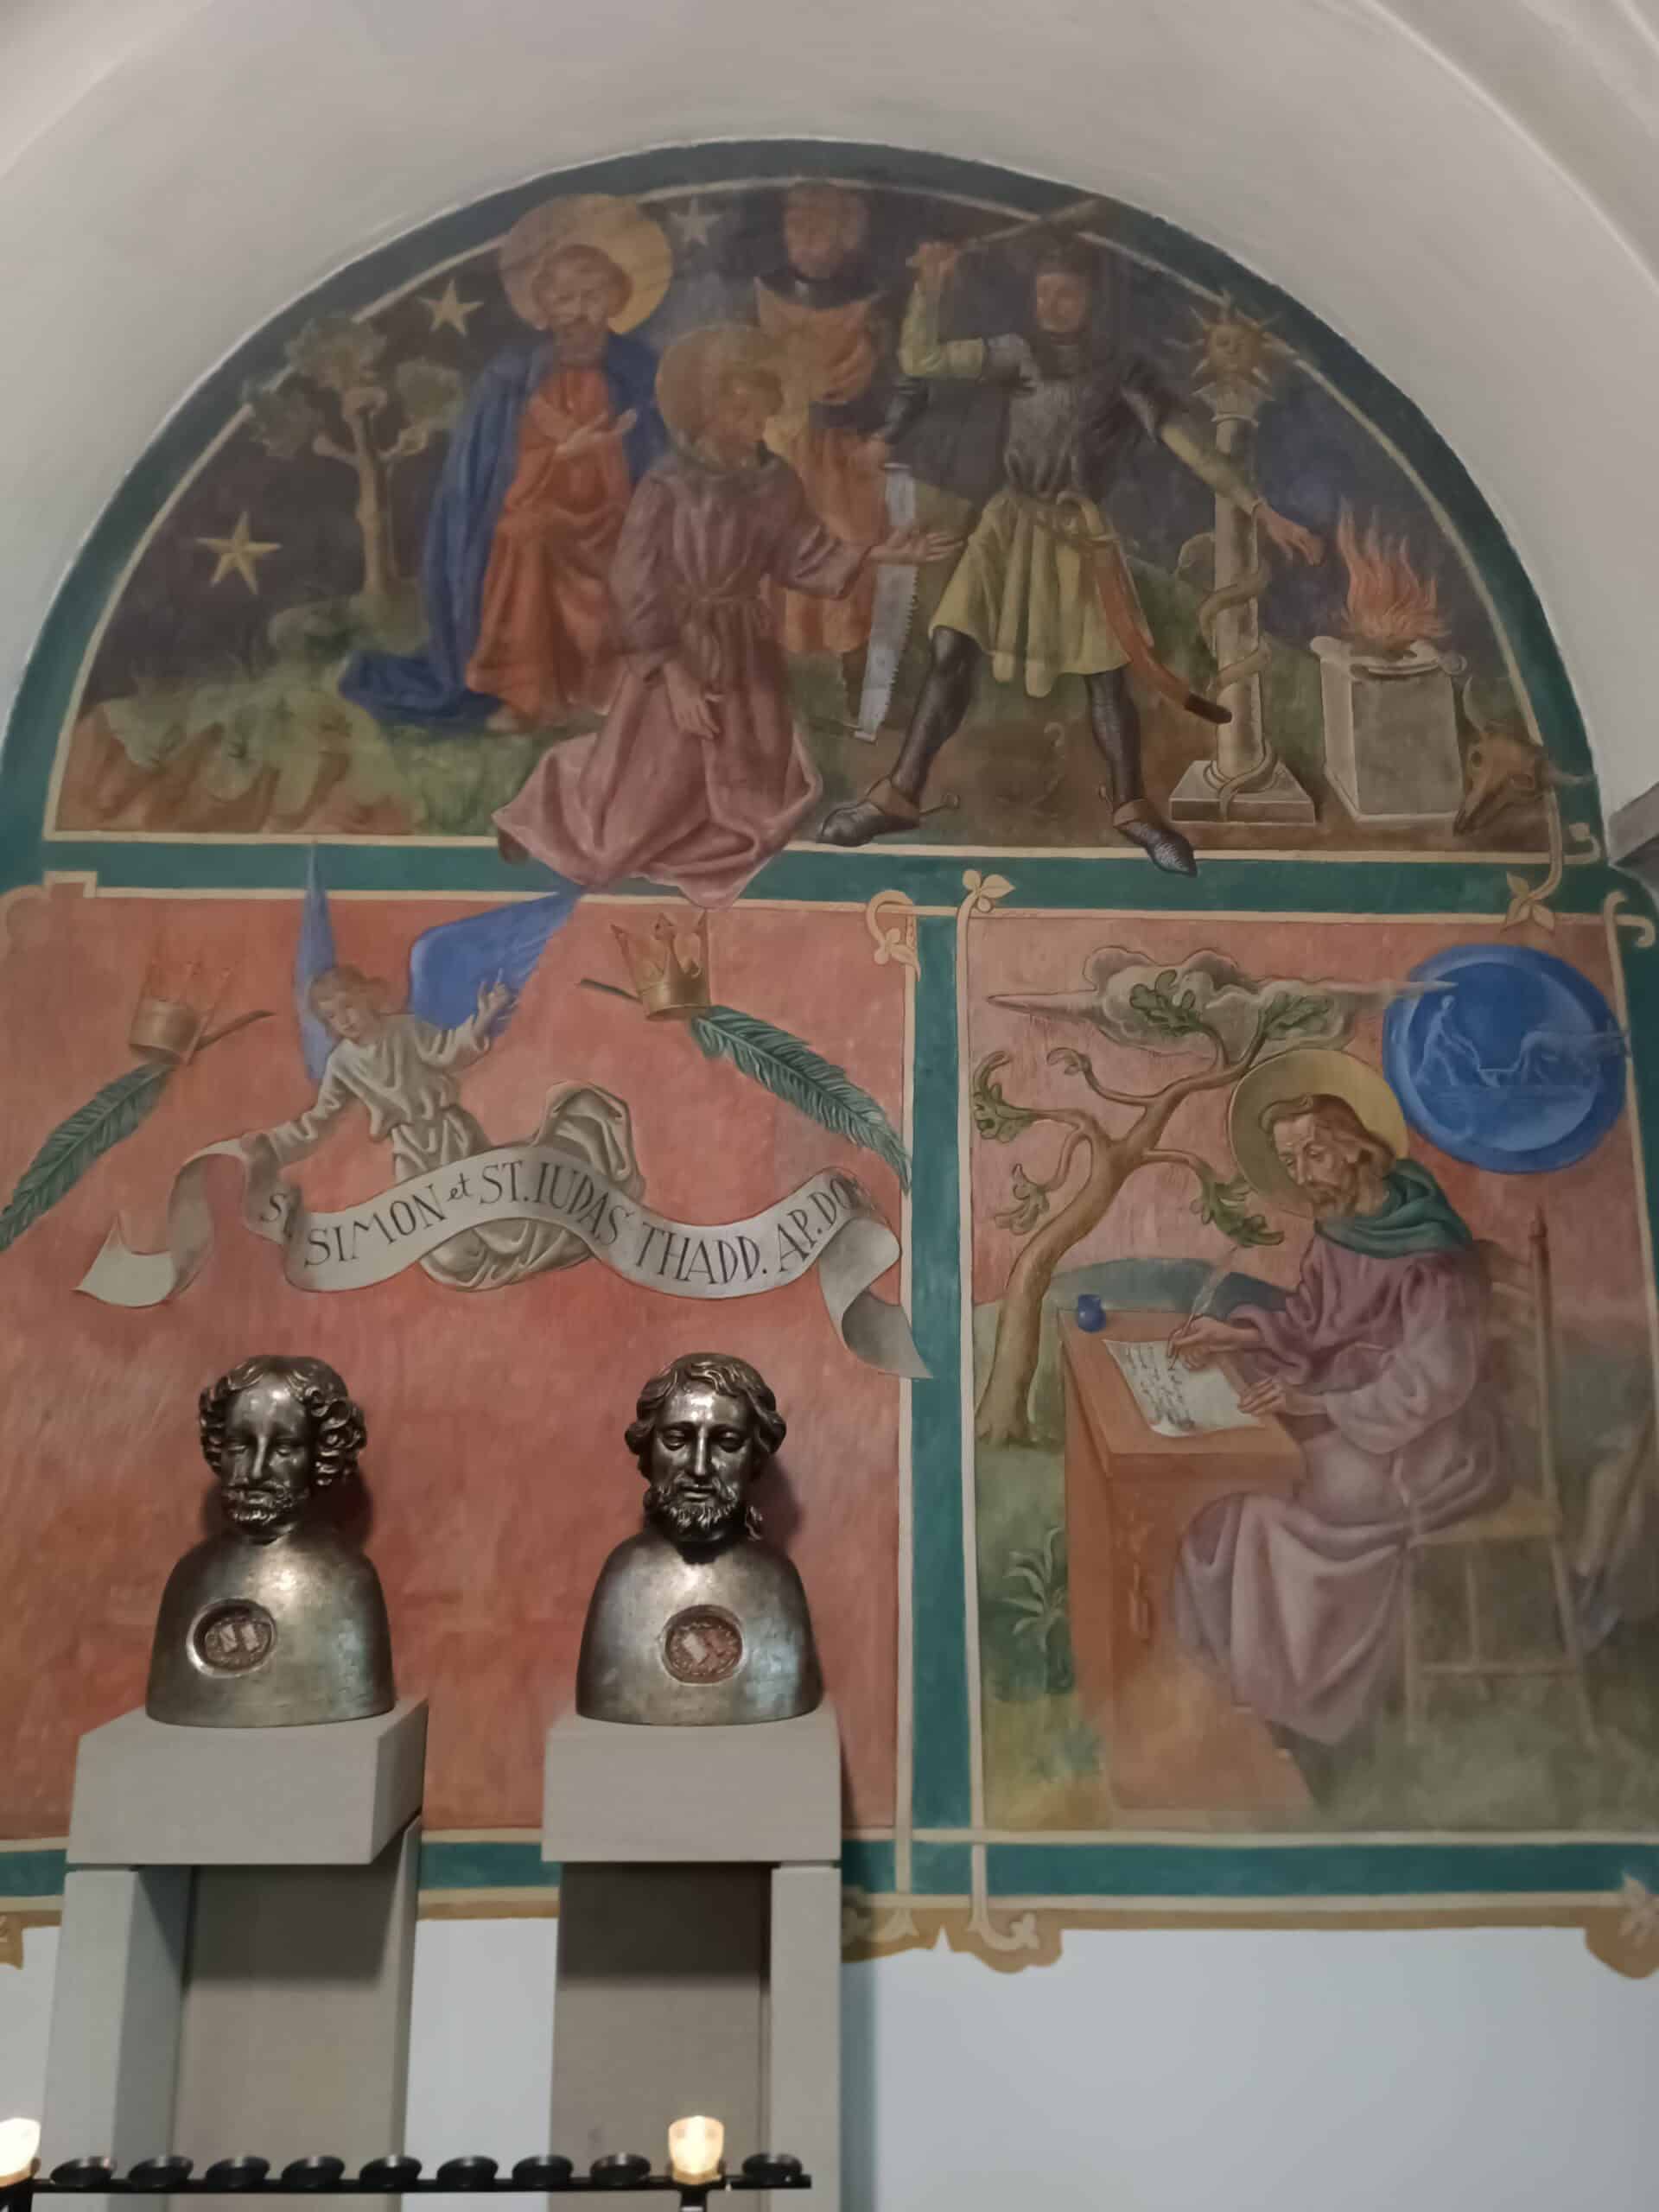
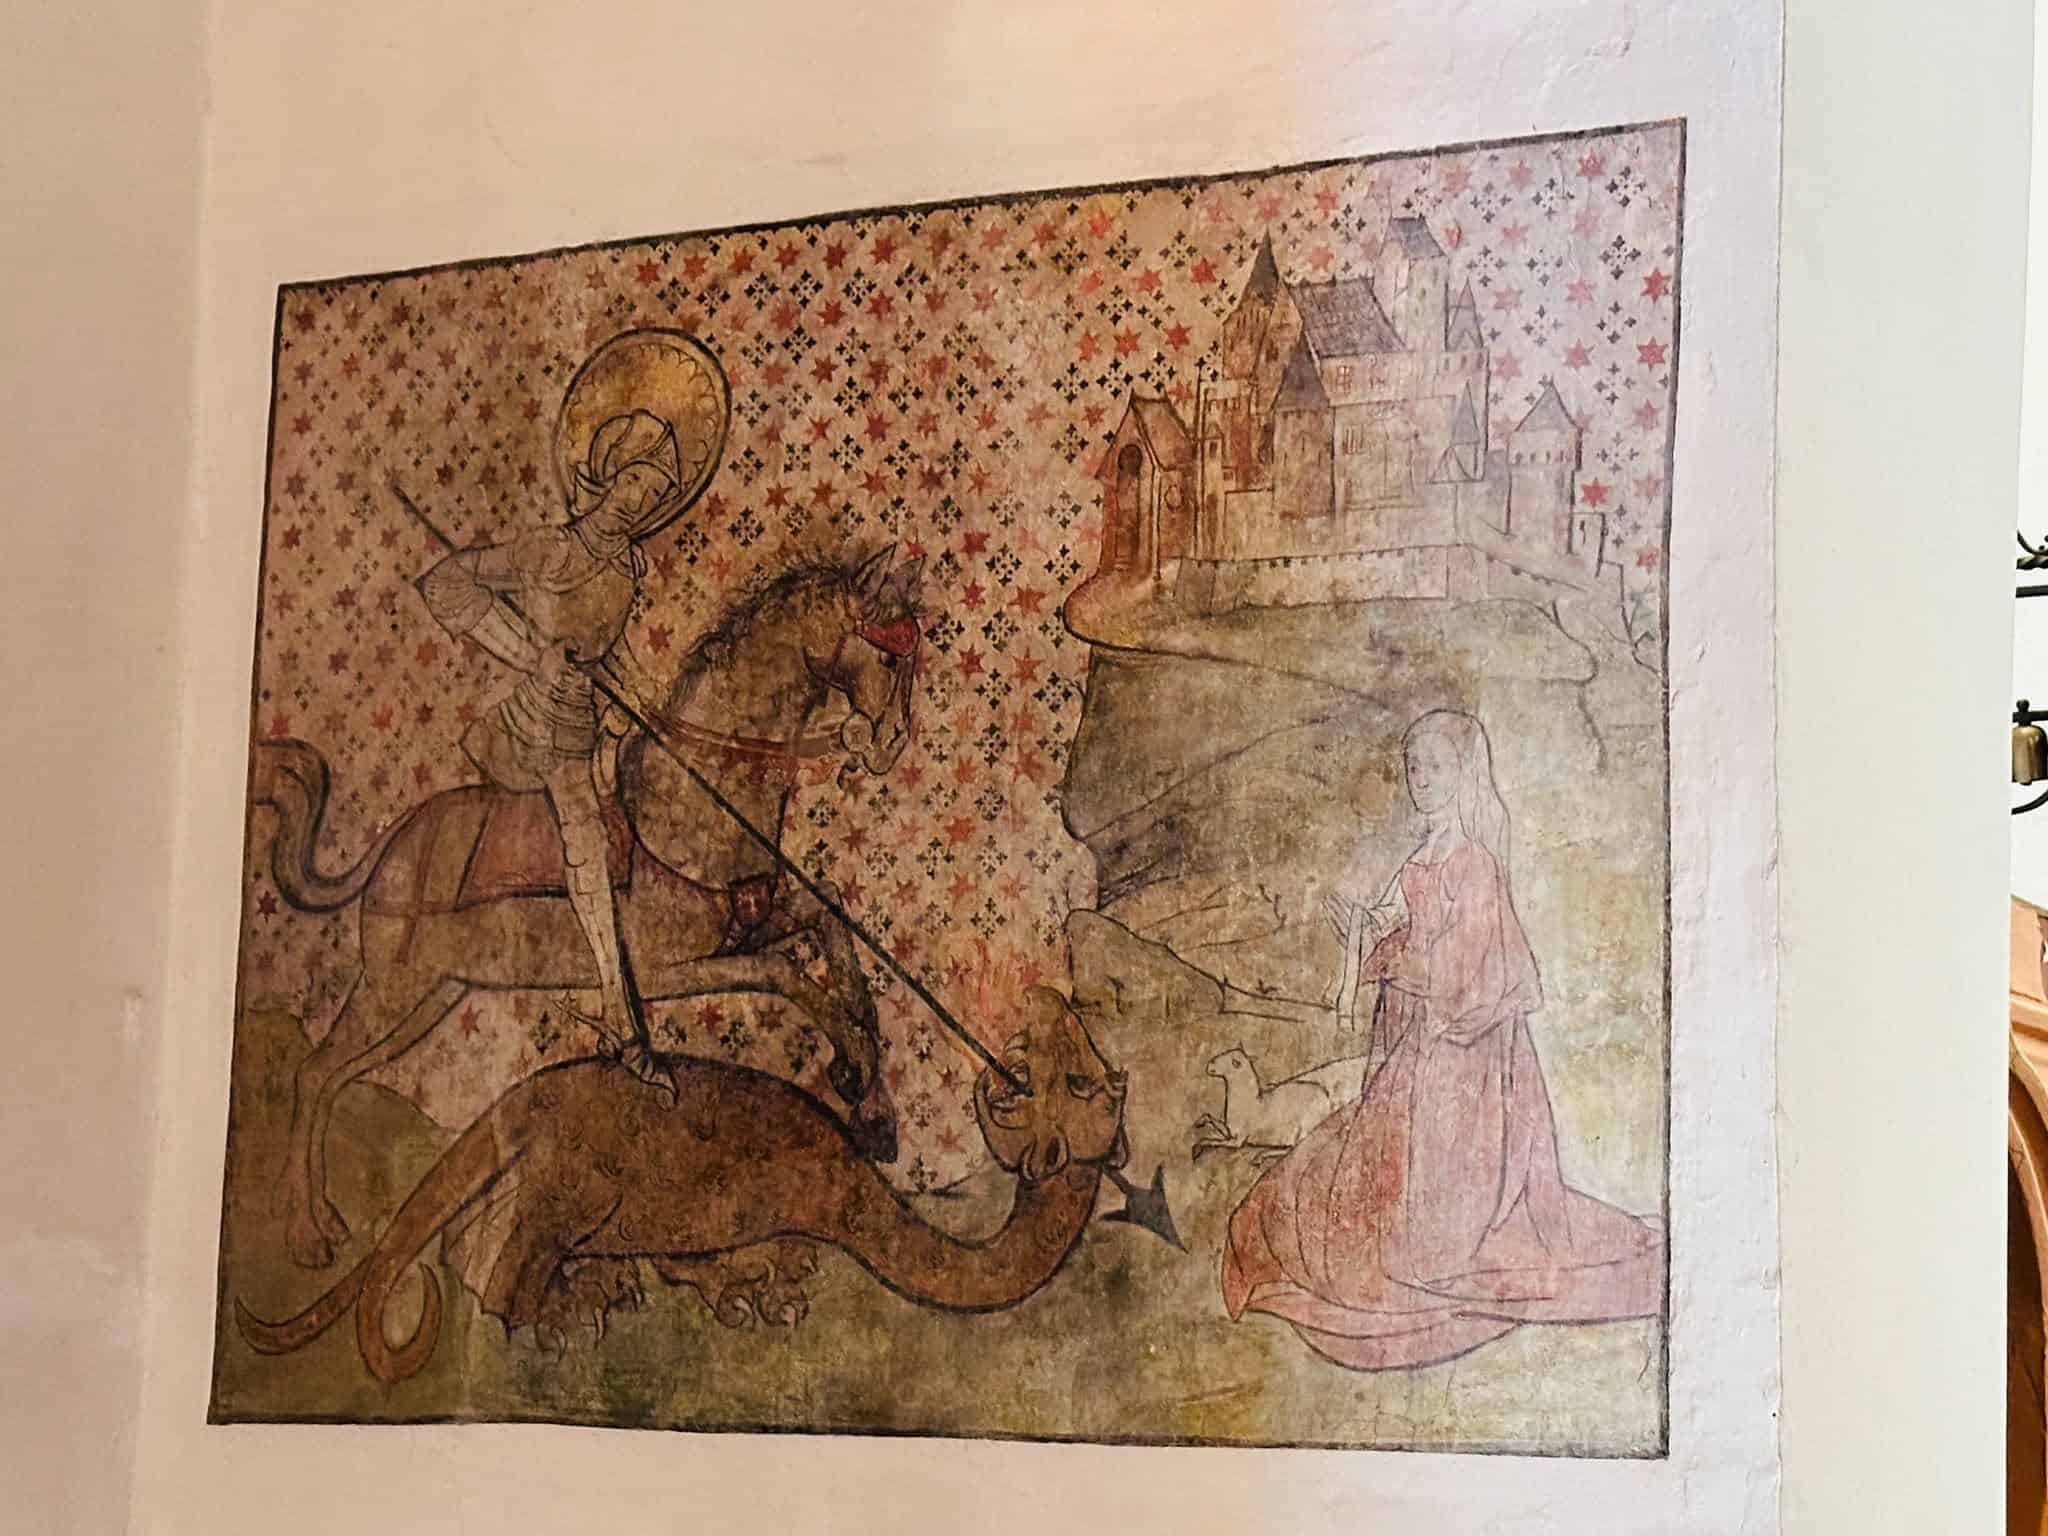
Heiligendarstellungen an der Kirchenwand – Schönau Rumbach · Protestantische Kirche Rumbach, fotografische Ansicht 1
Heiligendarstellungen an der KirchenwandSchönau Rumbach · Protestantische Kirche Rumbach · 14. JahrhundertFoto: The Camino HistoryZur Dokumentation →
Heiligendarstellungen an der Kirchenwand – Schönau Rumbach · Protestantische Kirche Rumbach, fotografische Ansicht 3
Heiligendarstellungen an der KirchenwandSchönau Rumbach · Protestantische Kirche Rumbach · 14. JahrhundertFoto: The Camino HistoryZur Dokumentation →
Heiligendarstellungen an der Kirchenwand – Schönau Rumbach · Protestantische Kirche Rumbach, fotografische Ansicht 5
Heiligendarstellungen an der KirchenwandSchönau Rumbach · Protestantische Kirche Rumbach · 14. JahrhundertFoto: The Camino HistoryZur Dokumentation →
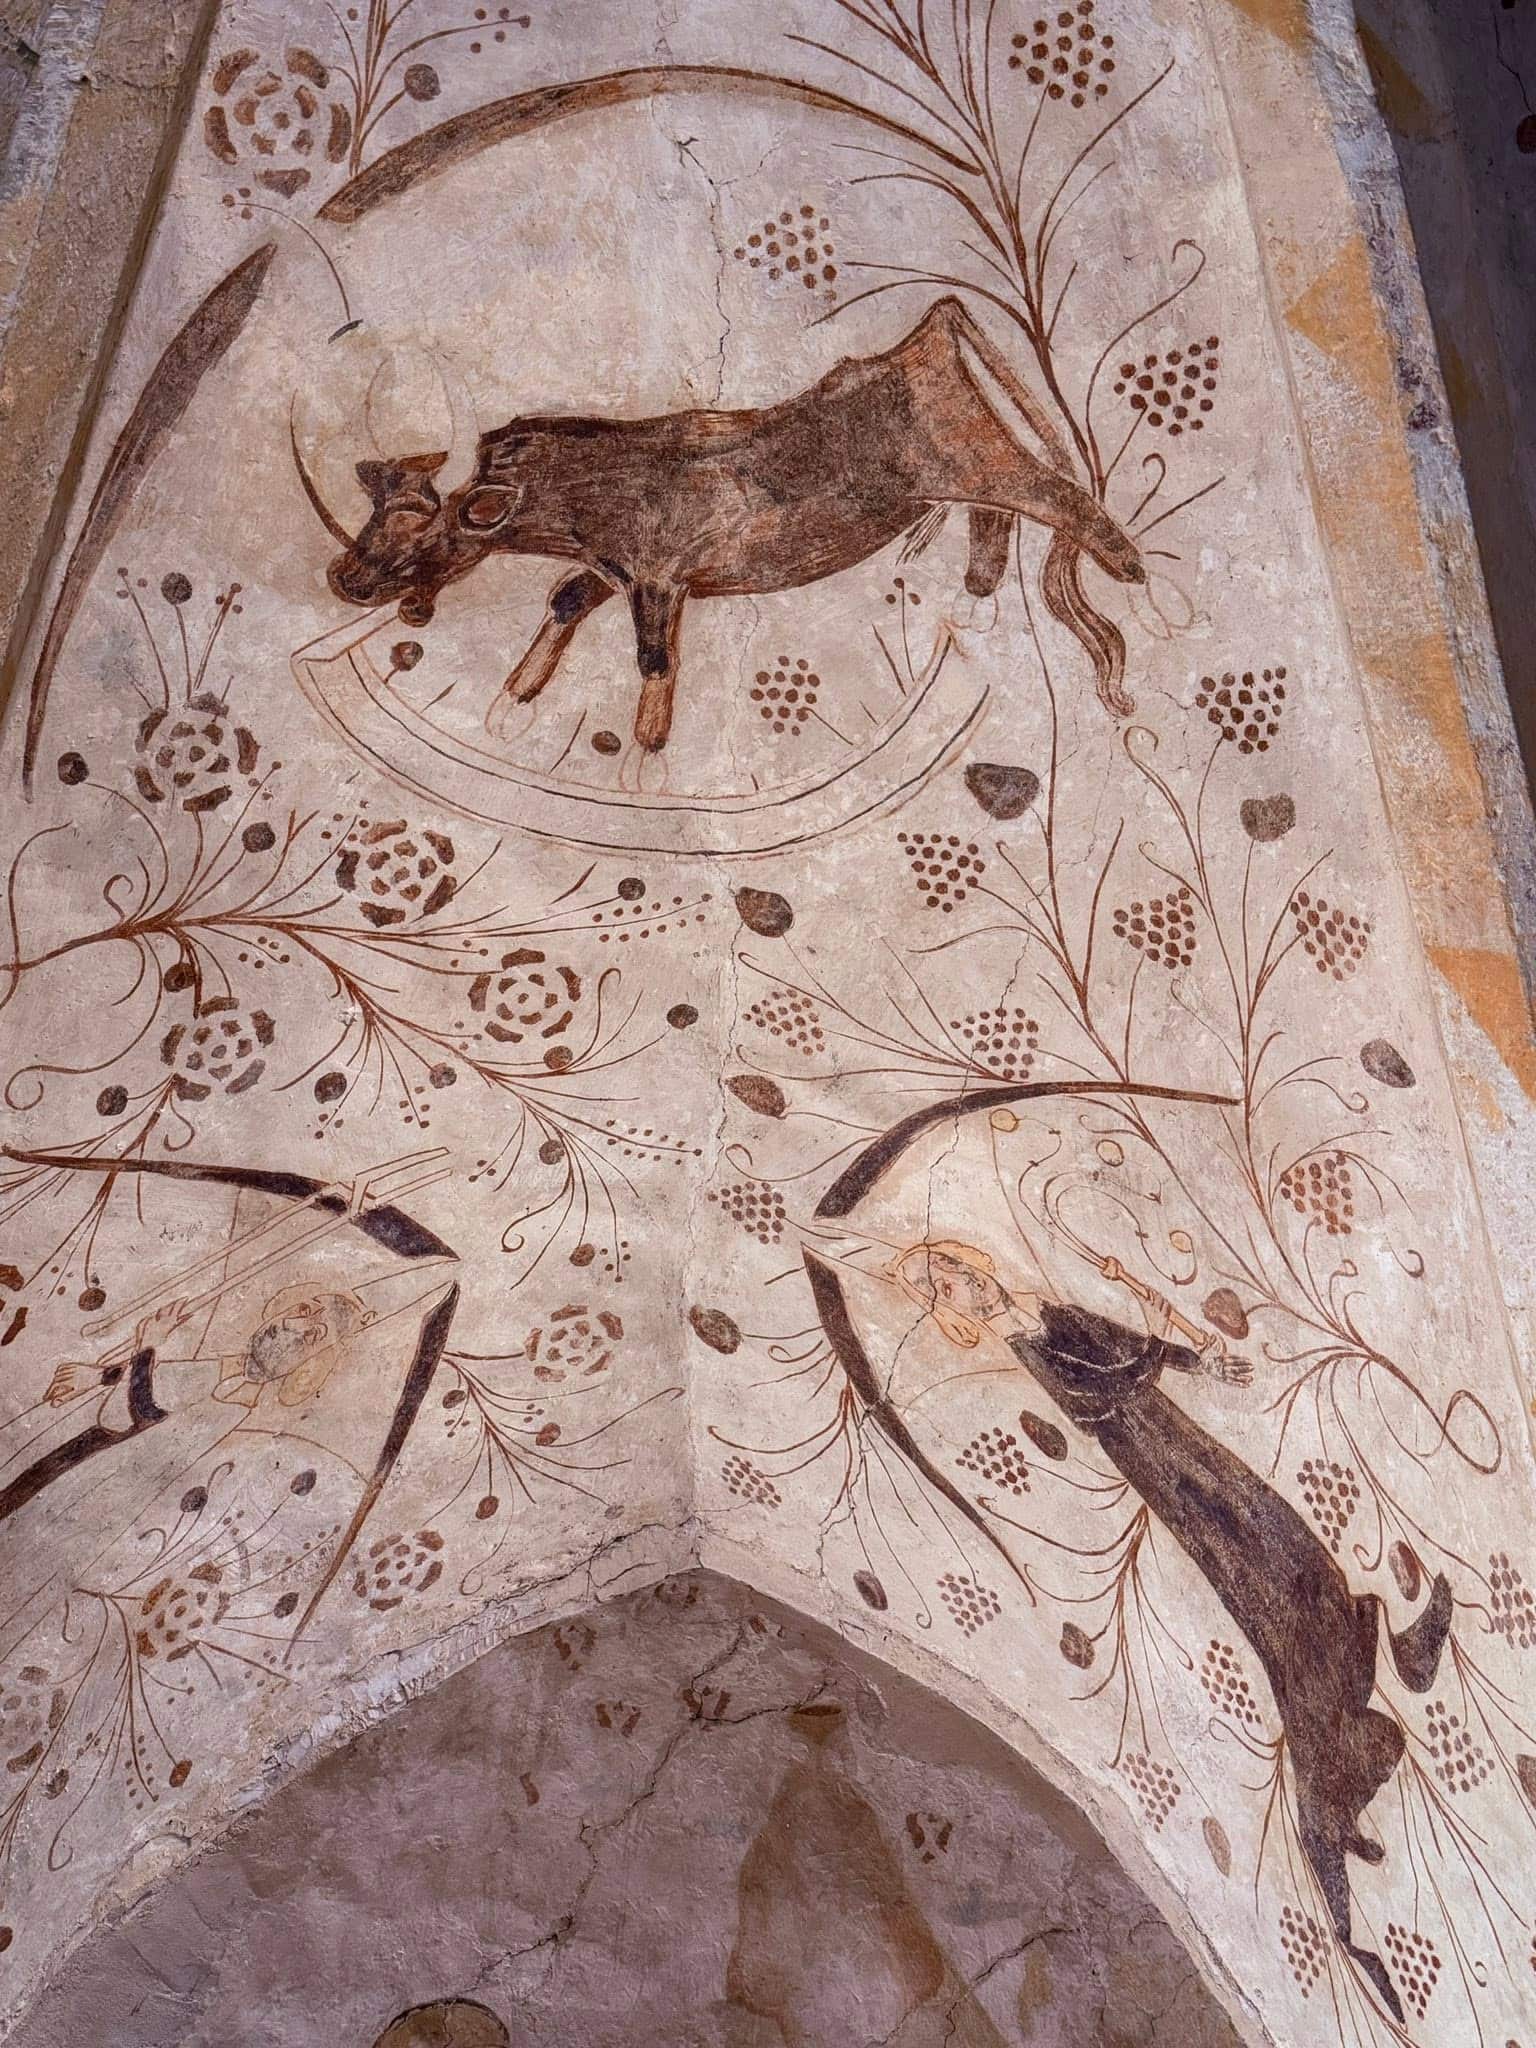
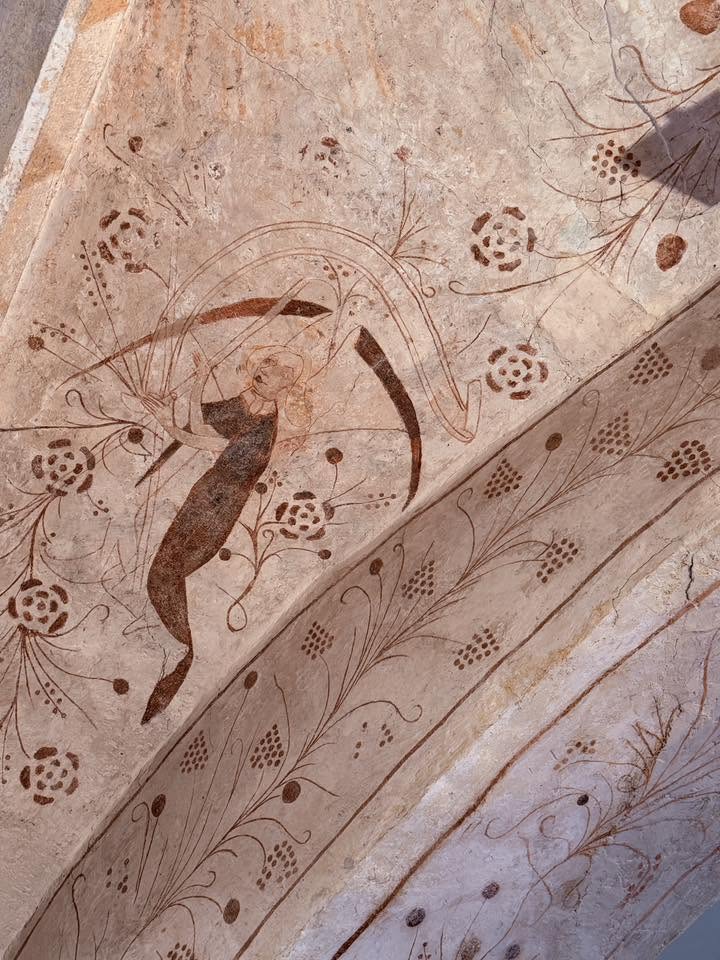
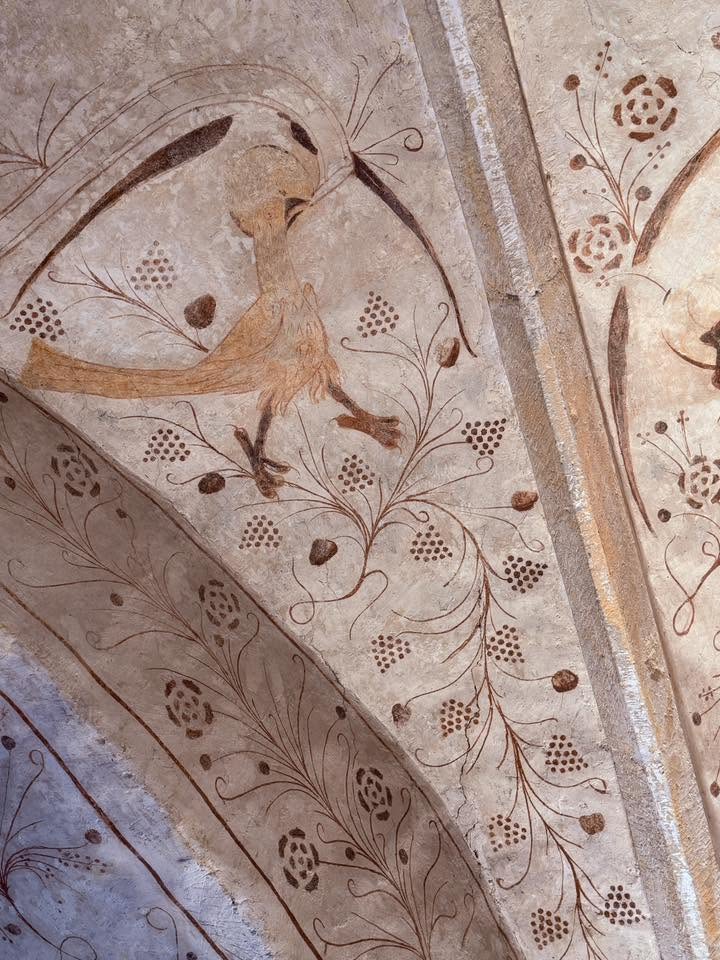
Figürliche Malereien an einer Wandvorlage – Schönau Rumbach · Protestantische Kirche Rumbach, fotografische Ansicht 1
Figürliche Malereien an einer WandvorlageSchönau Rumbach · Protestantische Kirche Rumbach · 14. JahrhundertFoto: The Camino HistoryZur Dokumentation →
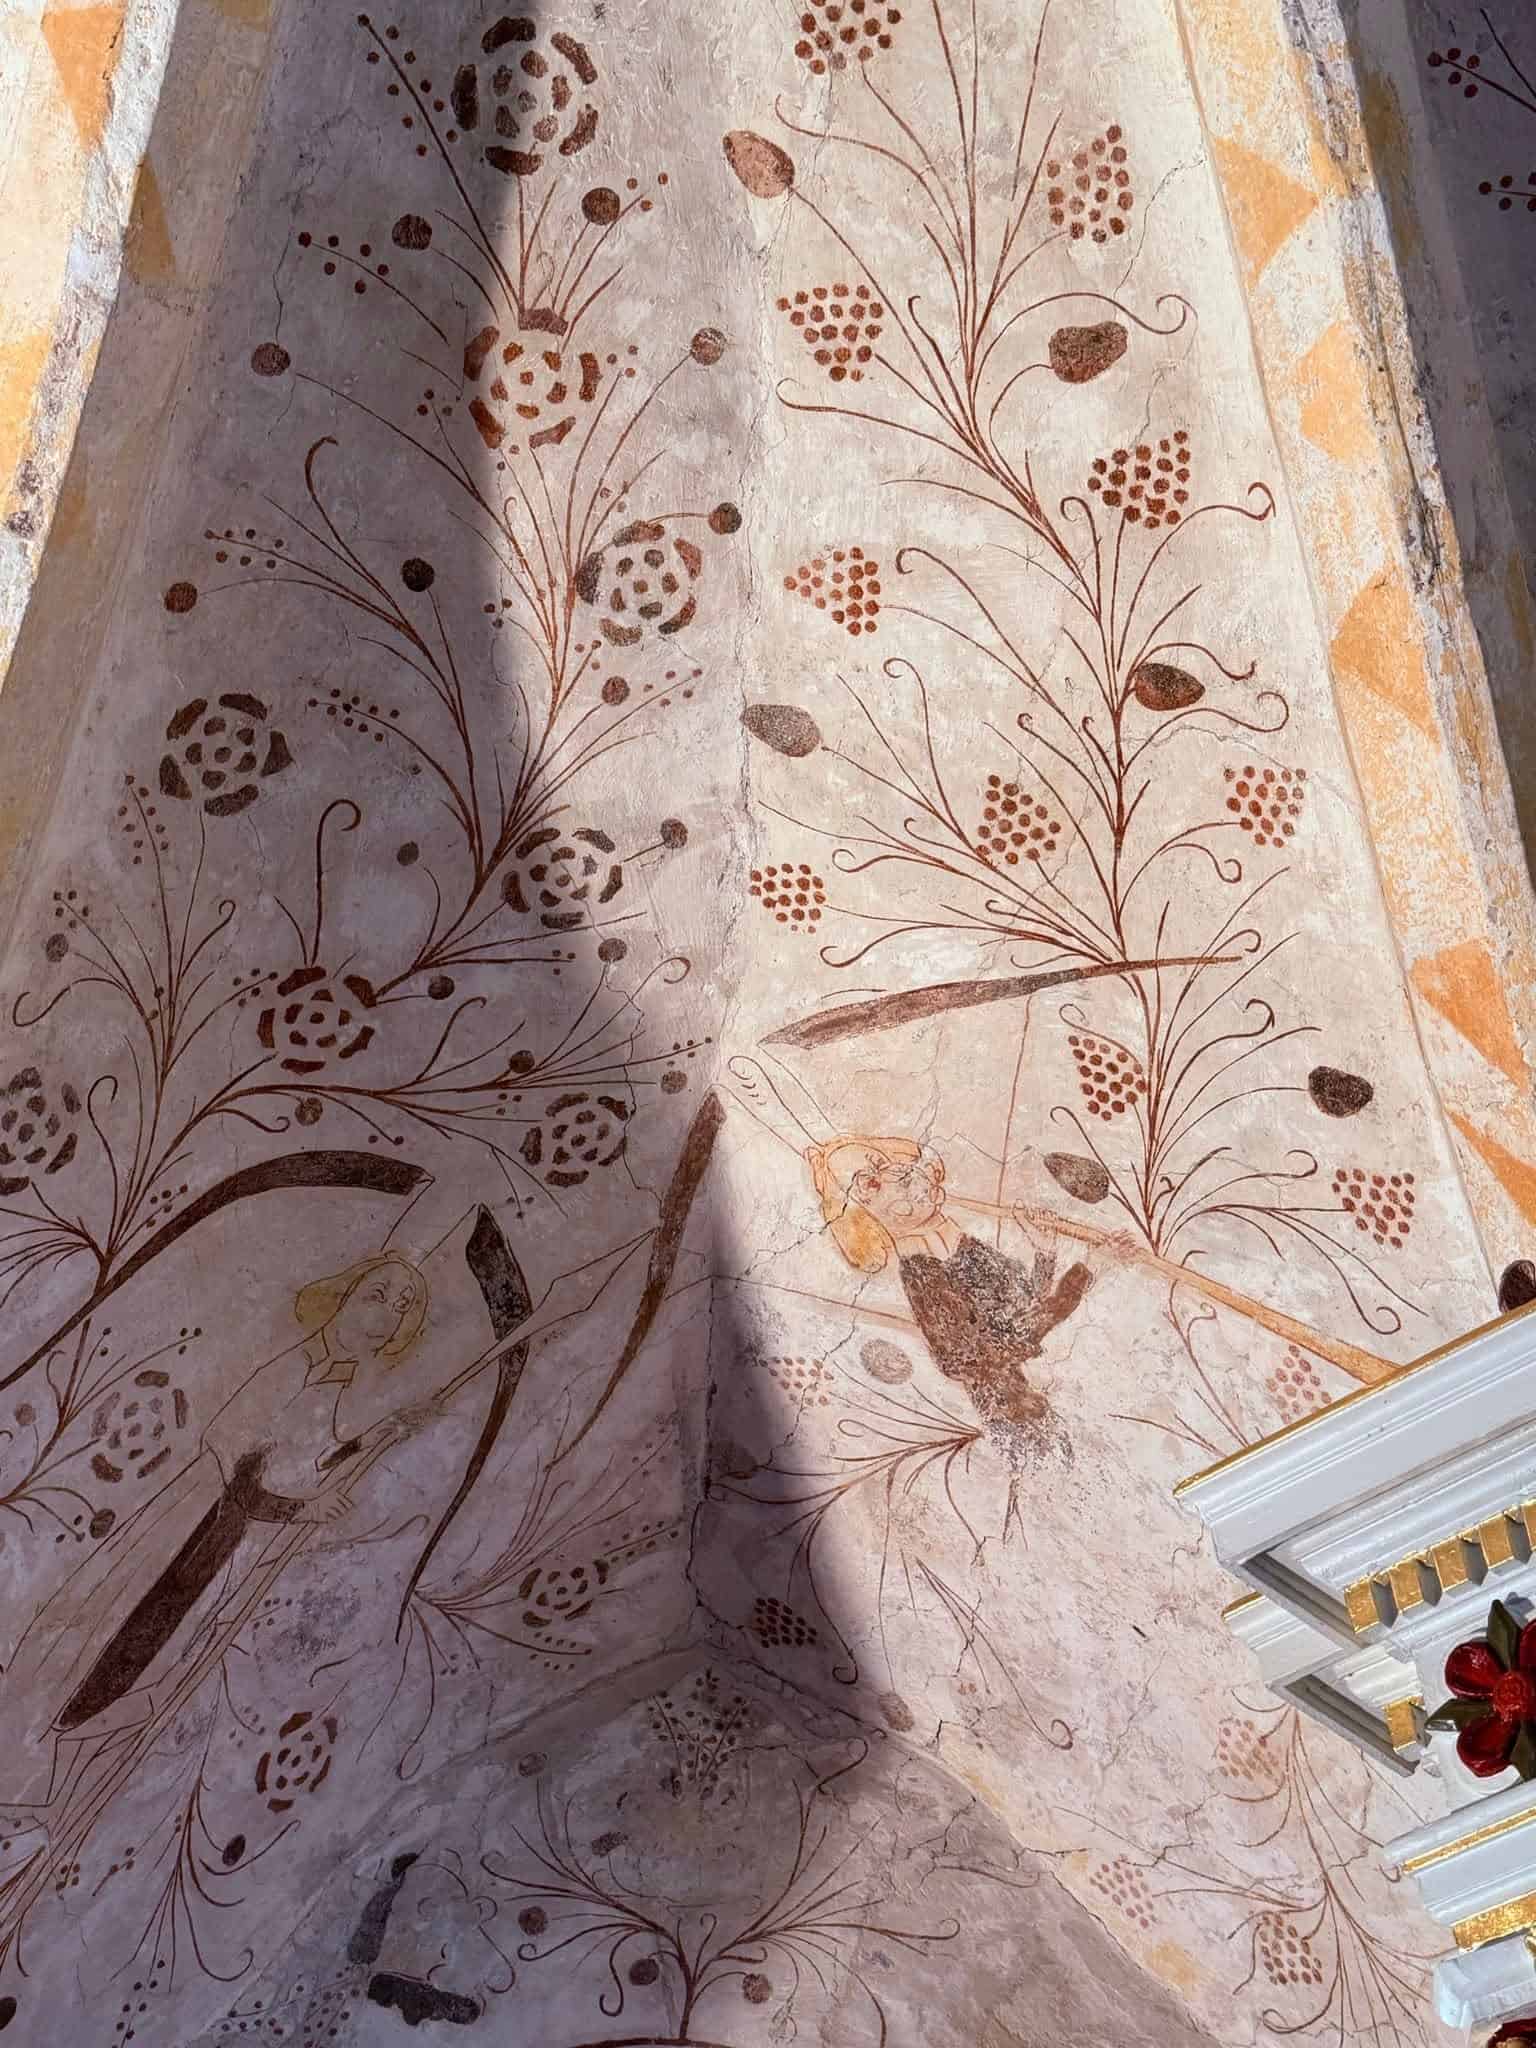
Figürliche Malereien an einer Wandvorlage – Schönau Rumbach · Protestantische Kirche Rumbach, fotografische Ansicht 2
Figürliche Malereien an einer WandvorlageSchönau Rumbach · Protestantische Kirche Rumbach · 14. JahrhundertFoto: The Camino HistoryZur Dokumentation →
Figürliche Malereien an einer Wandvorlage – Schönau Rumbach · Protestantische Kirche Rumbach, fotografische Ansicht 3
Figürliche Malereien an einer WandvorlageSchönau Rumbach · Protestantische Kirche Rumbach · 14. JahrhundertFoto: The Camino HistoryZur Dokumentation →
Figürliche Malereien an einer Wandvorlage – Schönau Rumbach · Protestantische Kirche Rumbach, fotografische Ansicht 4
Figürliche Malereien an einer WandvorlageSchönau Rumbach · Protestantische Kirche Rumbach · 14. JahrhundertFoto: The Camino HistoryZur Dokumentation →
Figürliche Malereien an einer Wandvorlage – Schönau Rumbach · Protestantische Kirche Rumbach, fotografische Ansicht 5
Figürliche Malereien an einer WandvorlageSchönau Rumbach · Protestantische Kirche Rumbach · 14. JahrhundertFoto: The Camino HistoryZur Dokumentation →
Heiligendarstellungen an der Kirchenwand – Schönau Rumbach · Protestantische Kirche Rumbach, fotografische Ansicht 2
Heiligendarstellungen an der KirchenwandSchönau Rumbach · Protestantische Kirche Rumbach · 14. JahrhundertFoto: The Camino HistoryZur Dokumentation →
Heiligendarstellungen an der Kirchenwand – Schönau Rumbach · Protestantische Kirche Rumbach, fotografische Ansicht 4
Heiligendarstellungen an der KirchenwandSchönau Rumbach · Protestantische Kirche Rumbach · 14. JahrhundertFoto: The Camino HistoryZur Dokumentation →
Heiligendarstellungen an der Kirchenwand – Schönau Rumbach · Protestantische Kirche Rumbach, fotografische Ansicht 6
Heiligendarstellungen an der KirchenwandSchönau Rumbach · Protestantische Kirche Rumbach · 14. JahrhundertFoto: The Camino HistoryZur Dokumentation →
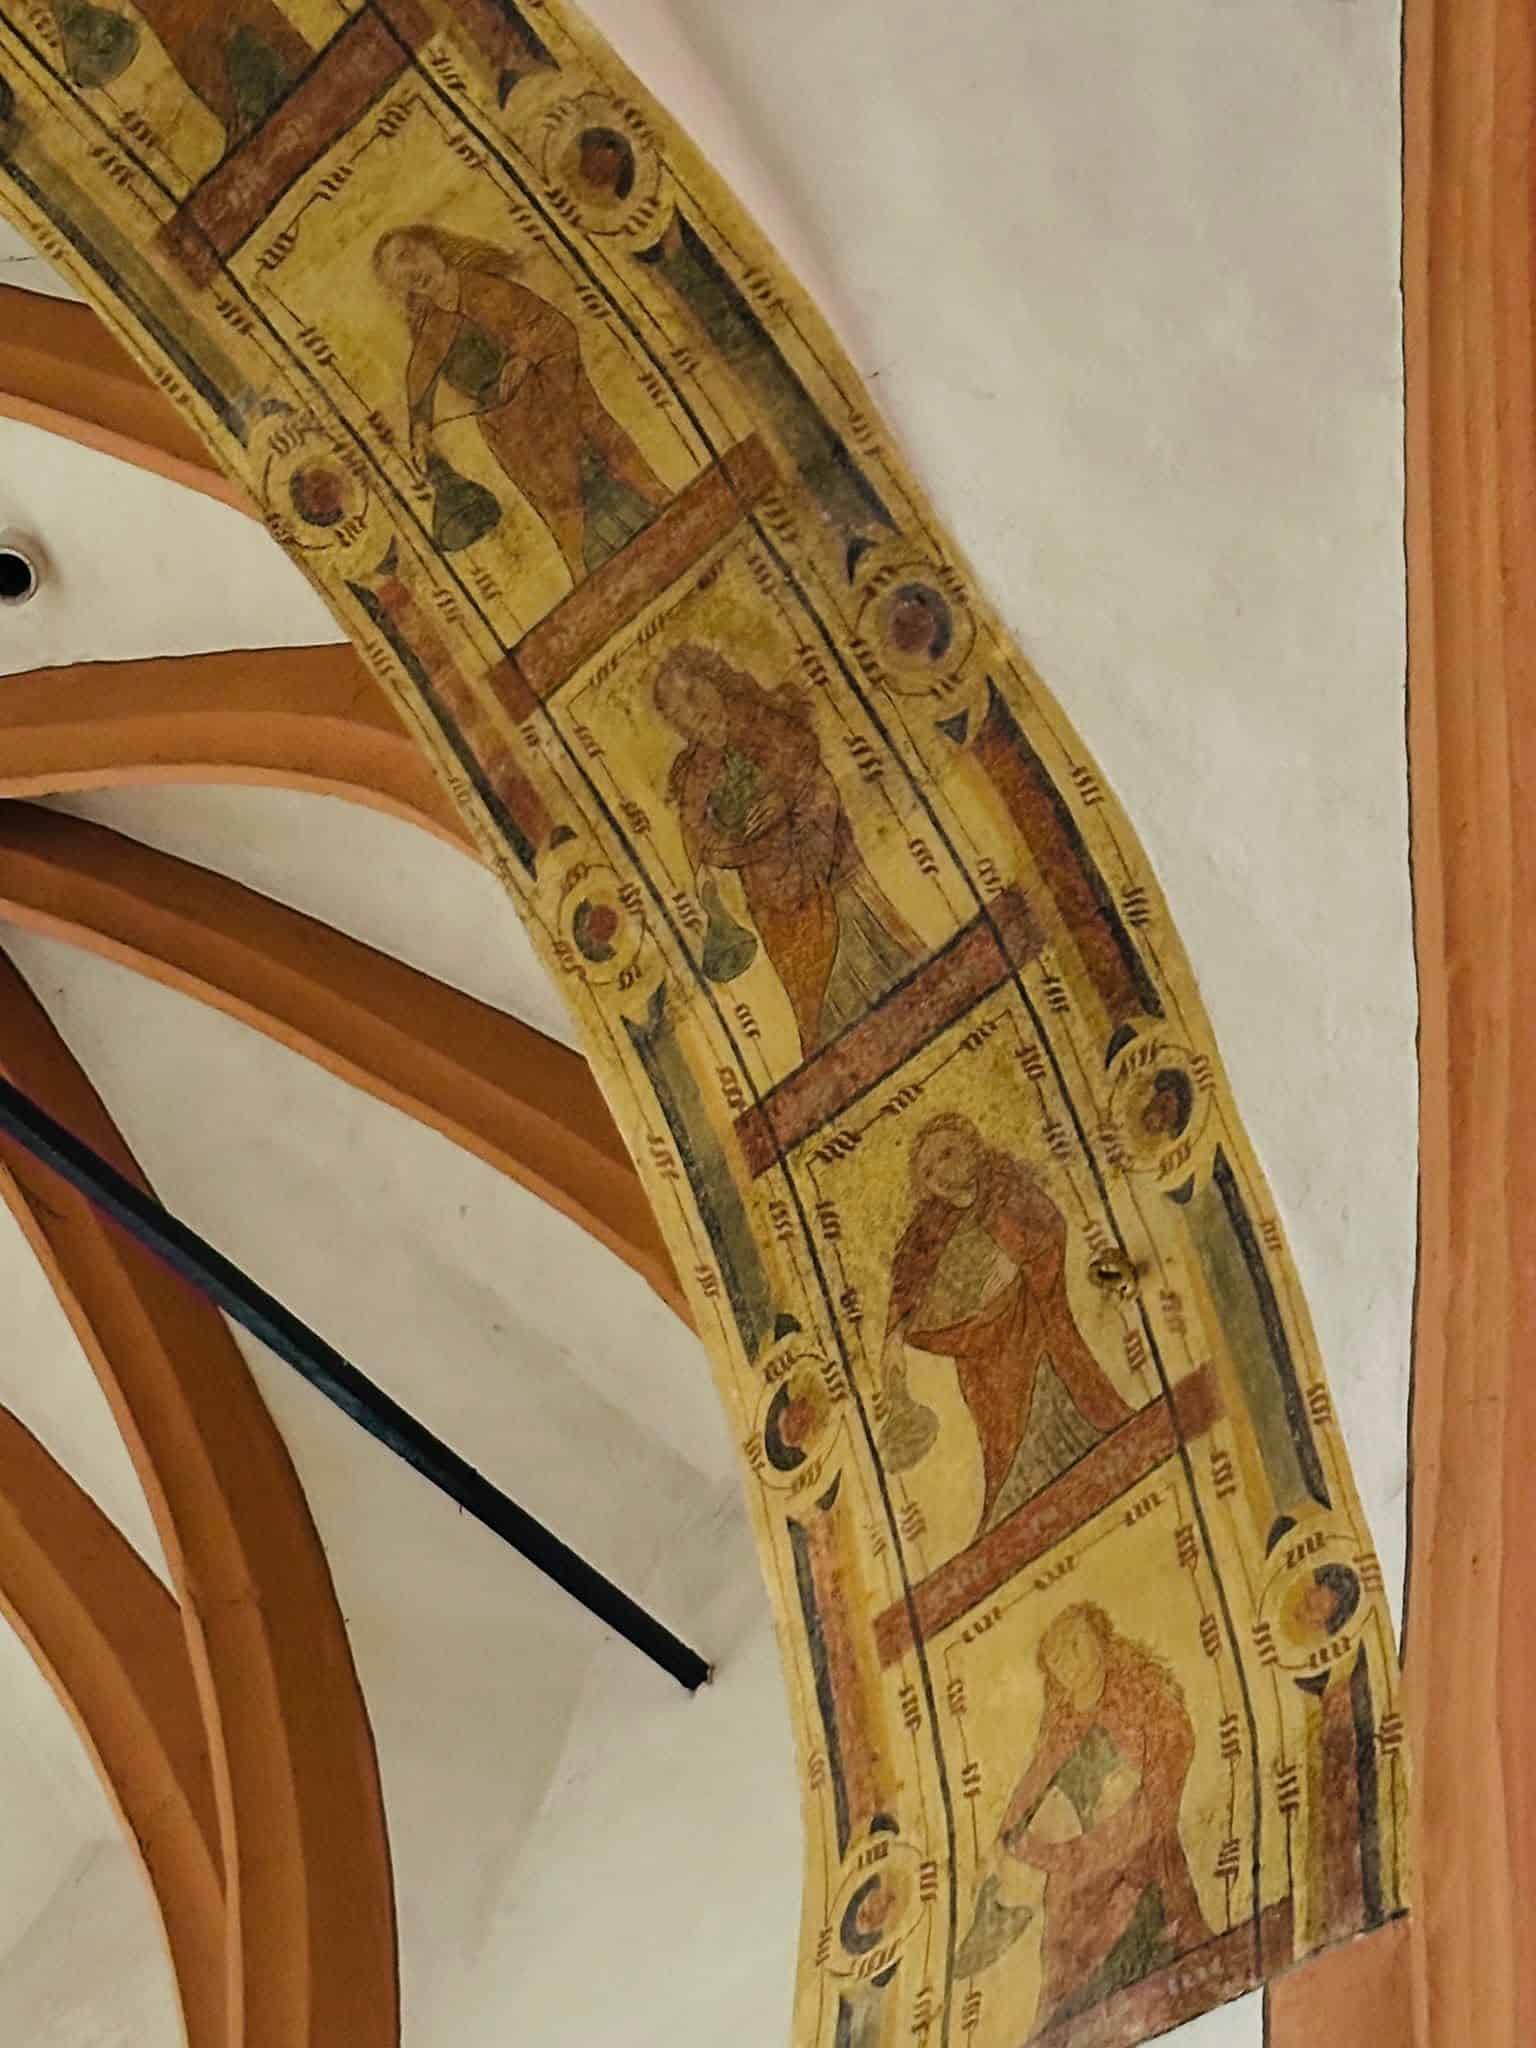
Historischer Wandfries mit Figuren – Schönau Rumbach · Protestantische Kirche Rumbach, fotografische Ansicht 1
Historischer Wandfries mit FigurenSchönau Rumbach · Protestantische Kirche Rumbach · 14. JahrhundertFoto: The Camino HistoryZur Dokumentation →
Historischer Wandfries mit Figuren – Schönau Rumbach · Protestantische Kirche Rumbach, fotografische Ansicht 2
Historischer Wandfries mit FigurenSchönau Rumbach · Protestantische Kirche Rumbach · 14. JahrhundertFoto: The Camino HistoryZur Dokumentation →
Historischer Wandfries mit Figuren – Schönau Rumbach · Protestantische Kirche Rumbach, fotografische Ansicht 3
Historischer Wandfries mit FigurenSchönau Rumbach · Protestantische Kirche Rumbach · 14. JahrhundertFoto: The Camino HistoryZur Dokumentation →
Historischer Wandfries mit Figuren – Schönau Rumbach · Protestantische Kirche Rumbach, fotografische Ansicht 4
Historischer Wandfries mit FigurenSchönau Rumbach · Protestantische Kirche Rumbach · 14. JahrhundertFoto: The Camino HistoryZur Dokumentation →
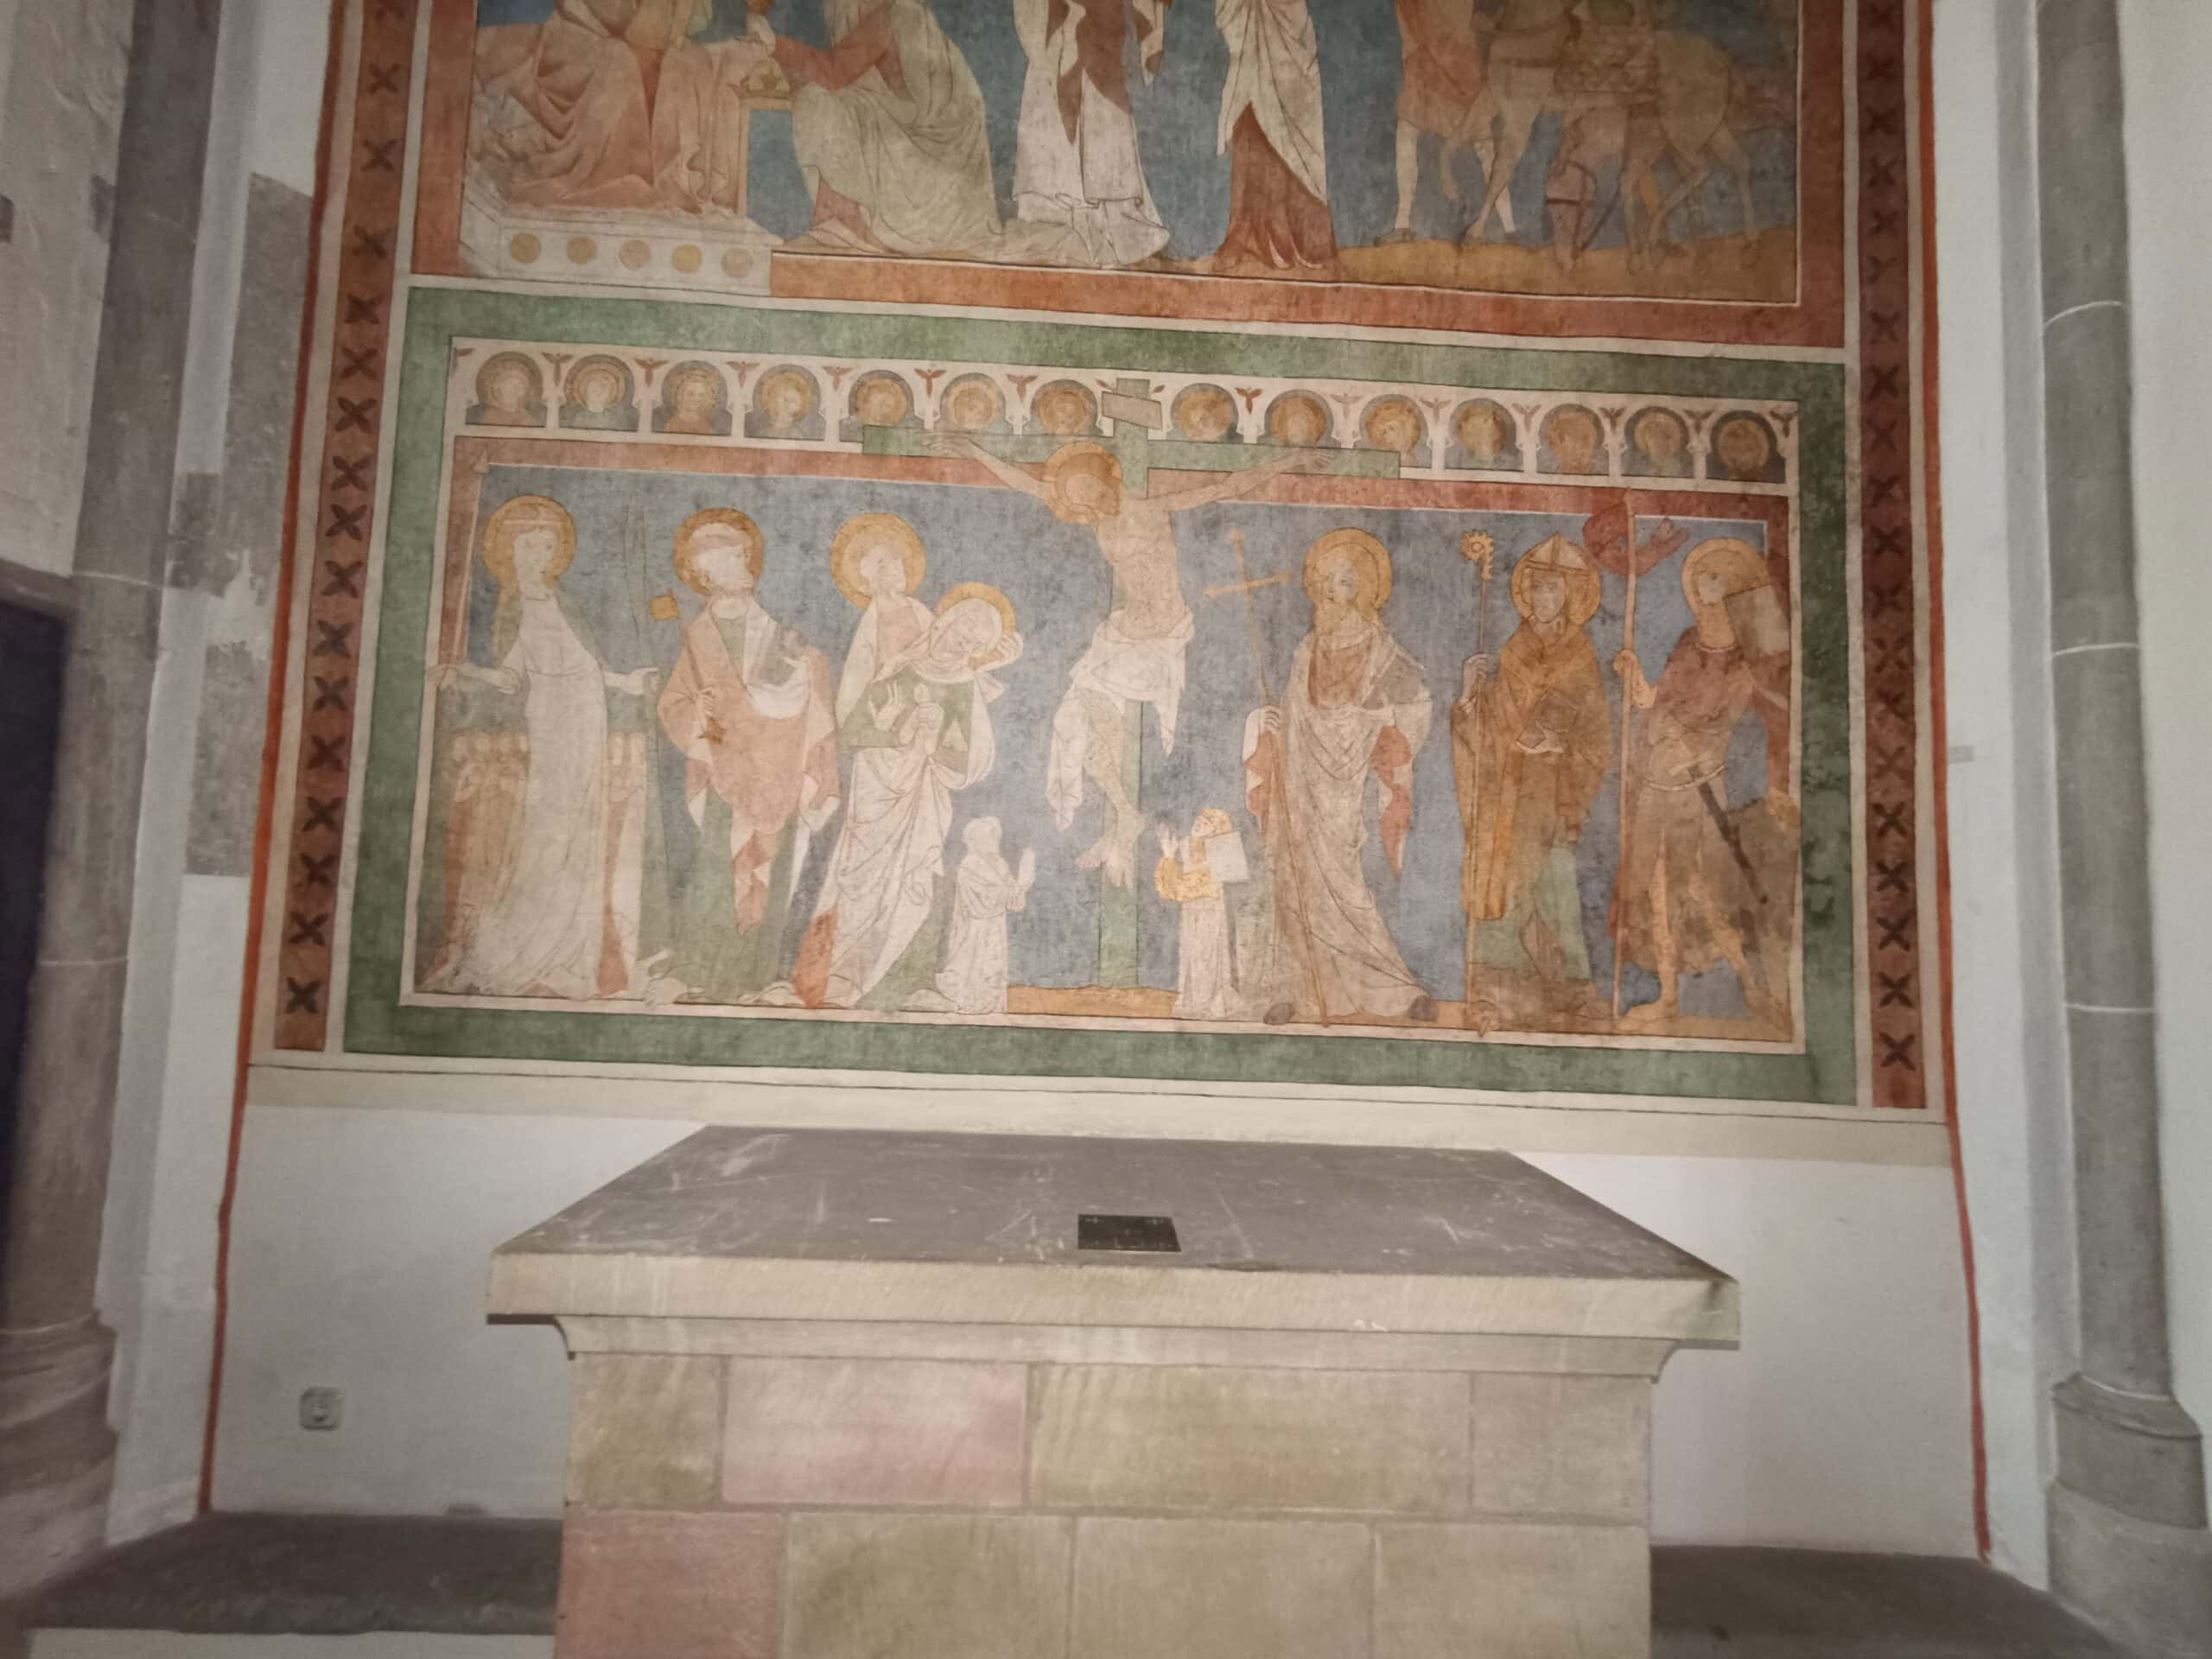
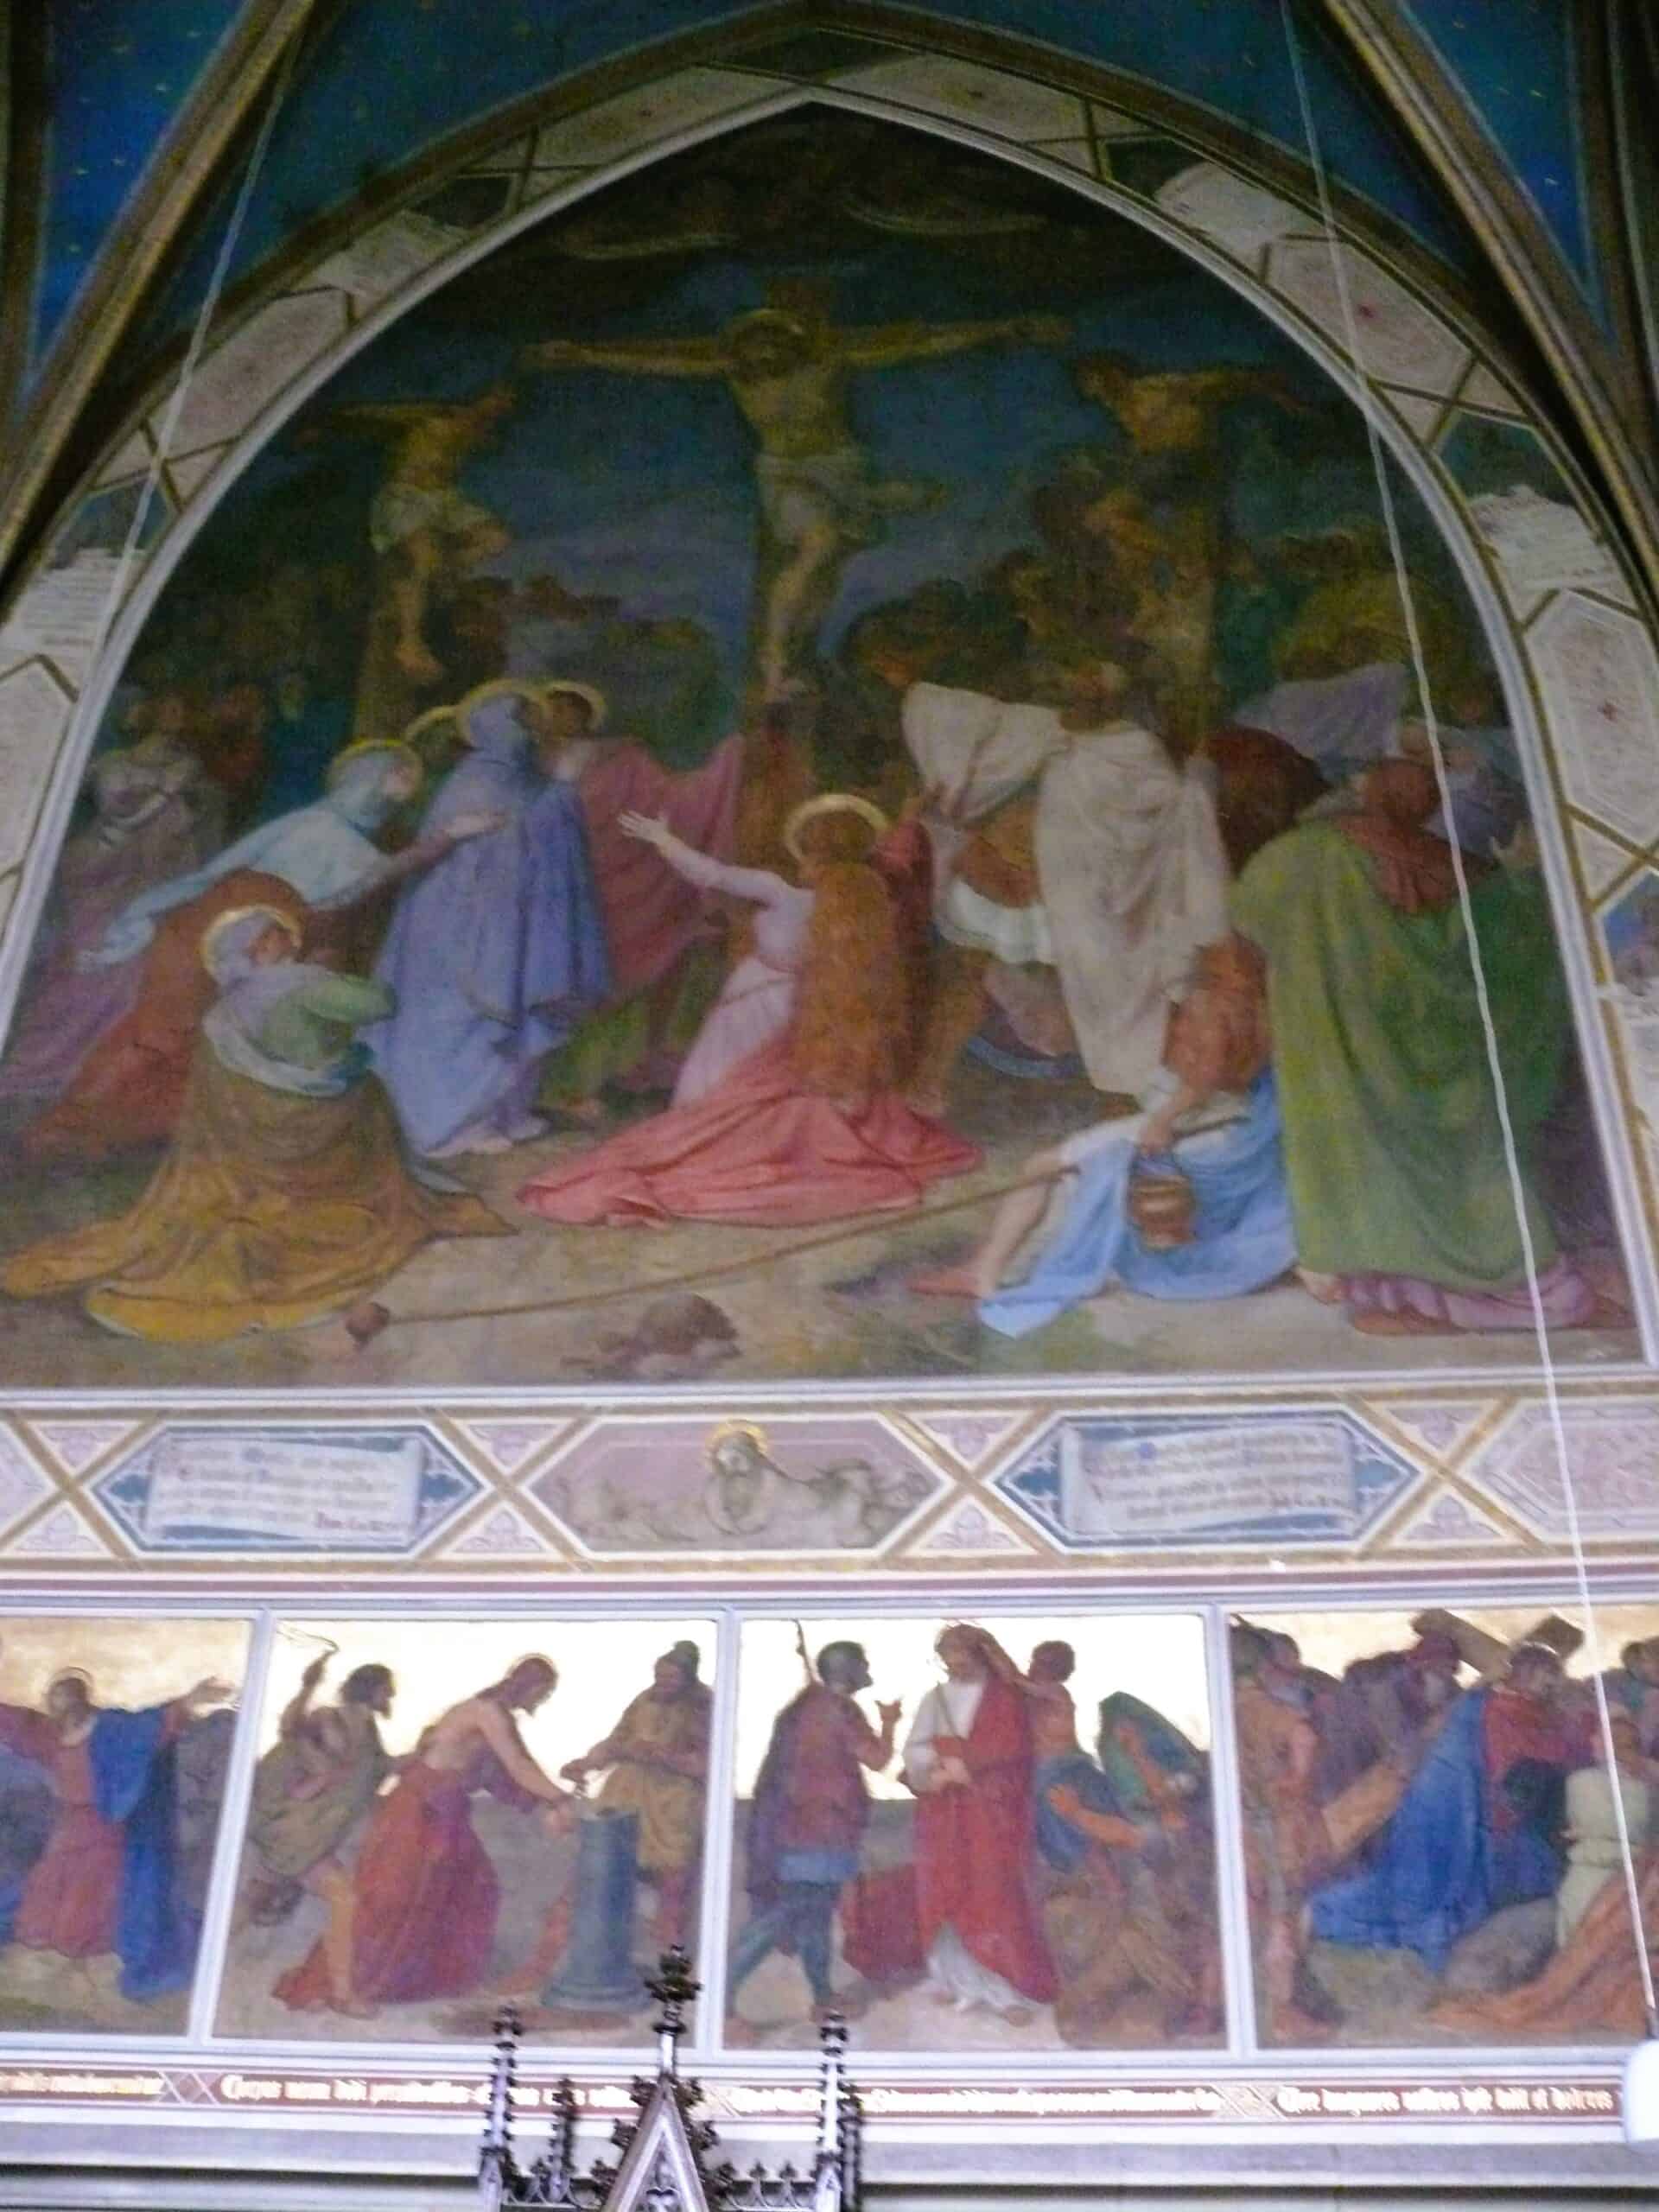
Kreuzigungsdarstellung und weitere Wandbilder – Schönau Rumbach · Protestantische Kirche Rumbach, fotografische Ansicht 1
Kreuzigungsdarstellung und weitere WandbilderSchönau Rumbach · Protestantische Kirche Rumbach · 14. JahrhundertFoto: The Camino HistoryZur Dokumentation →
Kreuzigungsdarstellung und weitere Wandbilder – Schönau Rumbach · Protestantische Kirche Rumbach, fotografische Ansicht 2
Kreuzigungsdarstellung und weitere WandbilderSchönau Rumbach · Protestantische Kirche Rumbach · 14. JahrhundertFoto: The Camino HistoryZur Dokumentation →
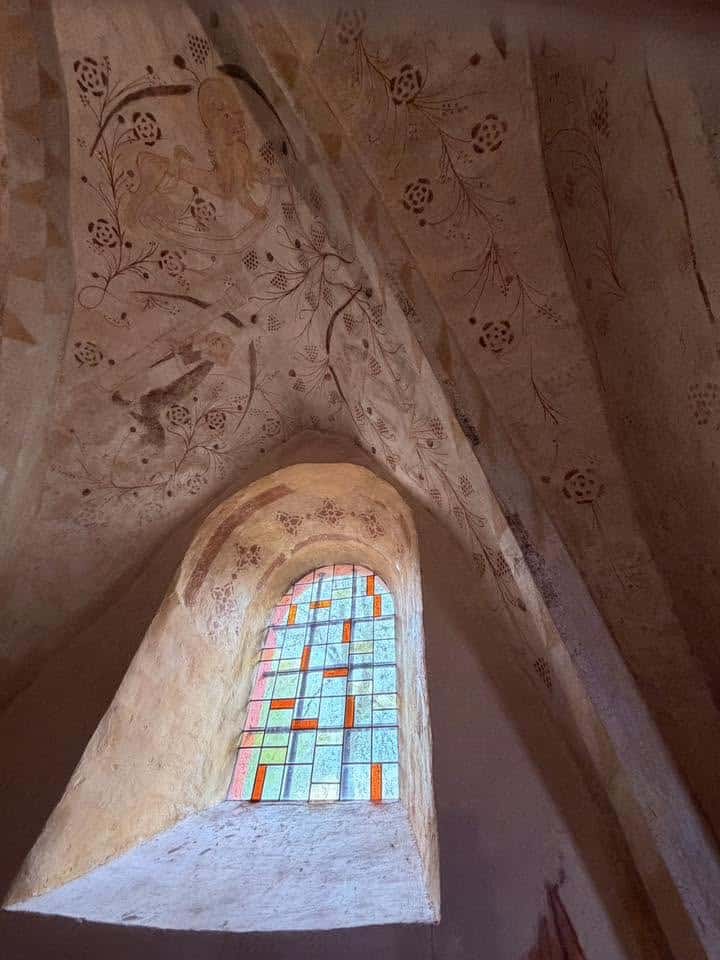
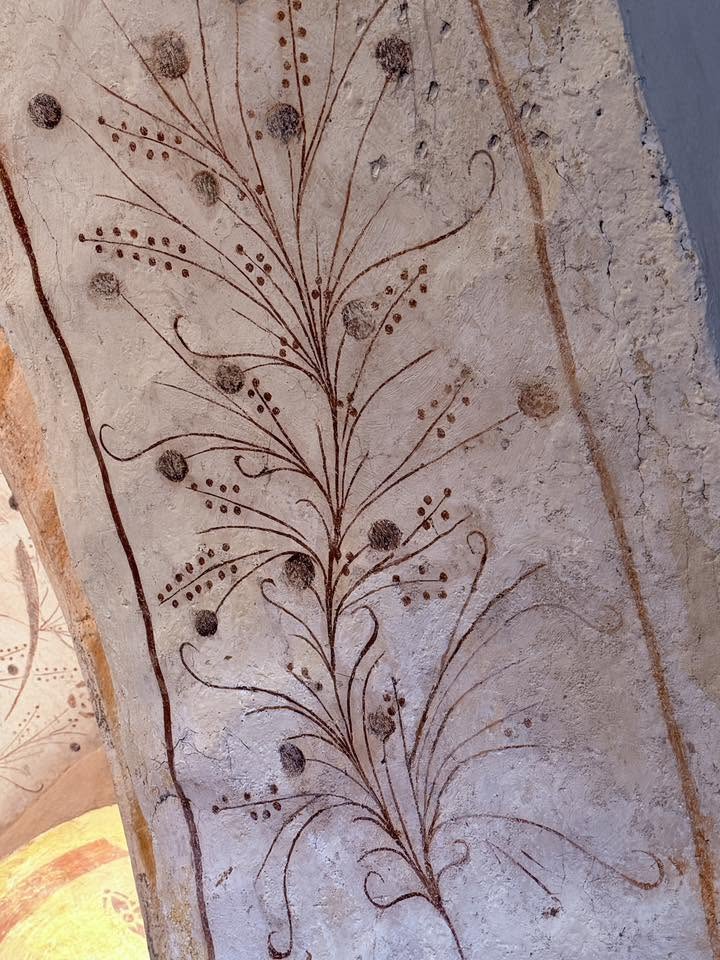
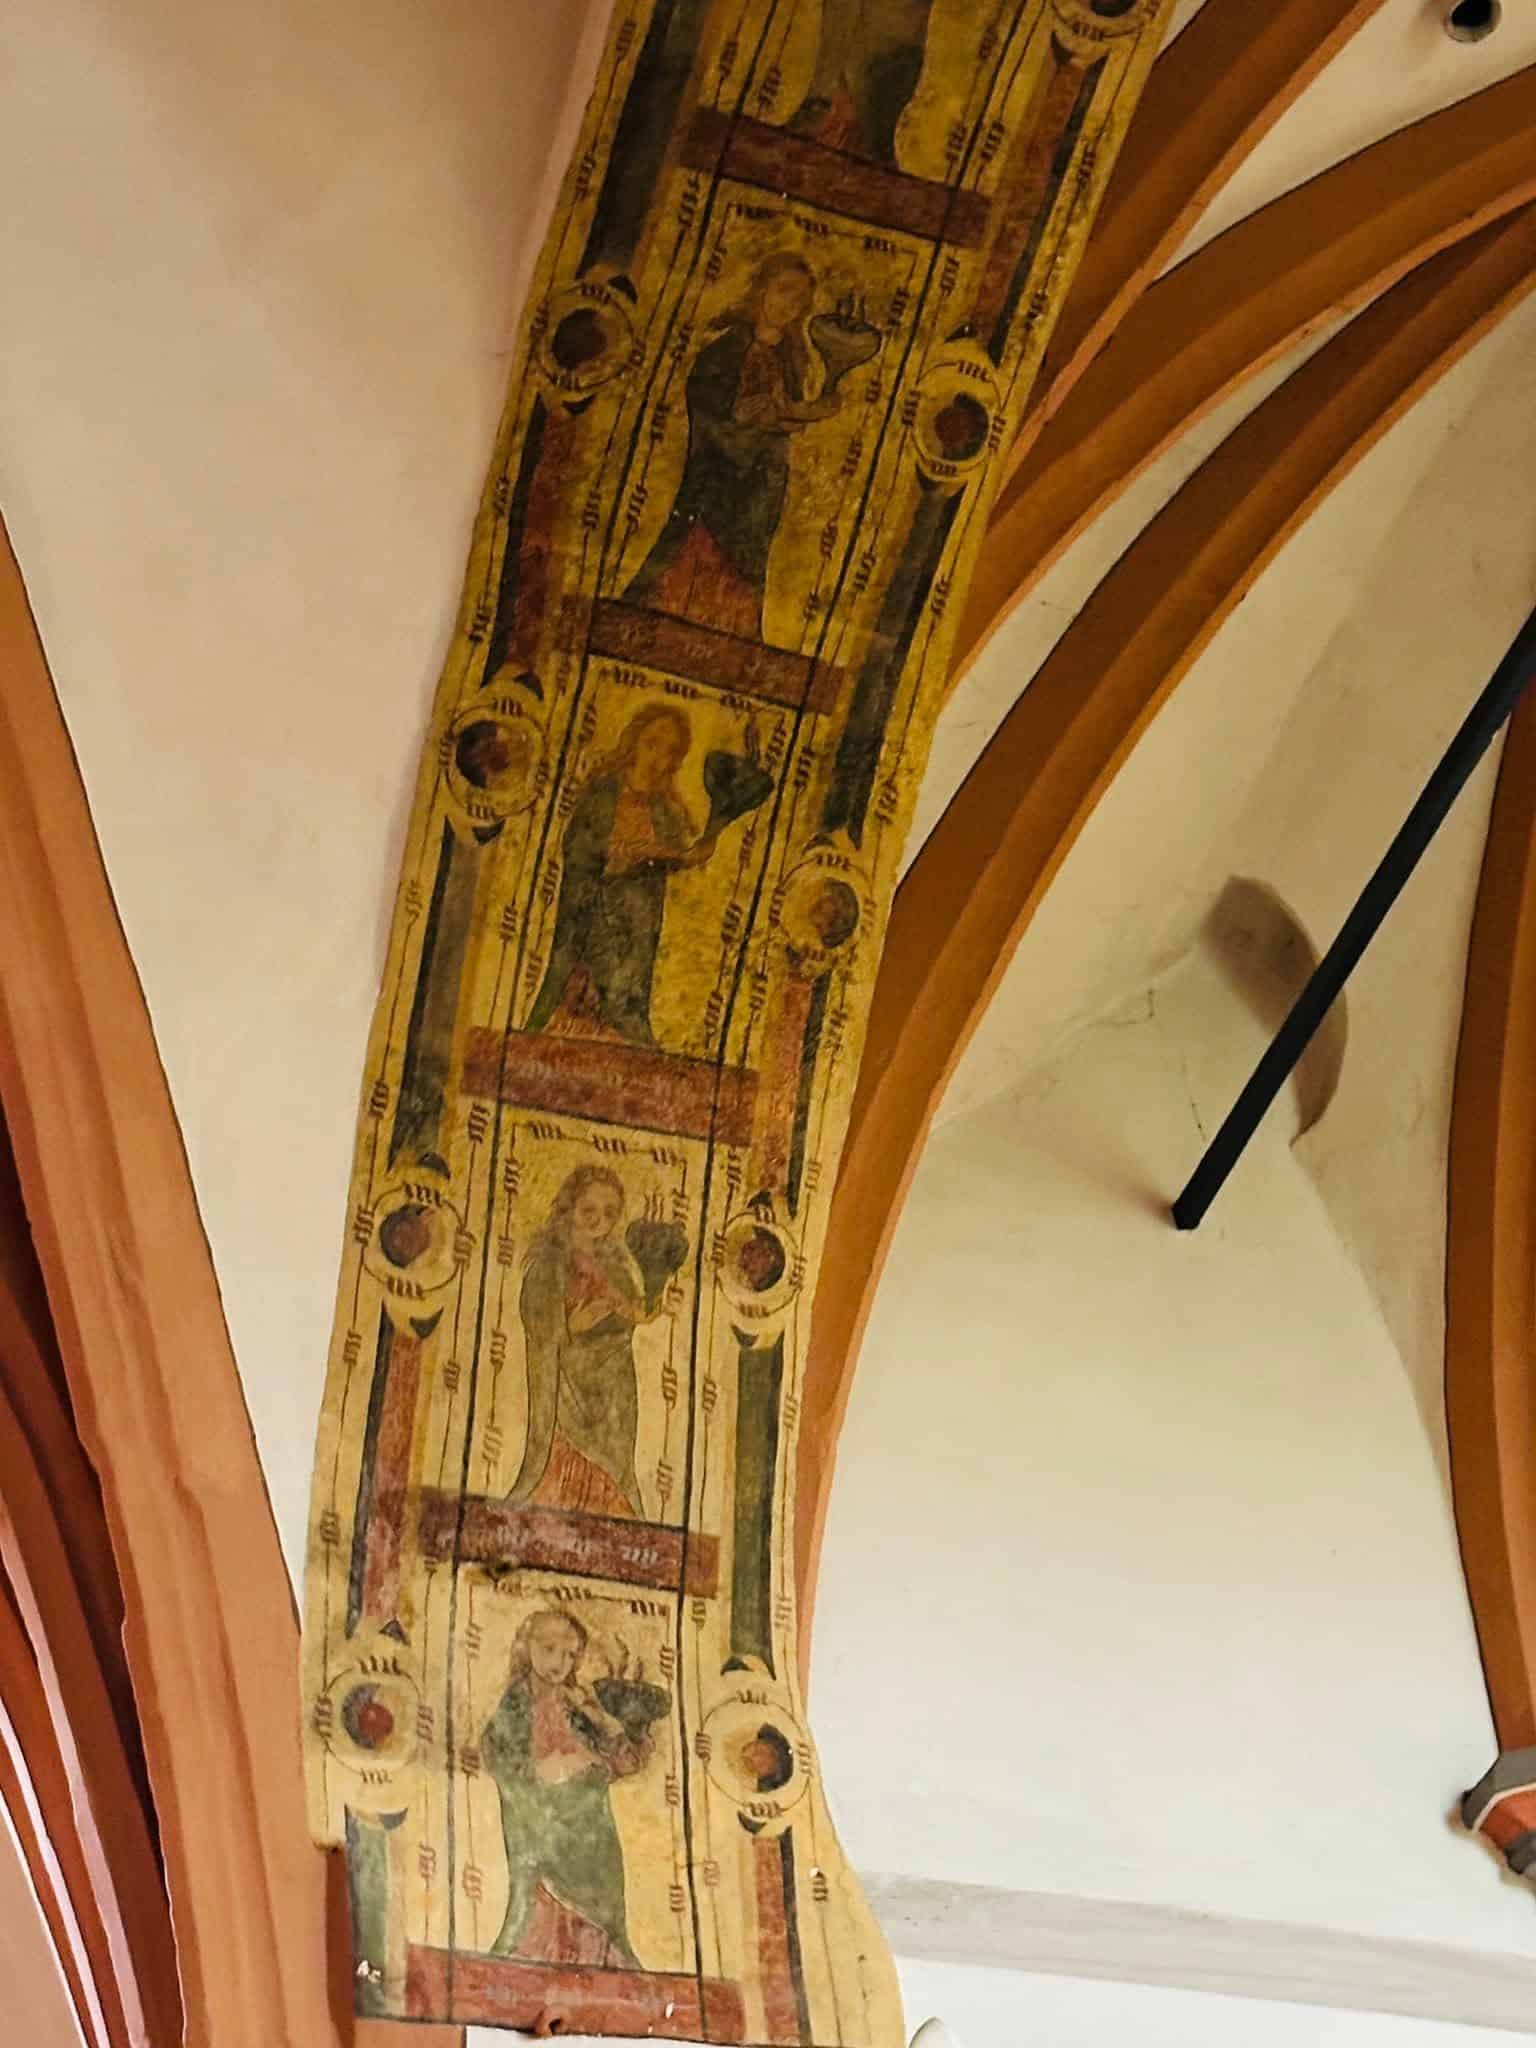
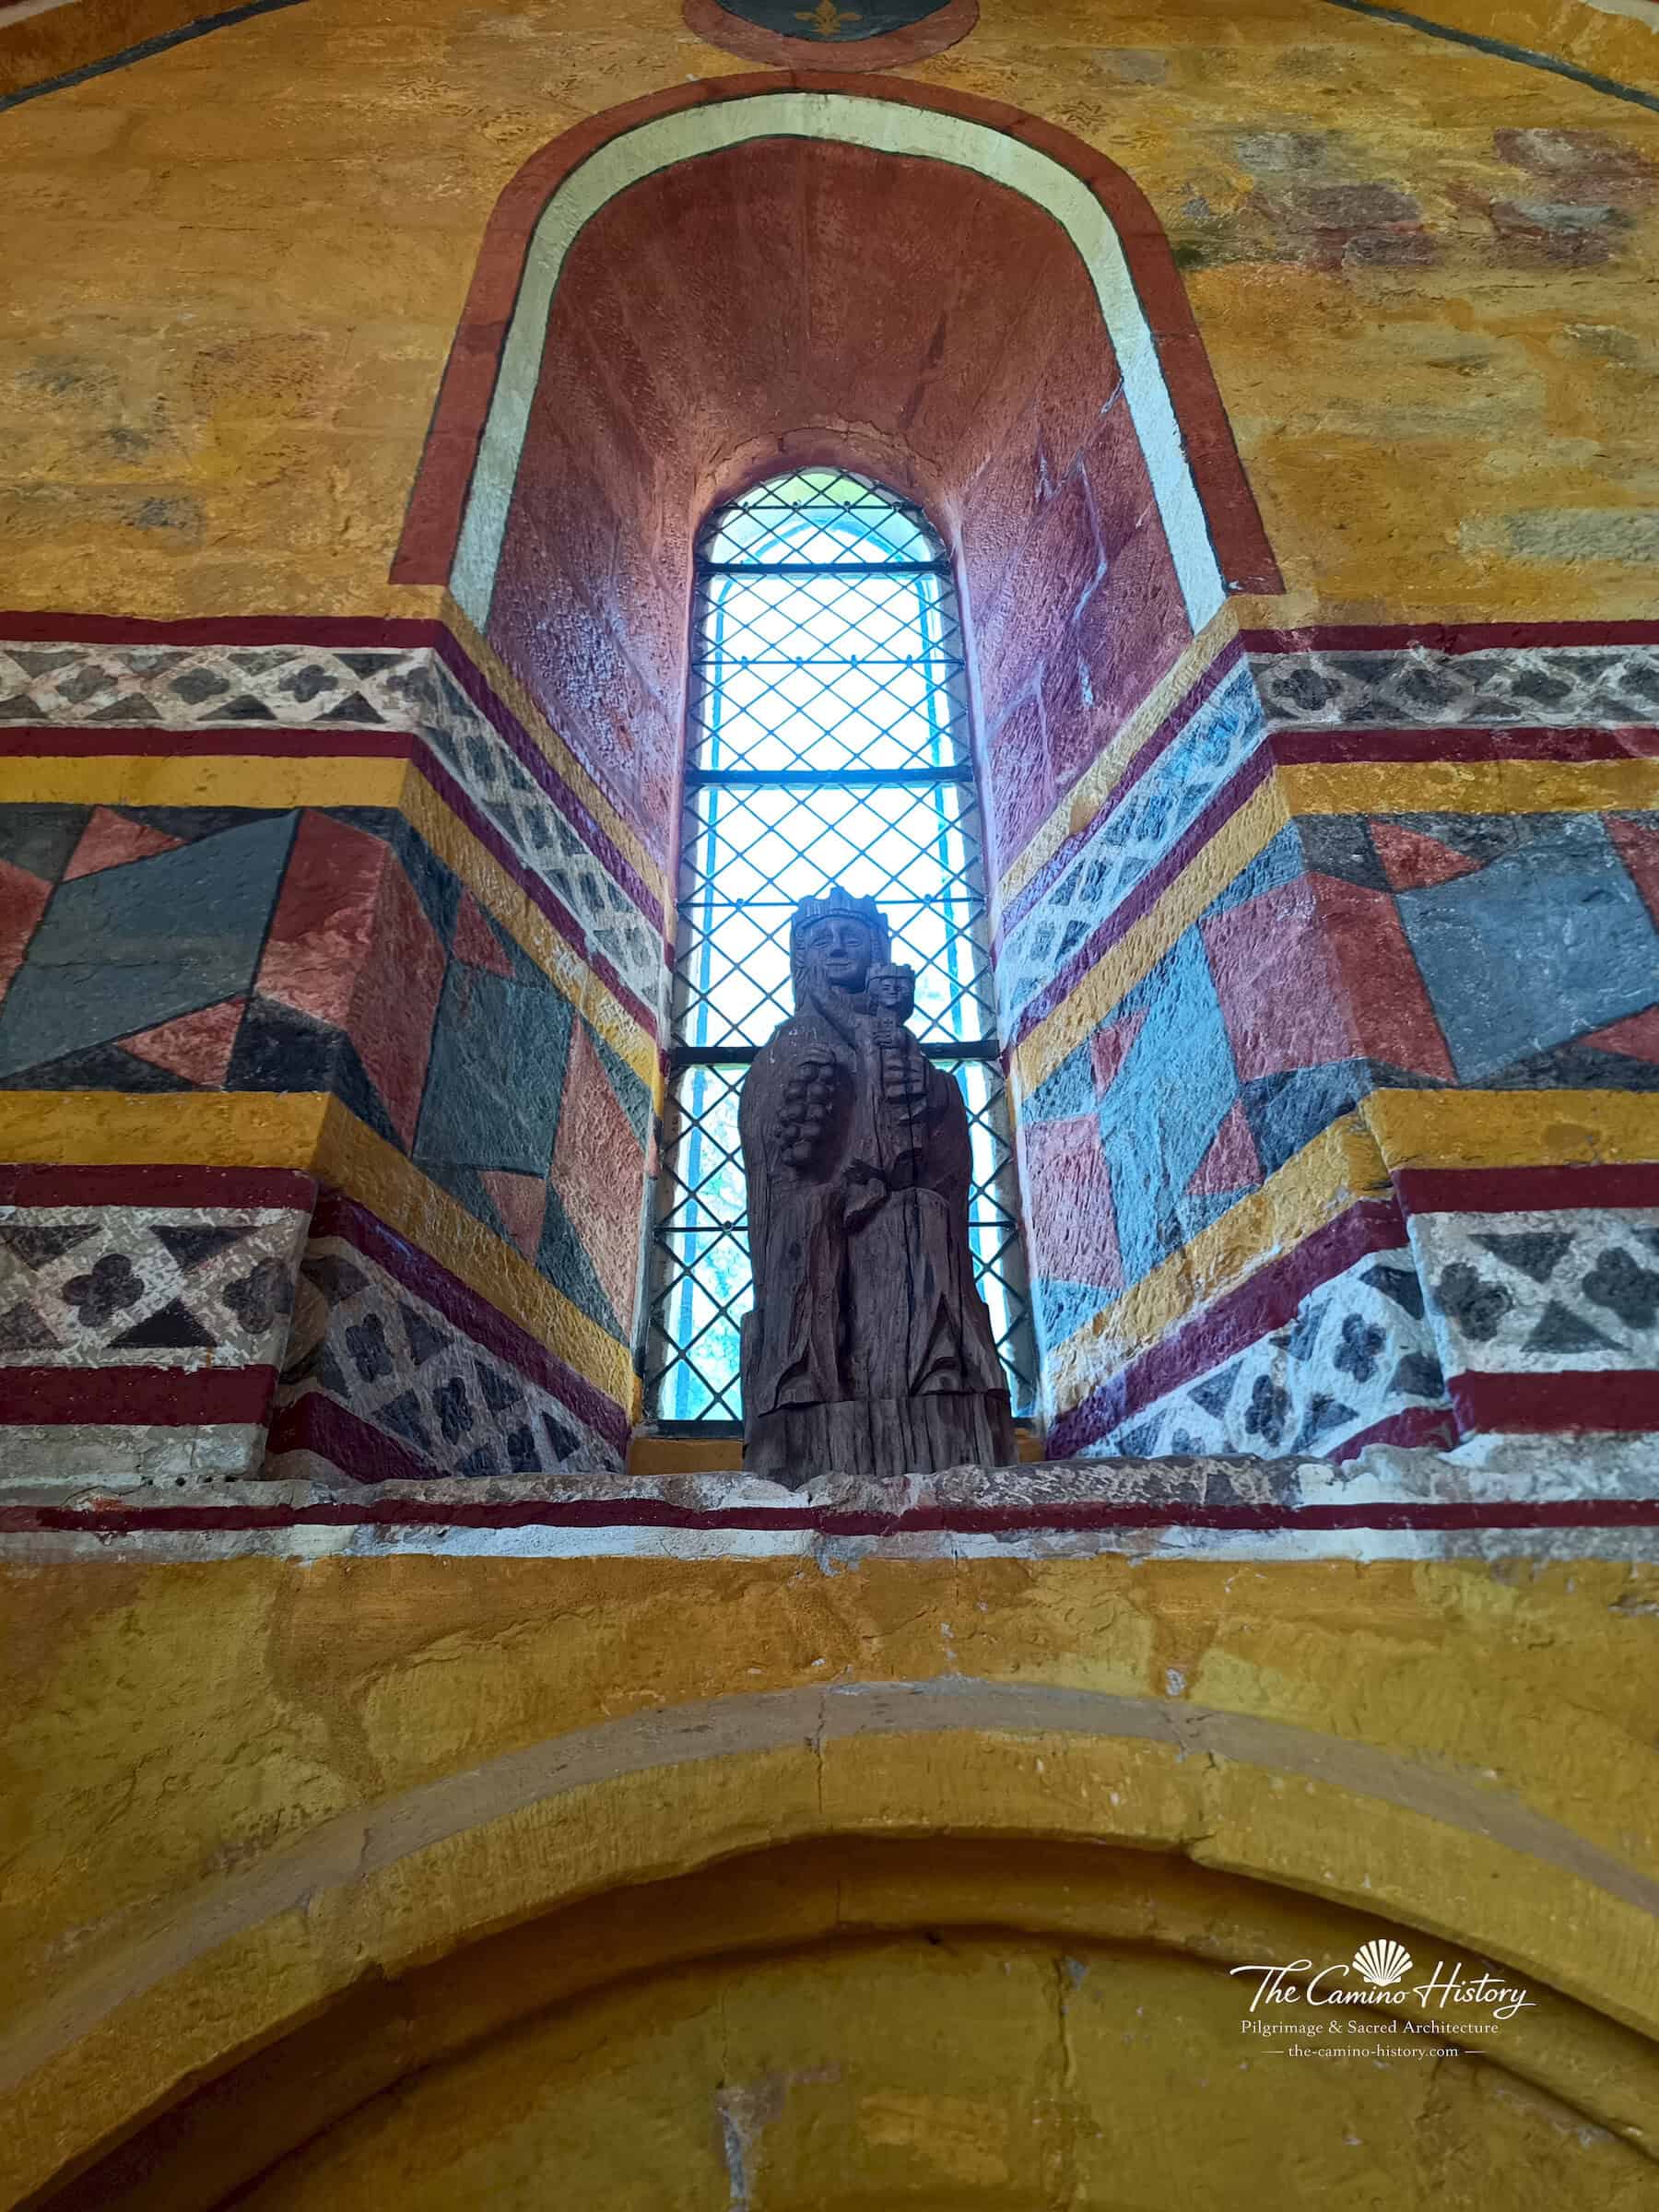
Ornamentale Malerei am Fensterbogen – Schönau Rumbach · Protestantische Kirche Rumbach, fotografische Ansicht 1
Ornamentale Malerei am FensterbogenSchönau Rumbach · Protestantische Kirche Rumbach · 14. JahrhundertFoto: The Camino HistoryZur Dokumentation →
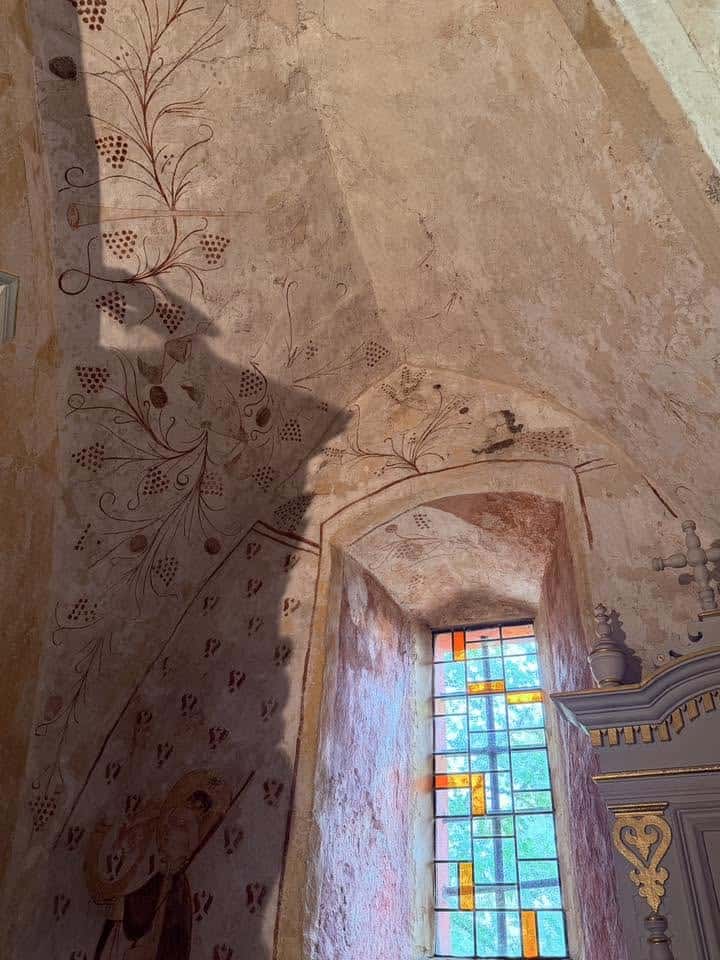
Ornamentale Malerei am Fensterbogen – Schönau Rumbach · Protestantische Kirche Rumbach, fotografische Ansicht 2
Ornamentale Malerei am FensterbogenSchönau Rumbach · Protestantische Kirche Rumbach · 14. JahrhundertFoto: The Camino HistoryZur Dokumentation →

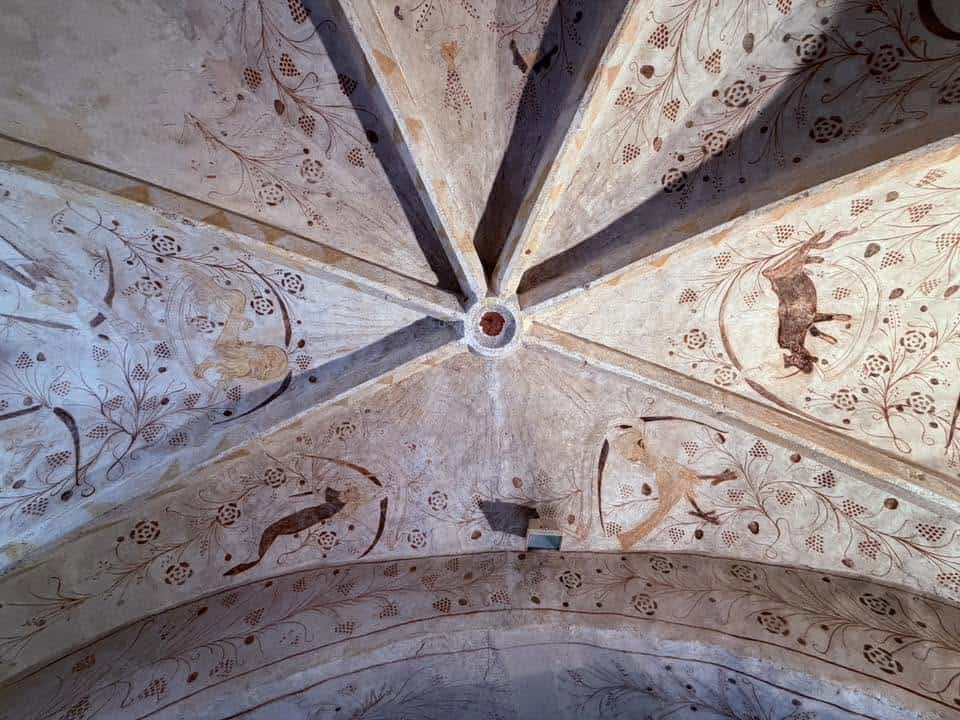
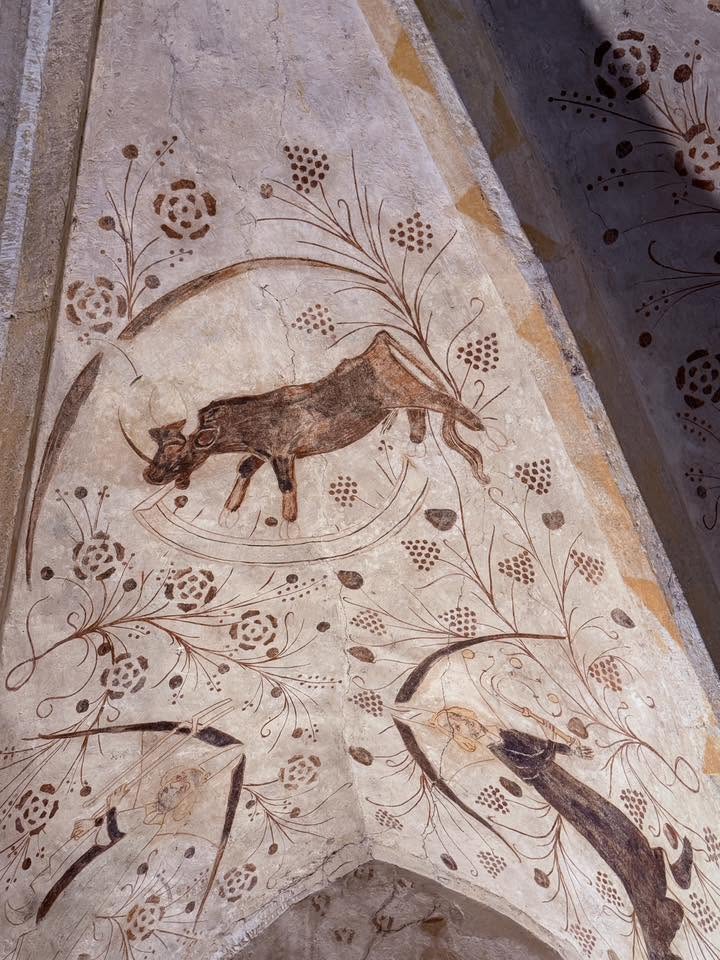
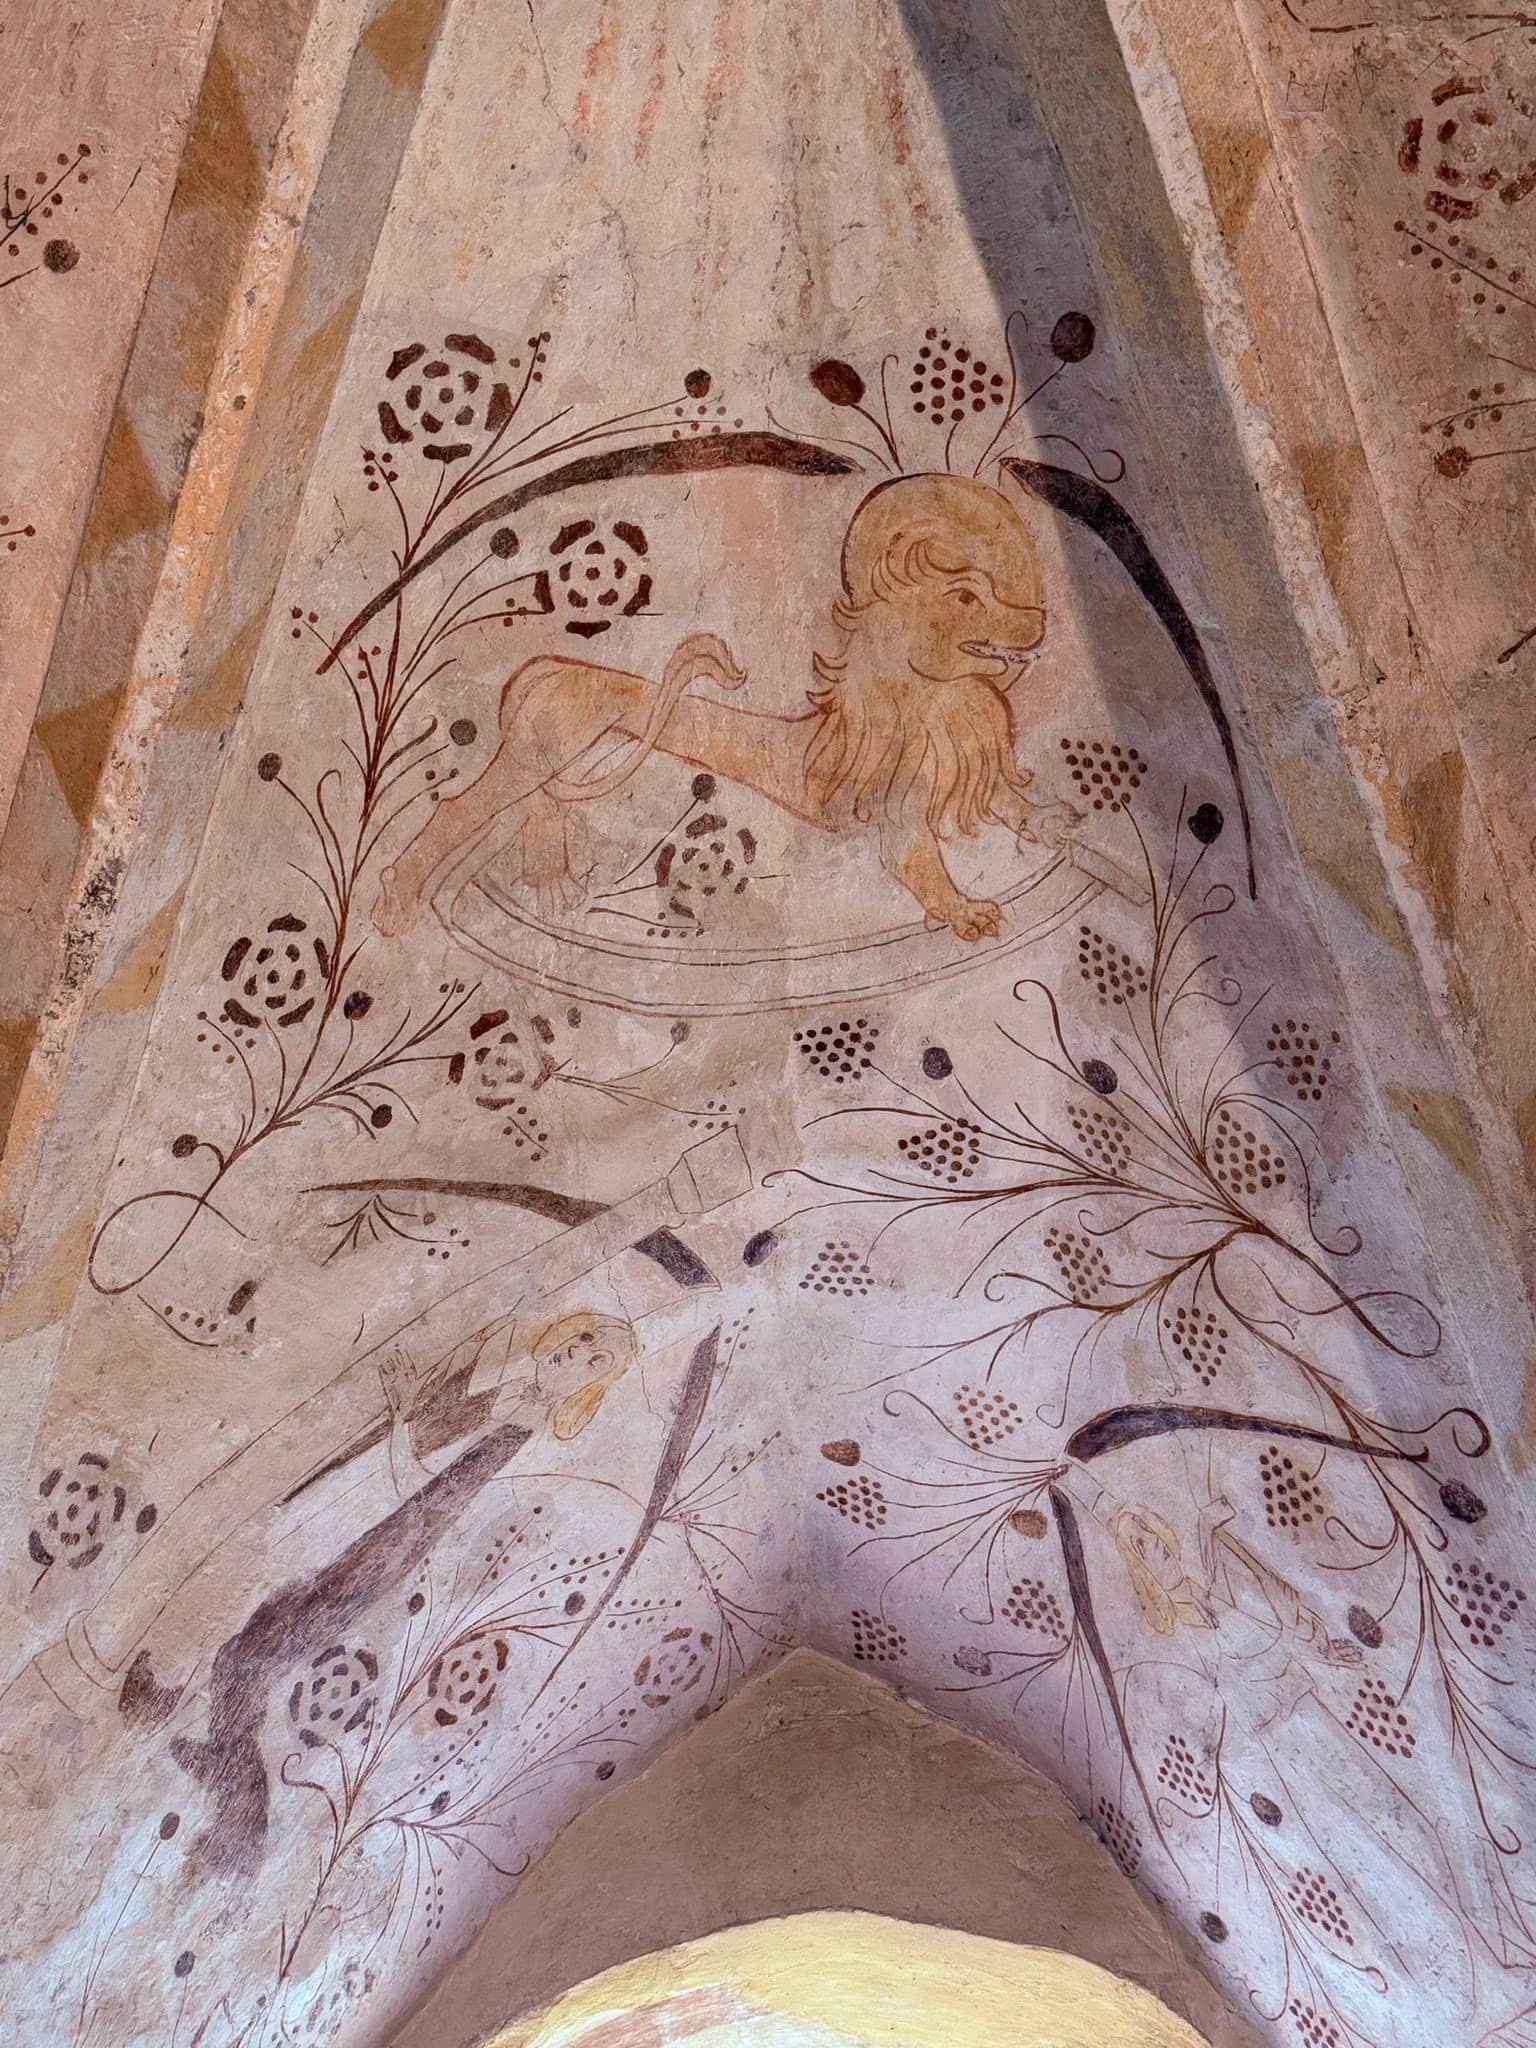
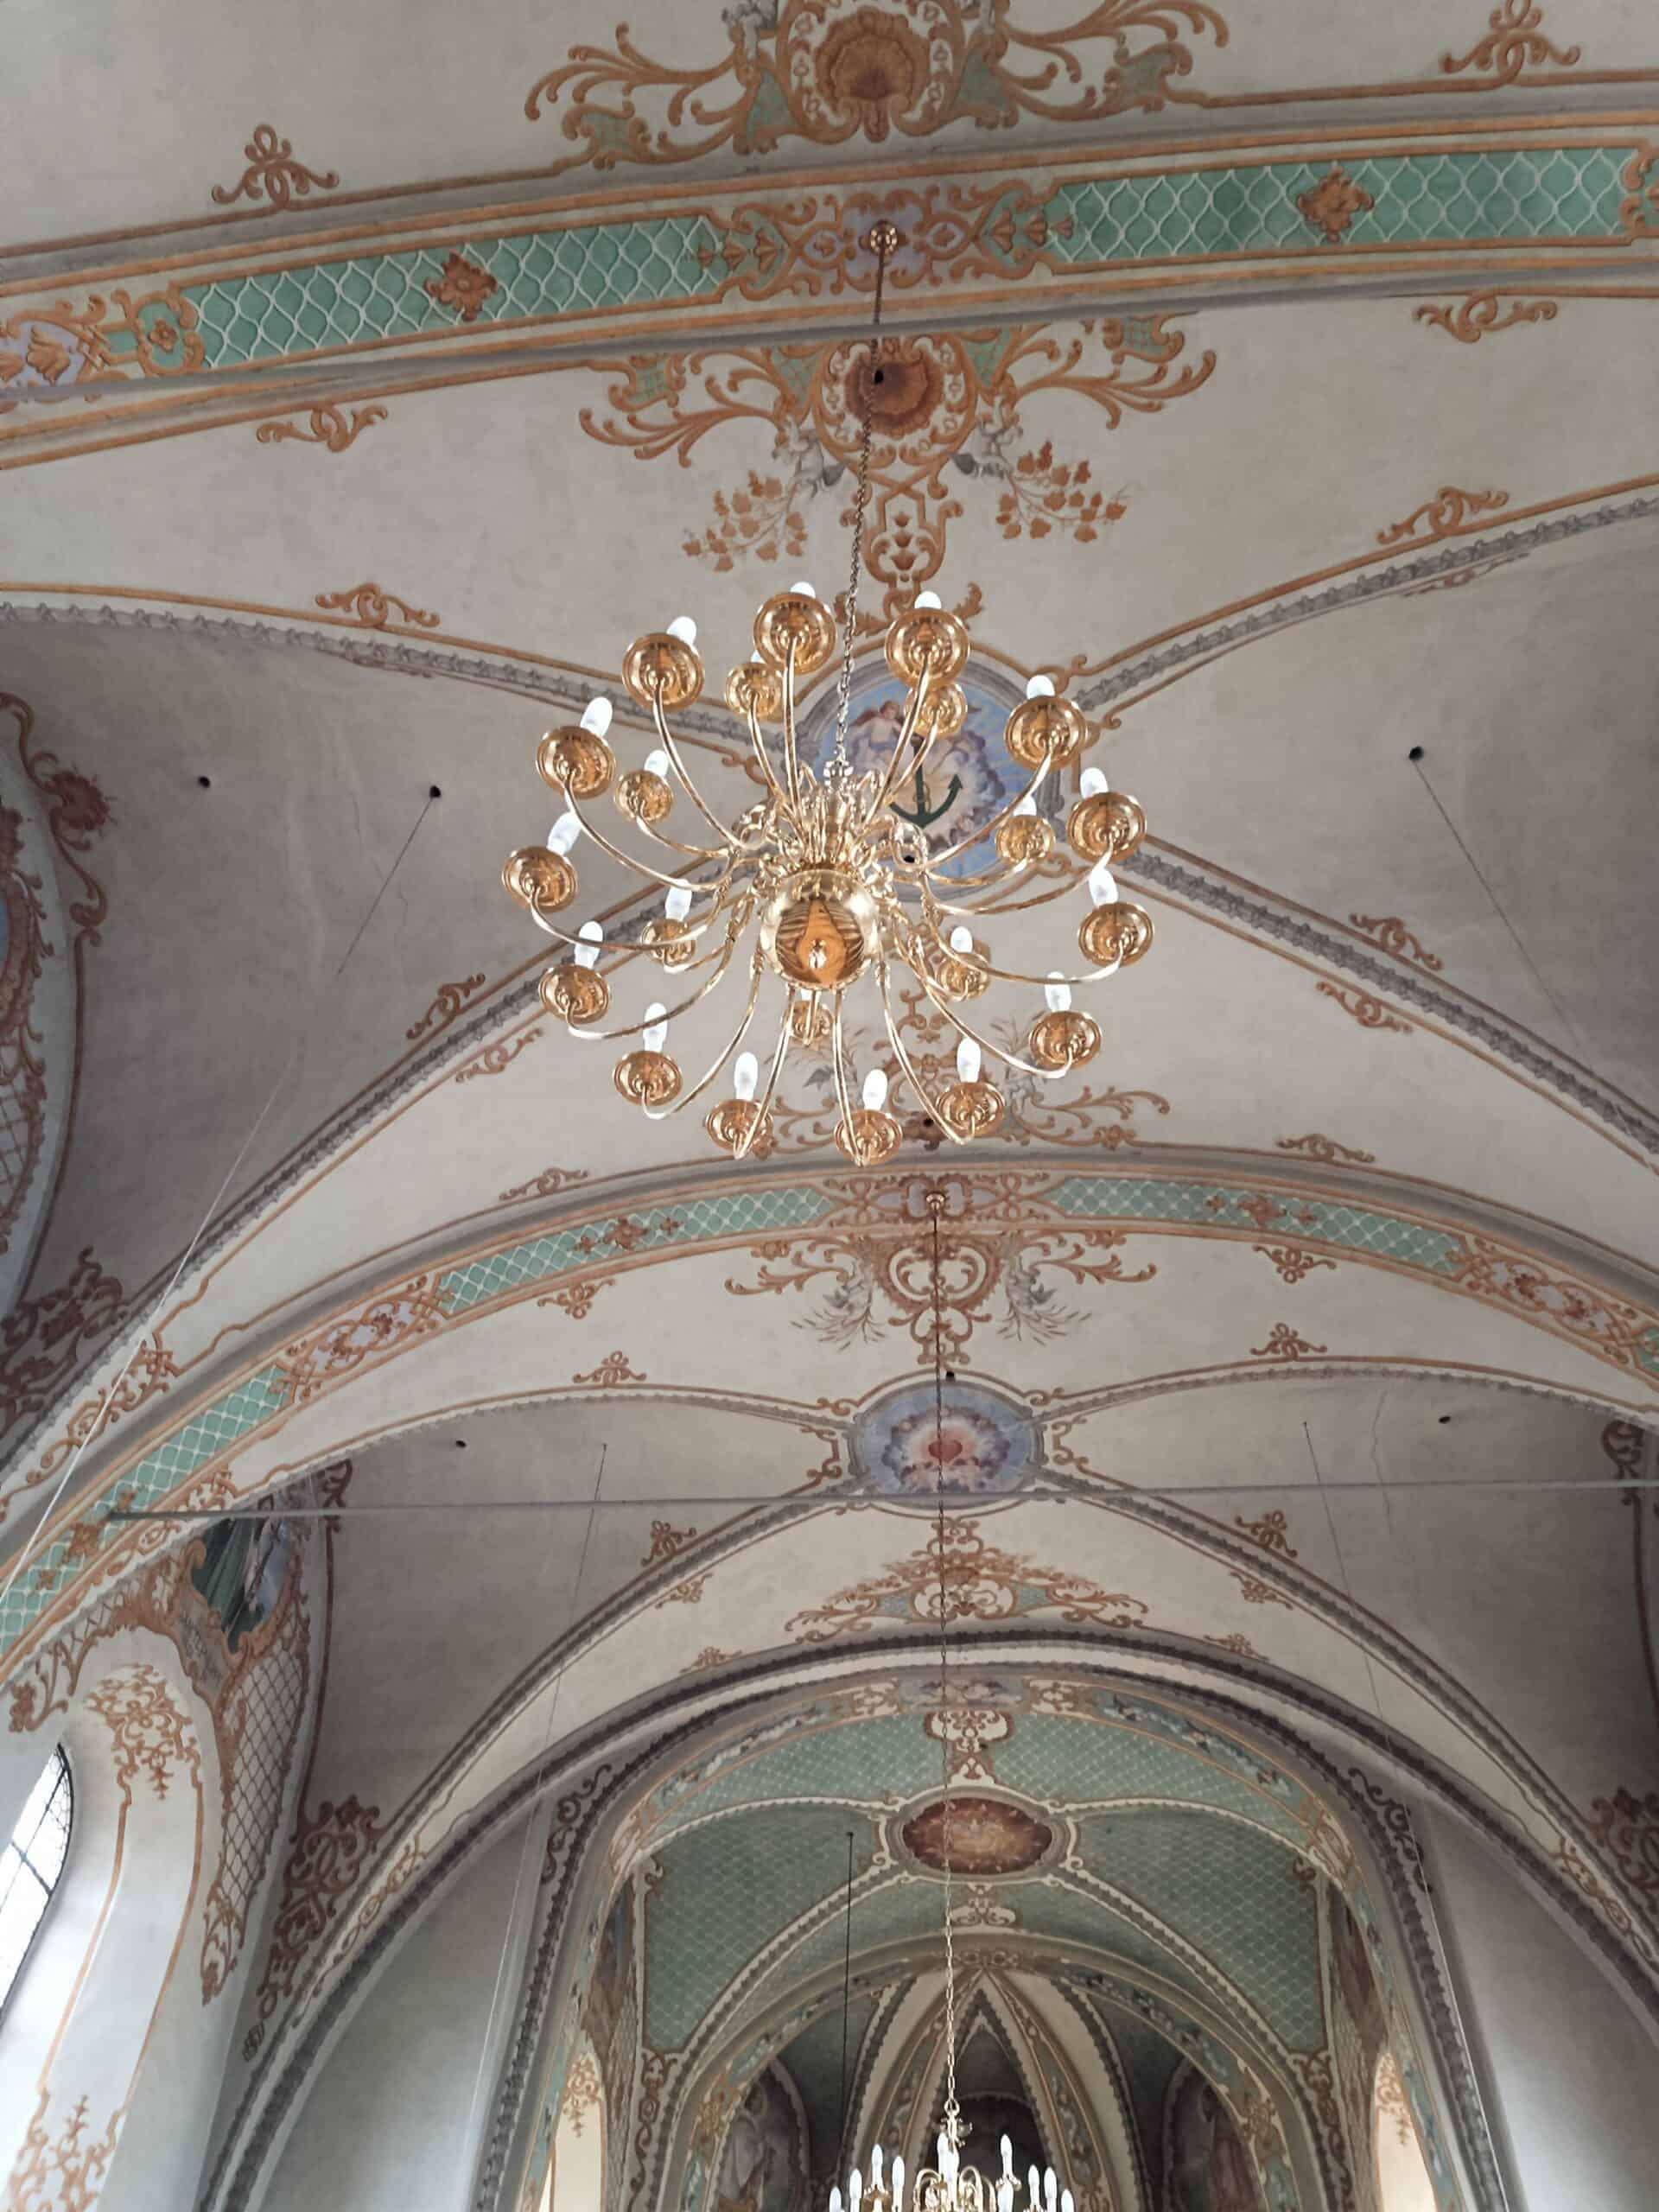
Bemalte Gewölbe und Deckenfelder um 1860

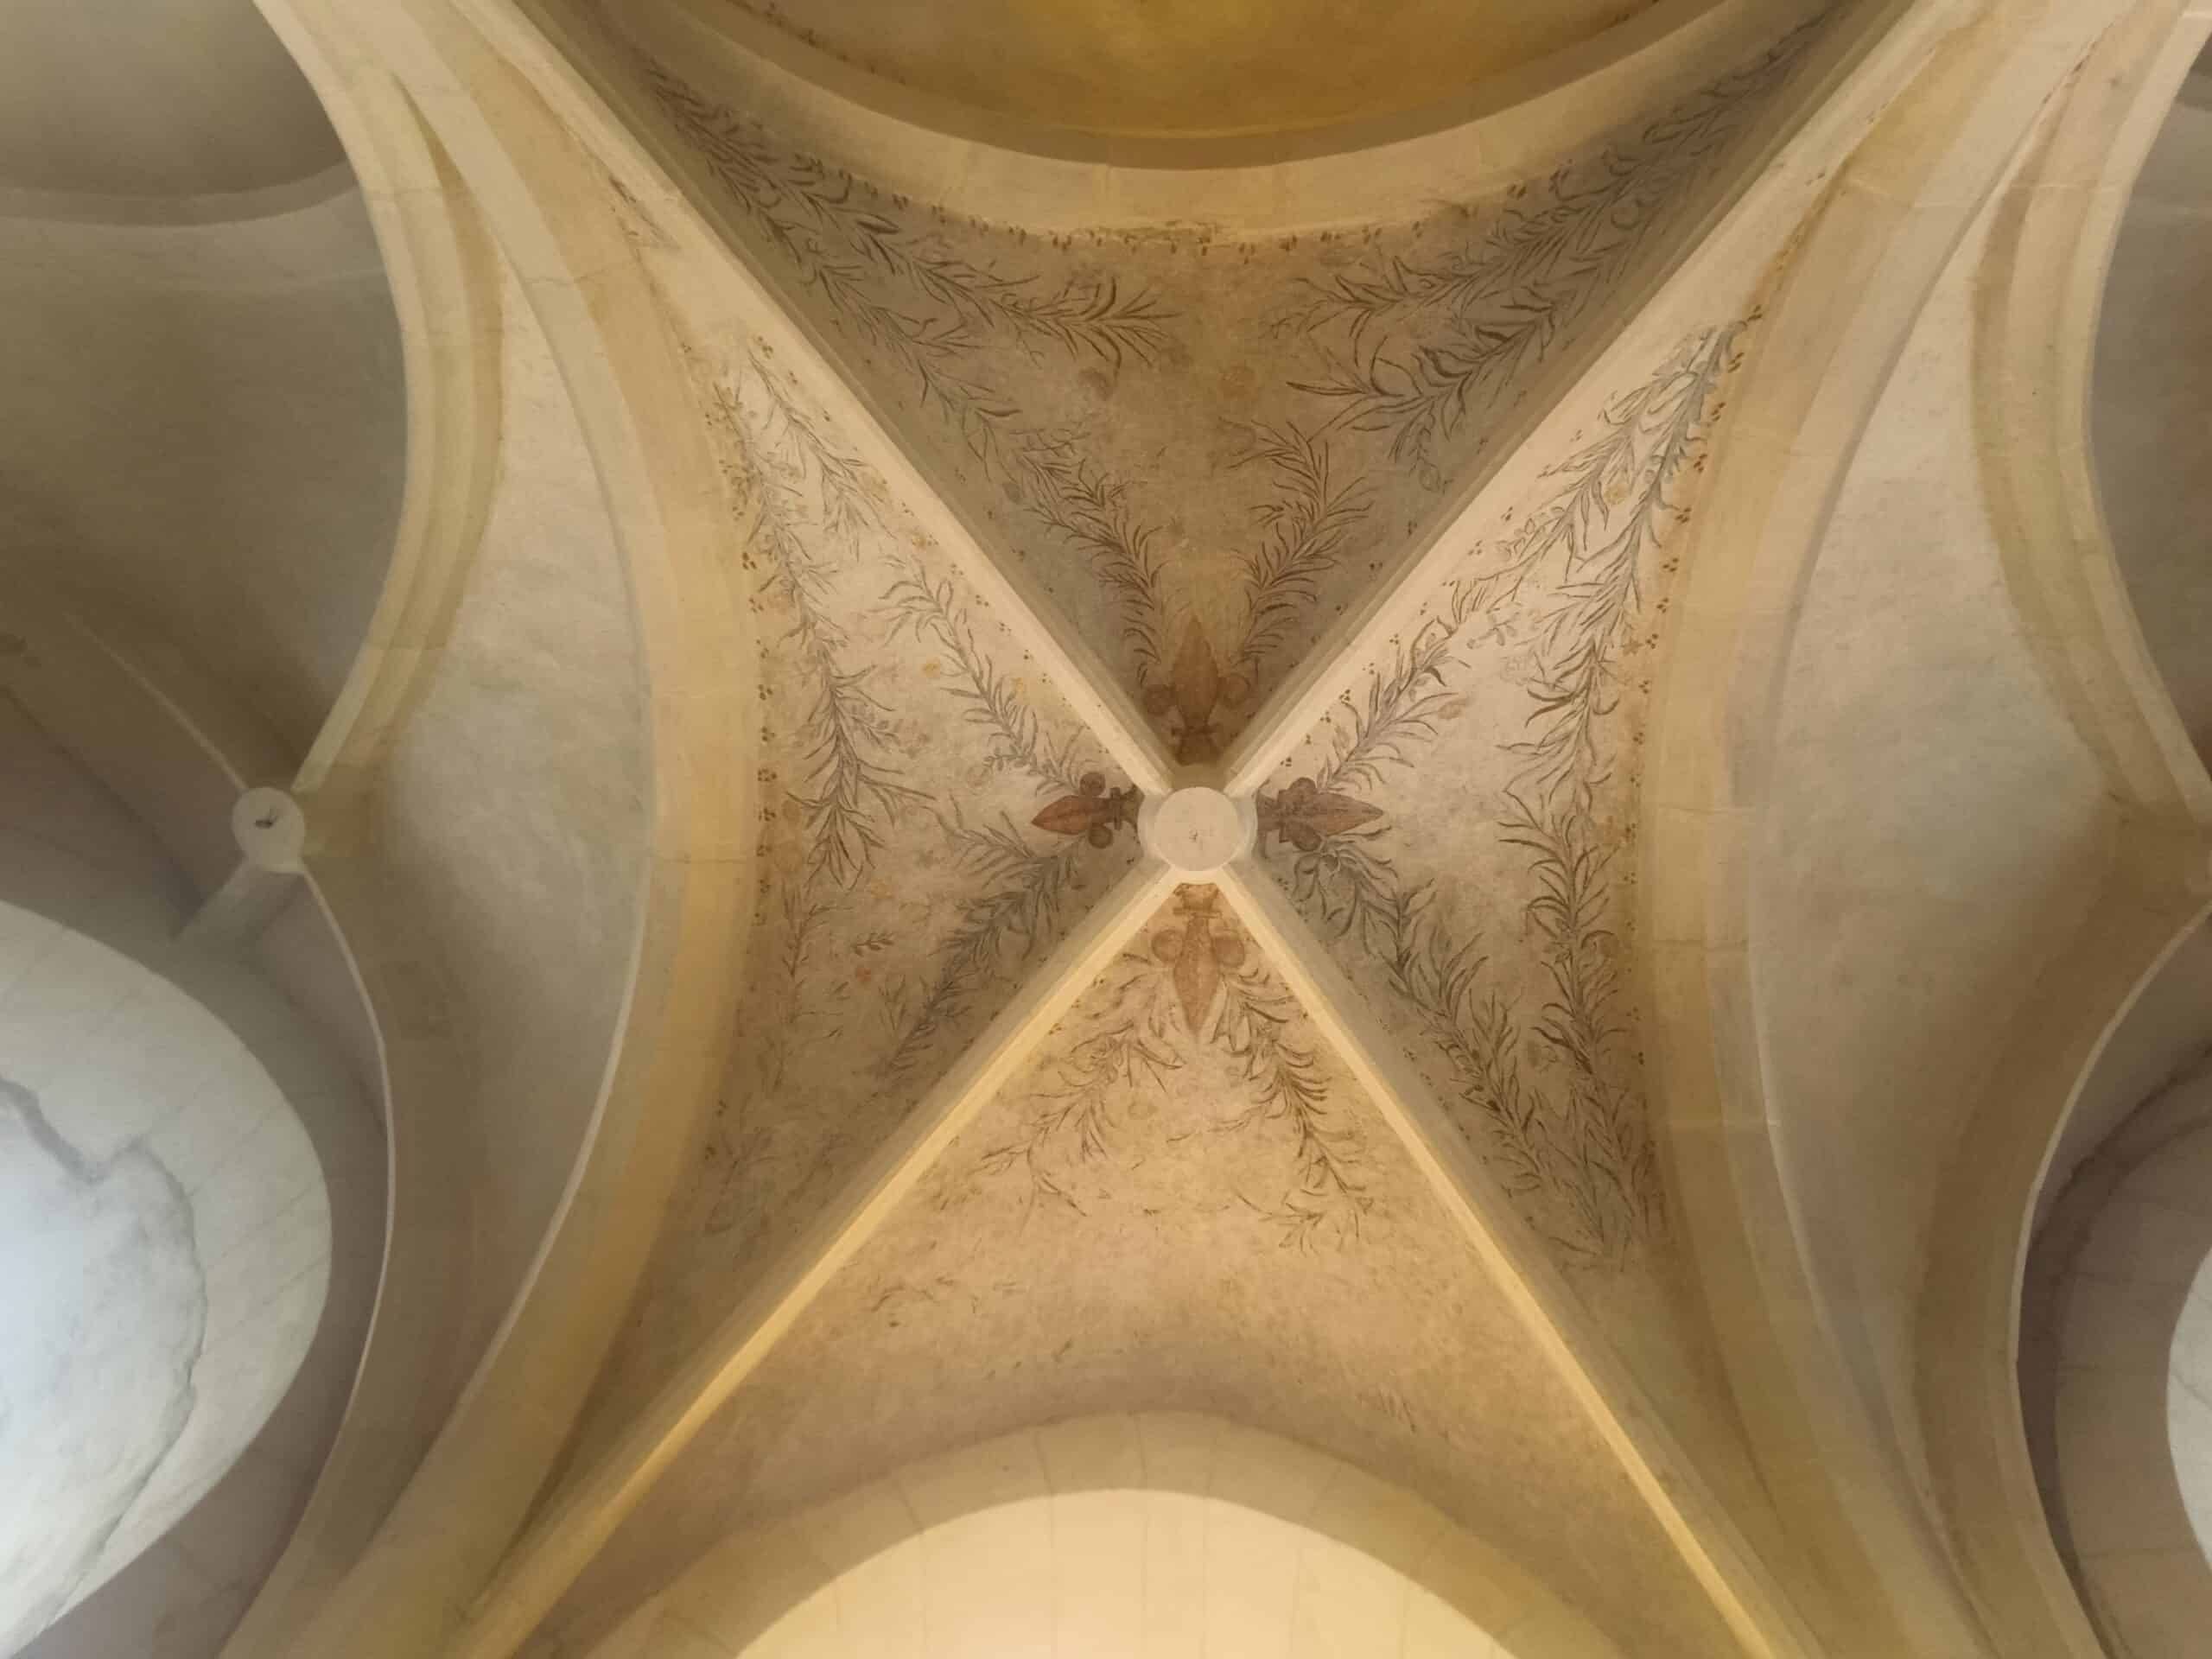
Vaucouleurs – Saint-Laurent

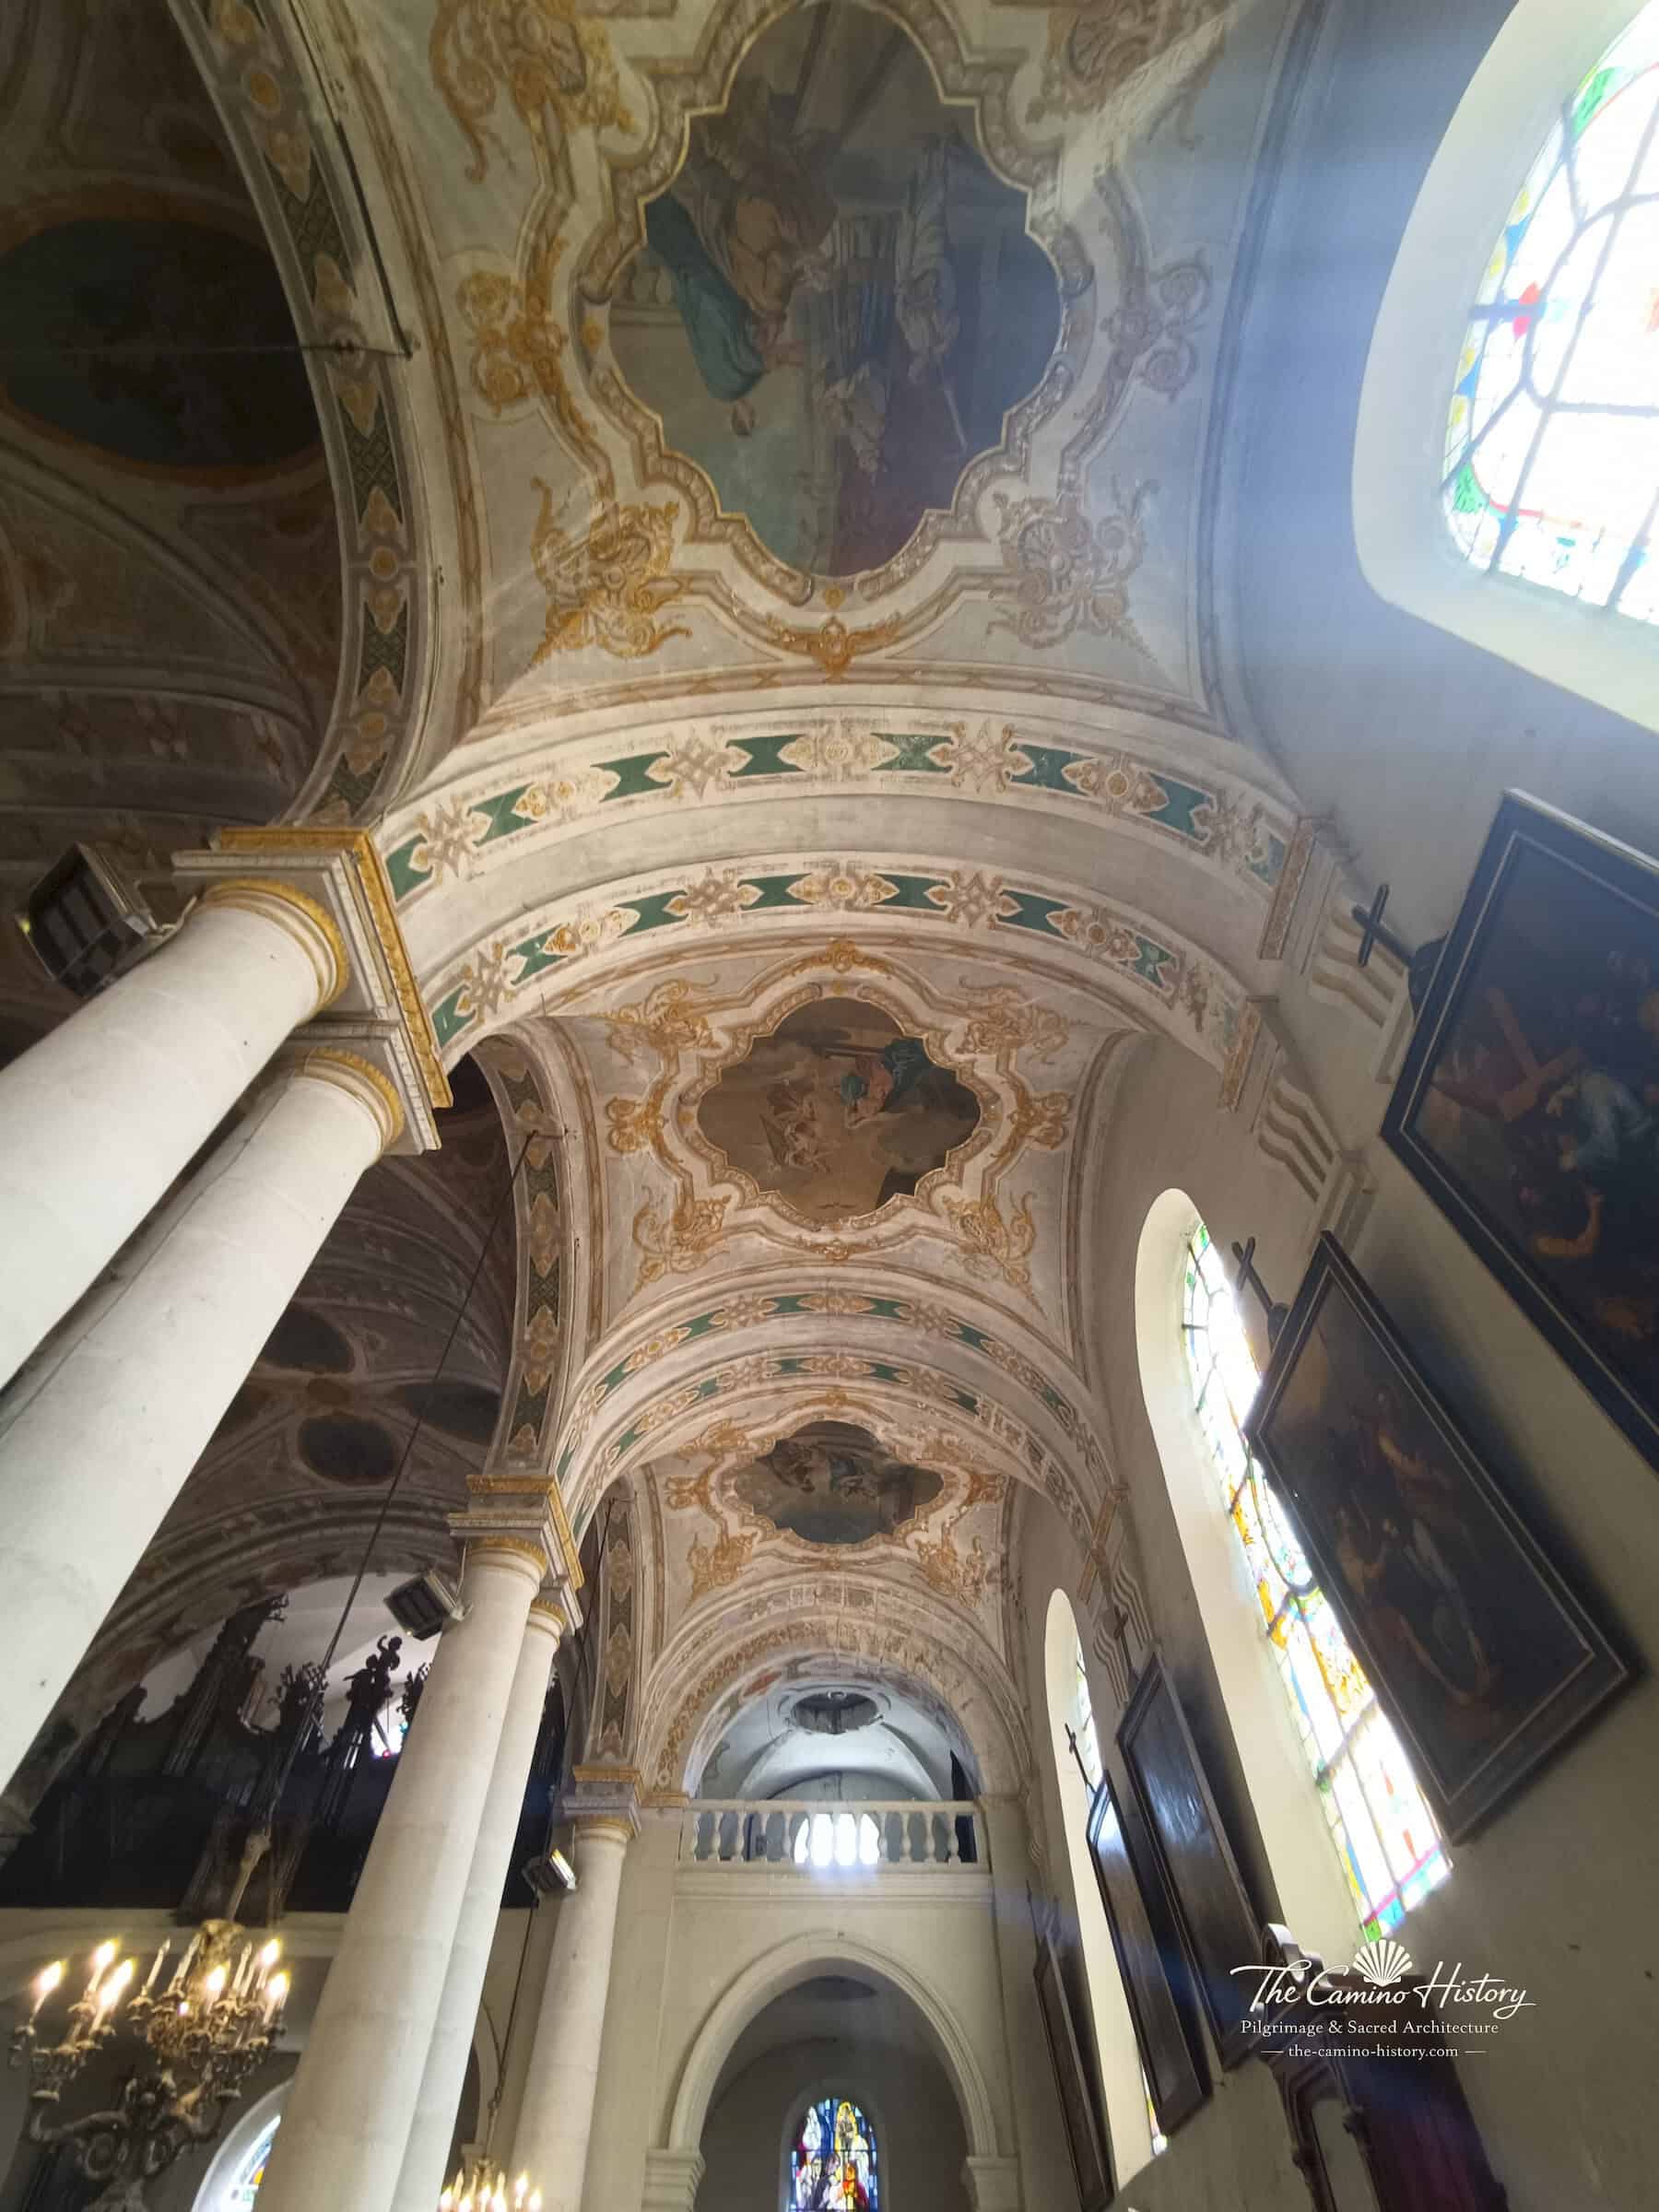
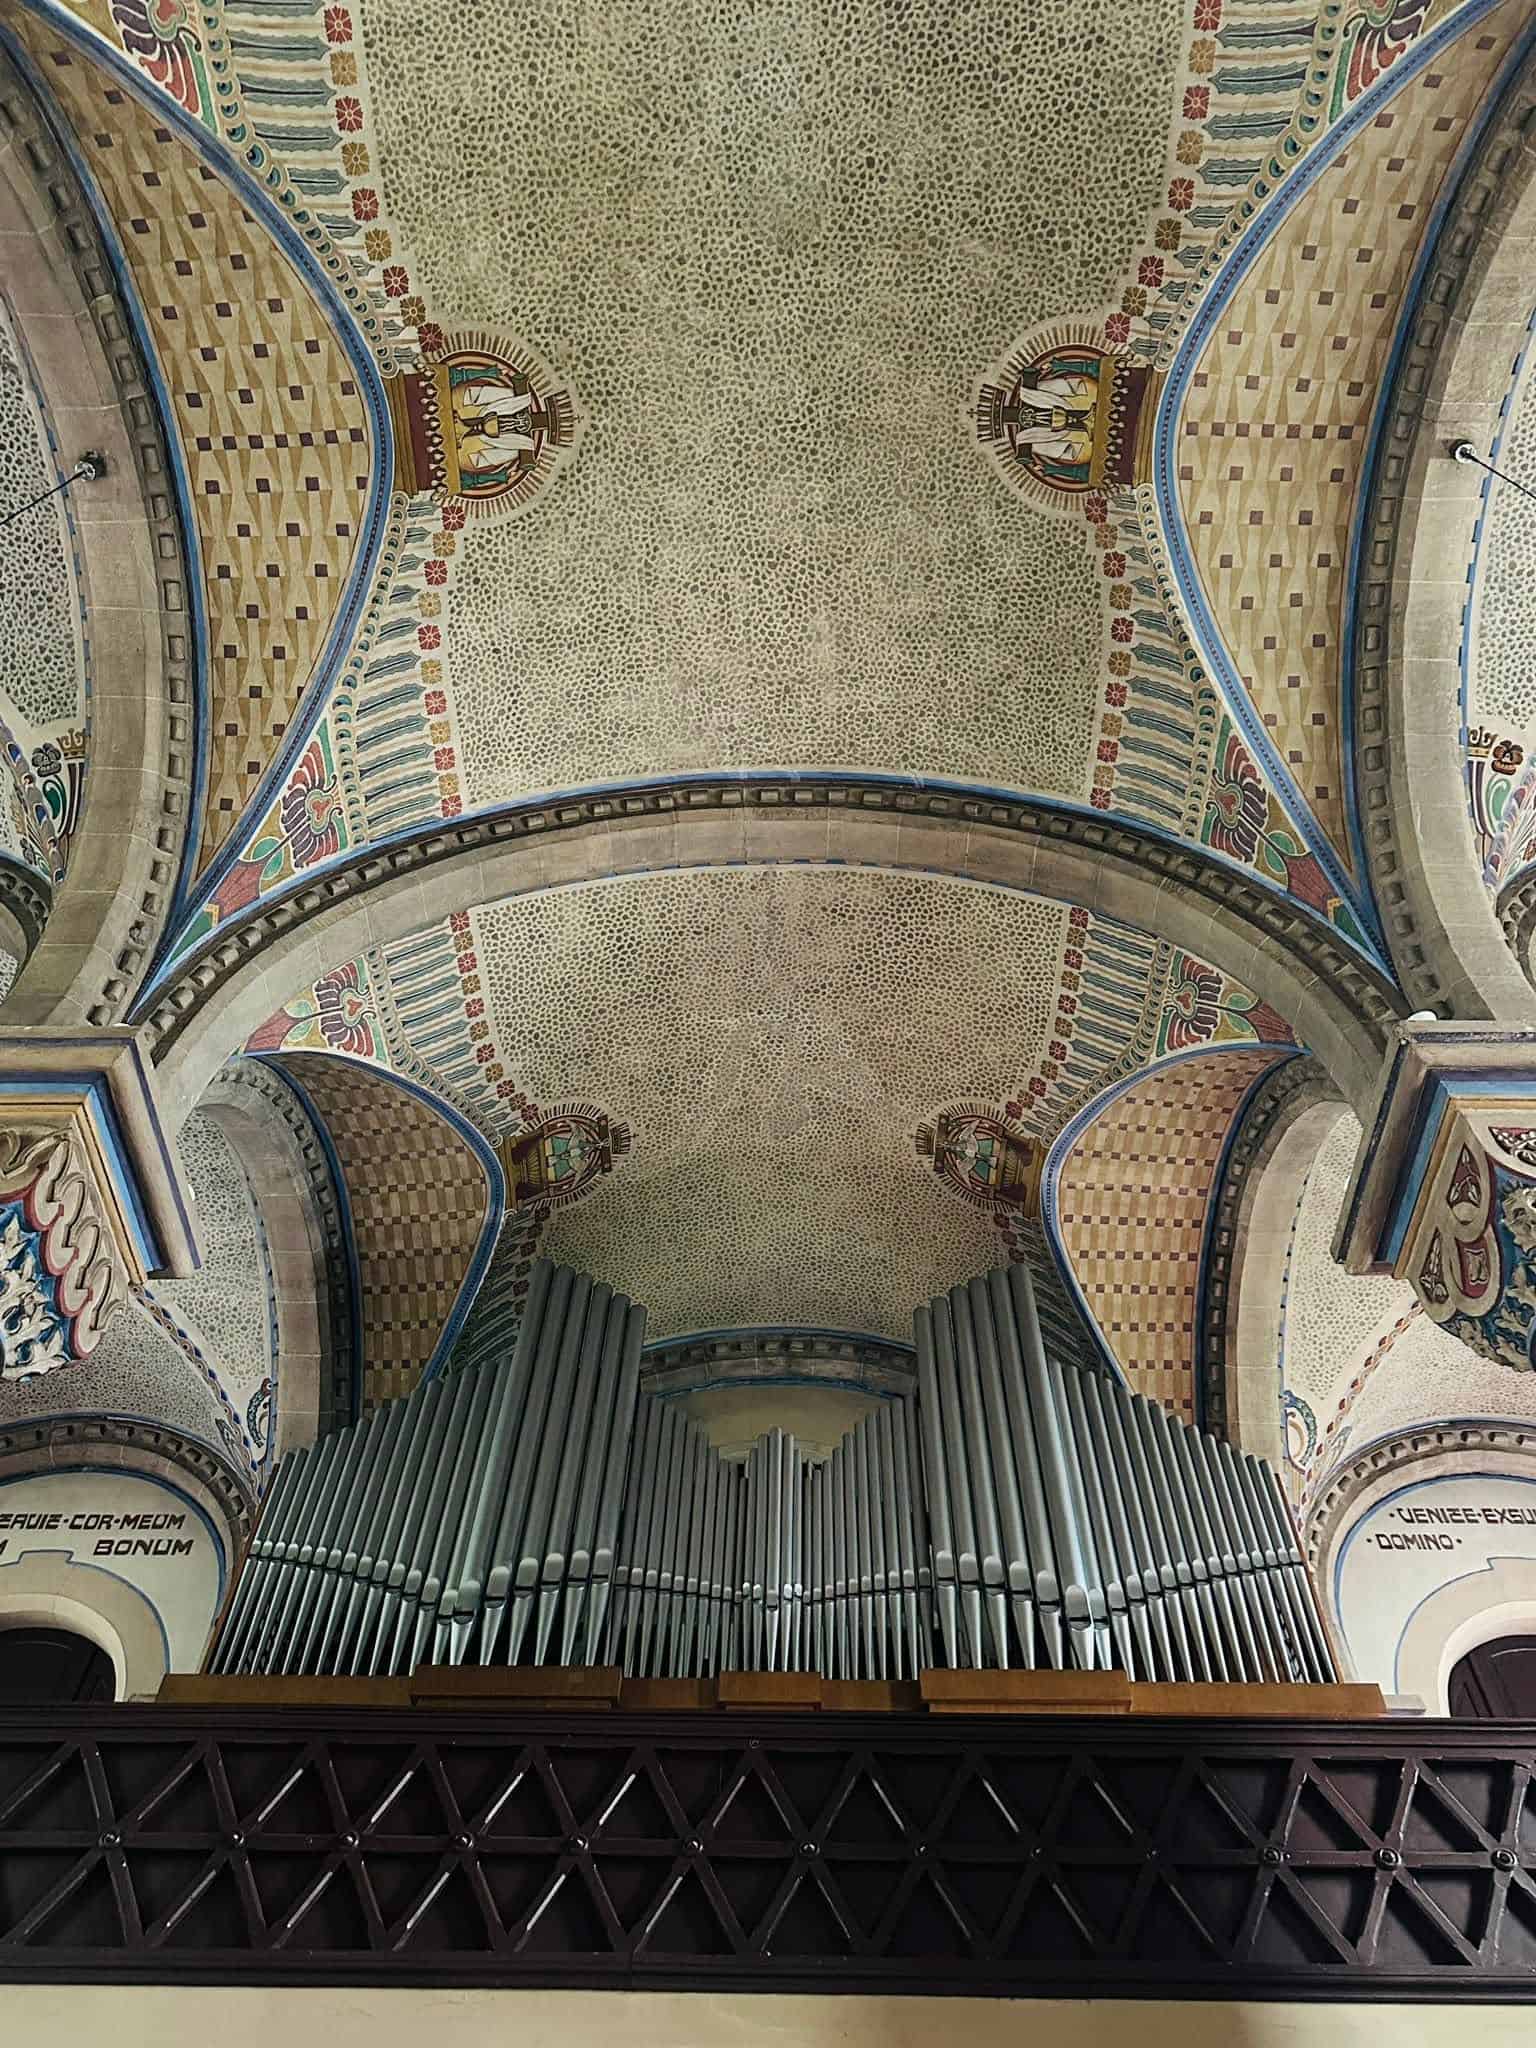
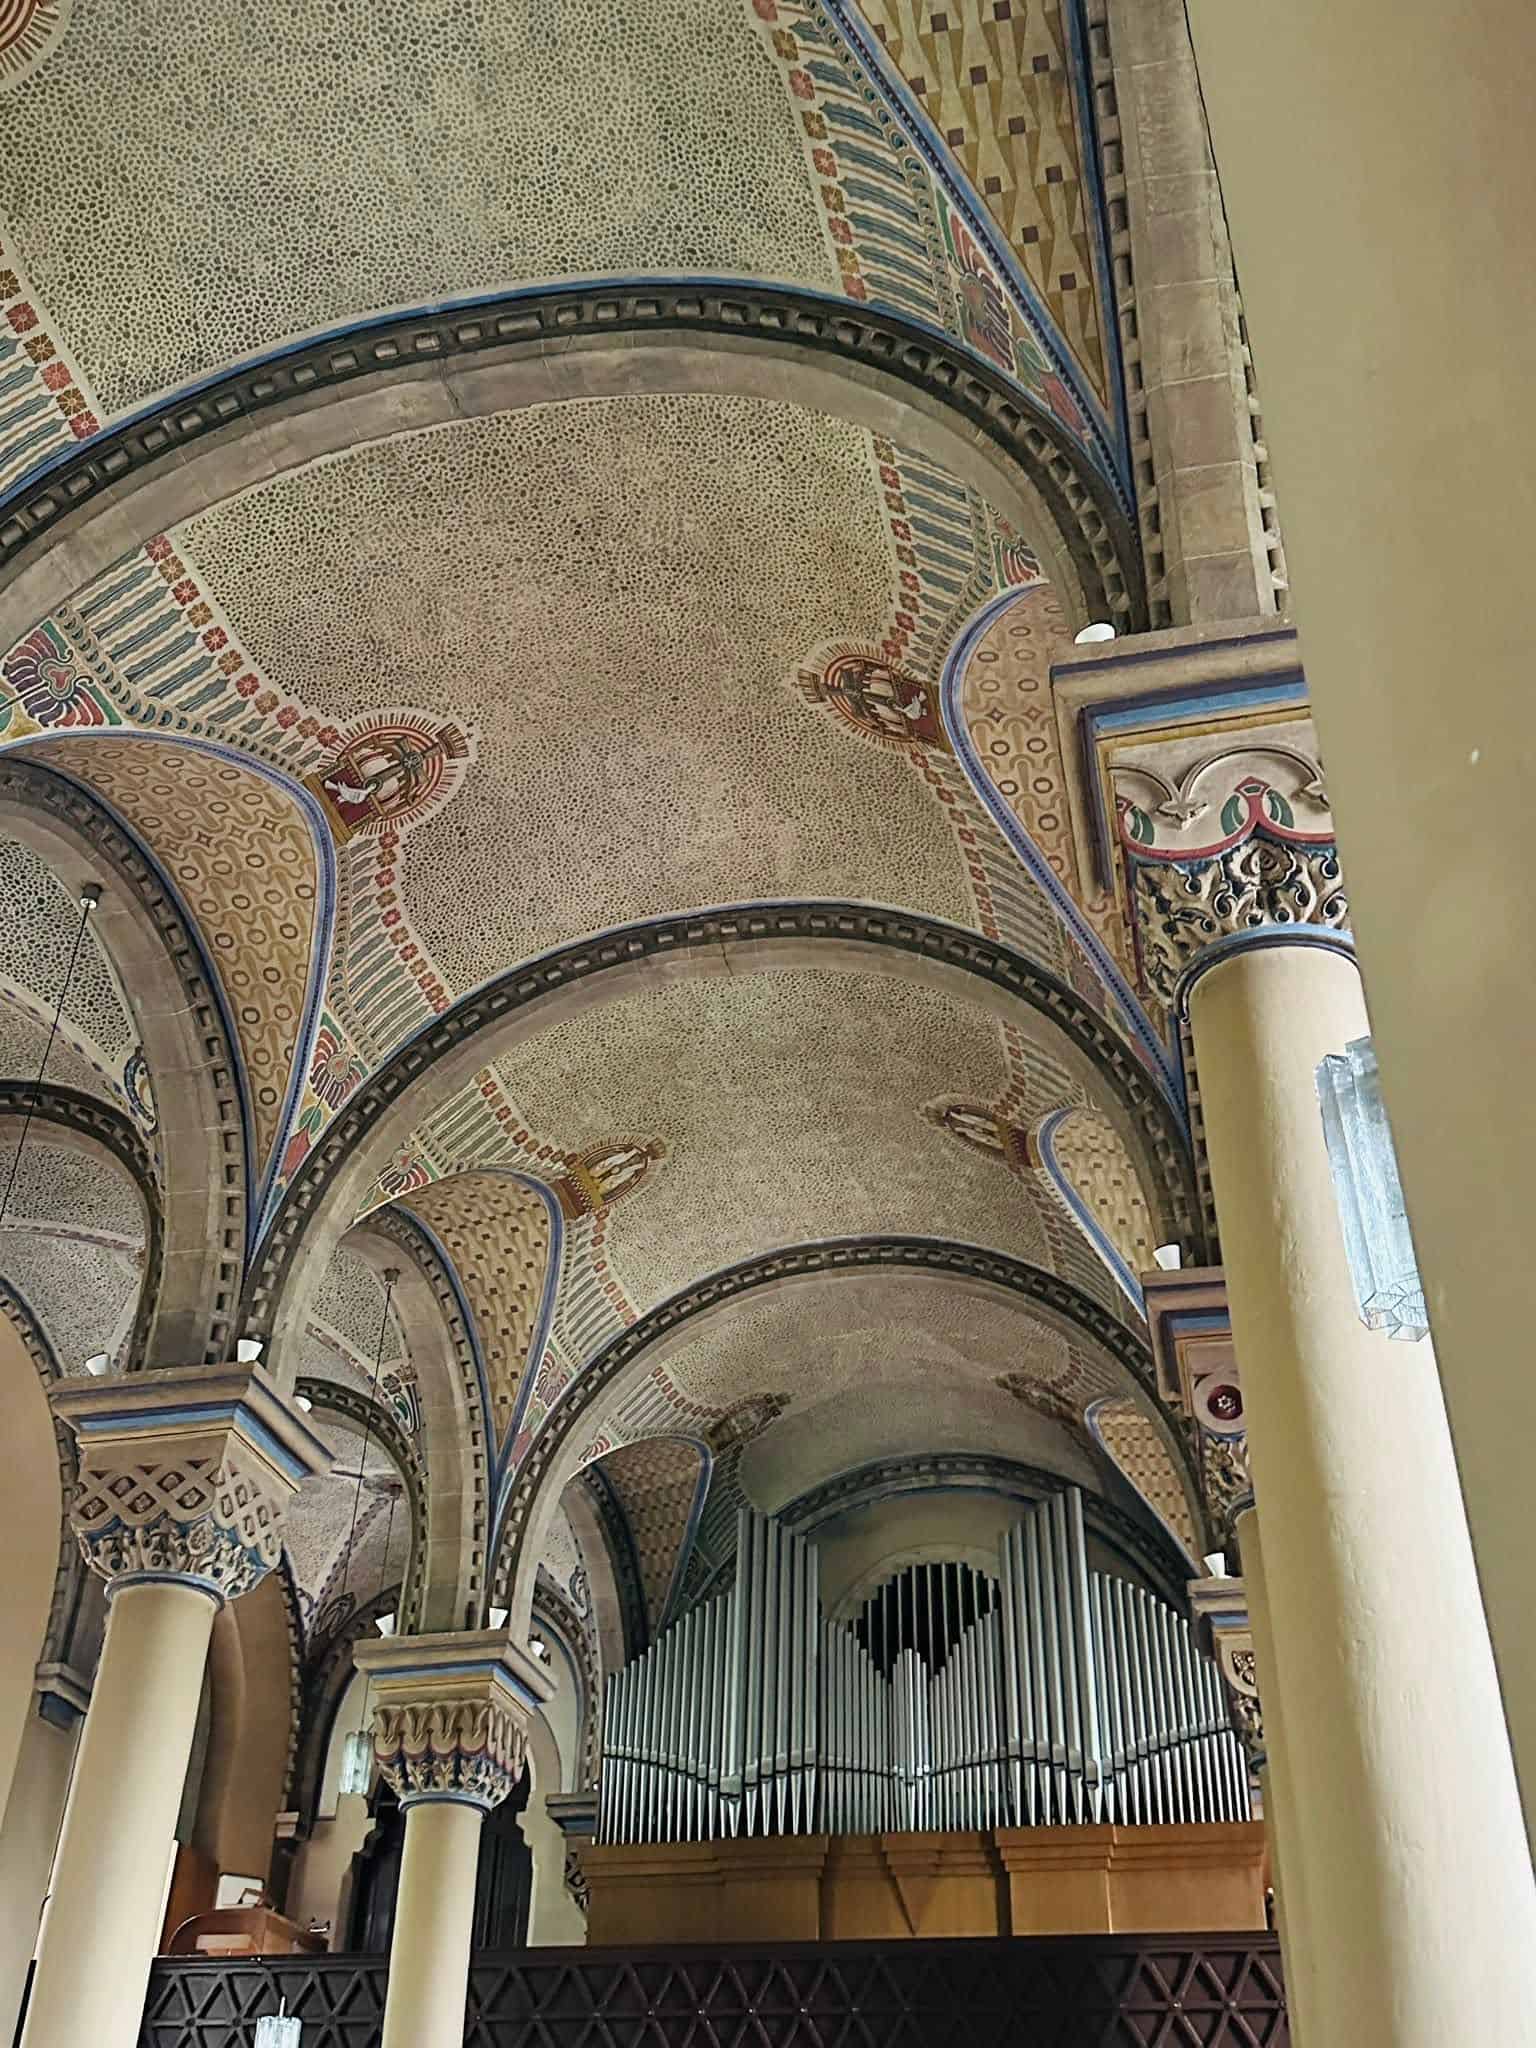
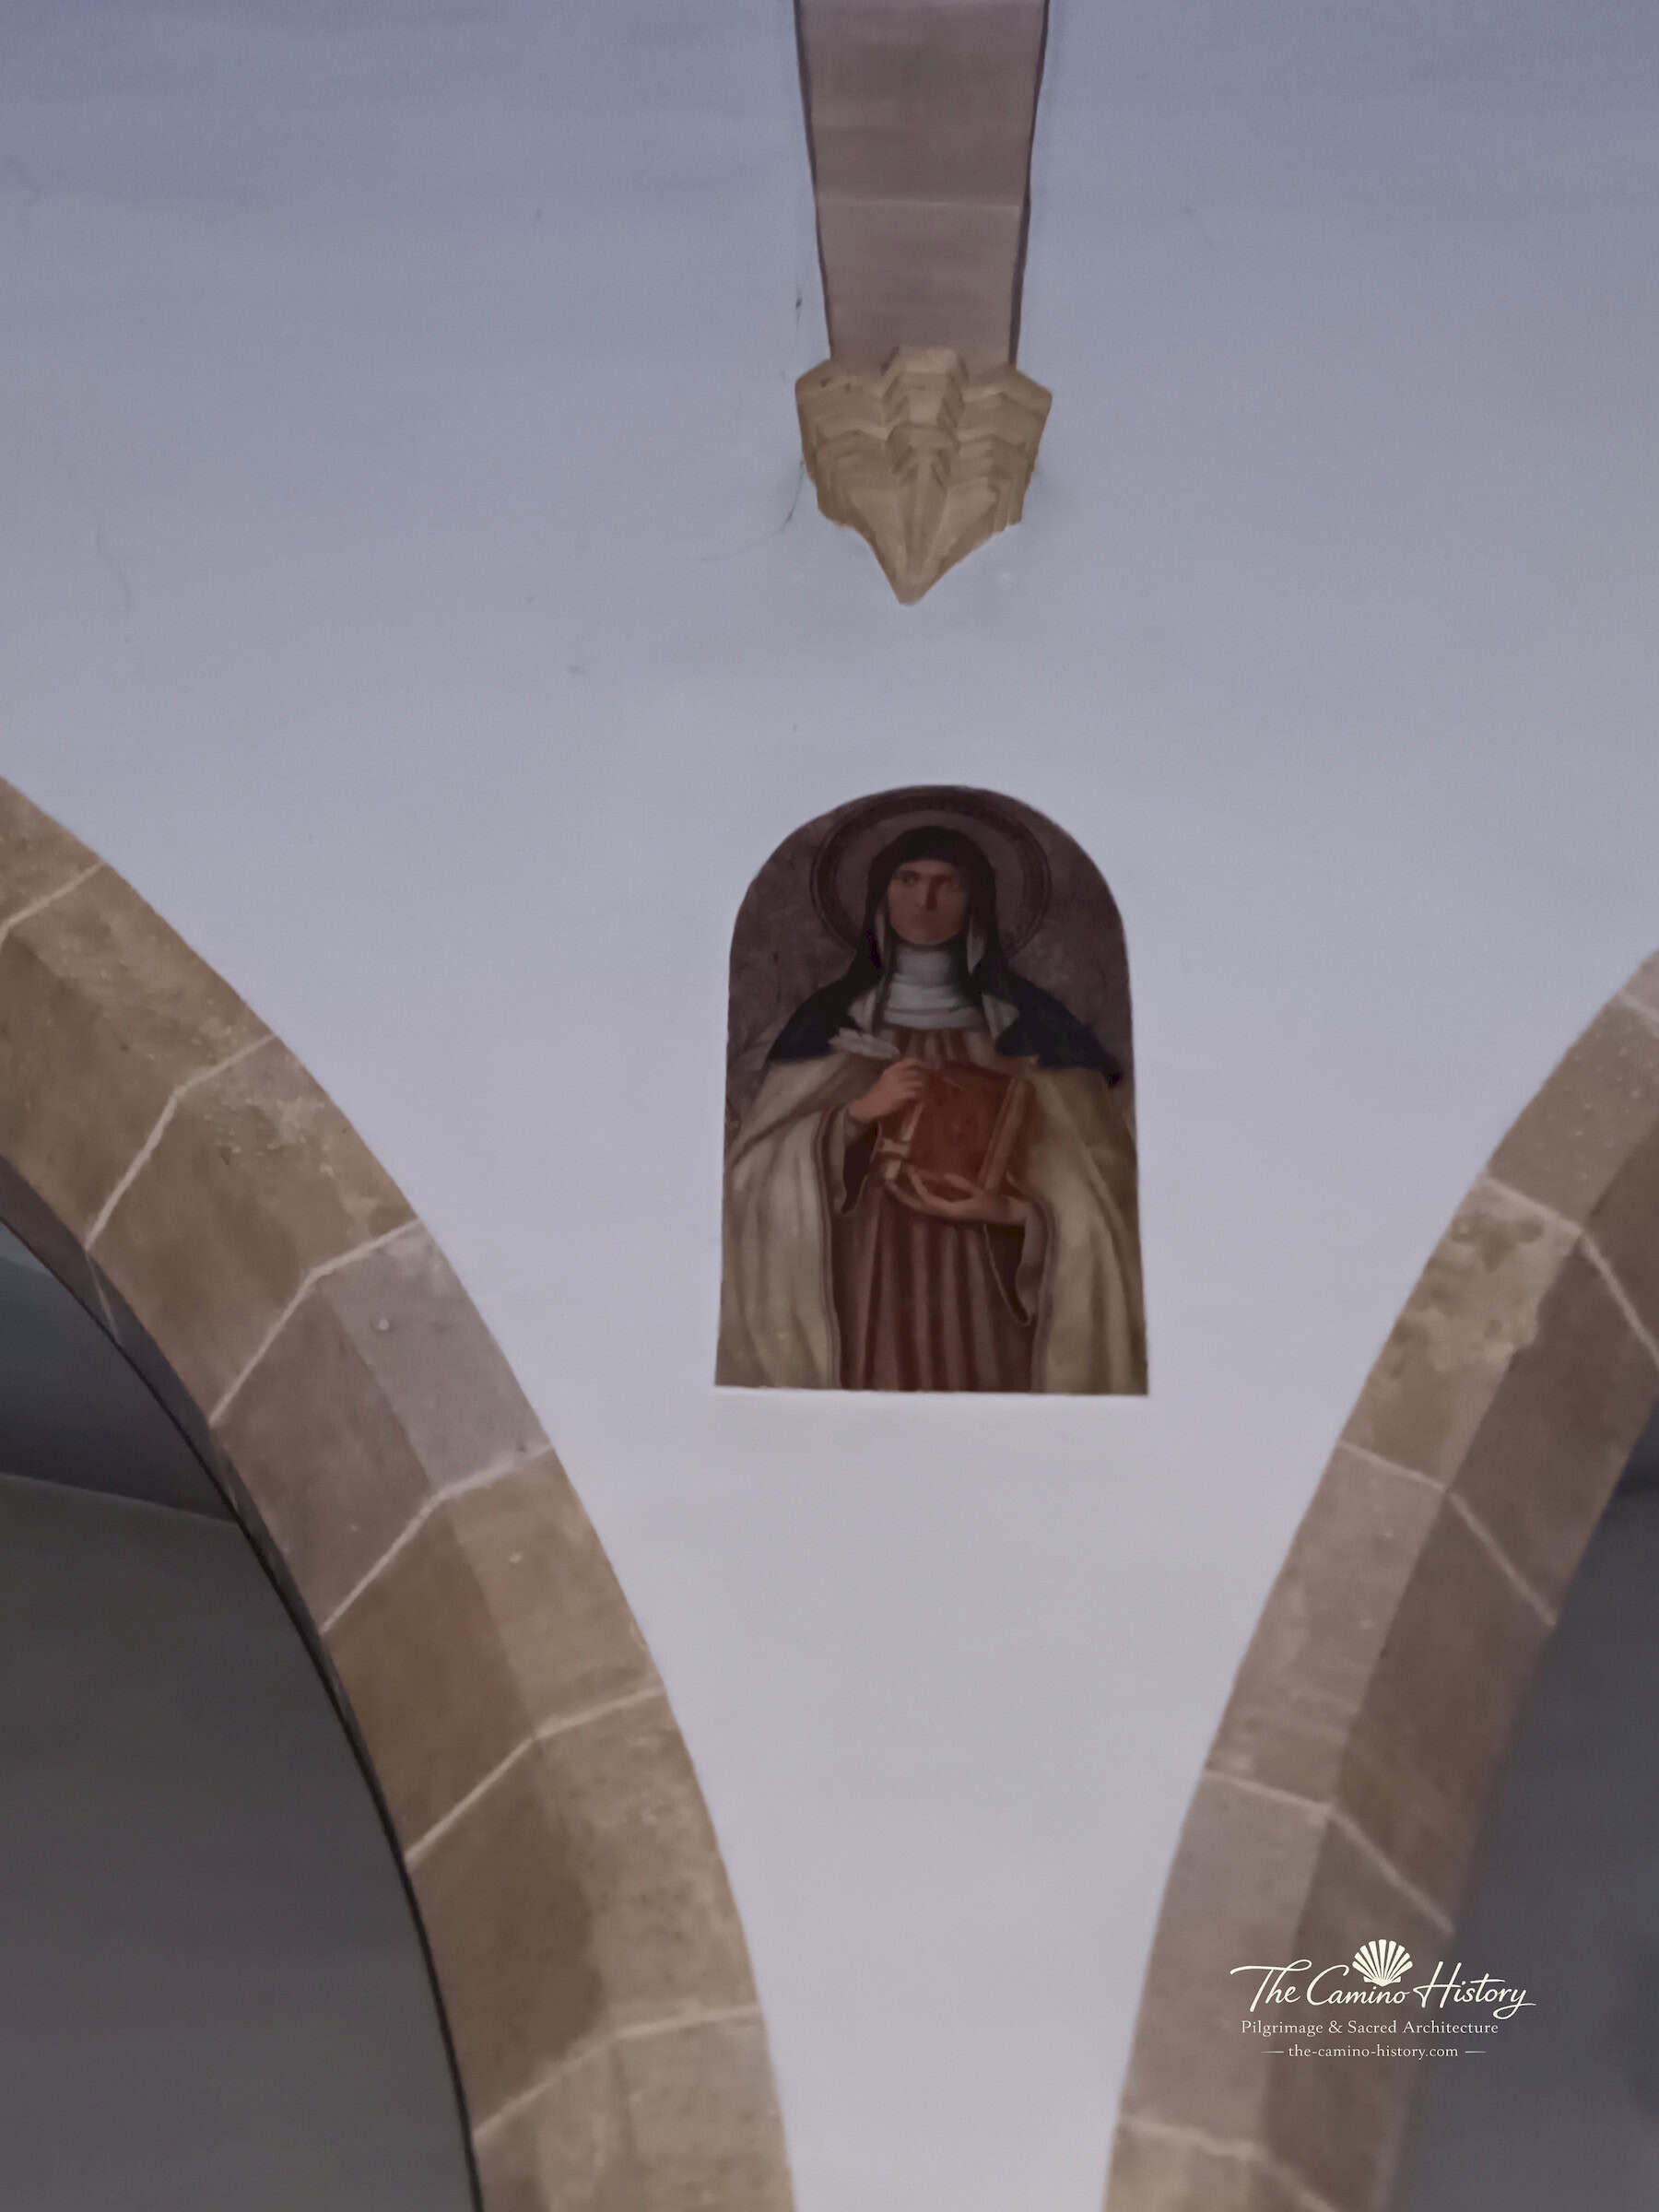
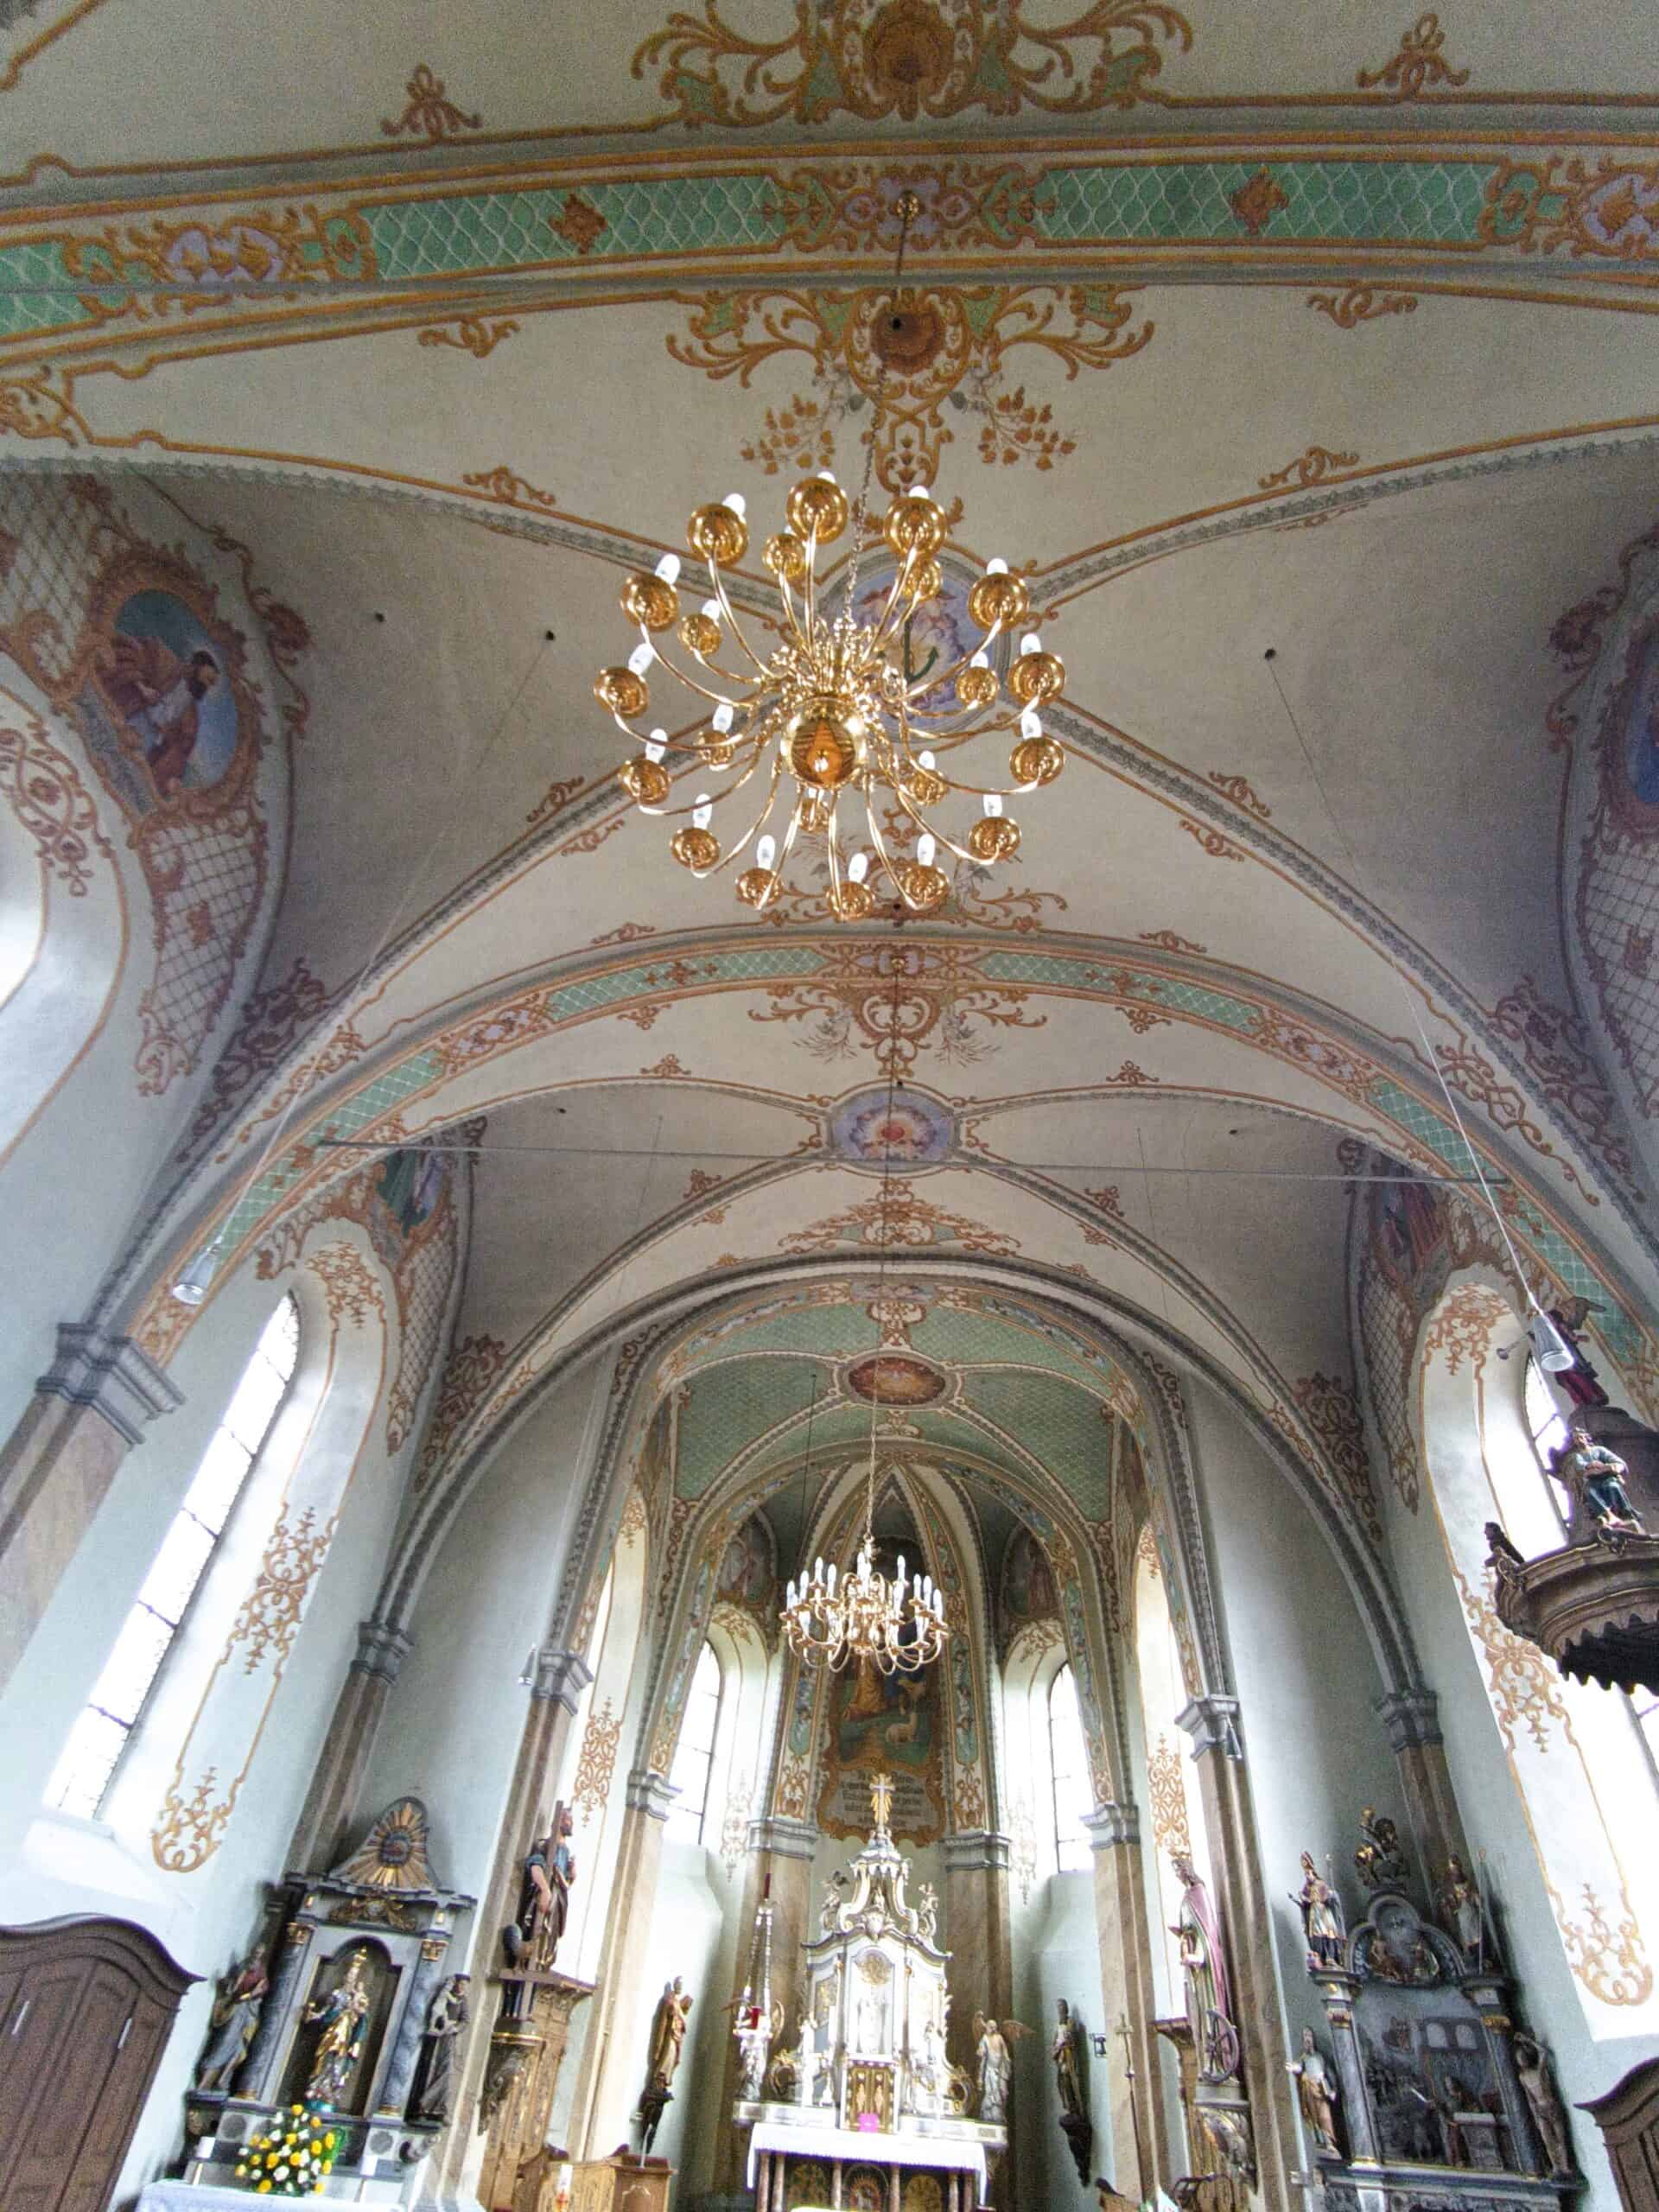
Deckenmalereien im Langhaus – Vaucouleurs · Saint Laurent, fotografische Ansicht 1
Deckenmalereien im LanghausVaucouleurs · Saint Laurent · Um 1860Foto: The Camino History
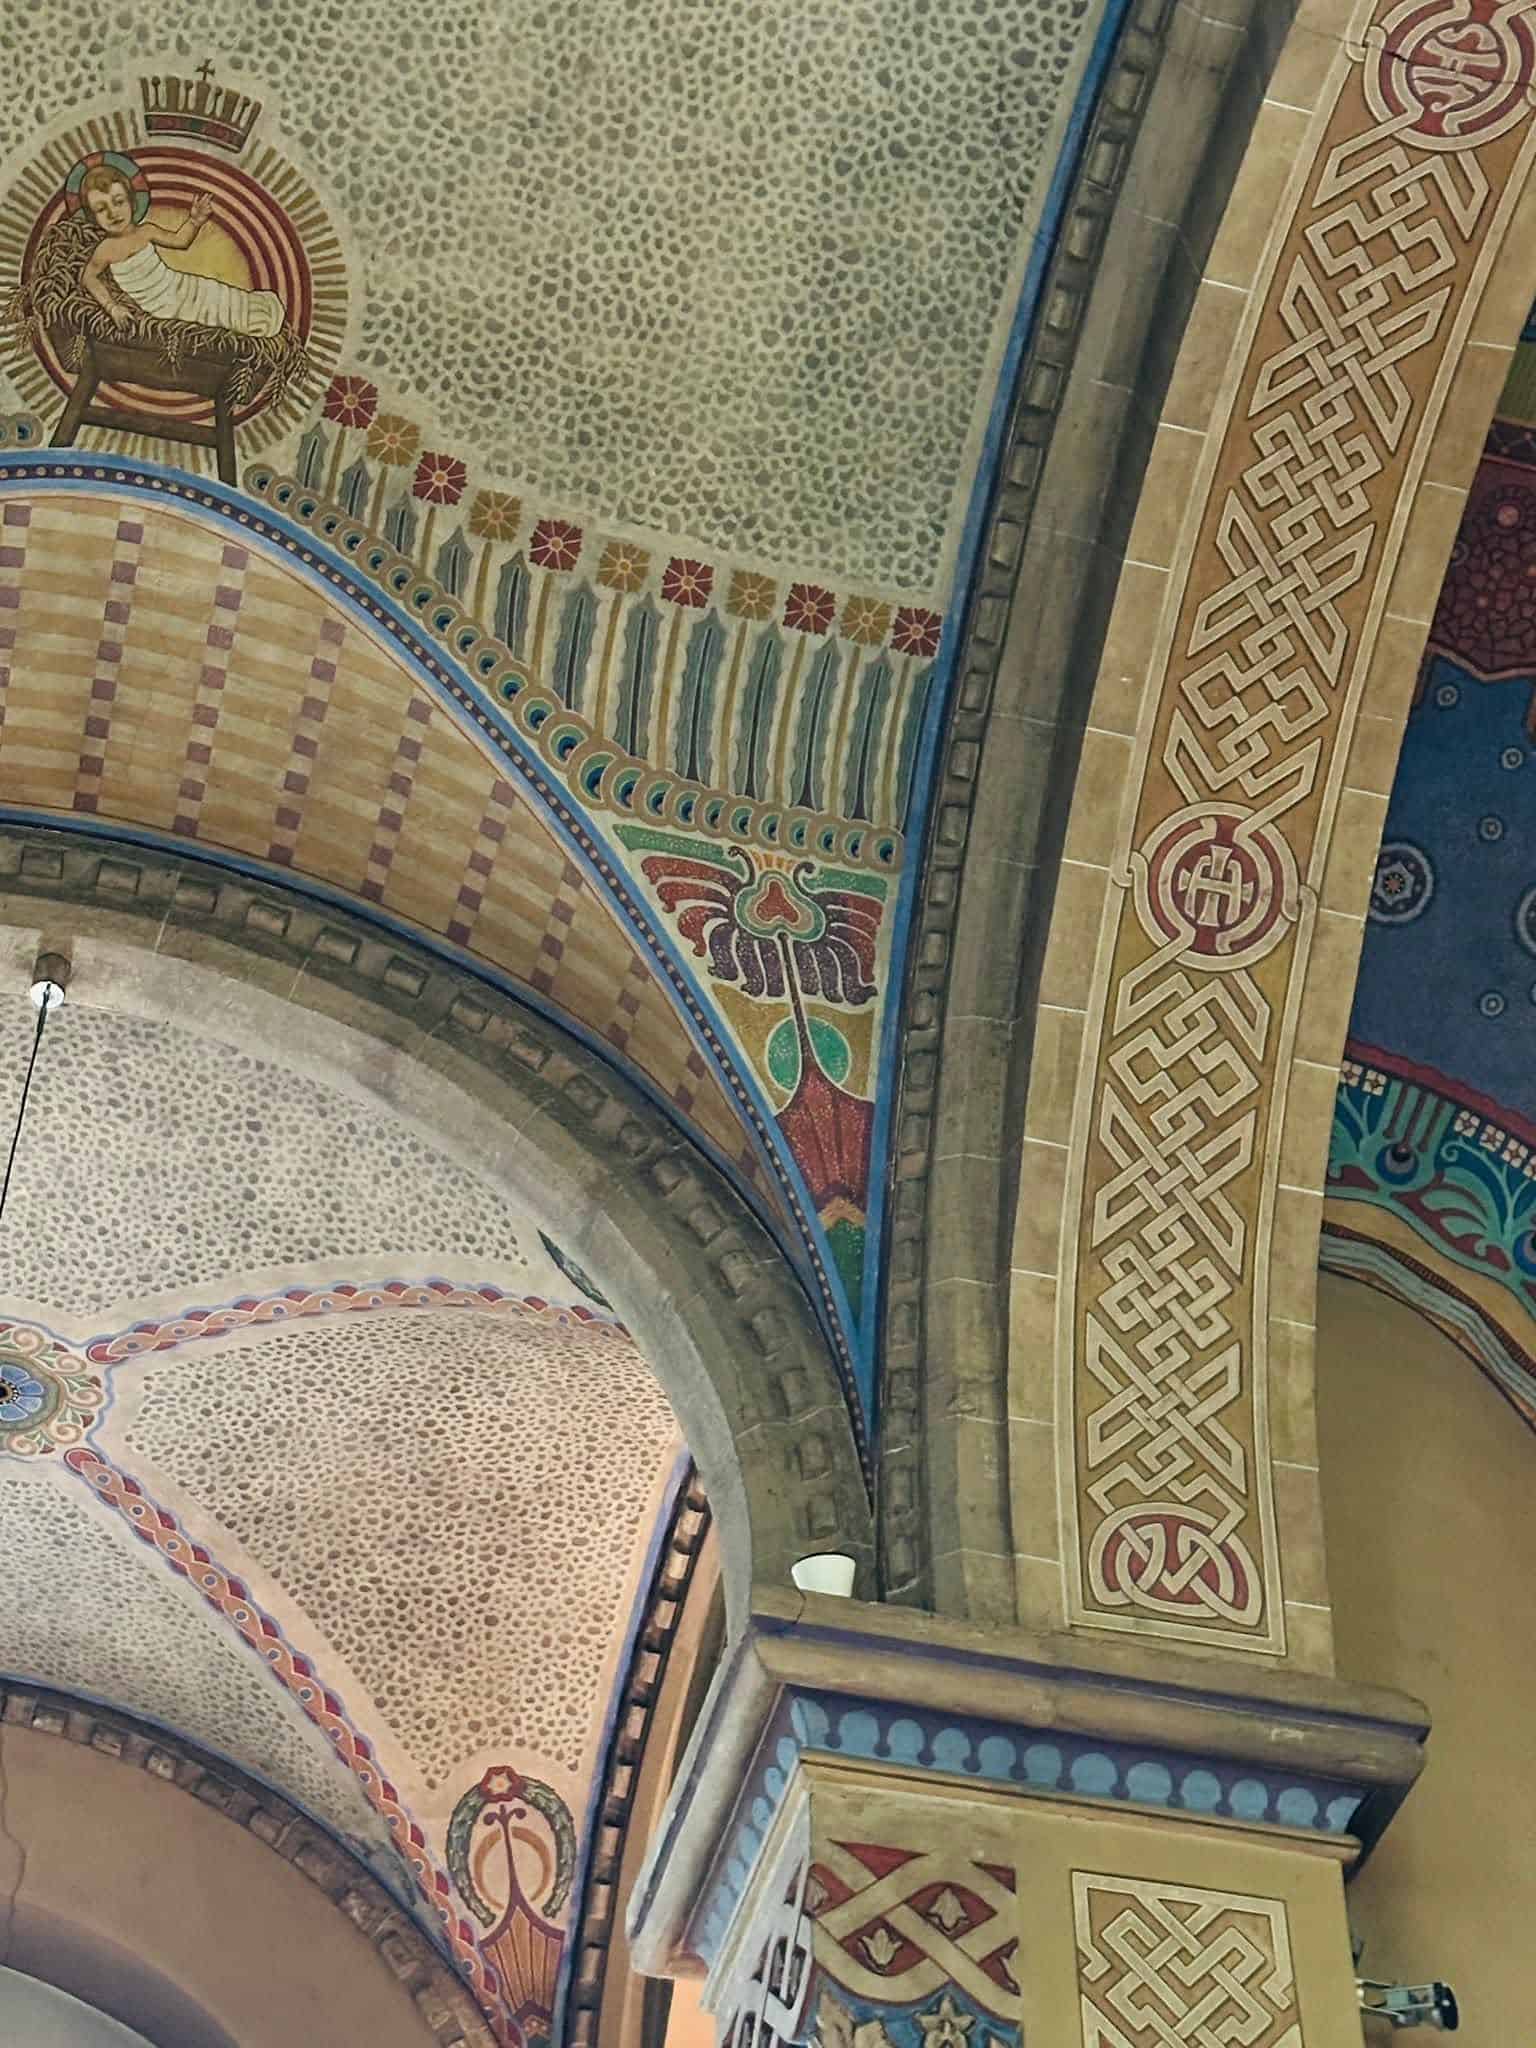
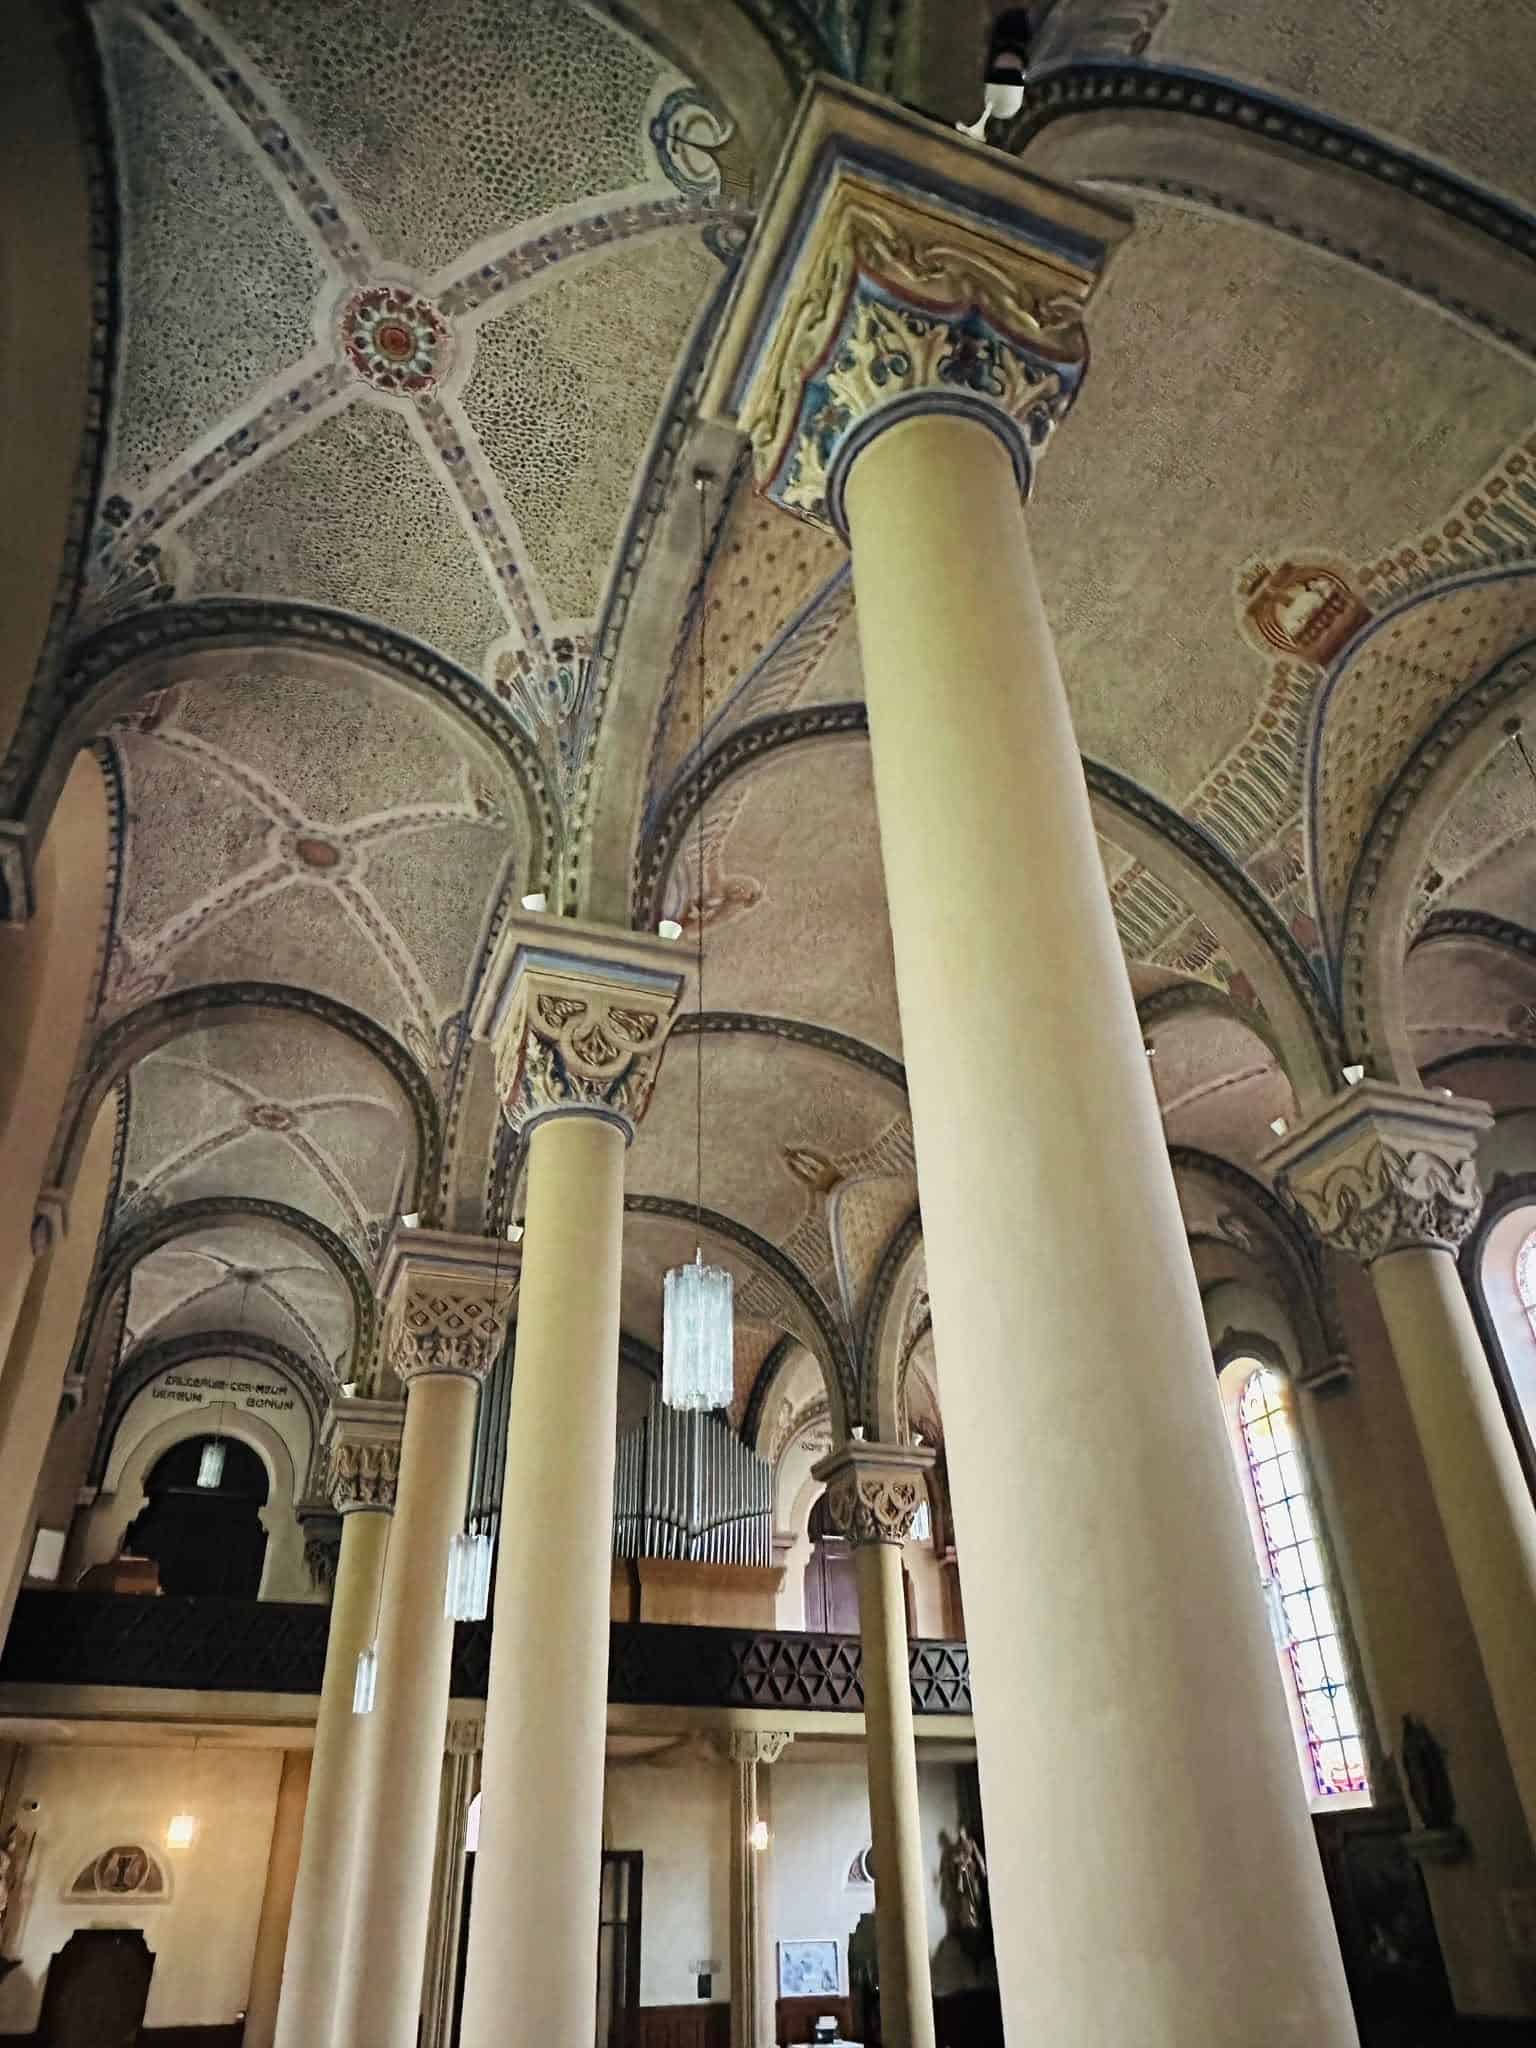
Deckenmalereien im Langhaus – Vaucouleurs · Saint Laurent, fotografische Ansicht 3
Deckenmalereien im LanghausVaucouleurs · Saint Laurent · Um 1860Foto: The Camino History
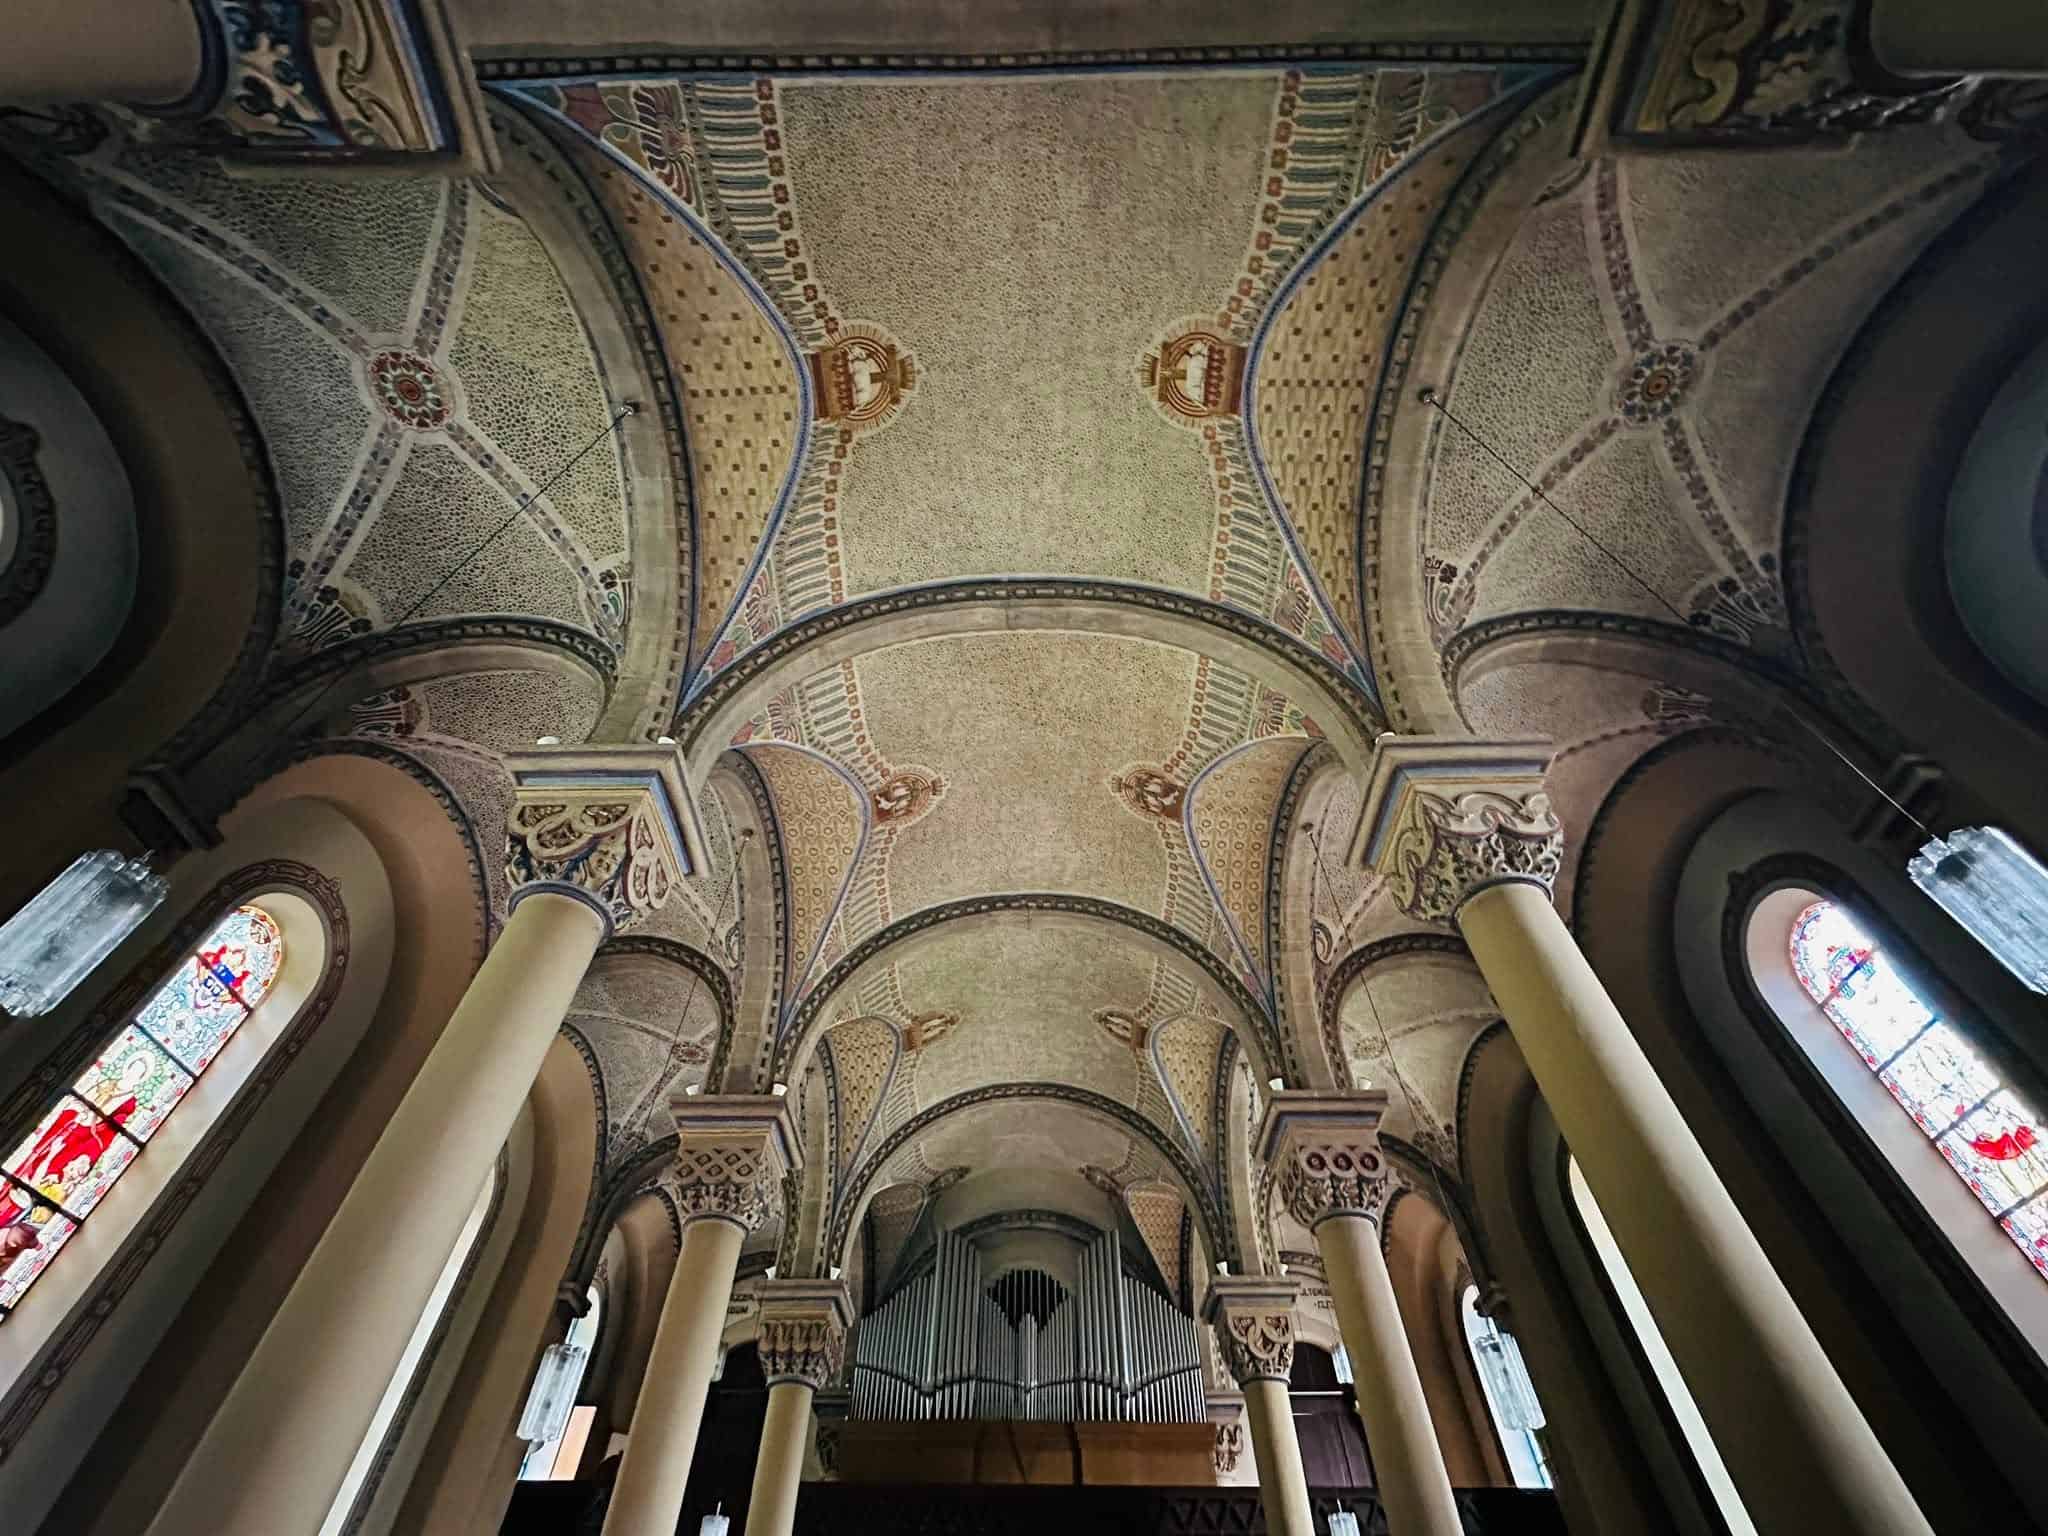
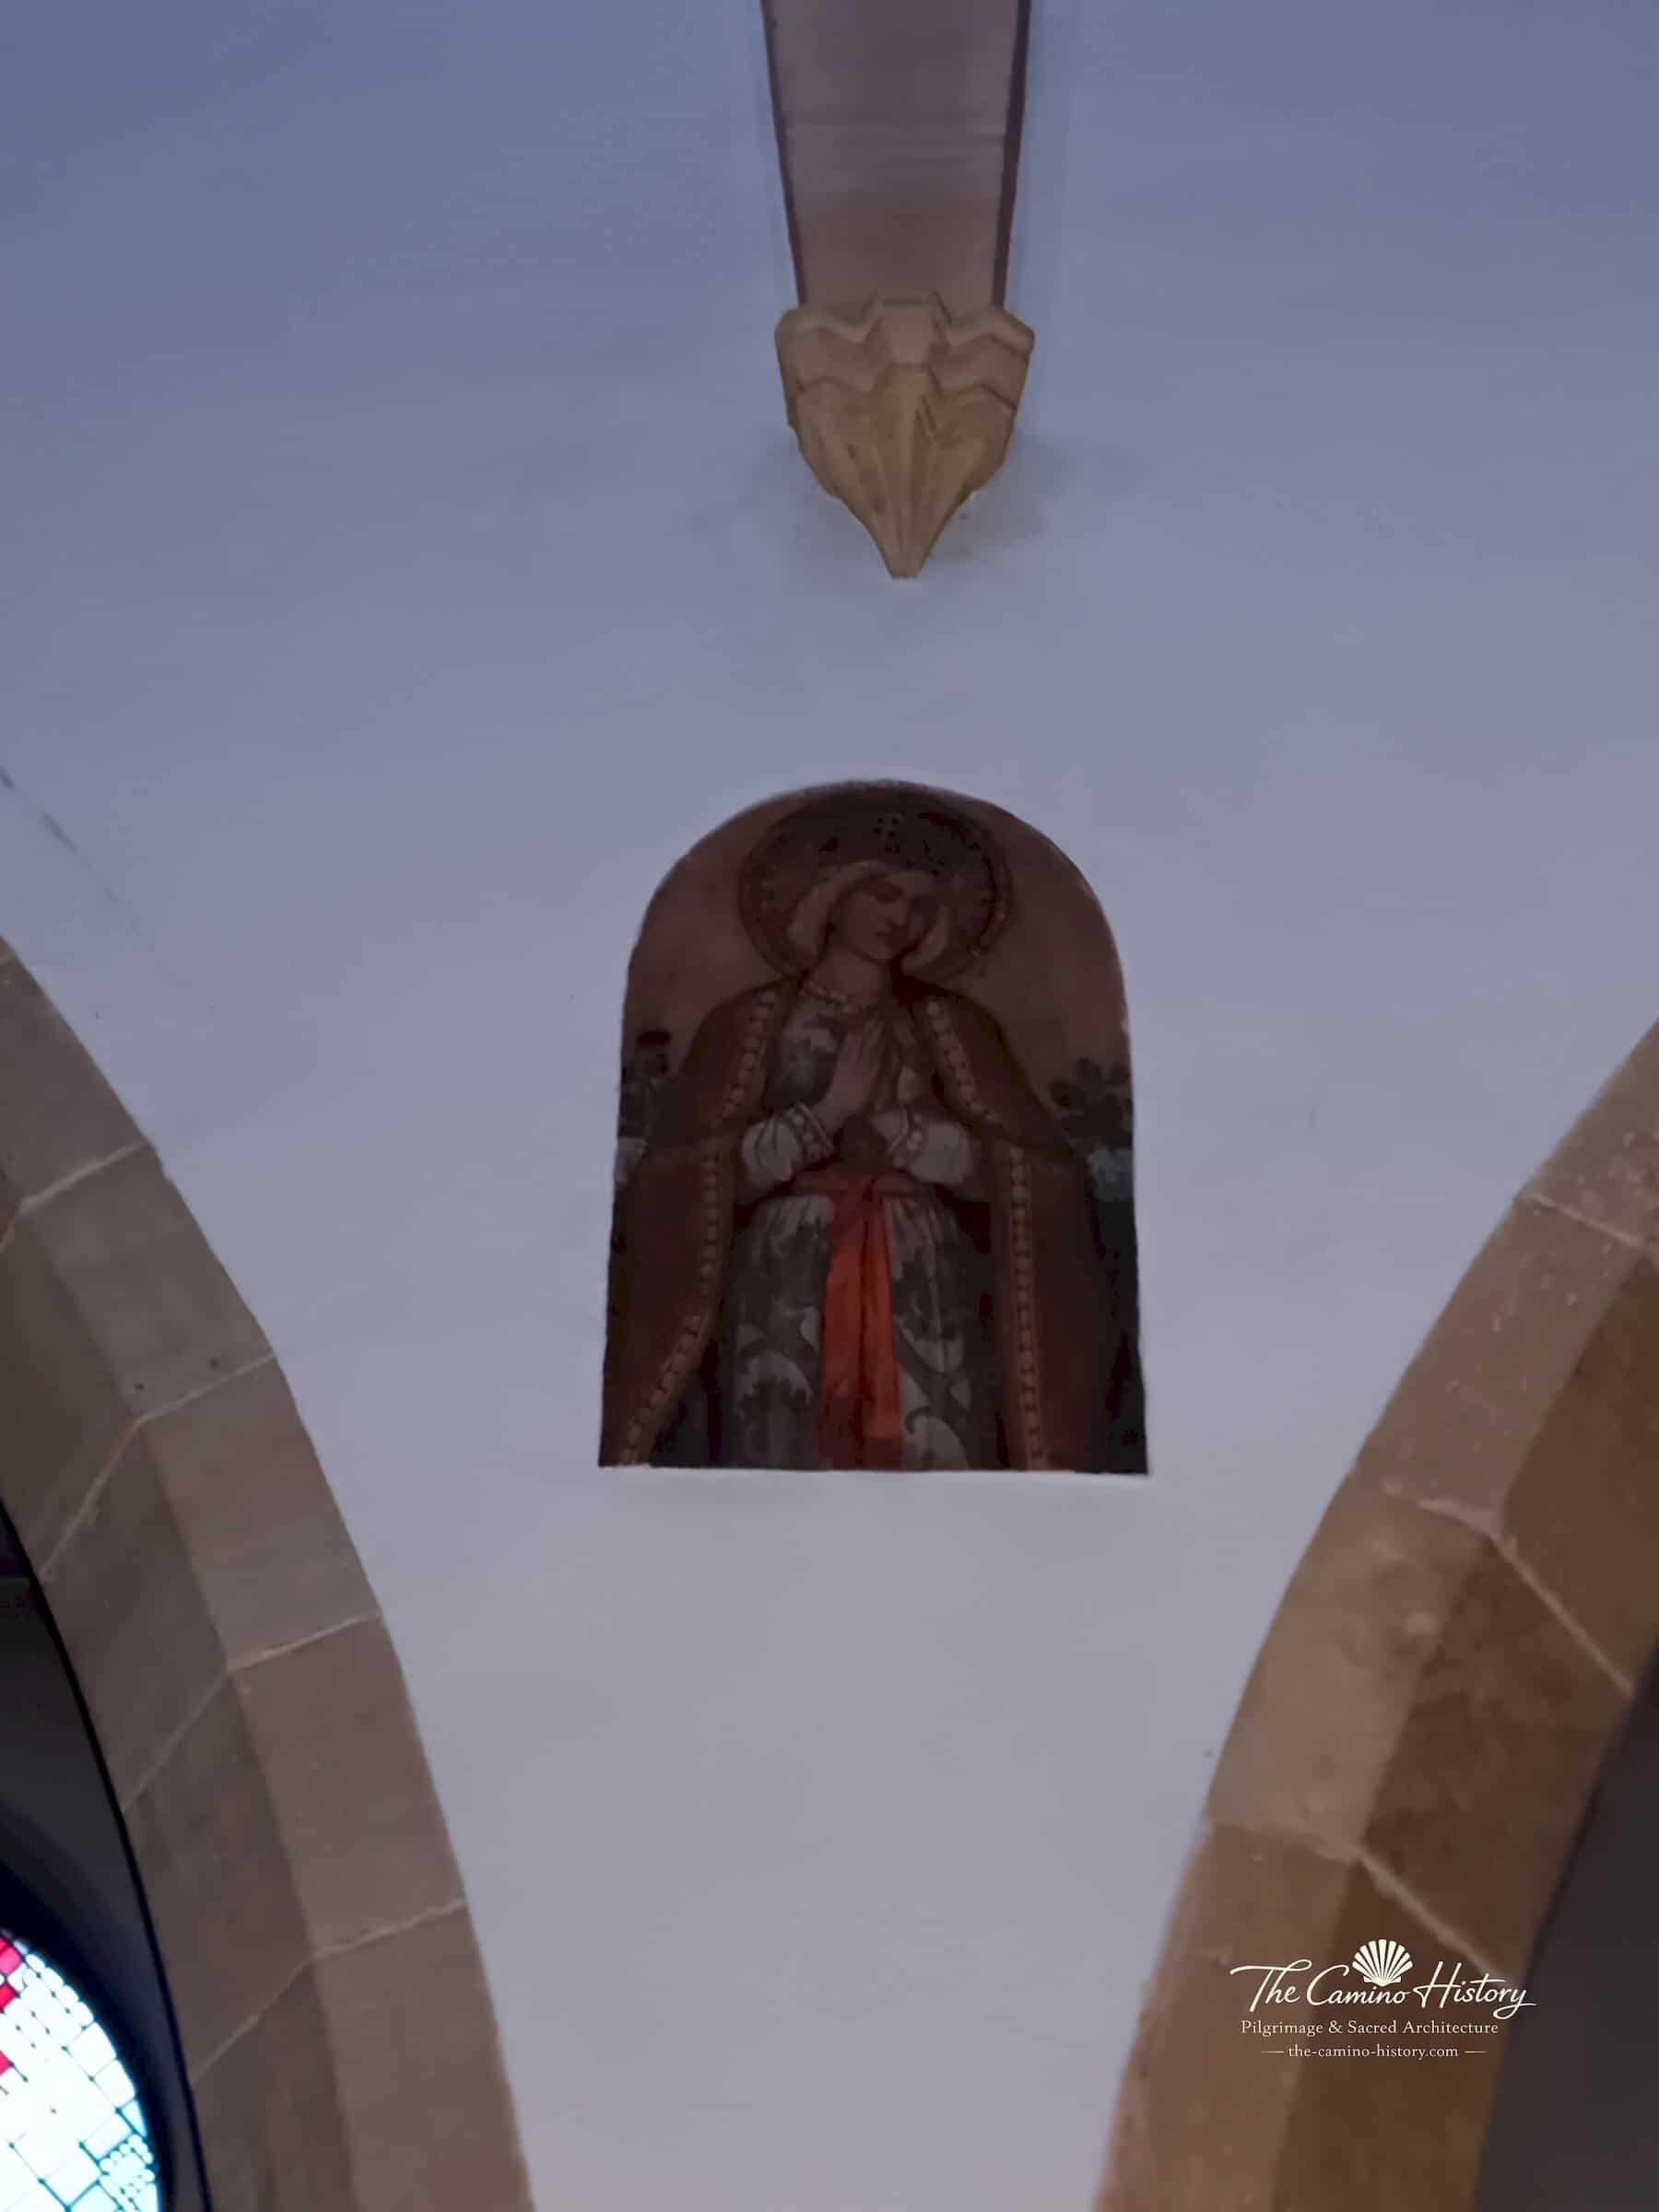
Deckenmalereien im Langhaus – Vaucouleurs · Saint Laurent, fotografische Ansicht 5
Deckenmalereien im LanghausVaucouleurs · Saint Laurent · Um 1860Foto: The Camino History
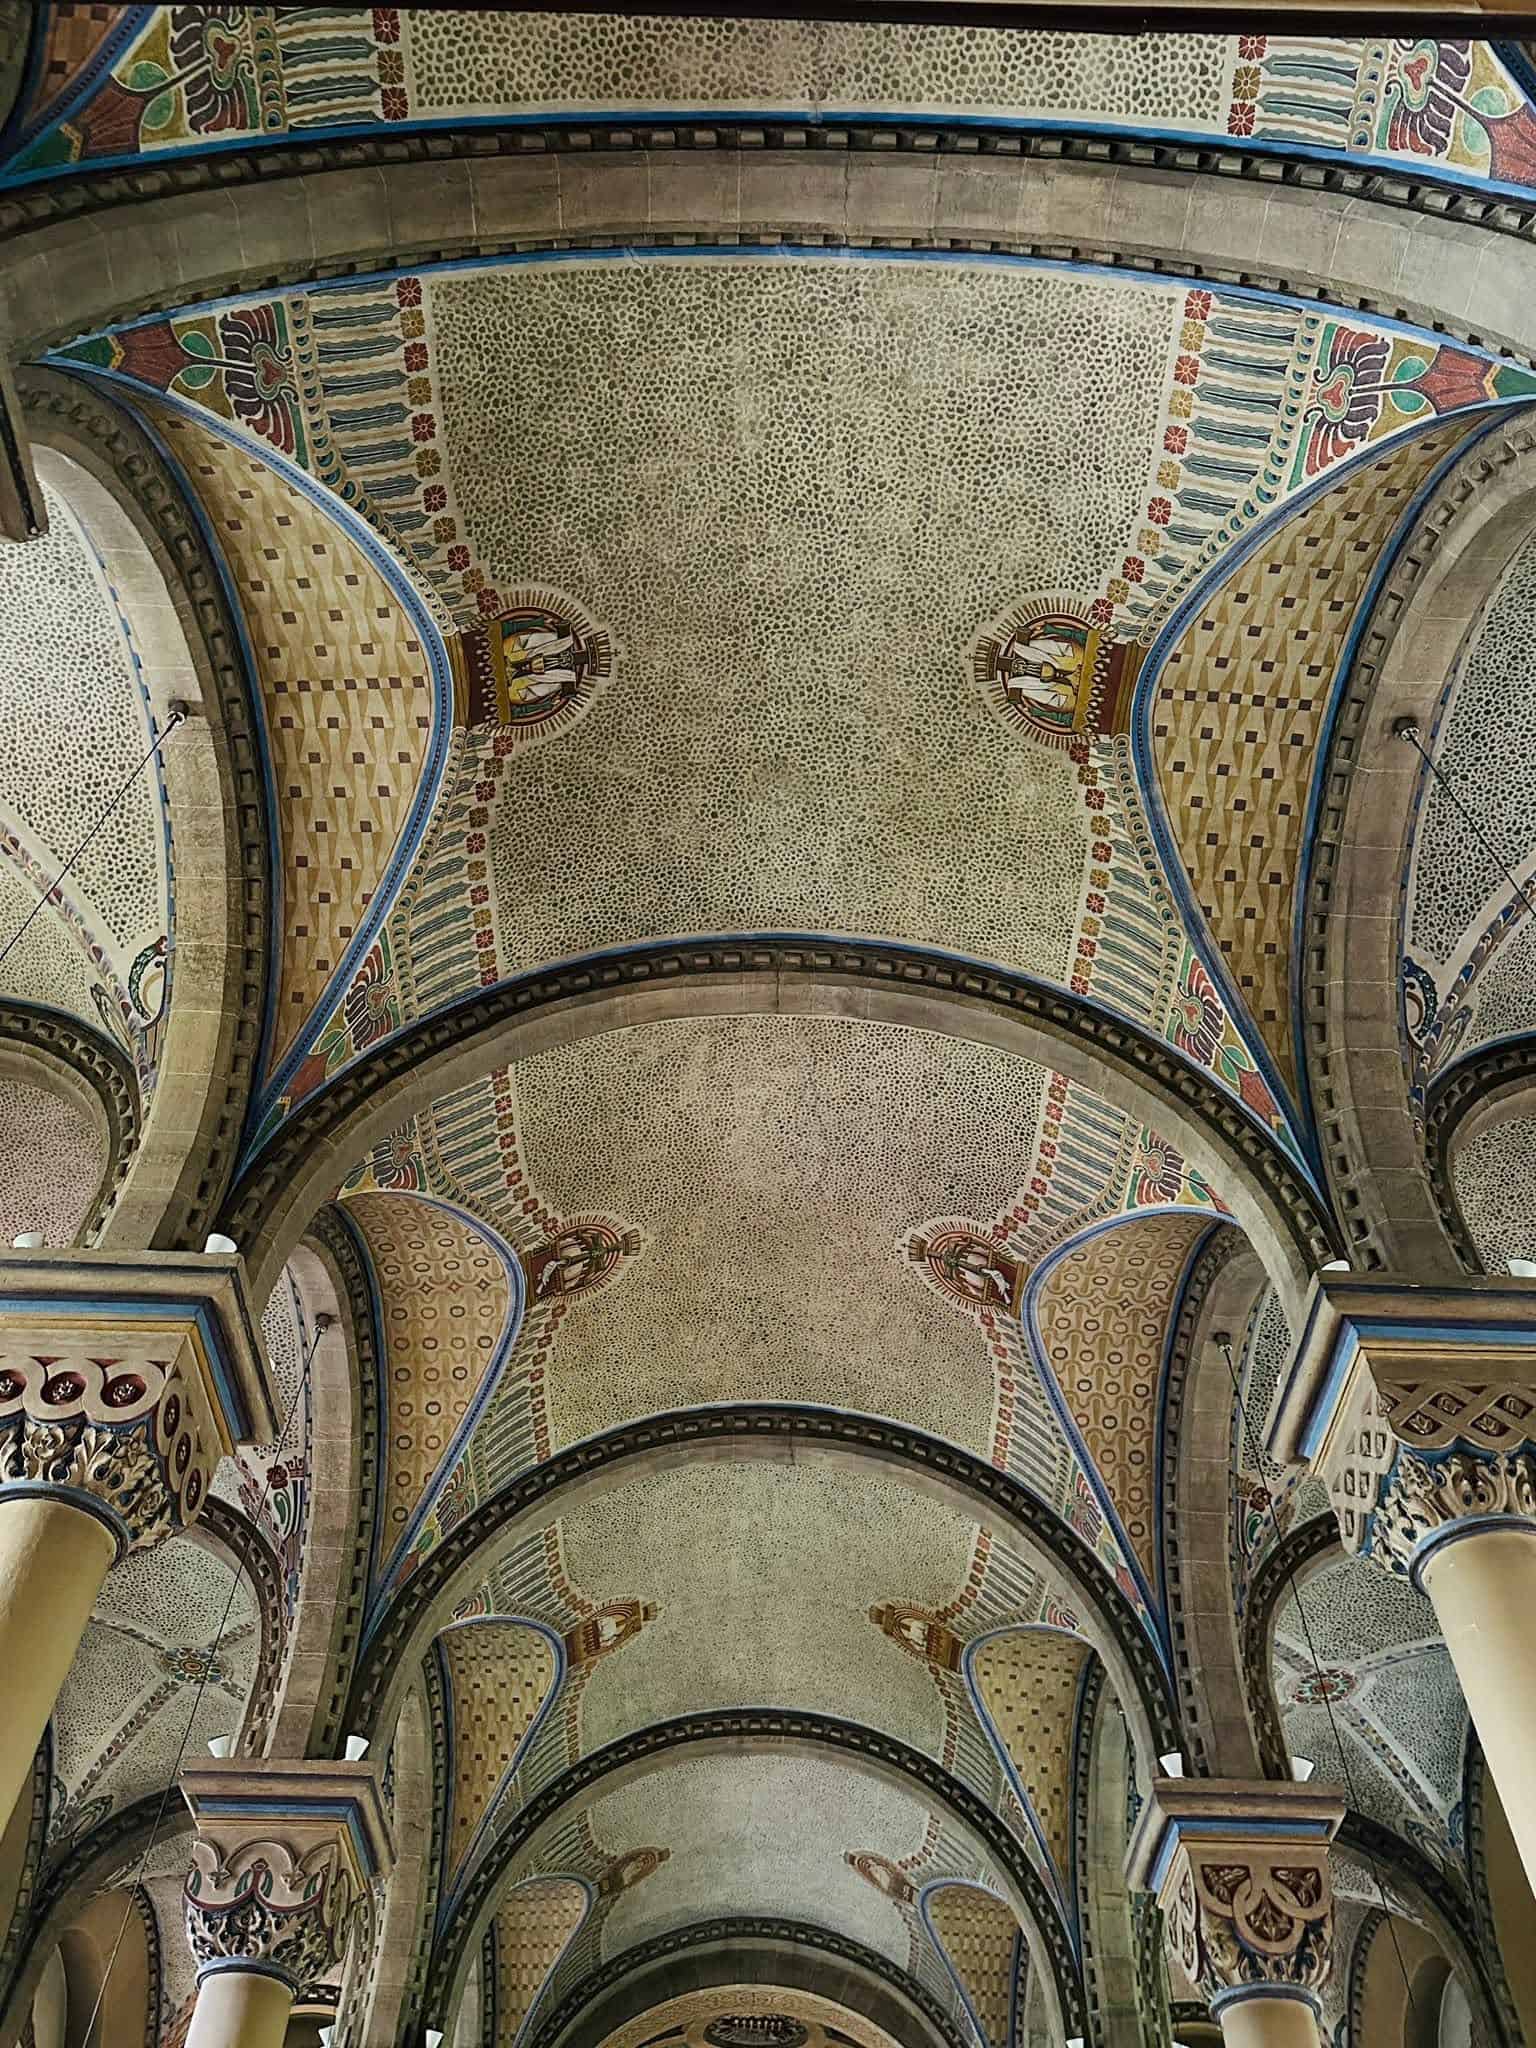
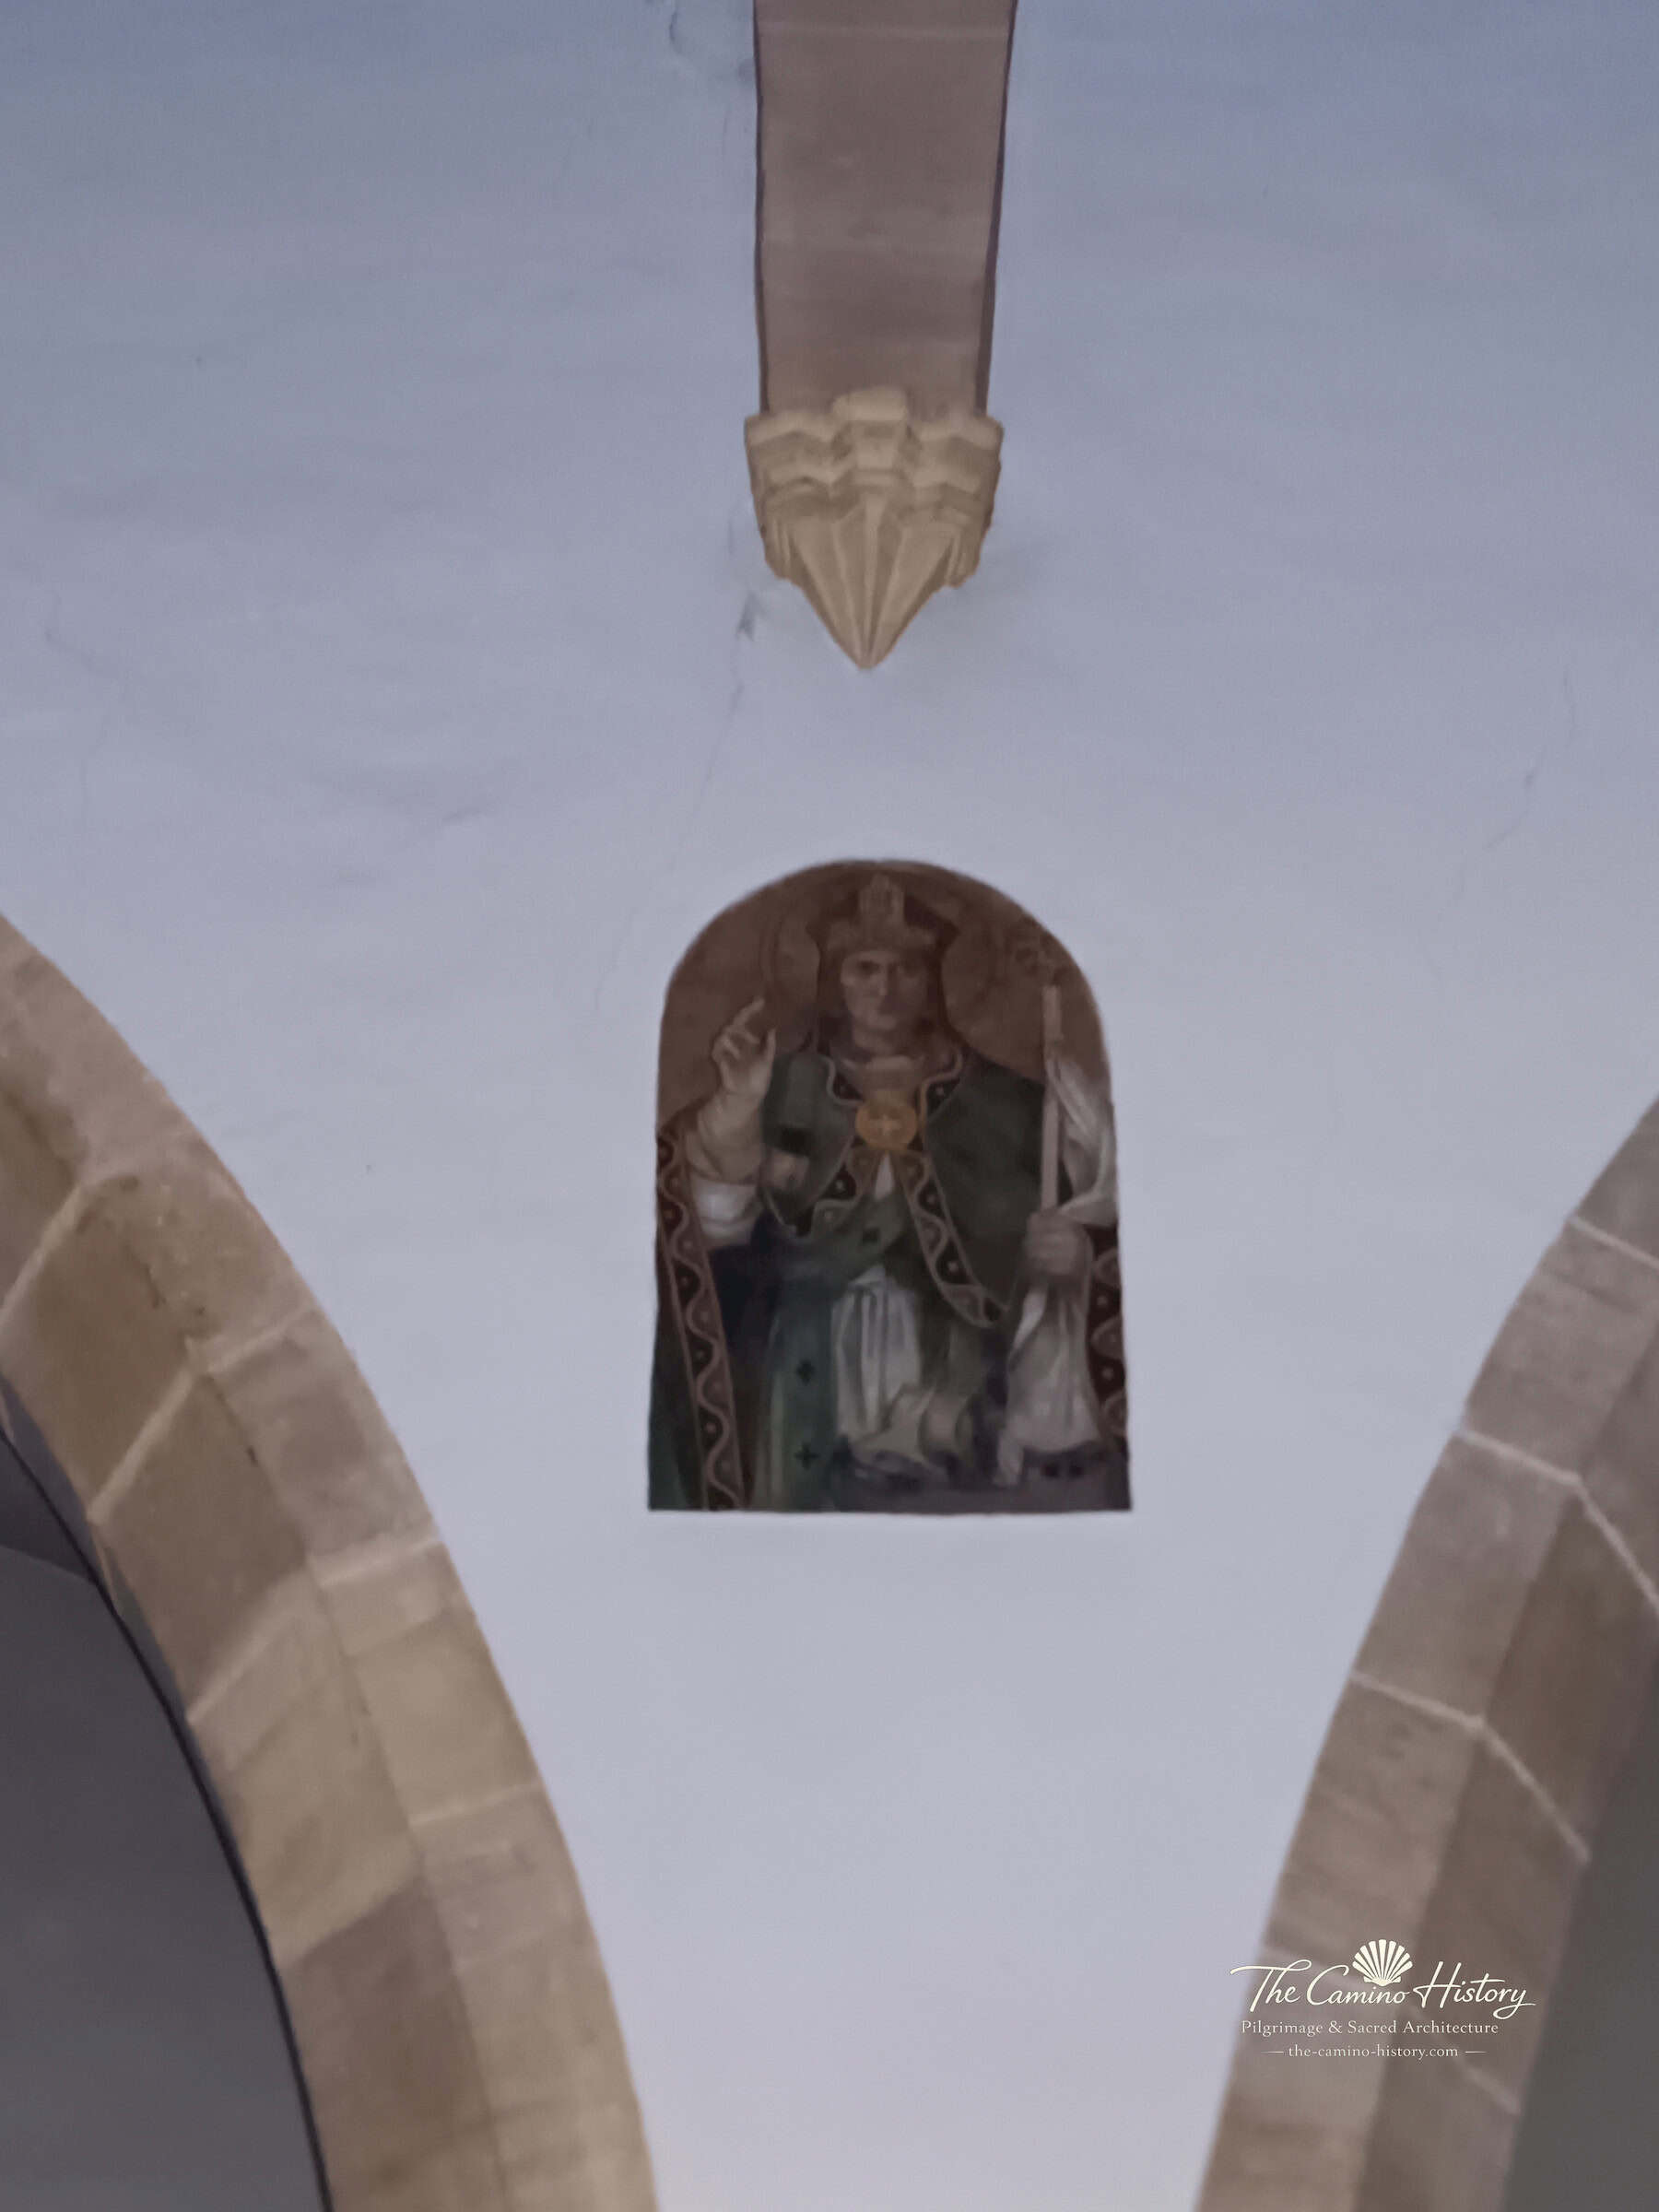
Deckenmalereien im Langhaus – Vaucouleurs · Saint Laurent, fotografische Ansicht 2
Deckenmalereien im LanghausVaucouleurs · Saint Laurent · Um 1860Foto: The Camino History
Deckenmalereien im Langhaus – Vaucouleurs · Saint Laurent, fotografische Ansicht 4
Deckenmalereien im LanghausVaucouleurs · Saint Laurent · Um 1860Foto: The Camino History
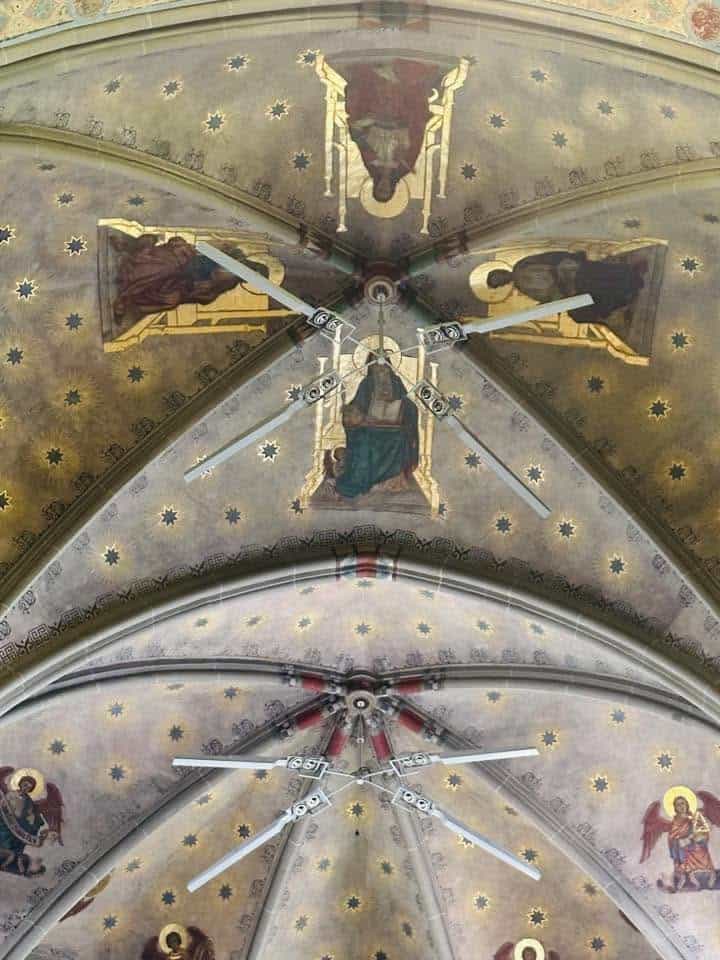
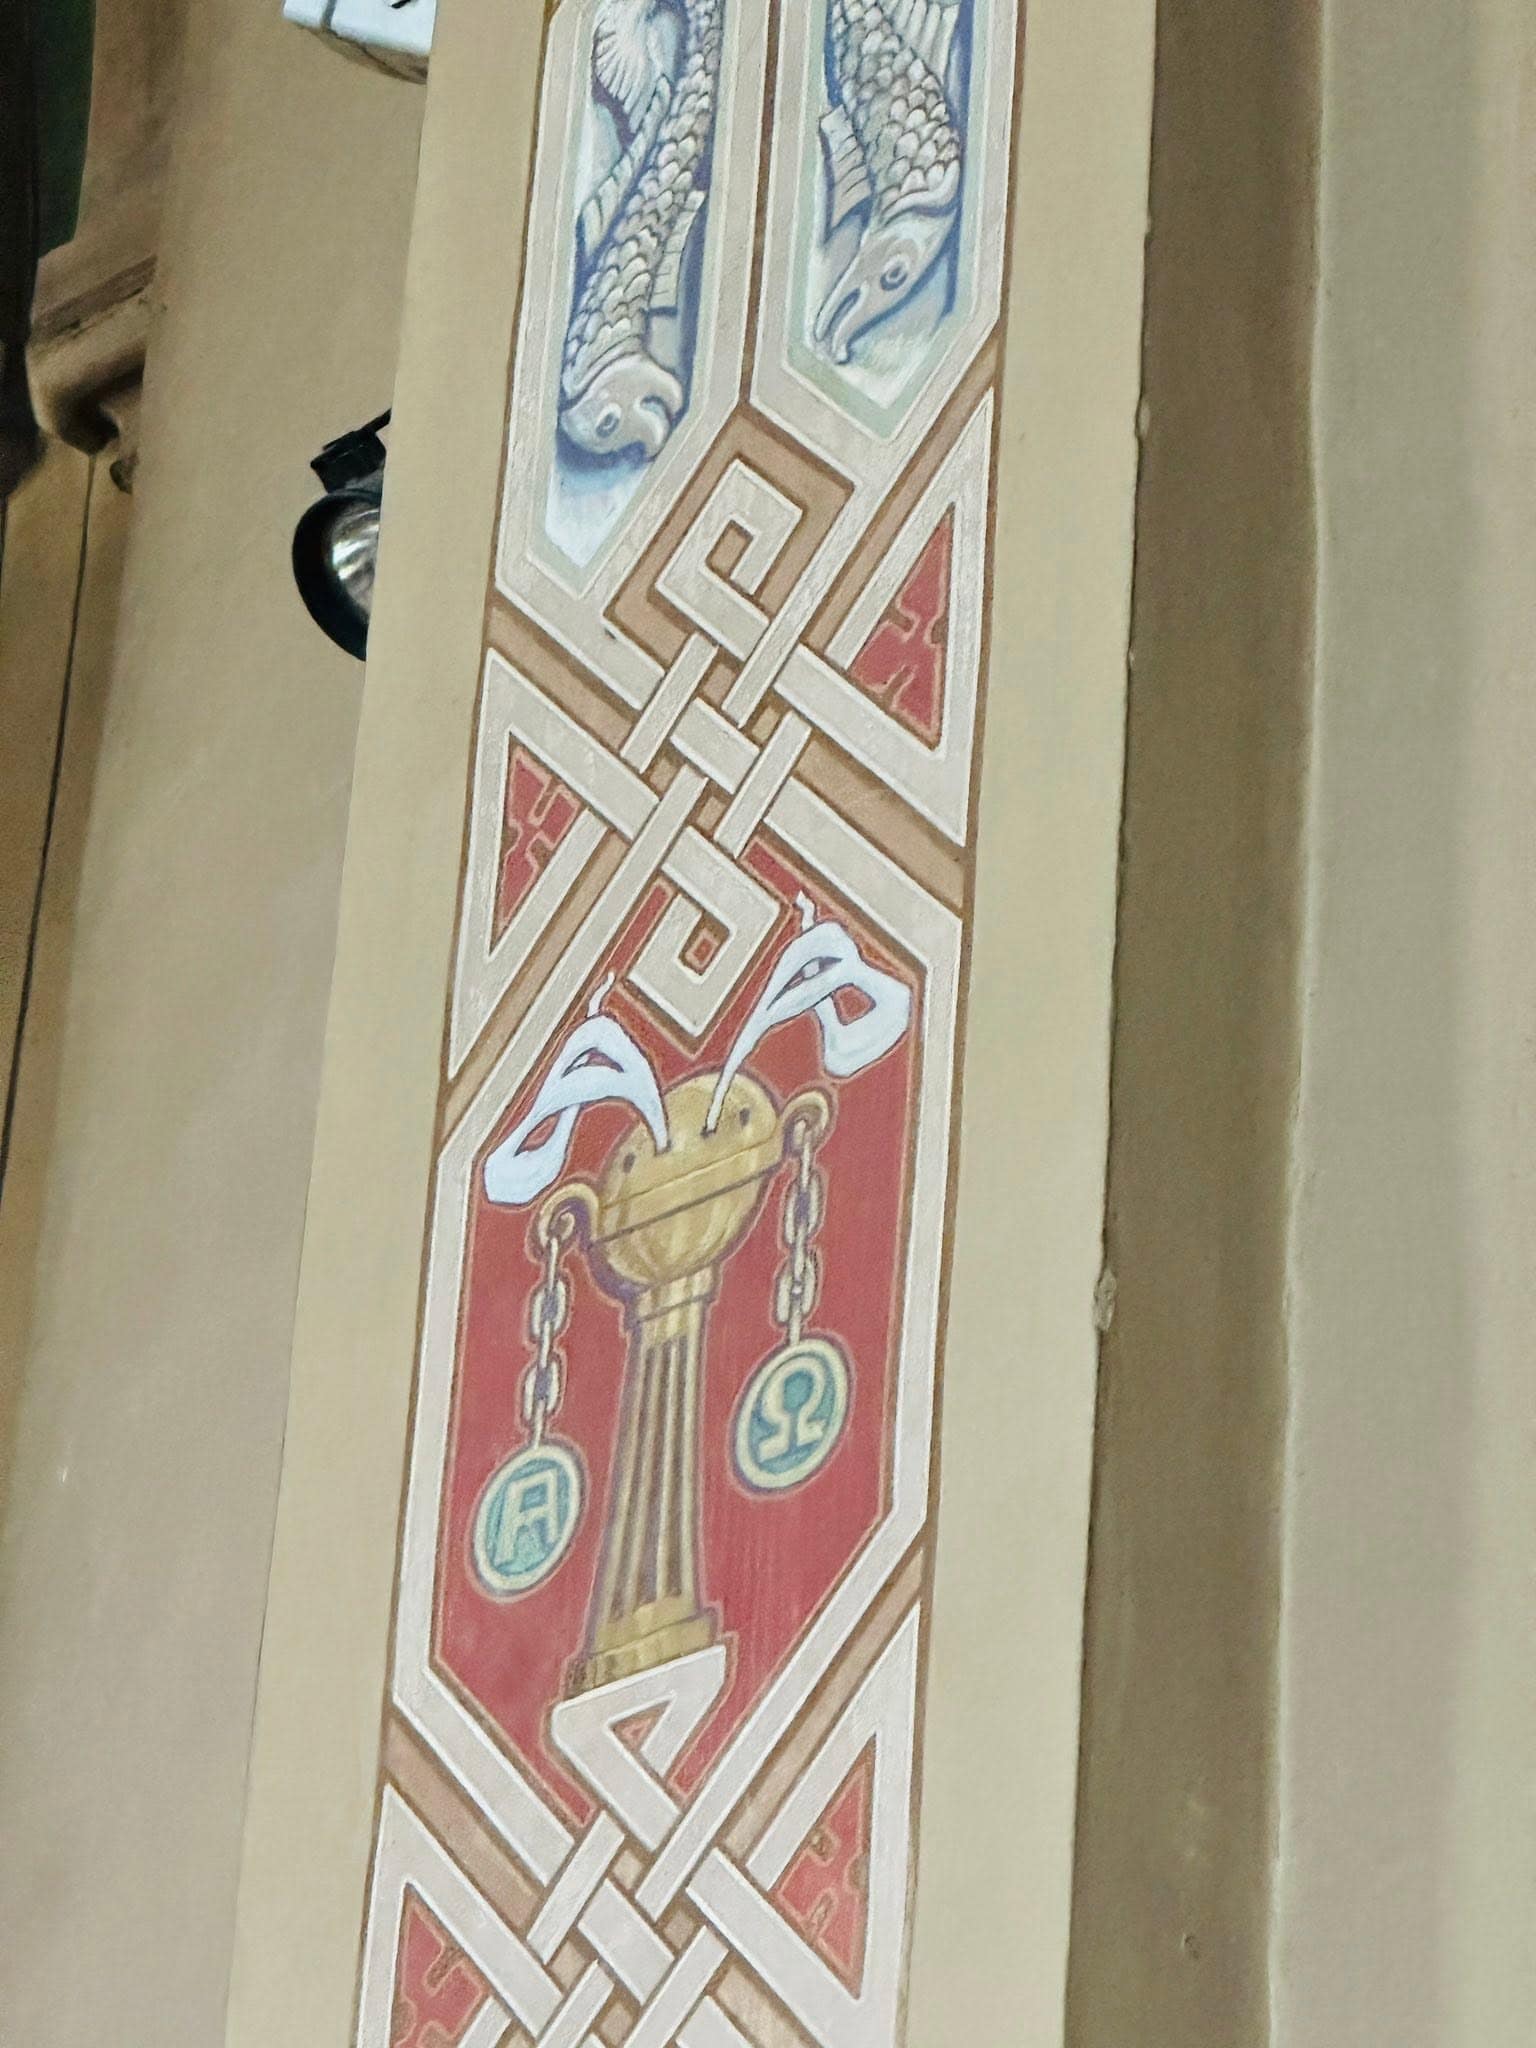
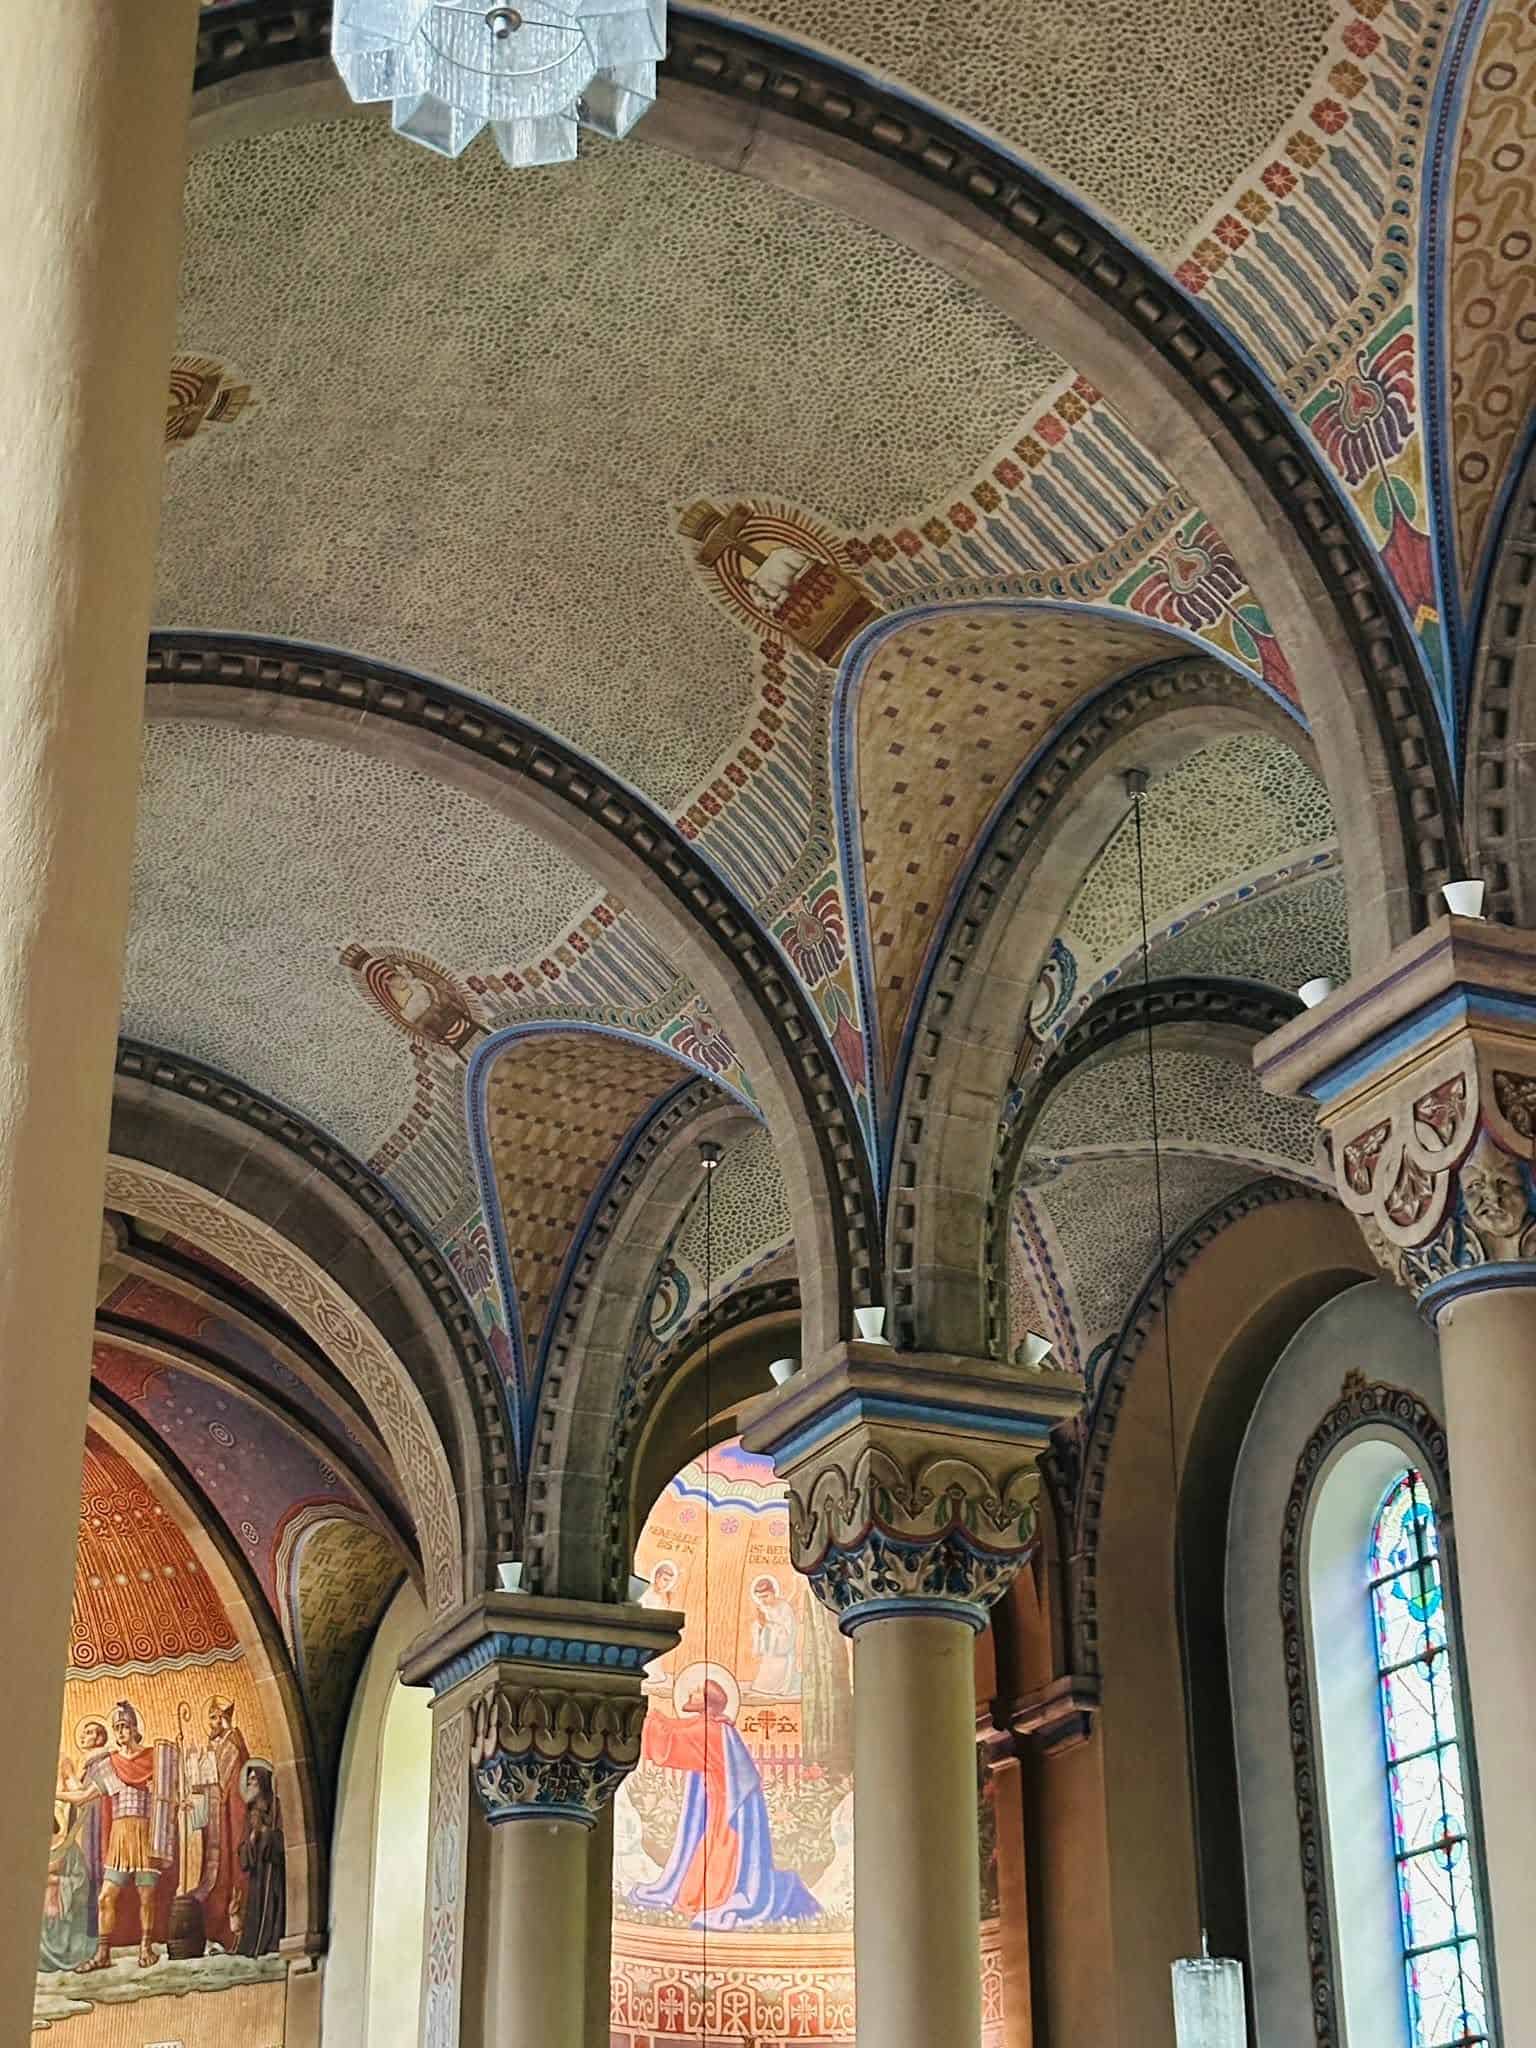
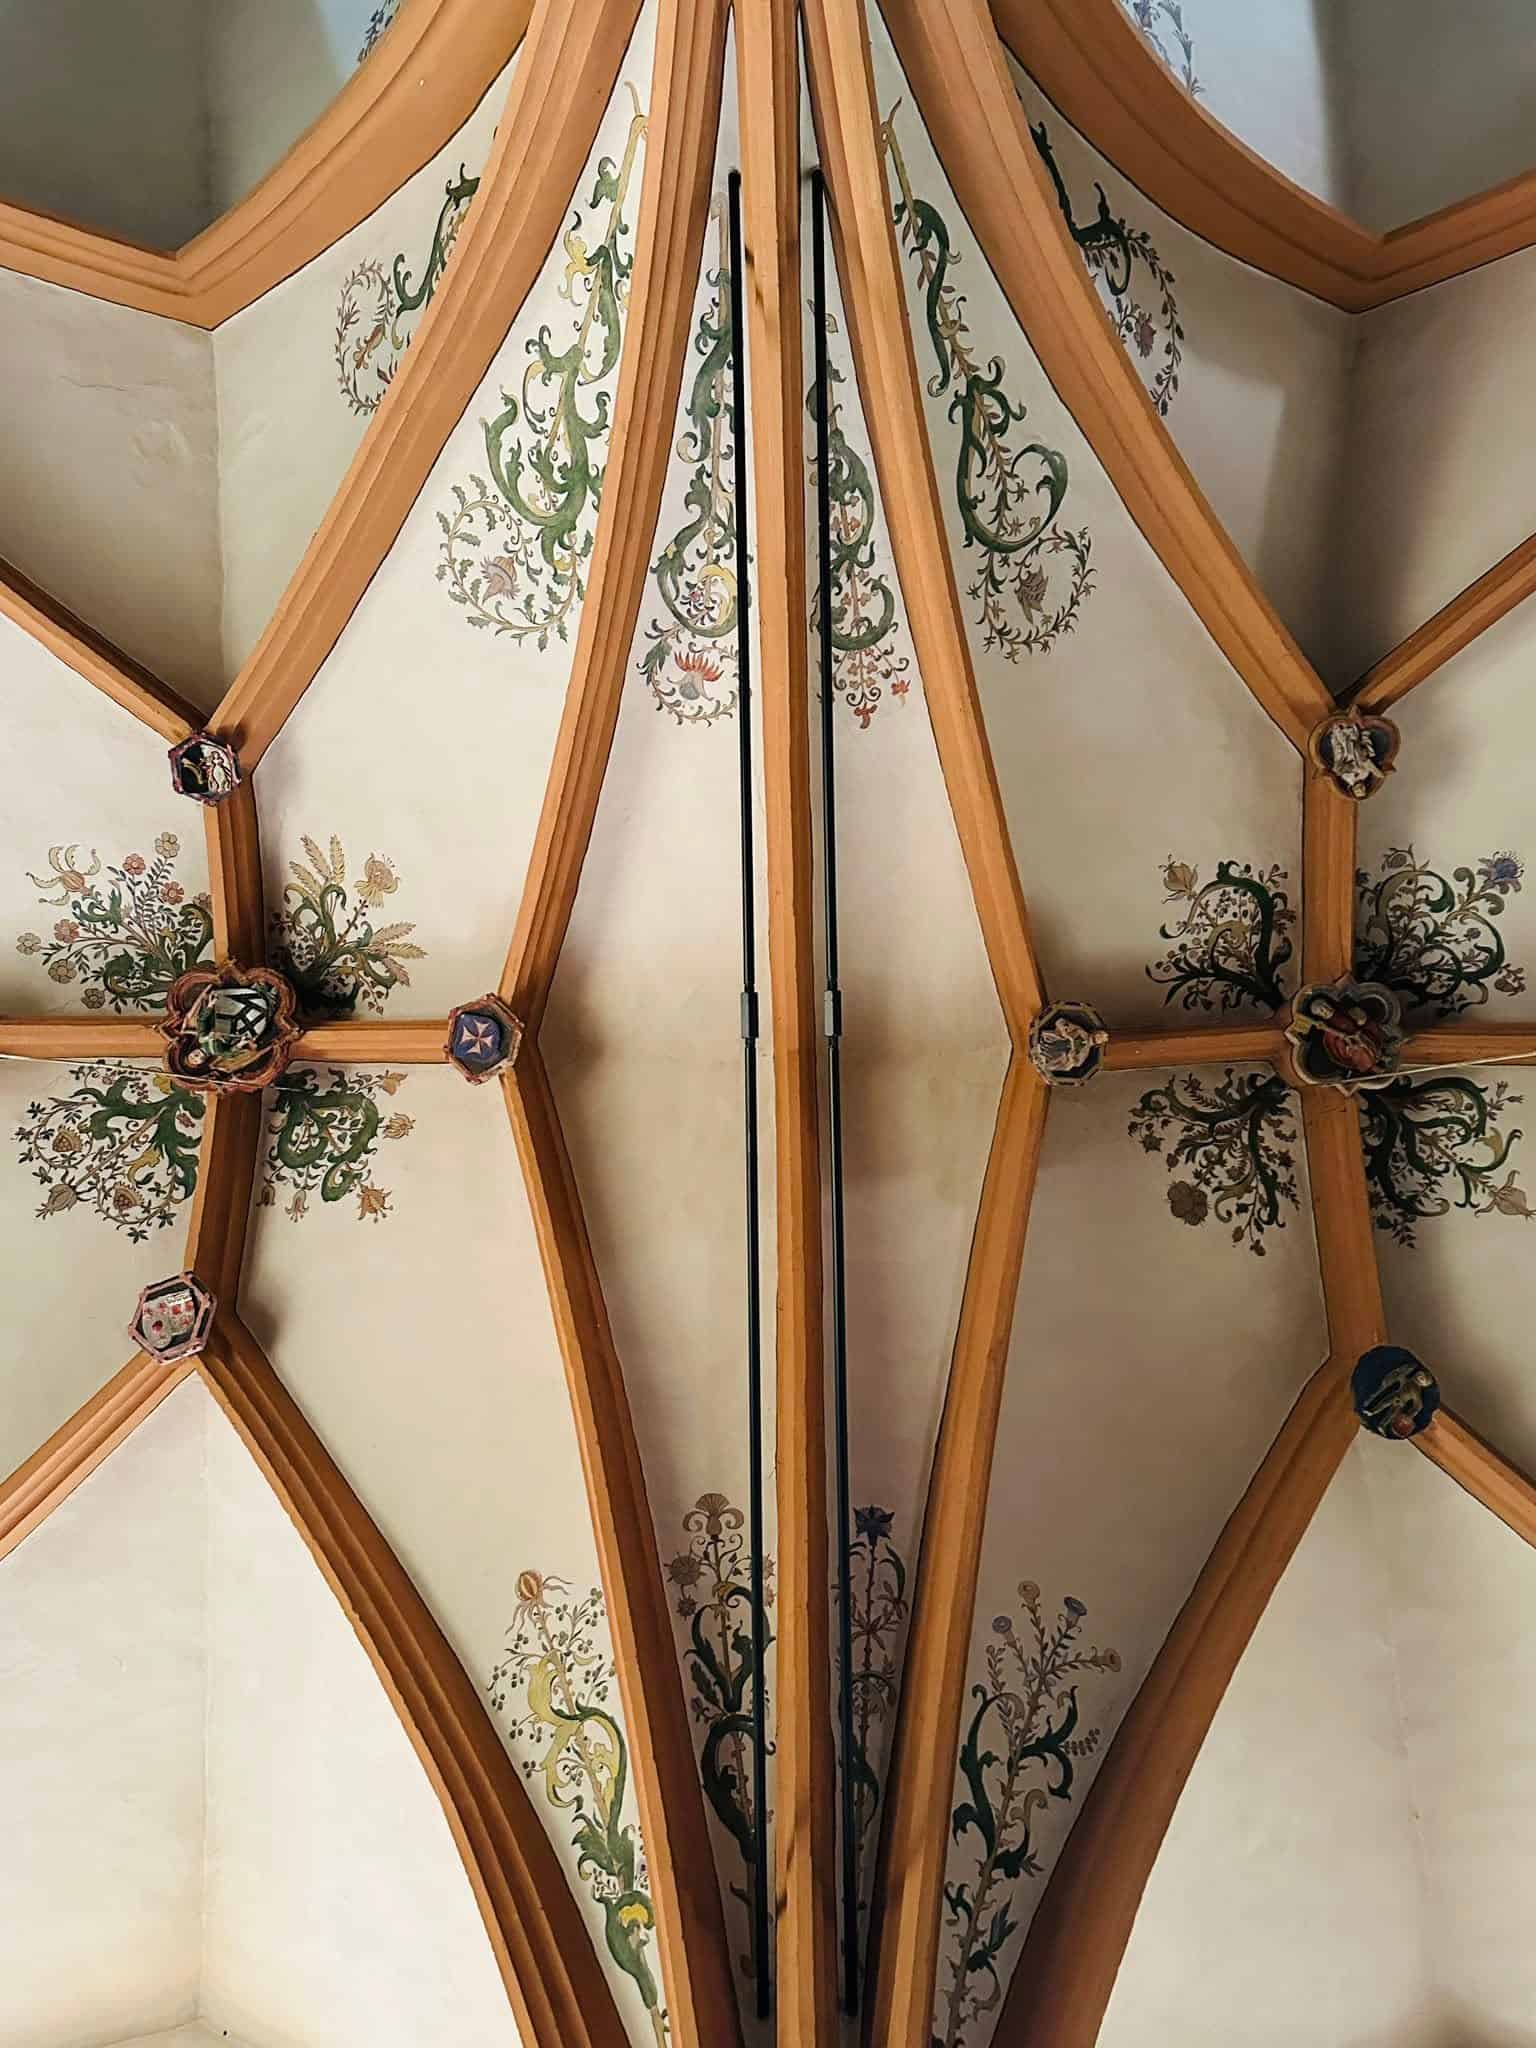
Gemalte Deckenfelder und Gewölbe – Vaucouleurs · Saint Laurent, fotografische Ansicht 1
Gemalte Deckenfelder und GewölbeVaucouleurs · Saint Laurent · Um 1860Foto: The Camino History
Gemalte Deckenfelder und Gewölbe – Vaucouleurs · Saint Laurent, fotografische Ansicht 2
Gemalte Deckenfelder und GewölbeVaucouleurs · Saint Laurent · Um 1860Foto: The Camino History
Gemalte Deckenfelder und Gewölbe – Vaucouleurs · Saint Laurent, fotografische Ansicht 3
Gemalte Deckenfelder und GewölbeVaucouleurs · Saint Laurent · Um 1860Foto: The Camino History
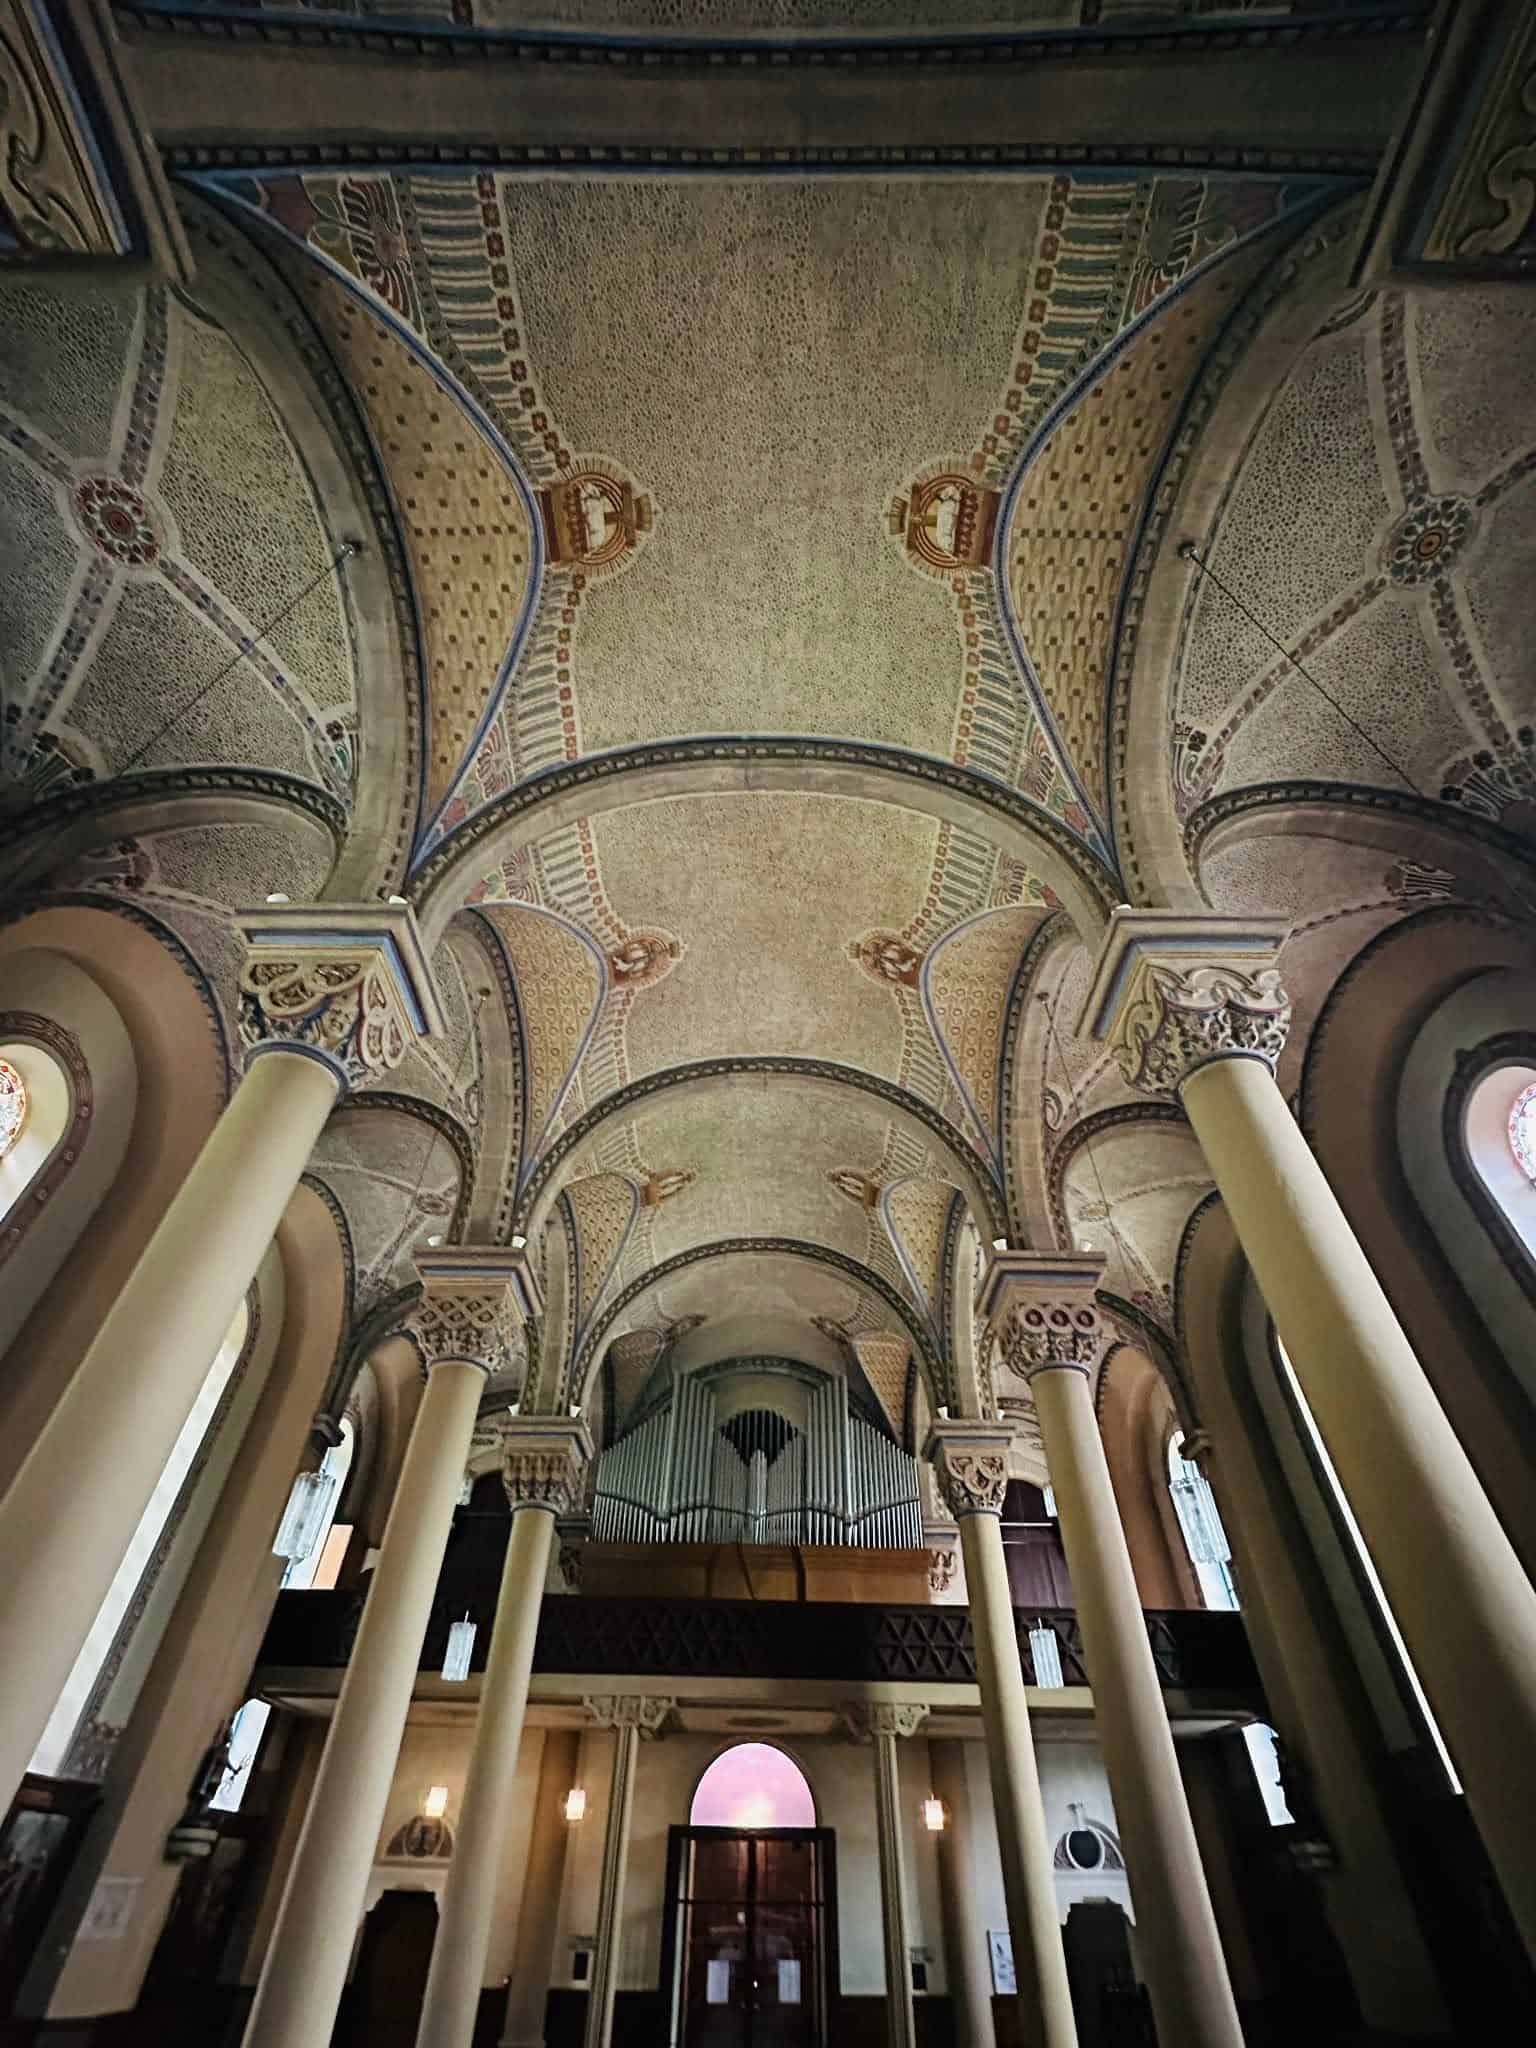
Gemalte Deckenfelder und Gewölbe – Vaucouleurs · Saint Laurent, fotografische Ansicht 4
Gemalte Deckenfelder und GewölbeVaucouleurs · Saint Laurent · Um 1860Foto: The Camino History
Gemalte Deckenfelder und Gewölbe – Vaucouleurs · Saint Laurent, fotografische Ansicht 5
Gemalte Deckenfelder und GewölbeVaucouleurs · Saint Laurent · Um 1860Foto: The Camino History

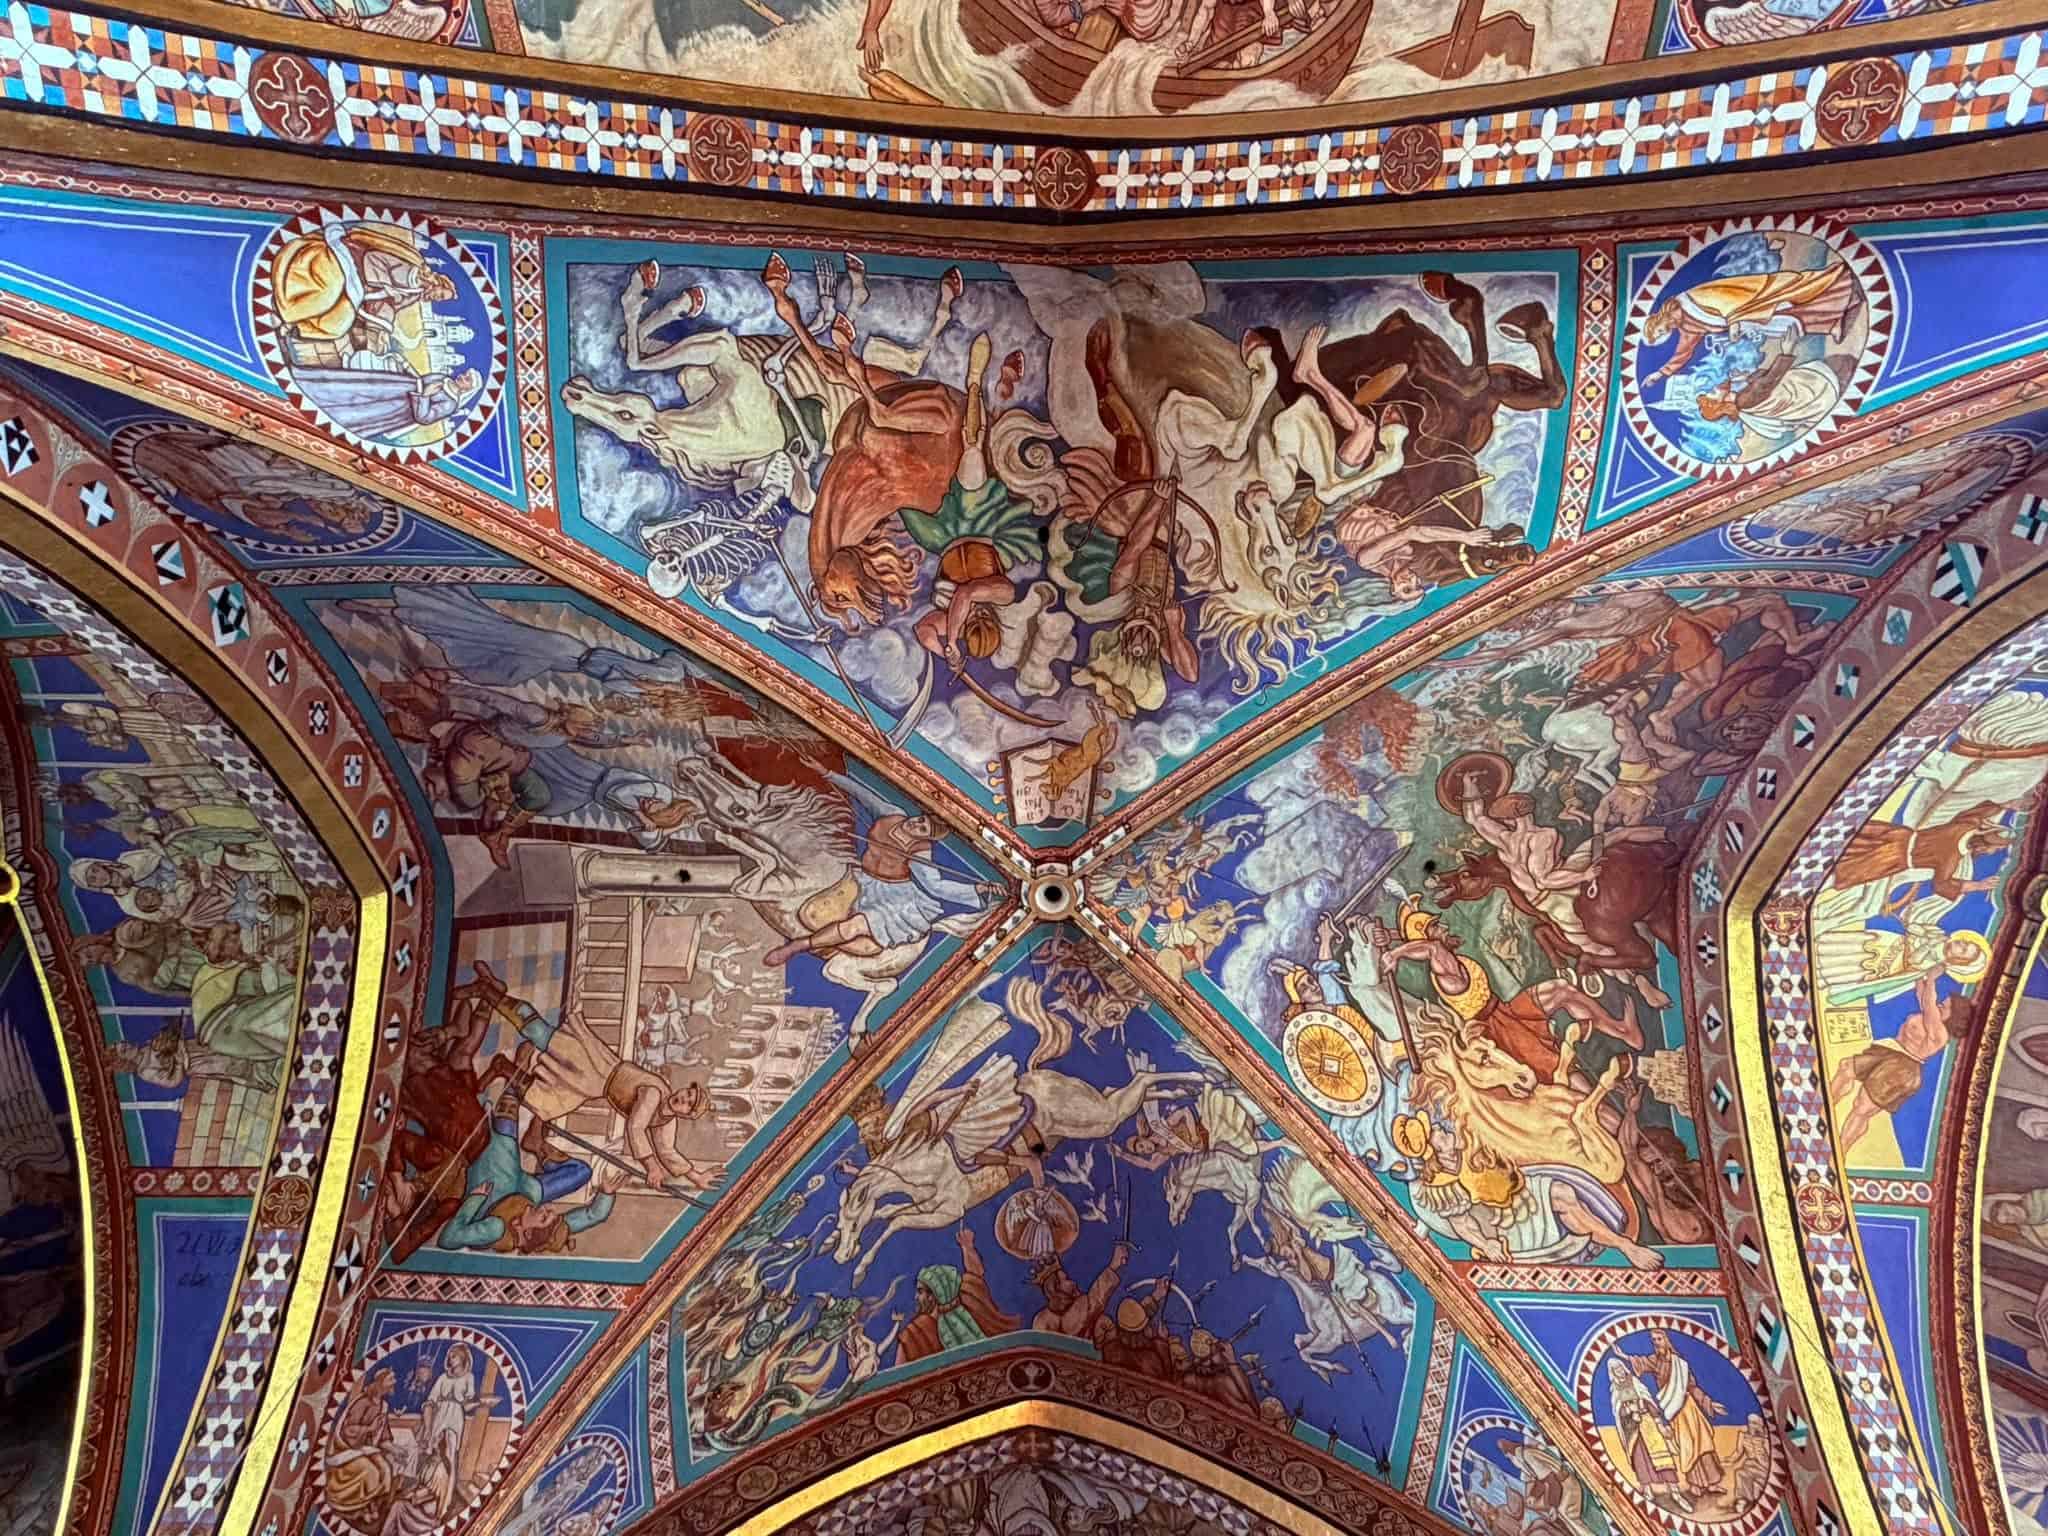
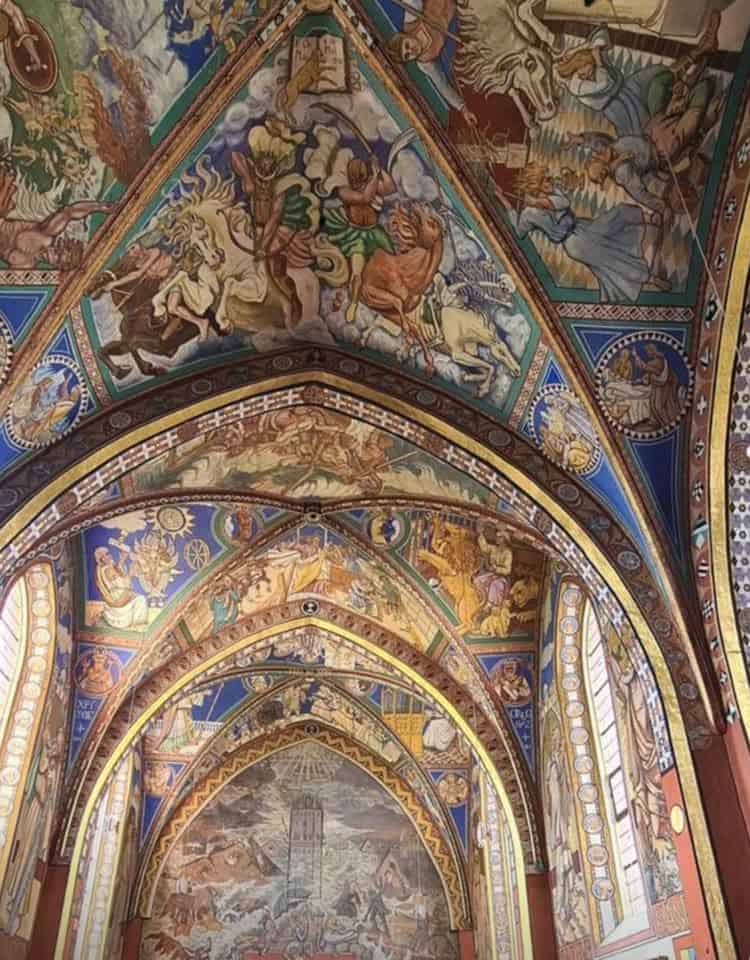
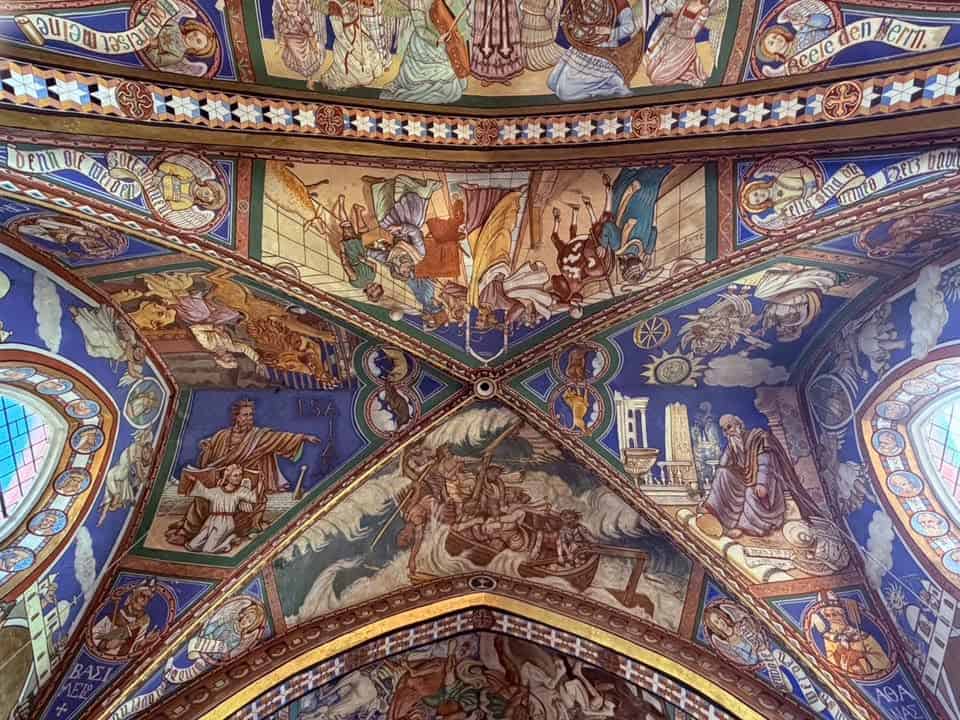
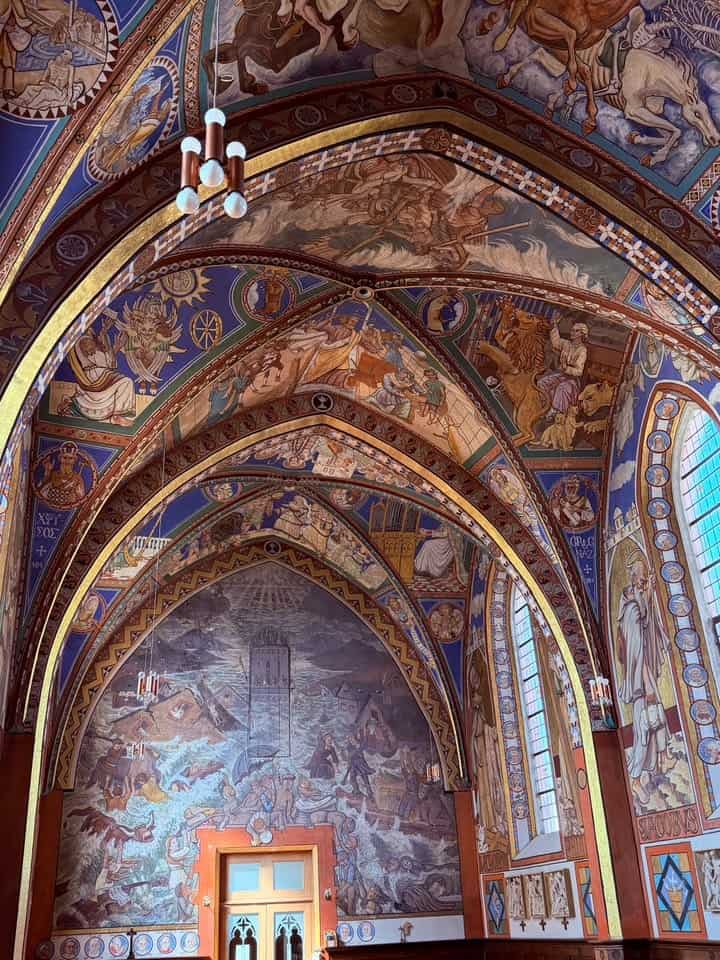
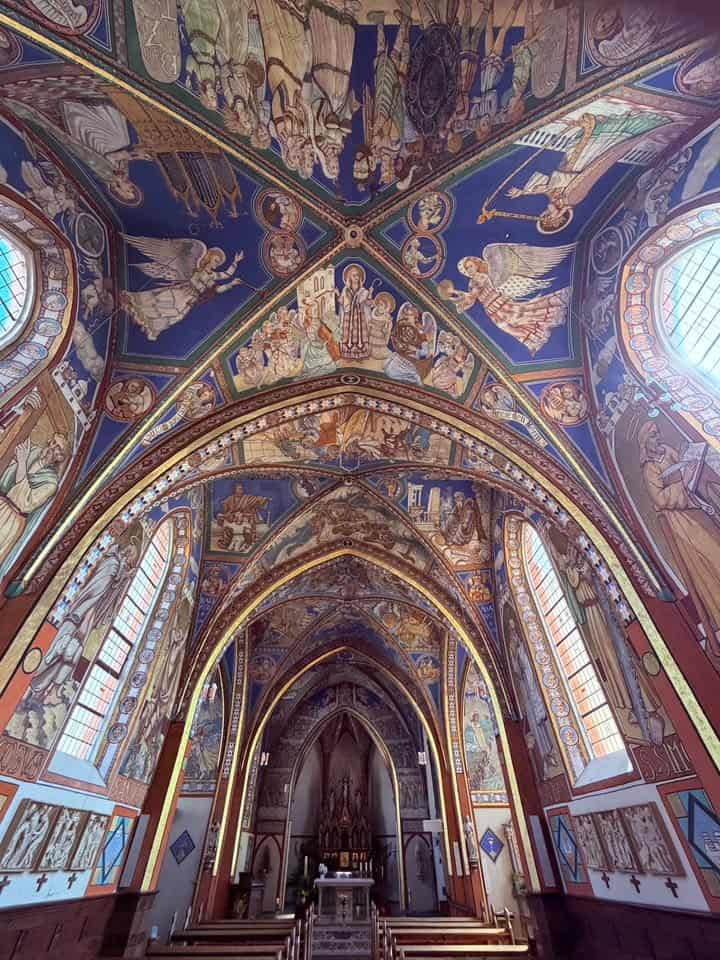
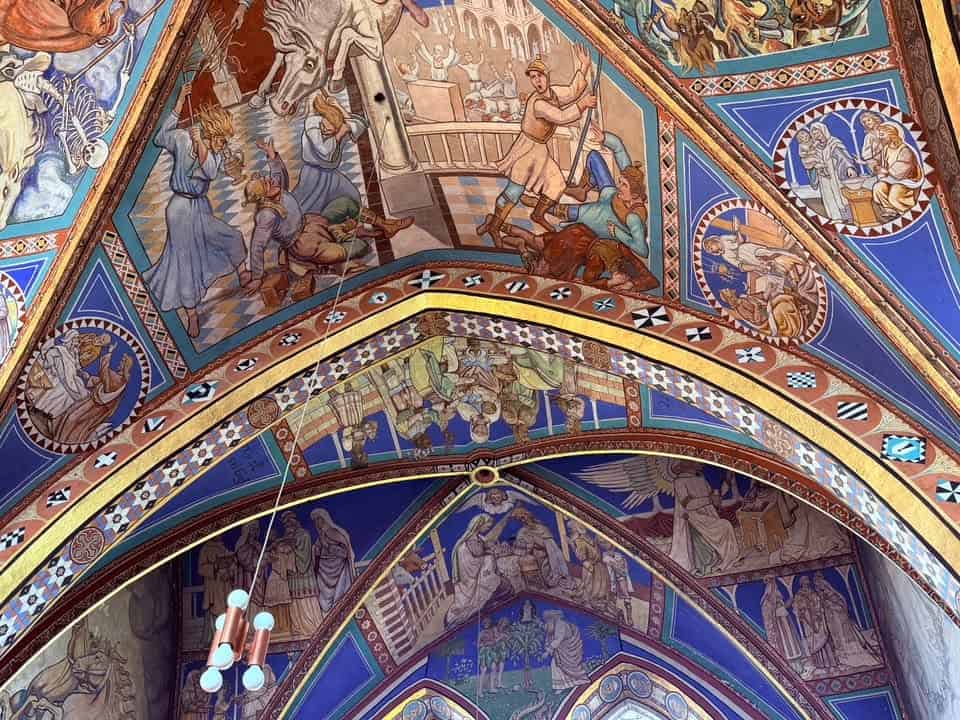
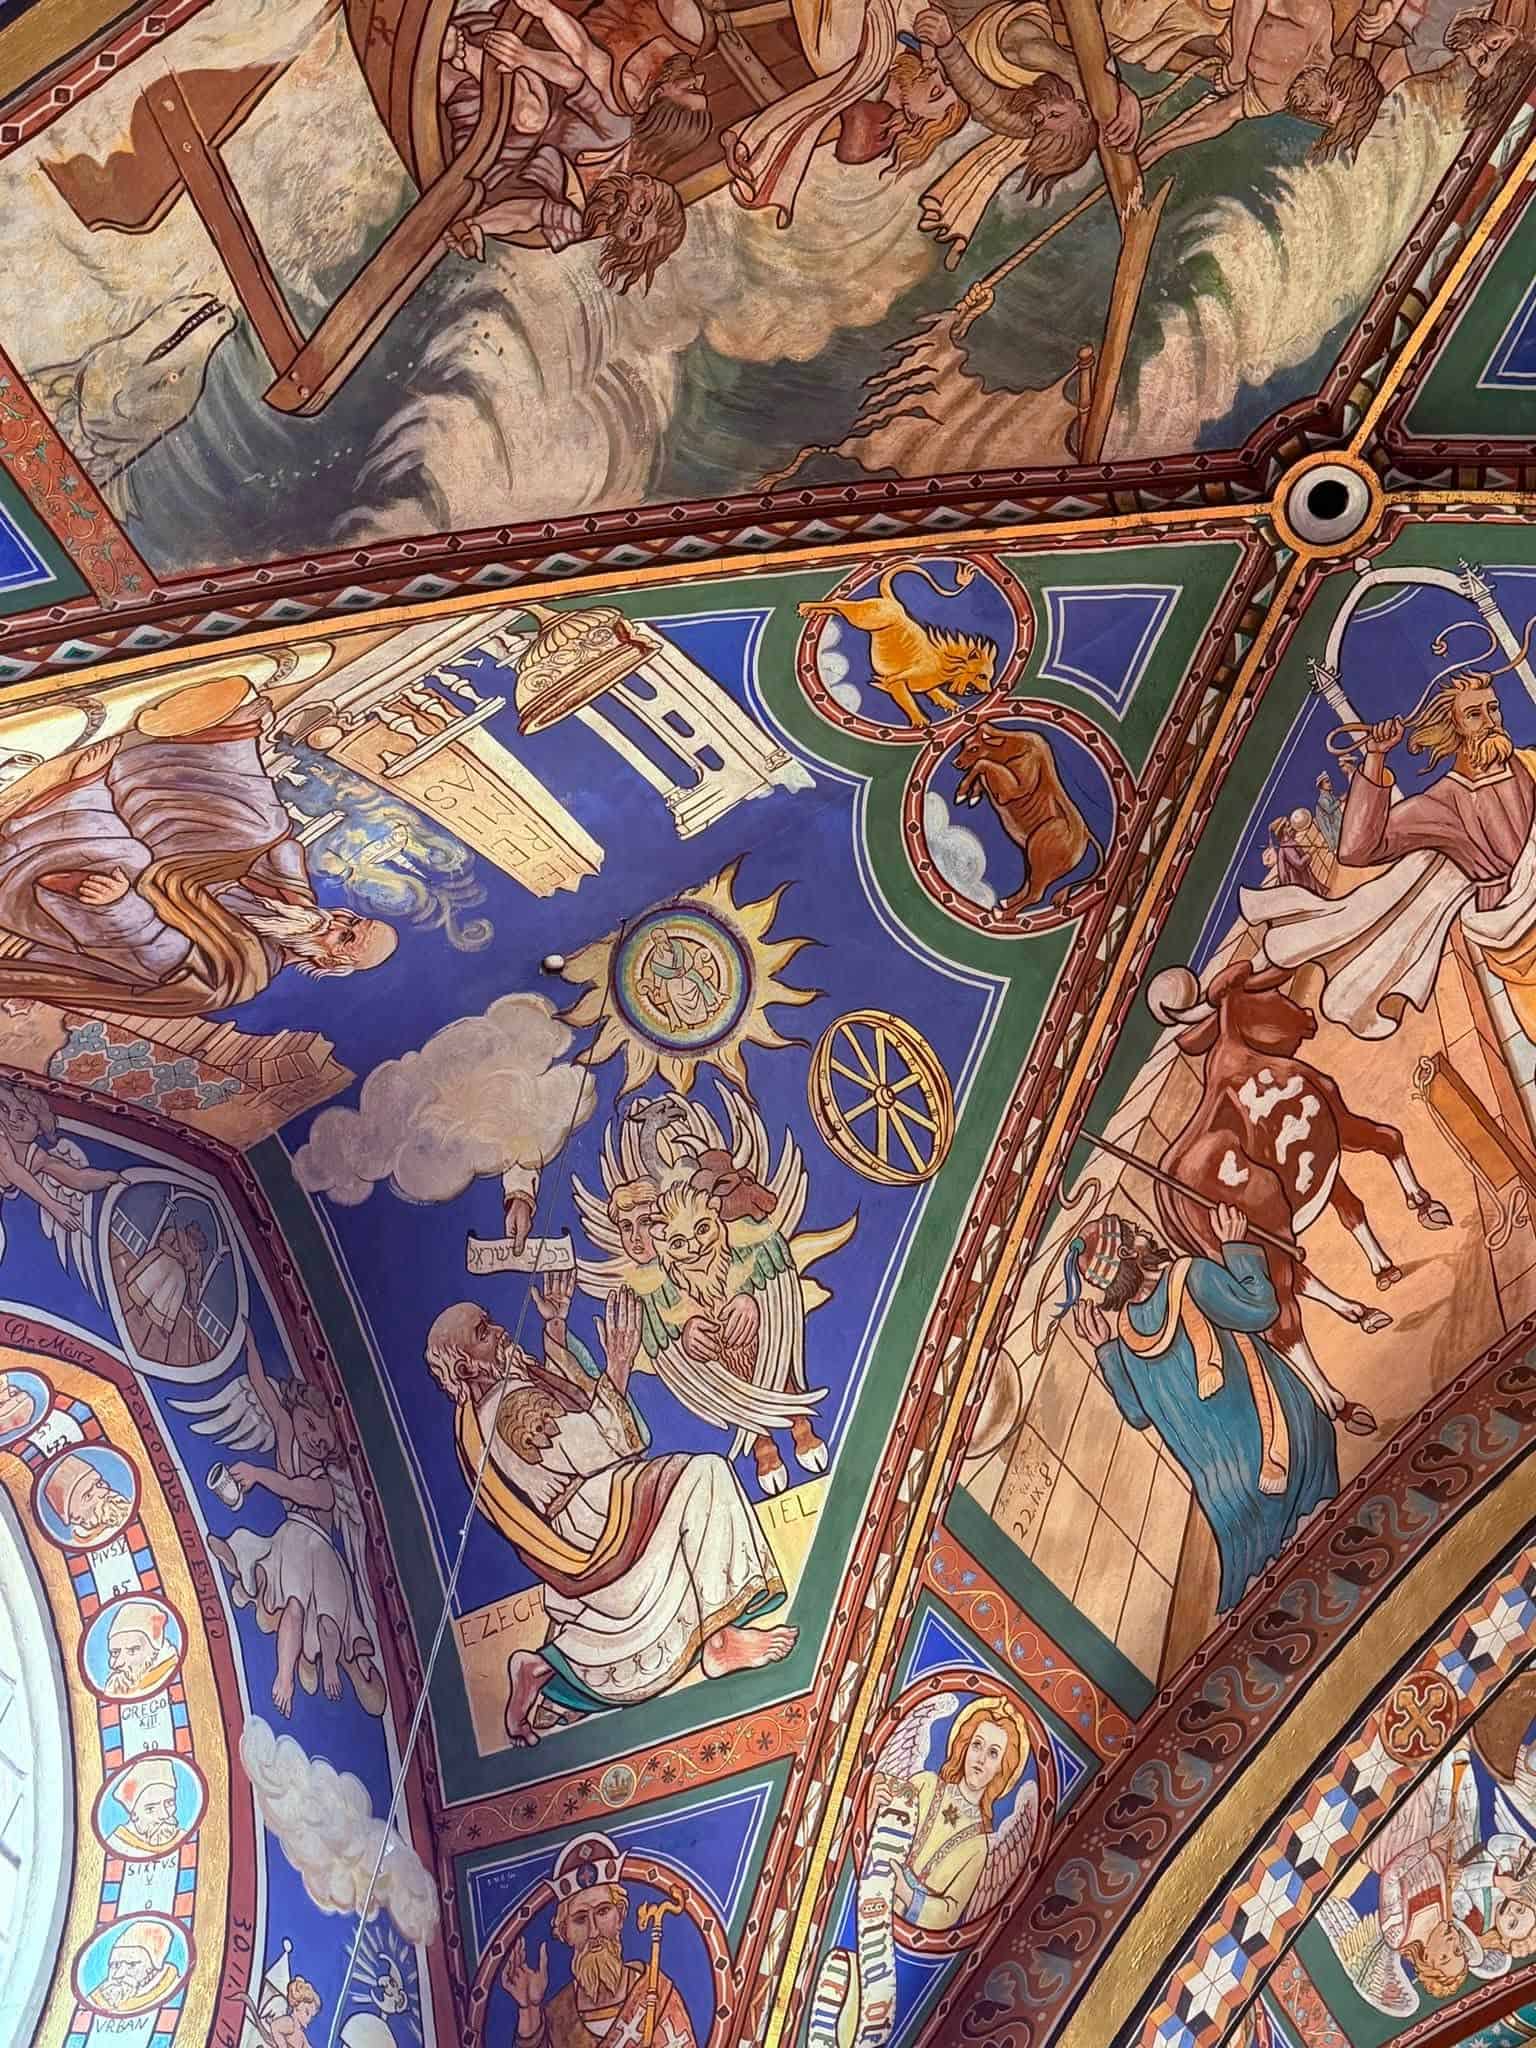
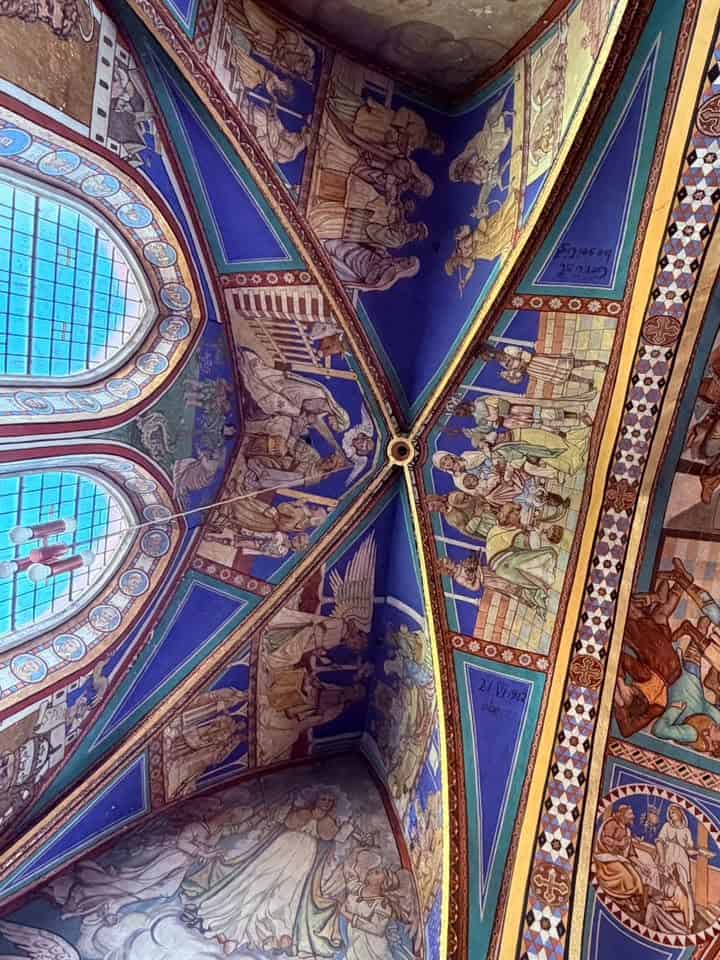
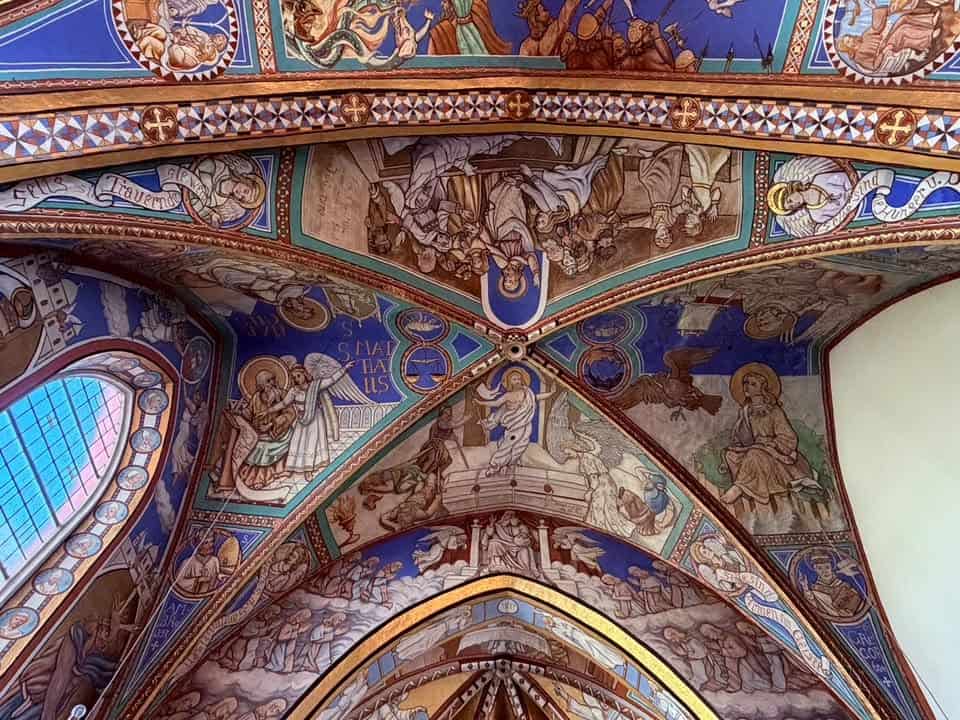
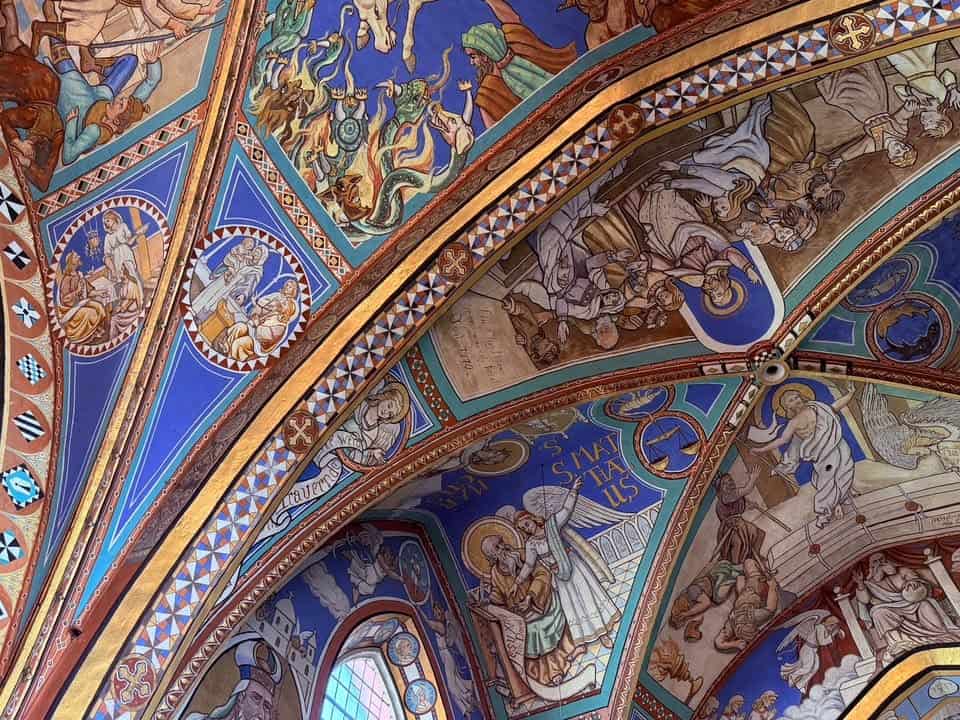
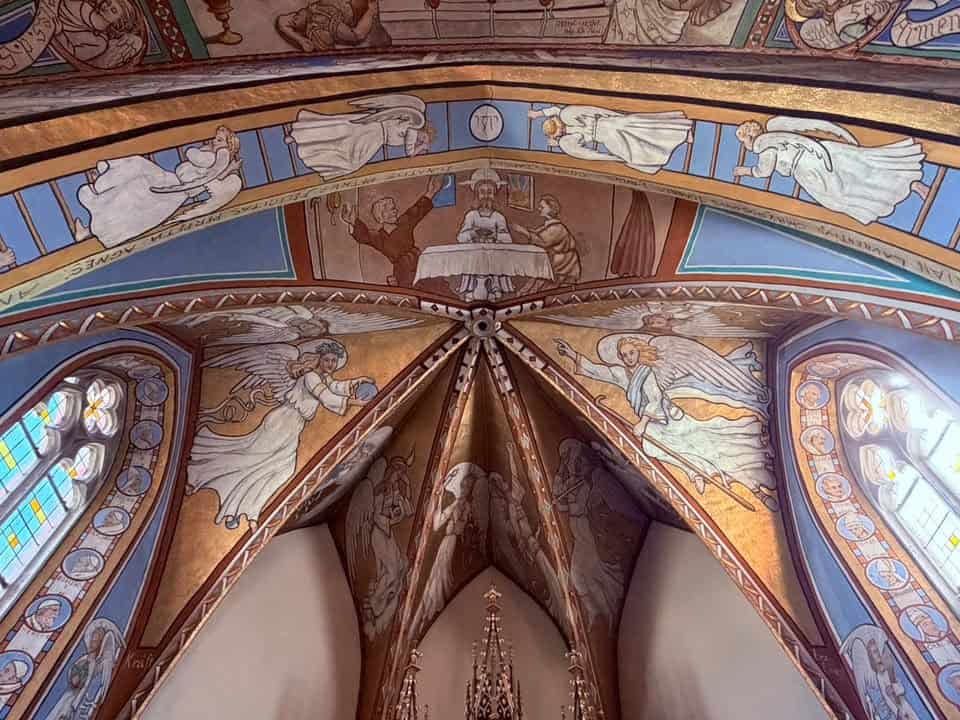
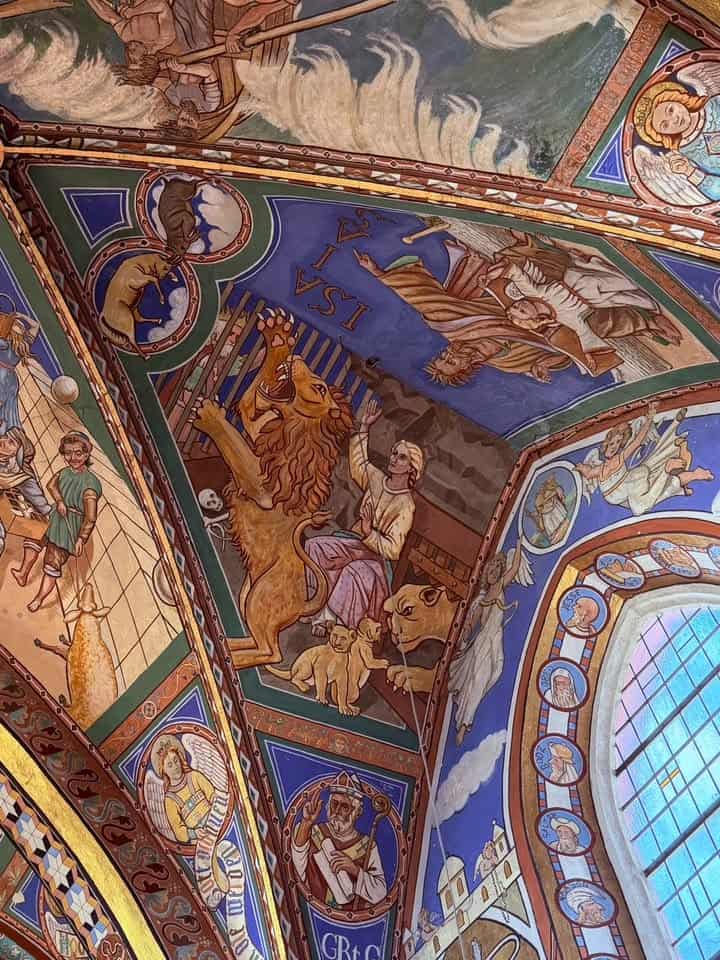
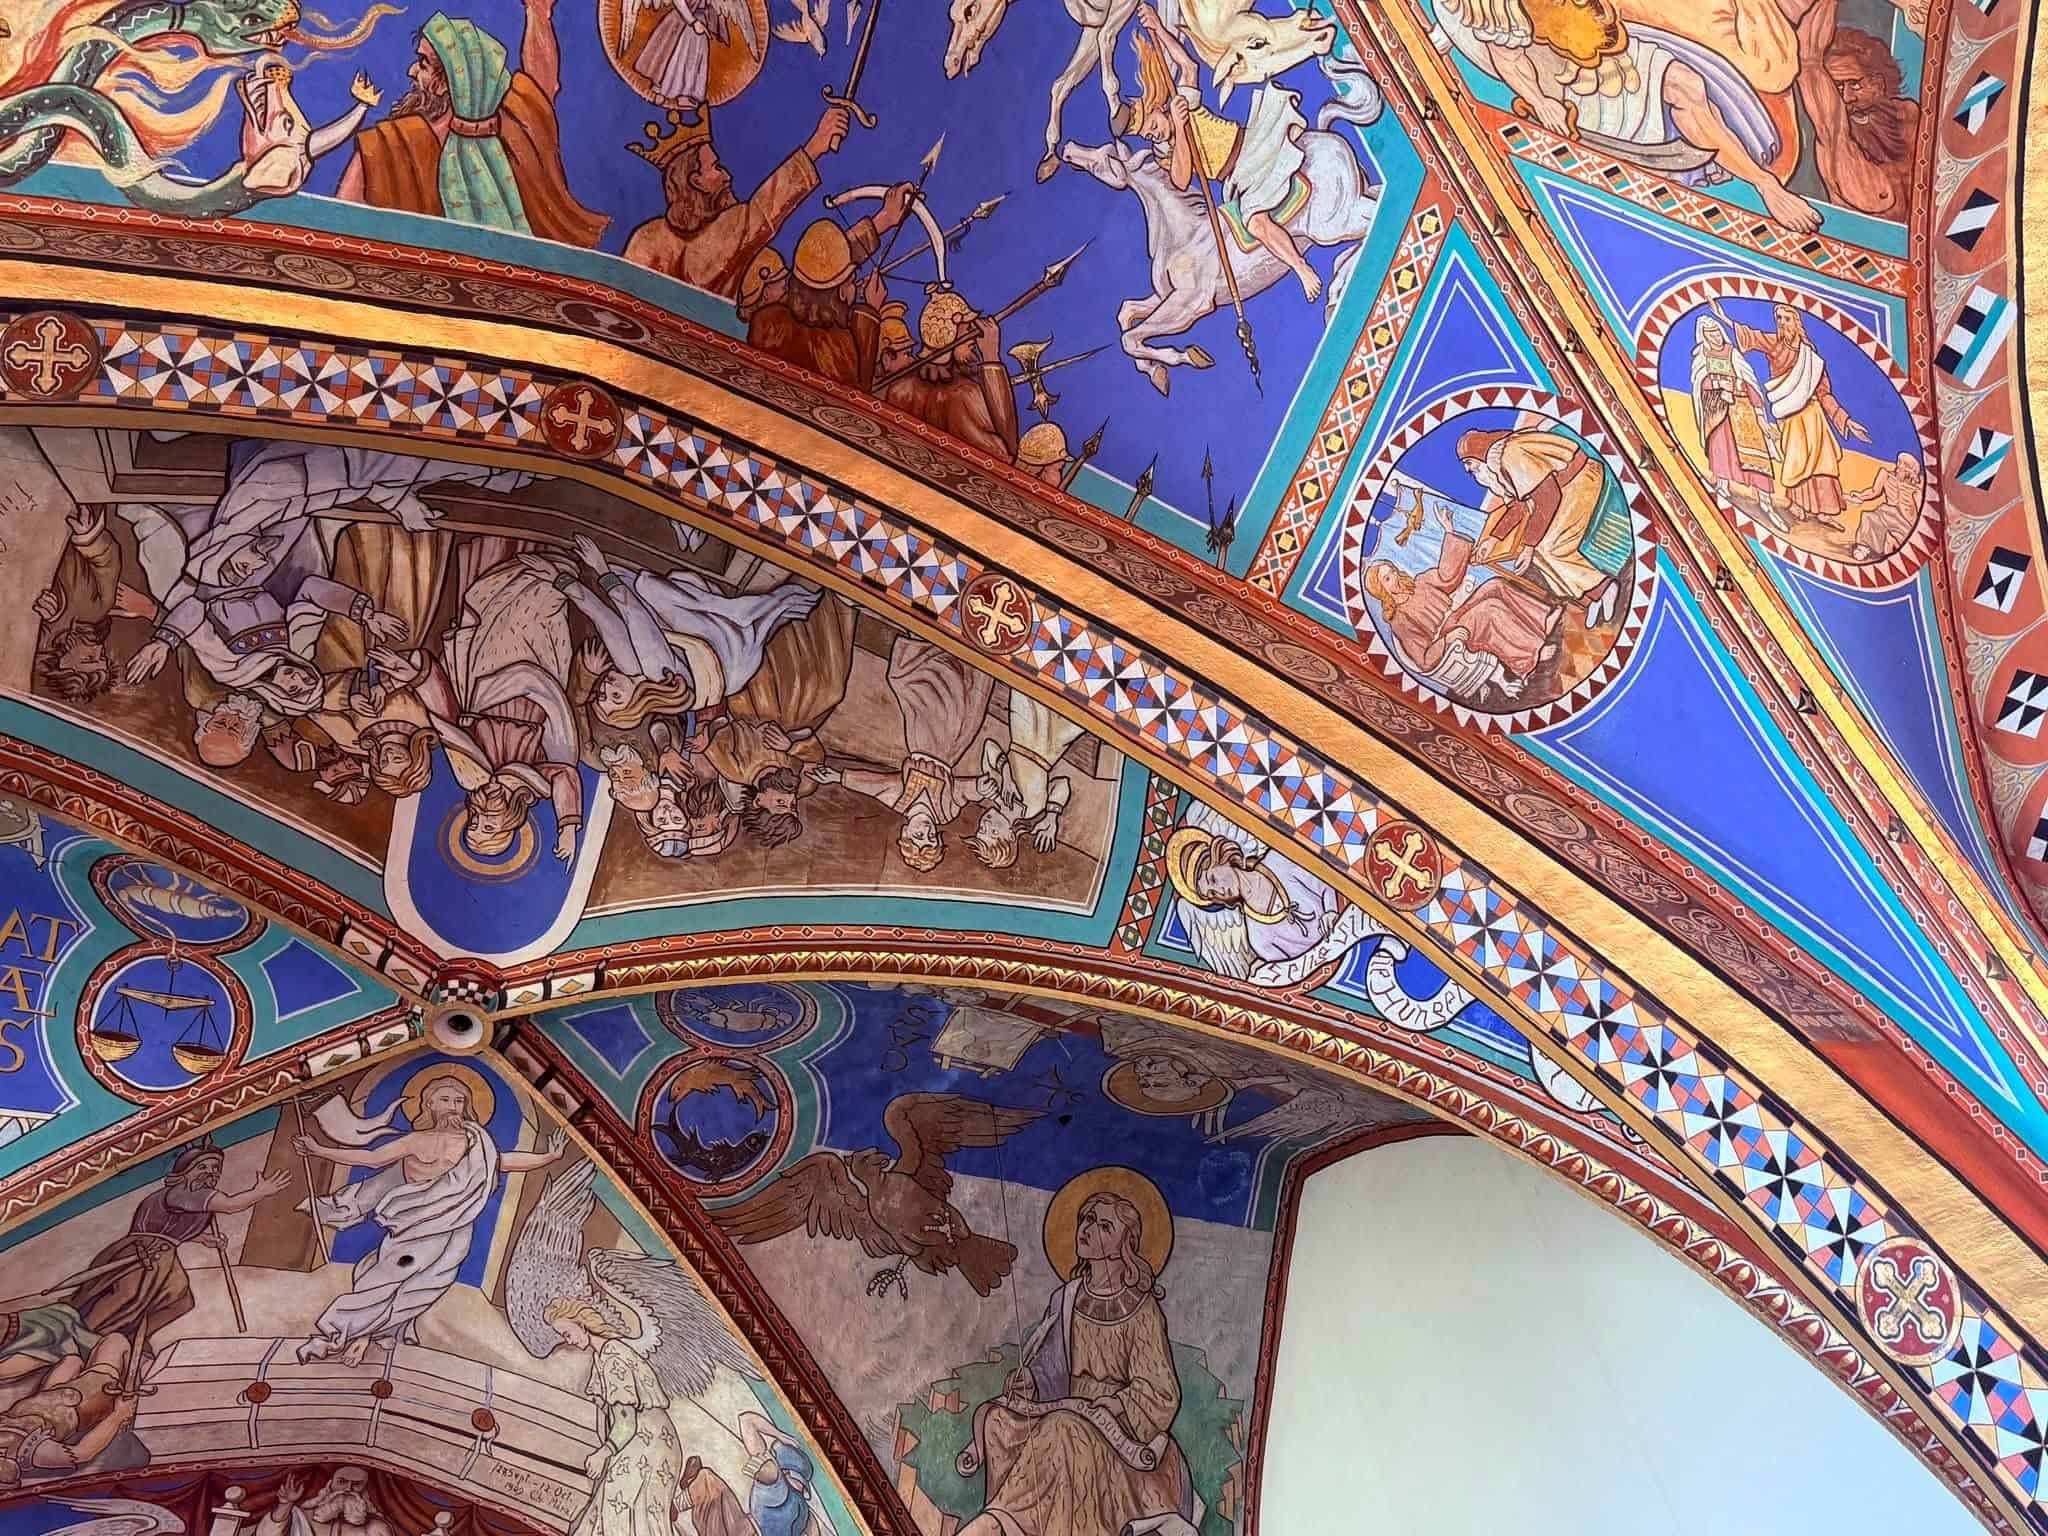
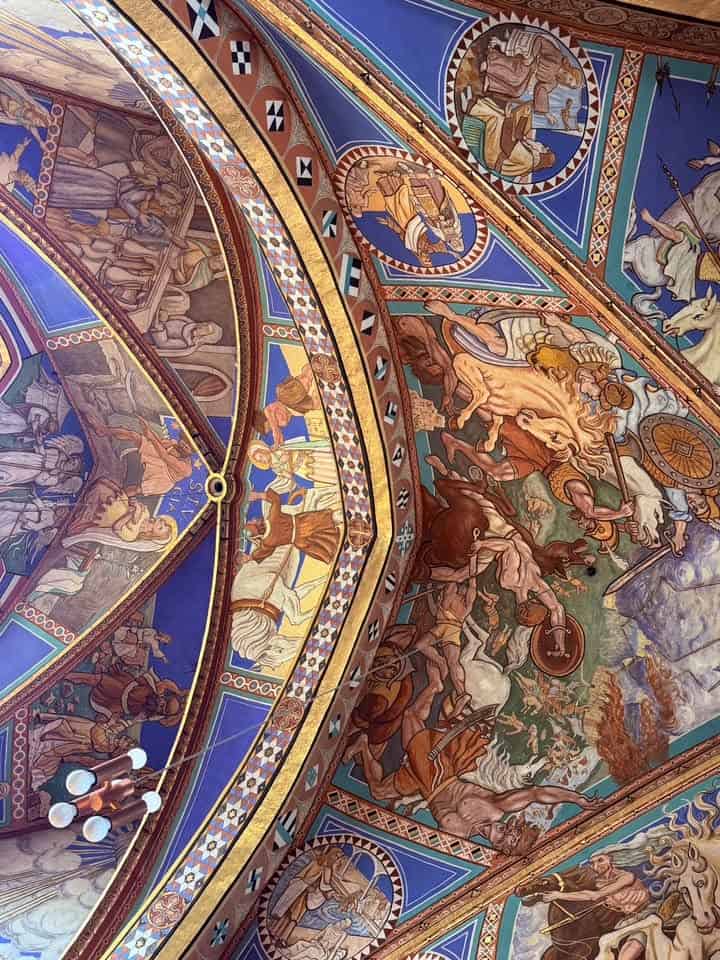
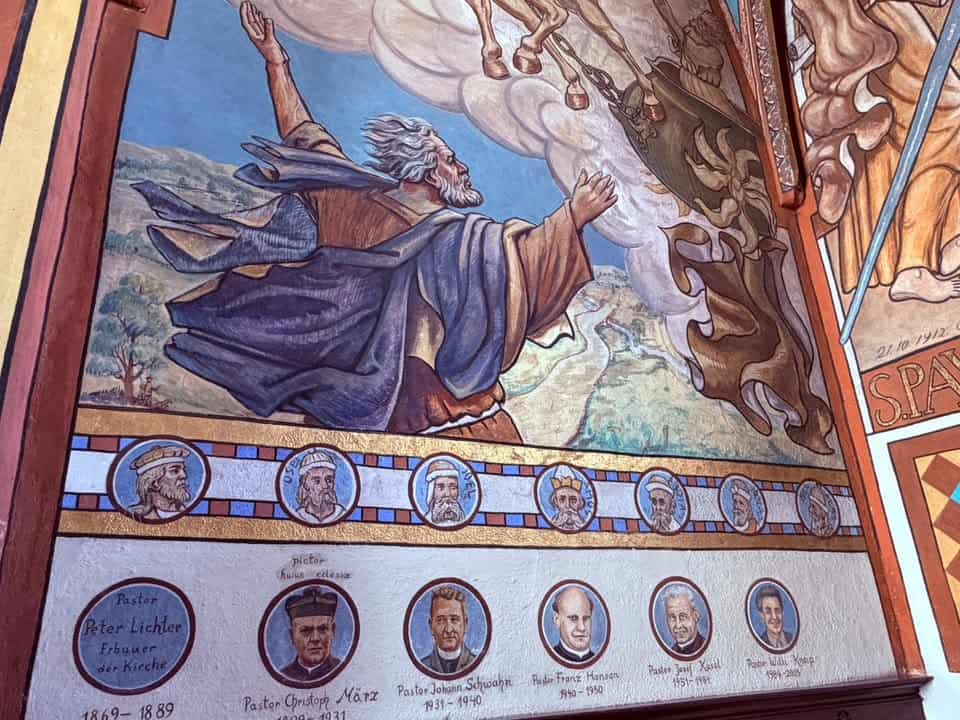
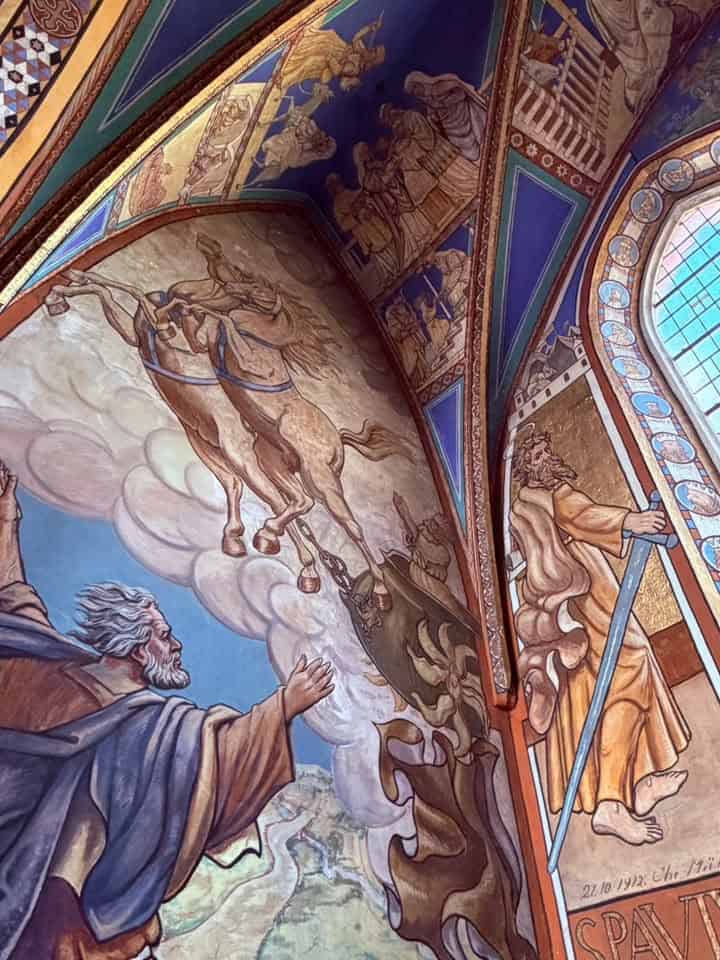
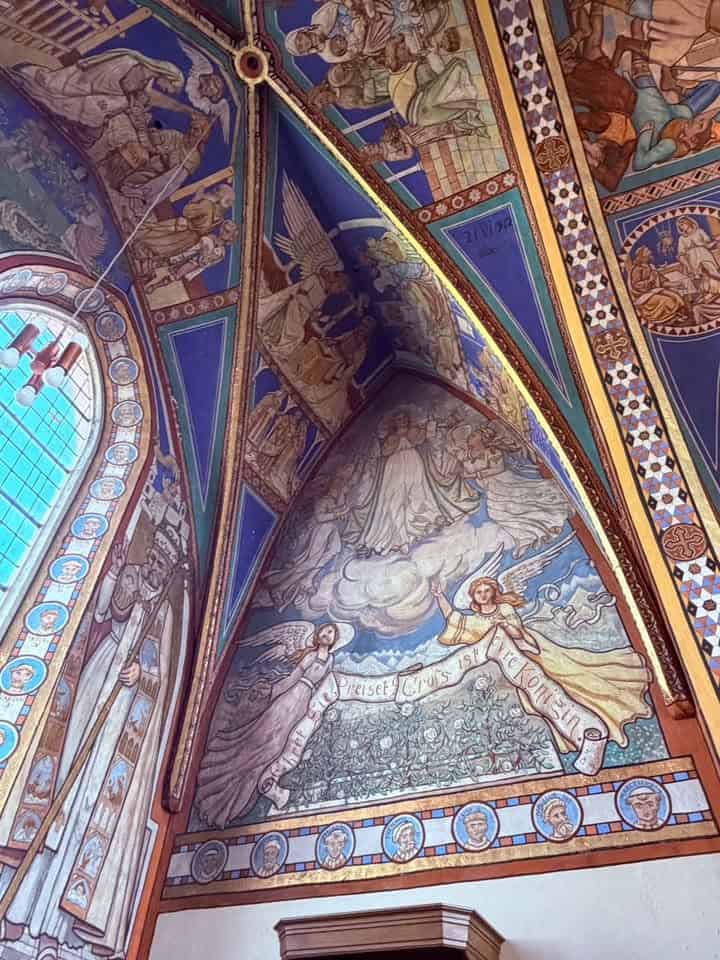
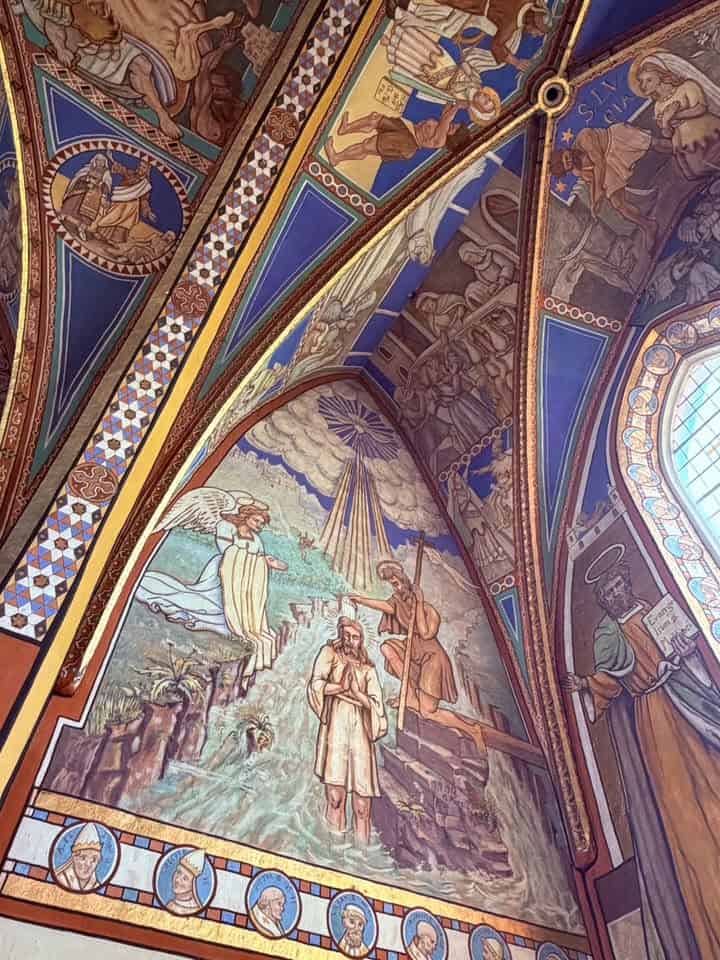
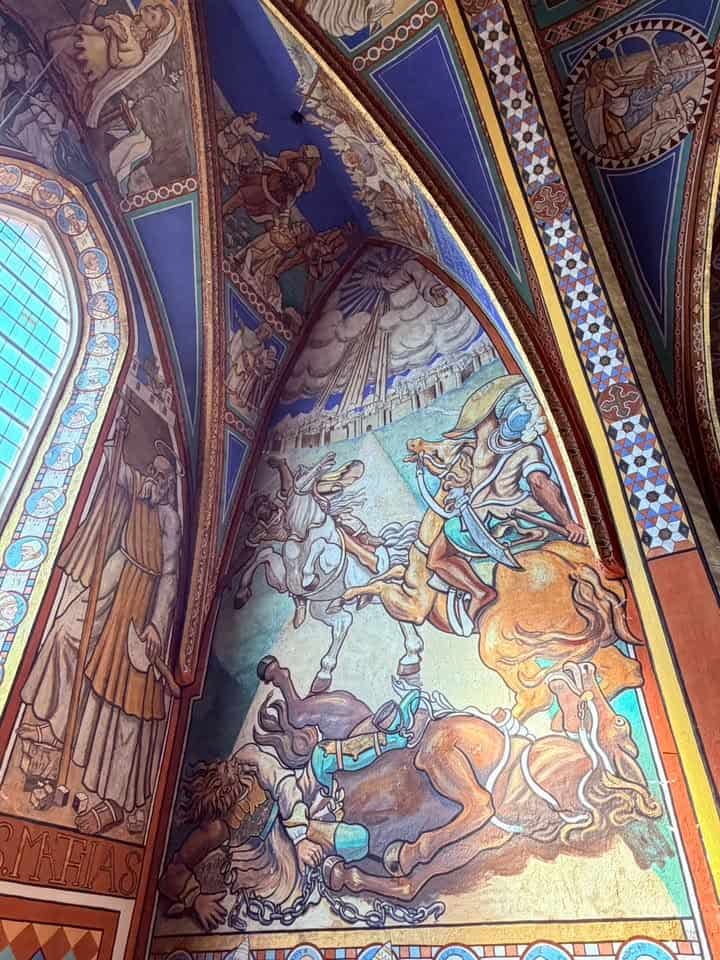
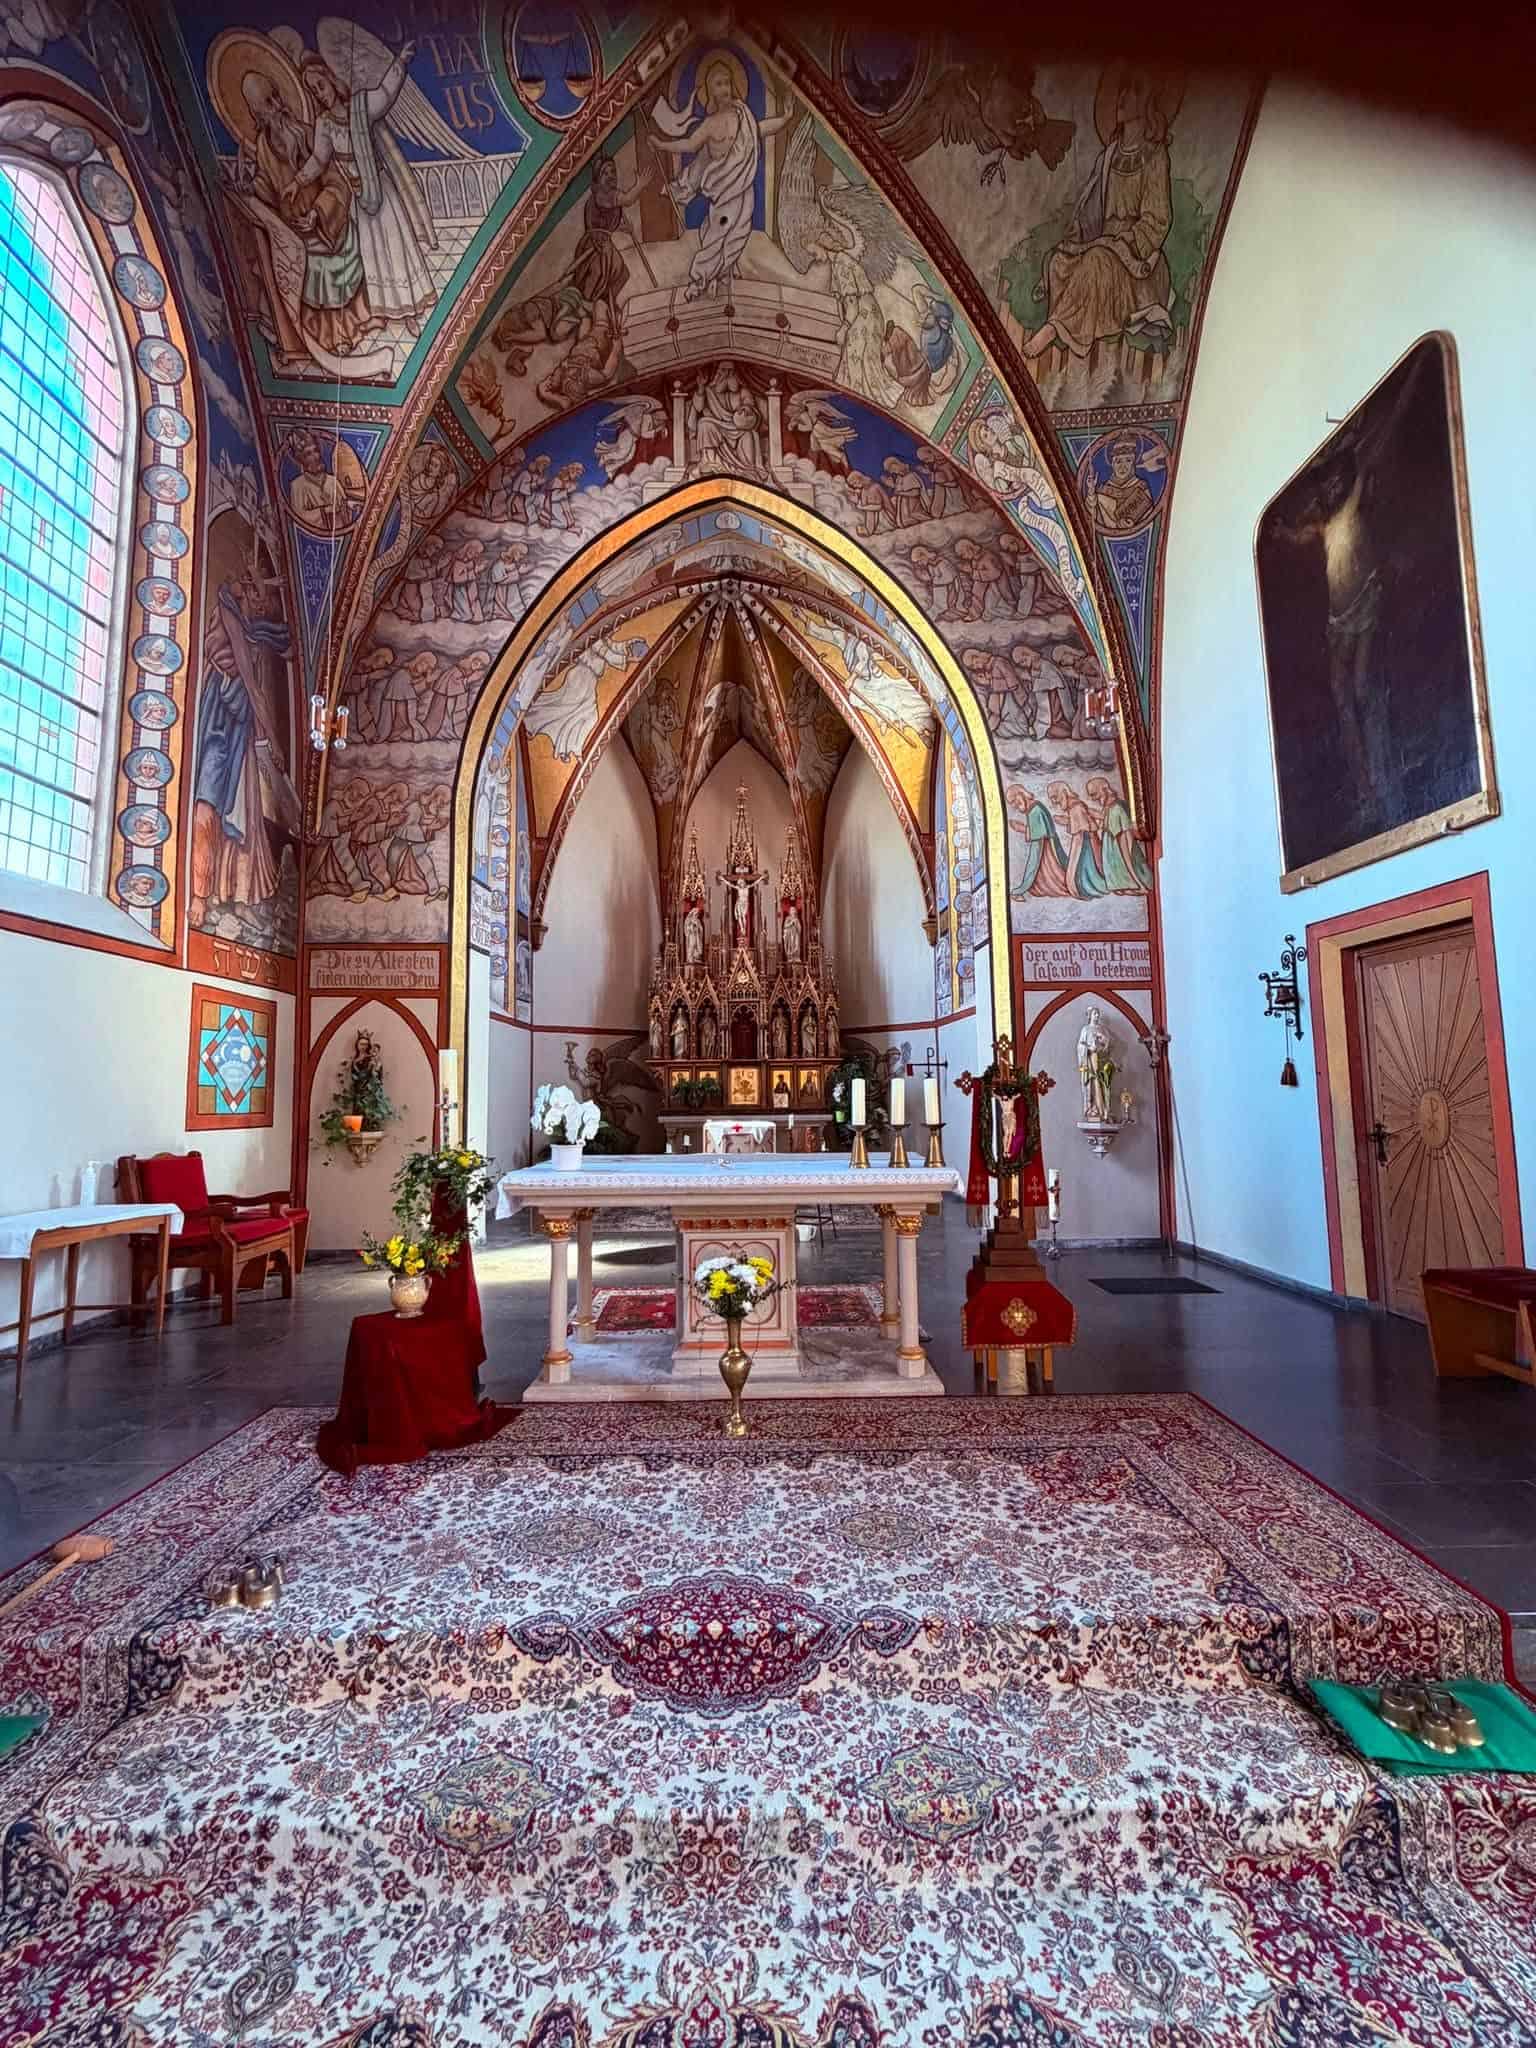
Christoph März, 1906–1921

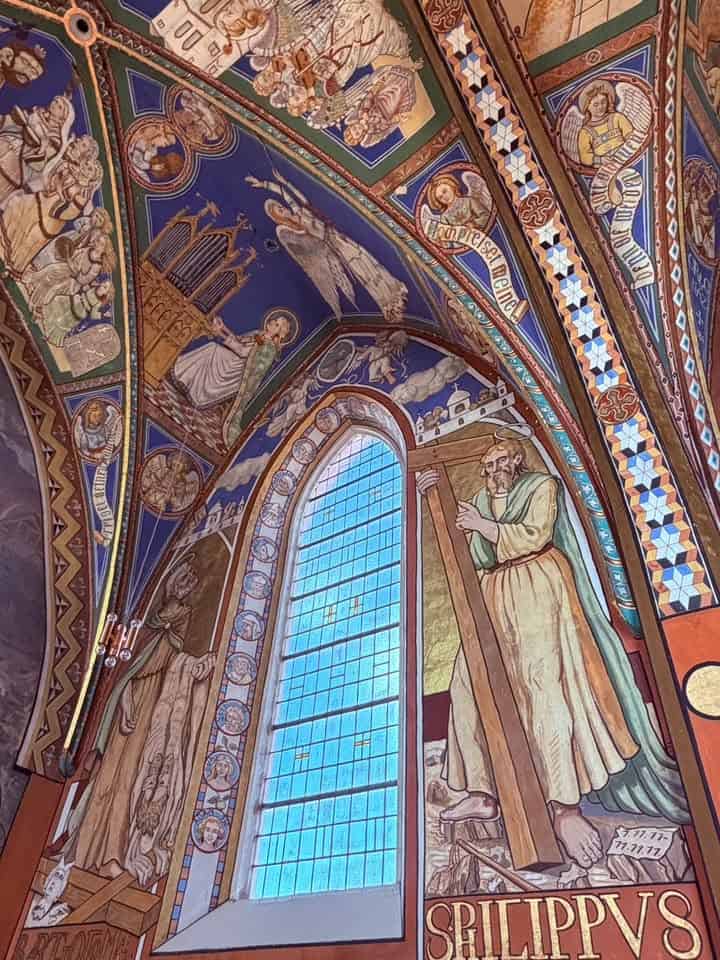
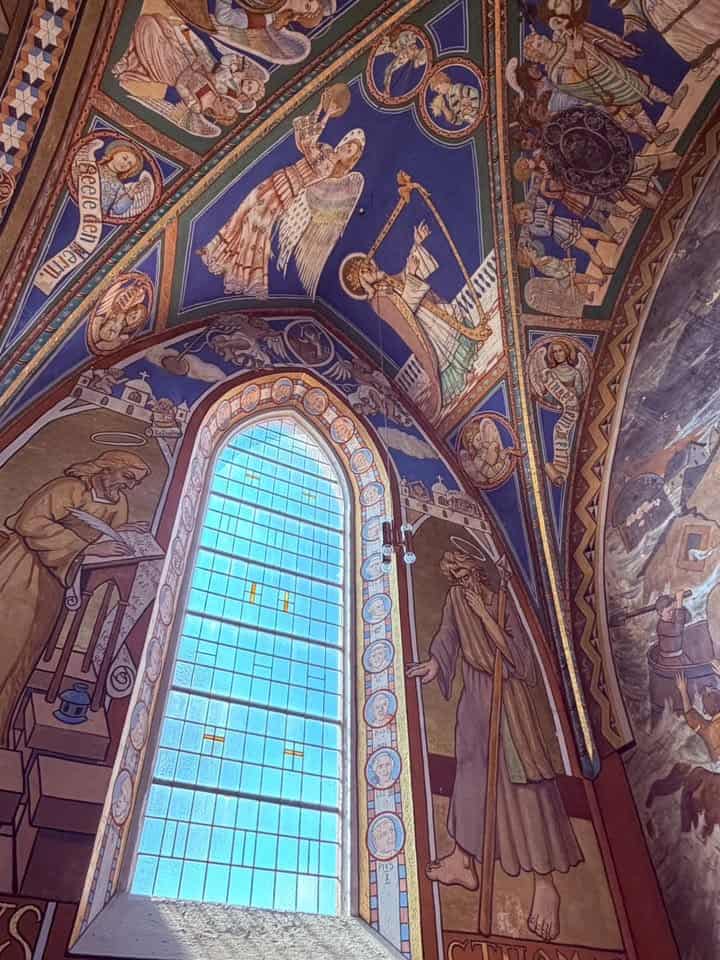
Eschfeld – St. Luzia
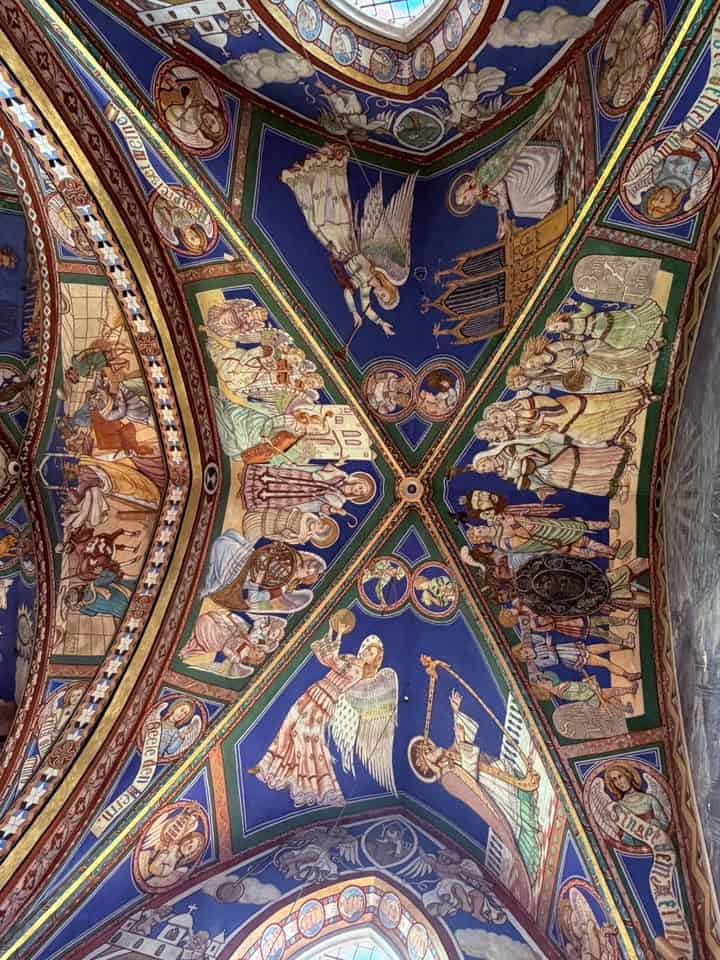
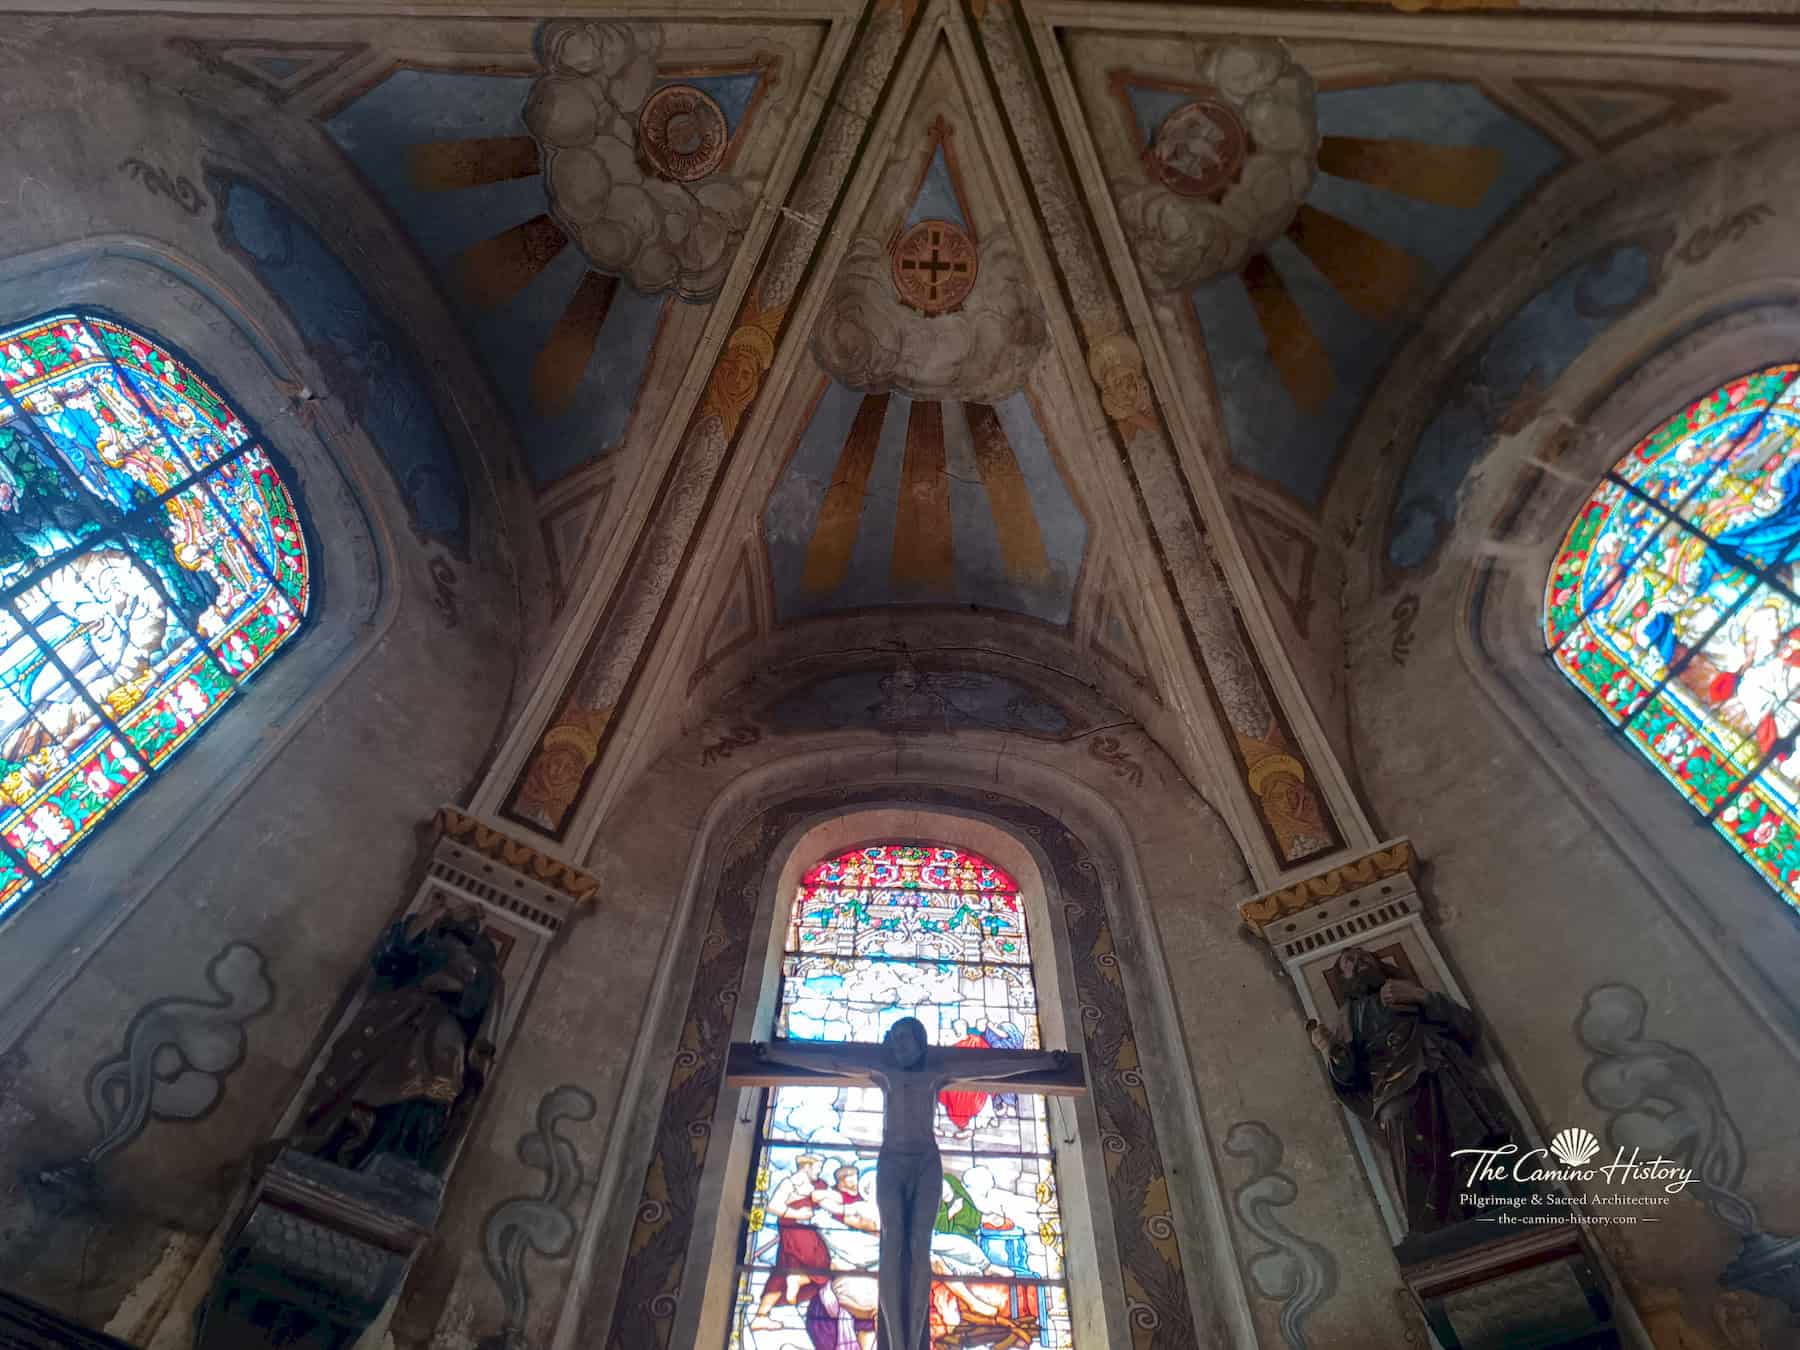
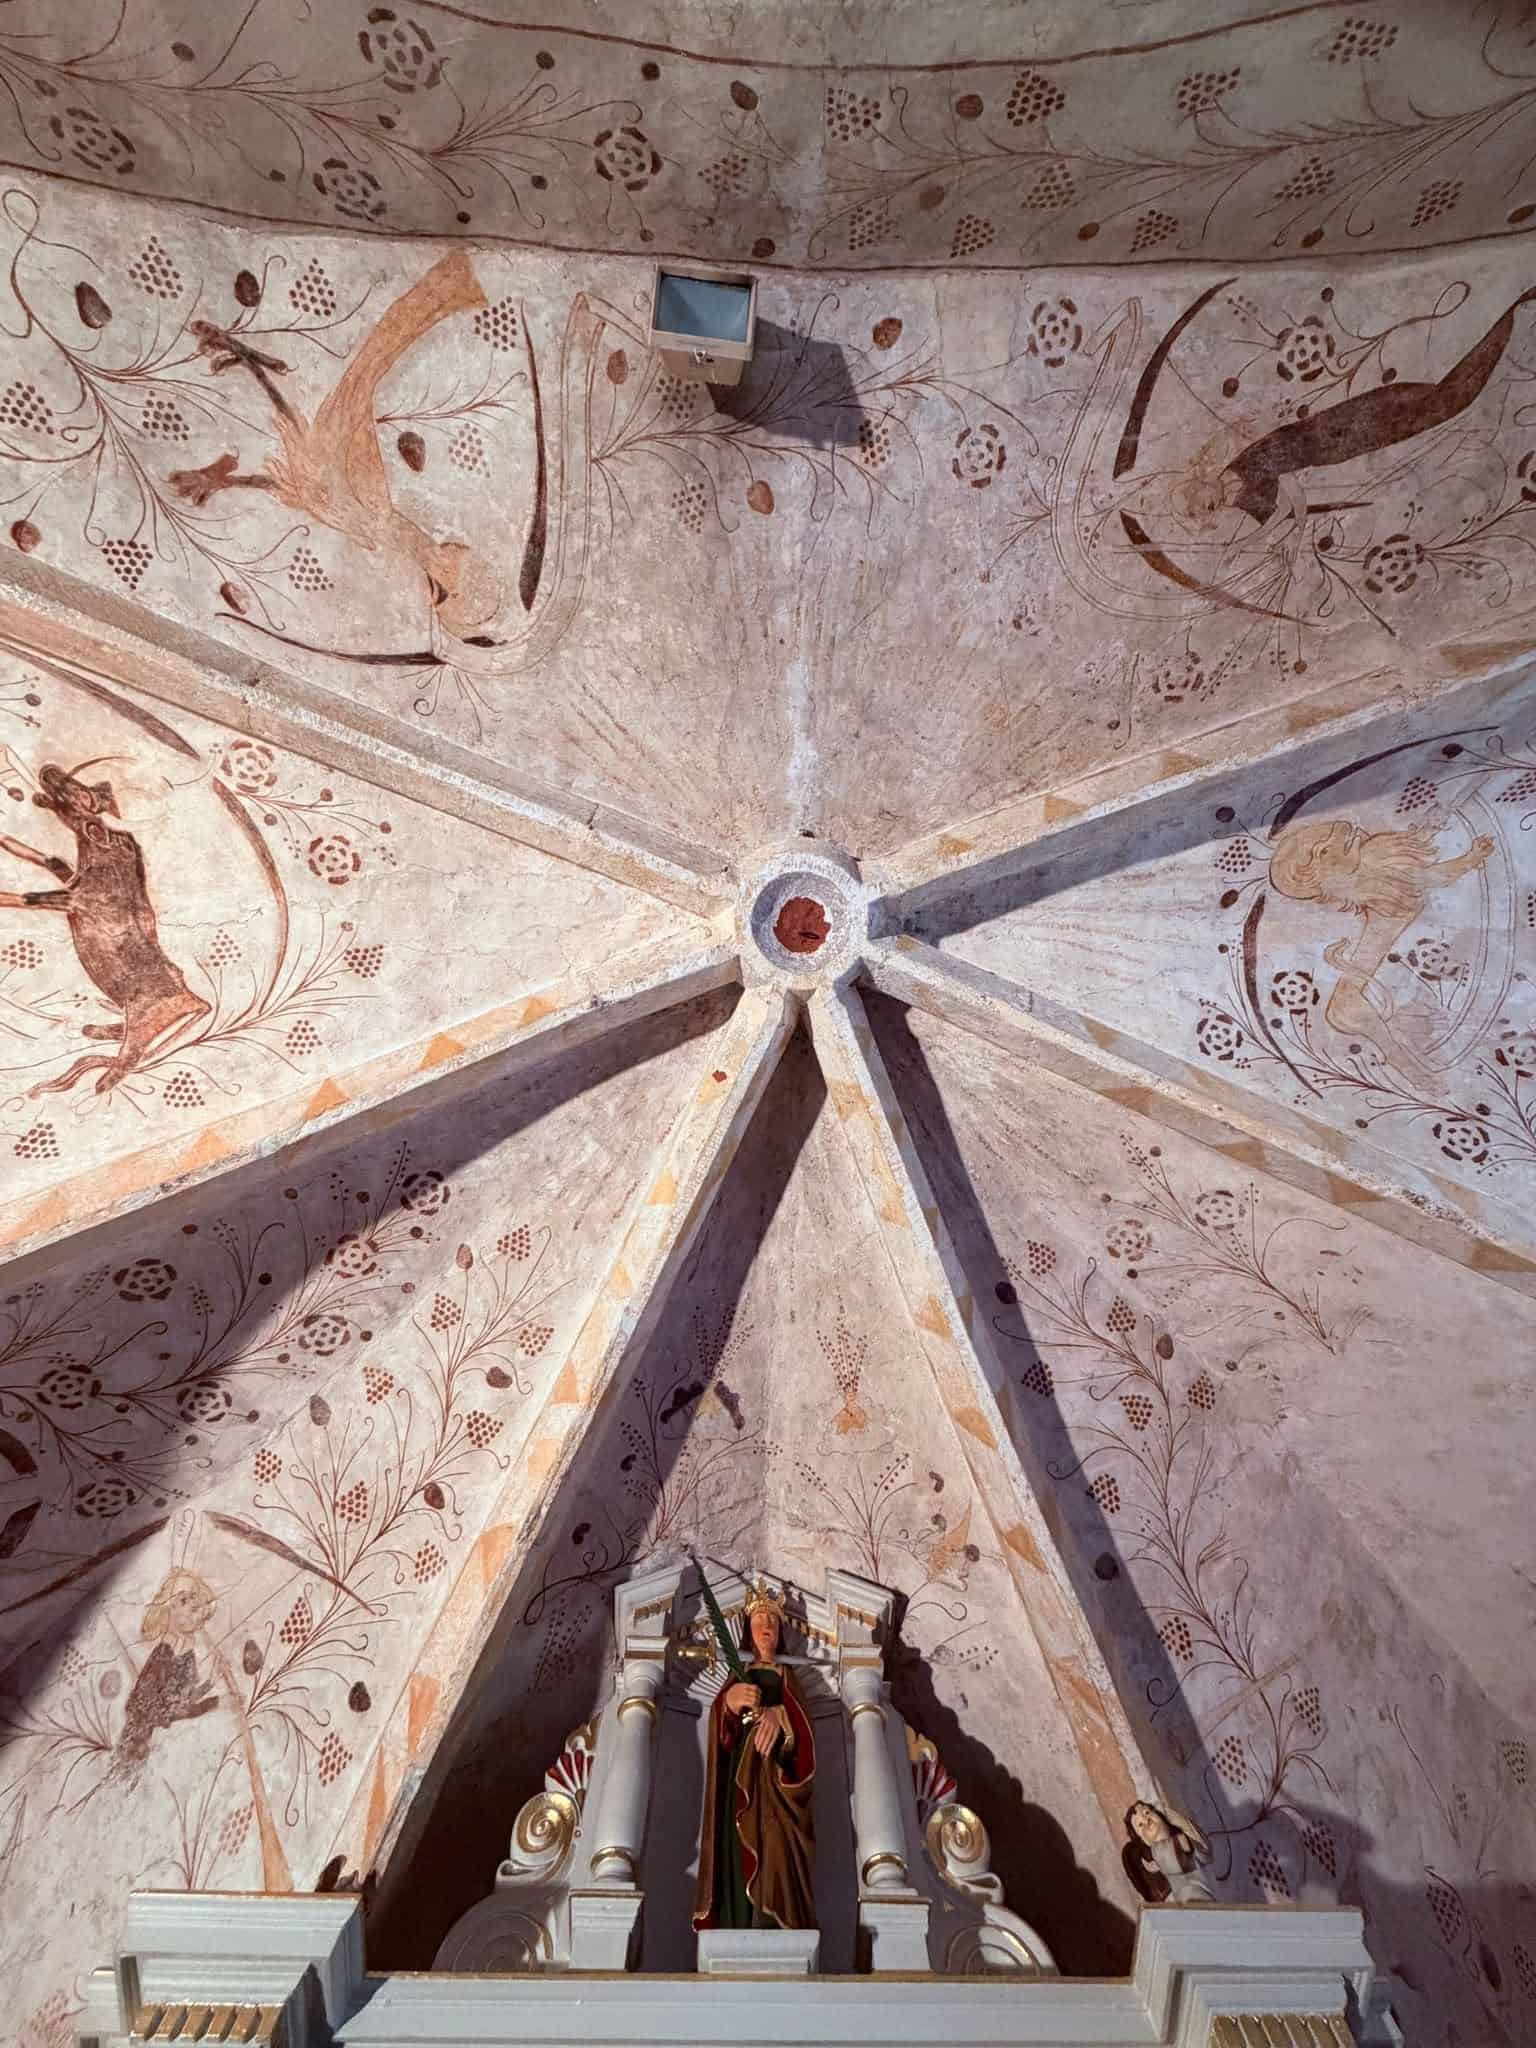
Bemalte Kreuz- und Chorgewölbe – Eschfeld · Kirche St. Luzia, fotografische Ansicht 1Foto: Victor Kemp
Bemalte Kreuz- und ChorgewölbeEschfeld · Kirche St. Luzia · 1906–1921Foto: Victor Kemp
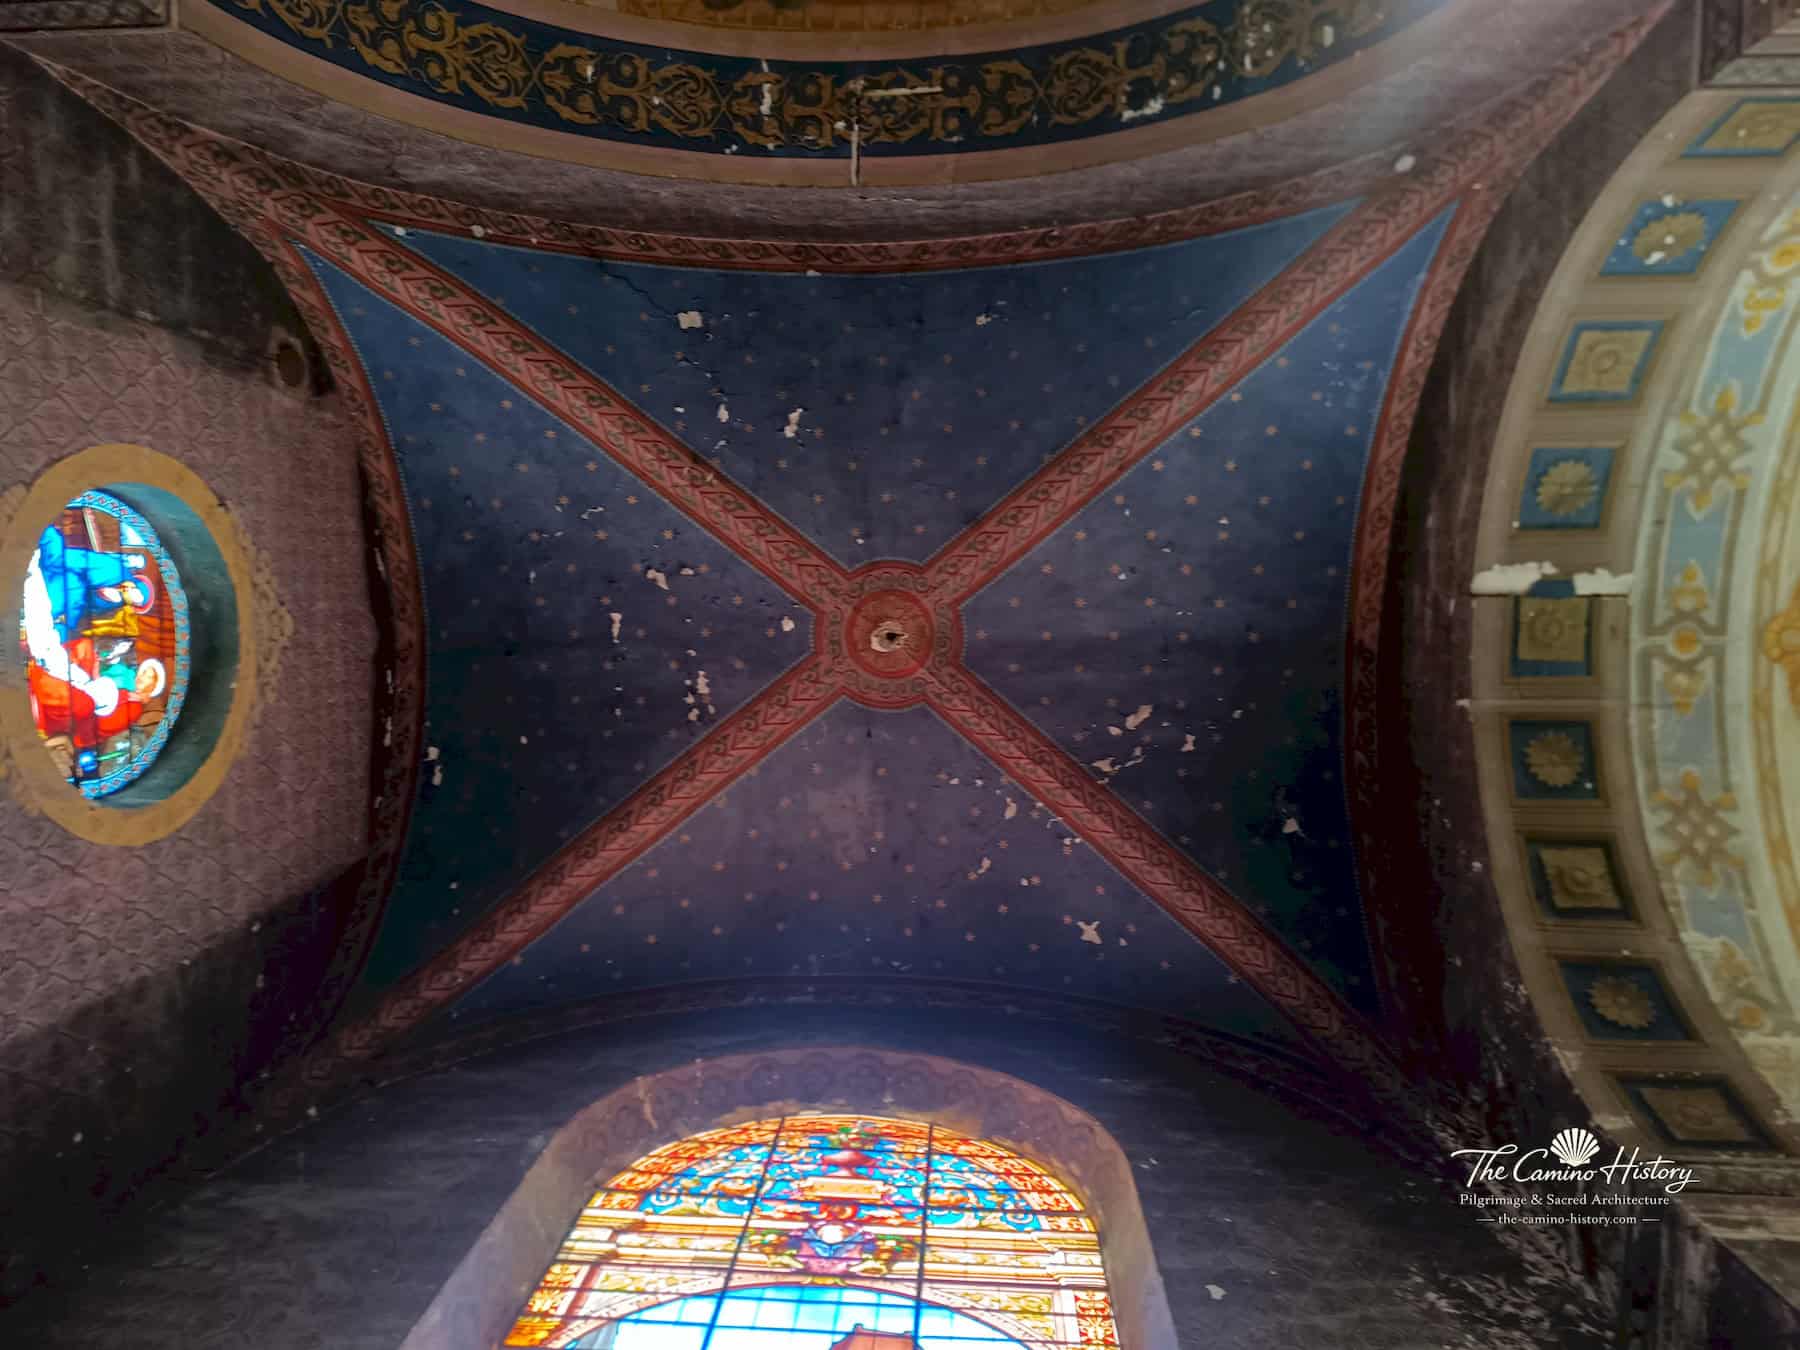
Bemalte Kreuz- und Chorgewölbe – Eschfeld · Kirche St. Luzia, fotografische Ansicht 3Foto: Victor Kemp
Bemalte Kreuz- und ChorgewölbeEschfeld · Kirche St. Luzia · 1906–1921Foto: Victor Kemp
Bemalte Kreuz- und Chorgewölbe – Eschfeld · Kirche St. Luzia, fotografische Ansicht 5Foto: Victor Kemp
Bemalte Kreuz- und ChorgewölbeEschfeld · Kirche St. Luzia · 1906–1921Foto: Victor Kemp
Bemalte Kreuz- und Chorgewölbe – Eschfeld · Kirche St. Luzia, fotografische Ansicht 10Foto: Victor Kemp
Bemalte Kreuz- und ChorgewölbeEschfeld · Kirche St. Luzia · 1906–1921Foto: Victor Kemp
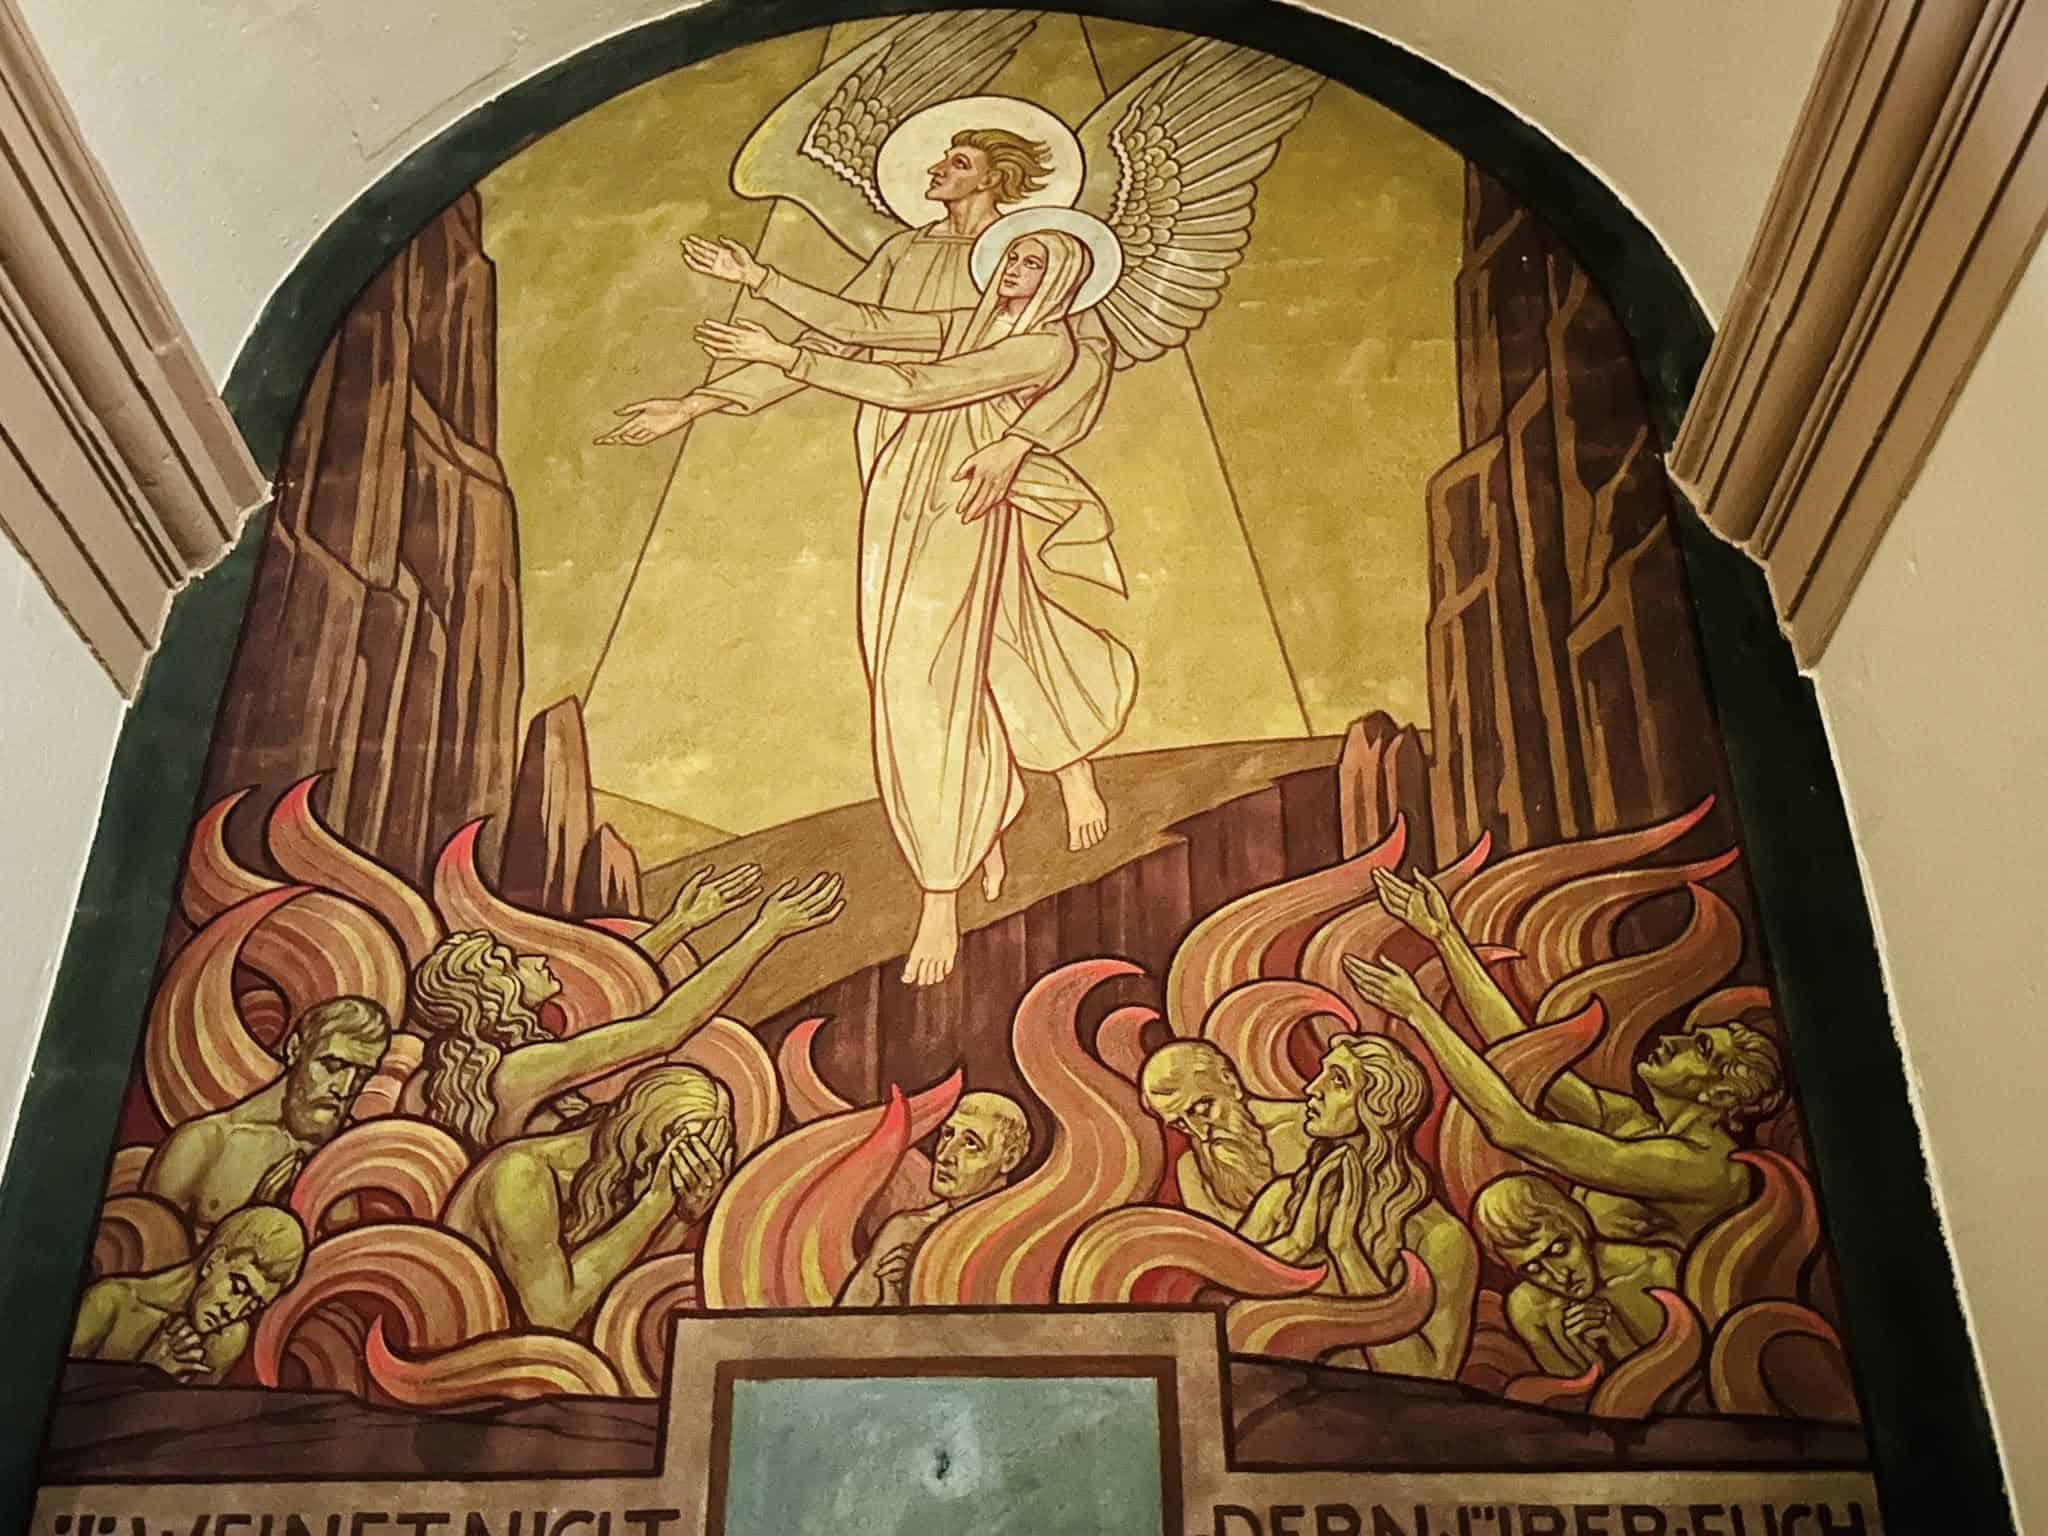
Figürliche Wandmalereien – Eschfeld · Kirche St. Luzia, fotografische Ansicht 2Foto: Victor Kemp
Figürliche WandmalereienEschfeld · Kirche St. Luzia · 1906–1921Foto: Victor Kemp
Bemalte Kreuz- und Chorgewölbe – Eschfeld · Kirche St. Luzia, fotografische Ansicht 2Foto: Victor Kemp
Bemalte Kreuz- und ChorgewölbeEschfeld · Kirche St. Luzia · 1906–1921Foto: Victor Kemp
Bemalte Kreuz- und Chorgewölbe – Eschfeld · Kirche St. Luzia, fotografische Ansicht 4Foto: Victor Kemp
Bemalte Kreuz- und ChorgewölbeEschfeld · Kirche St. Luzia · 1906–1921Foto: Victor Kemp
Bemalte Kreuz- und Chorgewölbe – Eschfeld · Kirche St. Luzia, fotografische Ansicht 6Foto: Victor Kemp
Bemalte Kreuz- und ChorgewölbeEschfeld · Kirche St. Luzia · 1906–1921Foto: Victor Kemp
Bemalte Kreuz- und Chorgewölbe – Eschfeld · Kirche St. Luzia, fotografische Ansicht 7Foto: Victor Kemp
Bemalte Kreuz- und ChorgewölbeEschfeld · Kirche St. Luzia · 1906–1921Foto: Victor Kemp
Bemalte Kreuz- und Chorgewölbe – Eschfeld · Kirche St. Luzia, fotografische Ansicht 8Foto: Victor Kemp
Bemalte Kreuz- und ChorgewölbeEschfeld · Kirche St. Luzia · 1906–1921Foto: Victor Kemp
Bemalte Kreuz- und Chorgewölbe – Eschfeld · Kirche St. Luzia, fotografische Ansicht 9Foto: Victor Kemp
Bemalte Kreuz- und ChorgewölbeEschfeld · Kirche St. Luzia · 1906–1921Foto: Victor Kemp
Bemalte Kreuz- und Chorgewölbe – Eschfeld · Kirche St. Luzia, fotografische Ansicht 11Foto: Victor Kemp
Bemalte Kreuz- und ChorgewölbeEschfeld · Kirche St. Luzia · 1906–1921Foto: Victor Kemp
Bemalte Kreuz- und Chorgewölbe – Eschfeld · Kirche St. Luzia, fotografische Ansicht 12Foto: Victor Kemp
Bemalte Kreuz- und ChorgewölbeEschfeld · Kirche St. Luzia · 1906–1921Foto: Victor Kemp
Bemalte Kreuz- und Chorgewölbe – Eschfeld · Kirche St. Luzia, fotografische Ansicht 13Foto: Victor Kemp
Bemalte Kreuz- und ChorgewölbeEschfeld · Kirche St. Luzia · 1906–1921Foto: Victor Kemp
Bemalte Kreuz- und Chorgewölbe – Eschfeld · Kirche St. Luzia, fotografische Ansicht 14Foto: Victor Kemp
Bemalte Kreuz- und ChorgewölbeEschfeld · Kirche St. Luzia · 1906–1921Foto: Victor Kemp
Figürliche Wandmalereien – Eschfeld · Kirche St. Luzia, fotografische Ansicht 1Foto: Victor Kemp
Figürliche WandmalereienEschfeld · Kirche St. Luzia · 1906–1921Foto: Victor Kemp
Figürliche Wandmalereien – Eschfeld · Kirche St. Luzia, fotografische Ansicht 3Foto: Victor Kemp
Figürliche WandmalereienEschfeld · Kirche St. Luzia · 1906–1921Foto: Victor Kemp
Figürliche Wandmalereien – Eschfeld · Kirche St. Luzia, fotografische Ansicht 4Foto: Victor Kemp
Figürliche WandmalereienEschfeld · Kirche St. Luzia · 1906–1921Foto: Victor Kemp
Figürliche Wandmalereien – Eschfeld · Kirche St. Luzia, fotografische Ansicht 5Foto: Victor Kemp
Figürliche WandmalereienEschfeld · Kirche St. Luzia · 1906–1921Foto: Victor Kemp
Figürliche Wandmalereien – Eschfeld · Kirche St. Luzia, fotografische Ansicht 6Foto: Victor Kemp
Figürliche WandmalereienEschfeld · Kirche St. Luzia · 1906–1921Foto: Victor Kemp
Figürliche Wandmalereien – Eschfeld · Kirche St. Luzia, fotografische Ansicht 7Foto: Victor Kemp
Figürliche WandmalereienEschfeld · Kirche St. Luzia · 1906–1921Foto: Victor Kemp
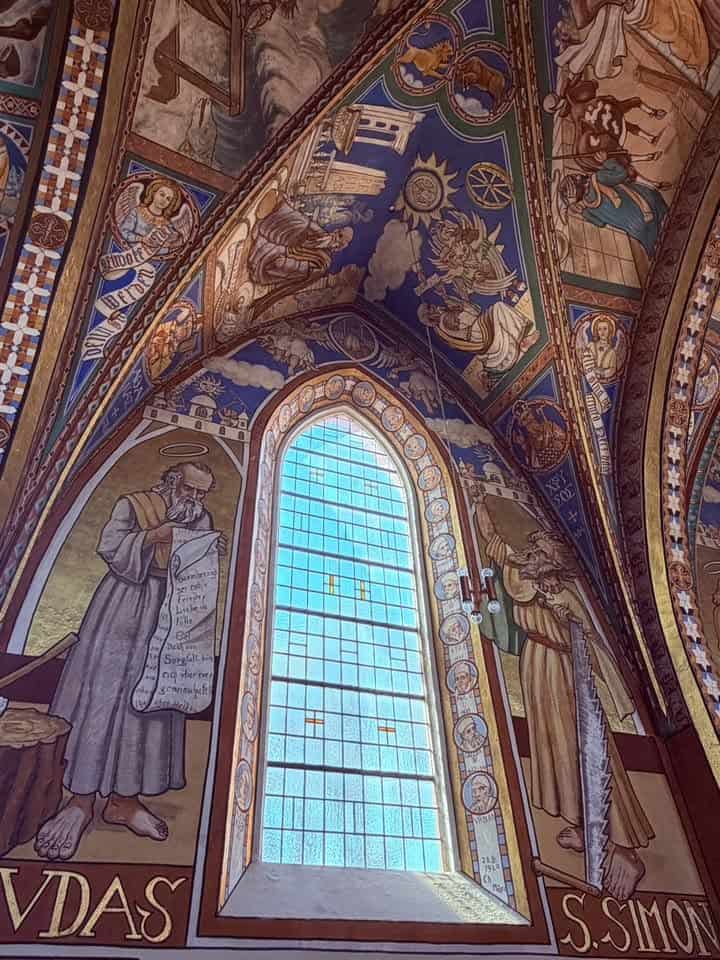
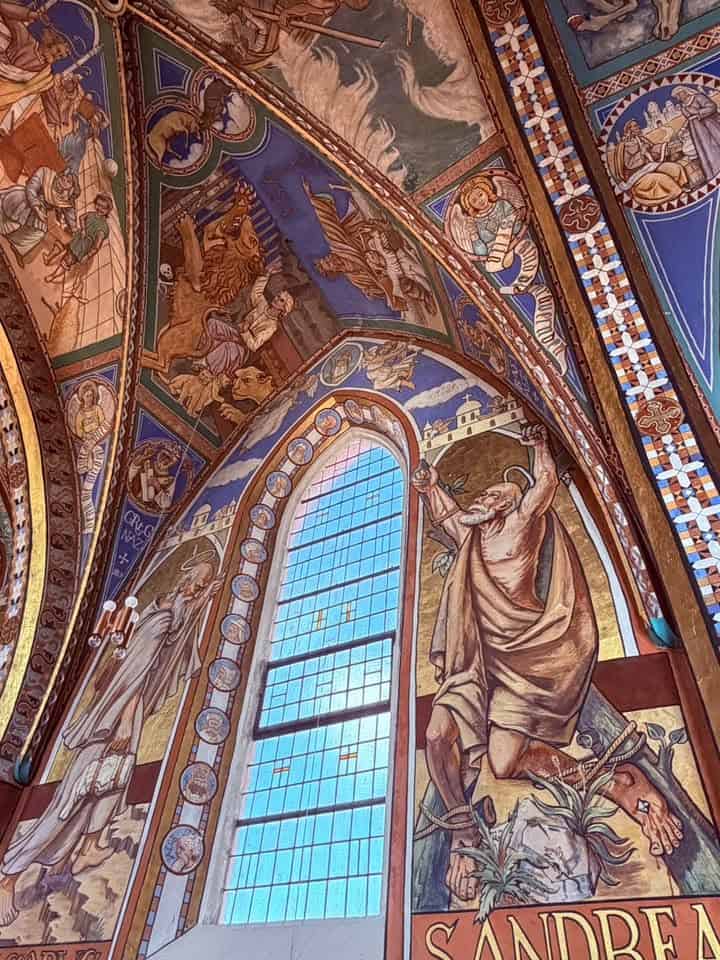
Kirchenraum mit Wand- und Deckenmalereien – Eschfeld · Kirche St. Luzia, fotografische Ansicht 2Foto: Victor Kemp
Kirchenraum mit Wand- und DeckenmalereienEschfeld · Kirche St. Luzia · 1906–1921Foto: Victor Kemp
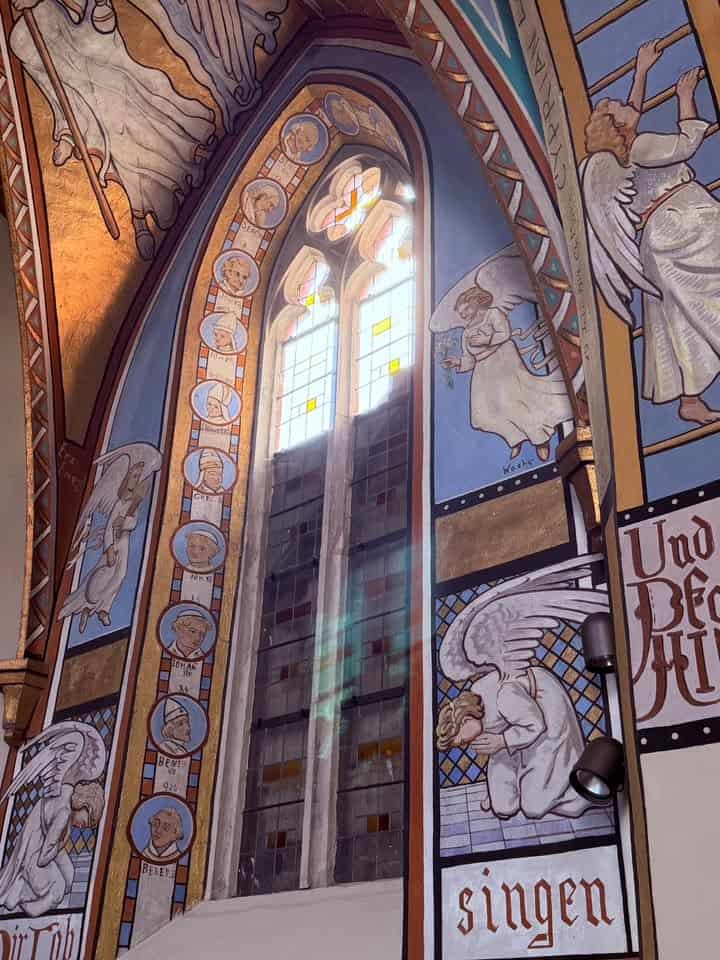
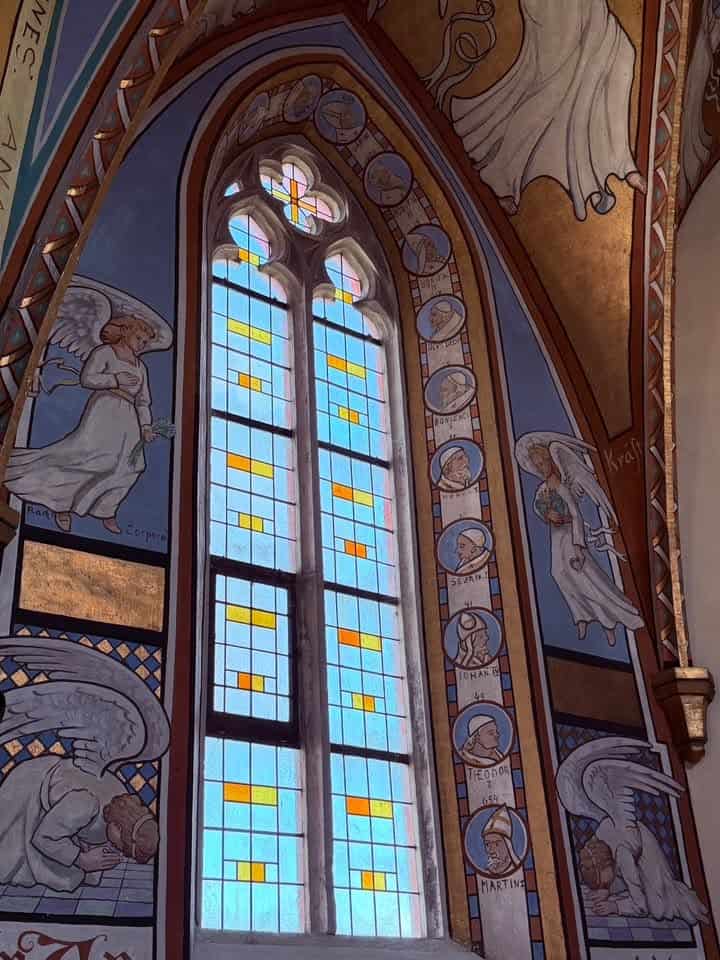
Malerei in Fensterlaibungen und Wandzonen – Eschfeld · Kirche St. Luzia, fotografische Ansicht 1Foto: Victor Kemp
Malerei in Fensterlaibungen und WandzonenEschfeld · Kirche St. Luzia · 1906–1921Foto: Victor Kemp
Malerei in Fensterlaibungen und Wandzonen – Eschfeld · Kirche St. Luzia, fotografische Ansicht 2Foto: Victor Kemp
Malerei in Fensterlaibungen und WandzonenEschfeld · Kirche St. Luzia · 1906–1921Foto: Victor Kemp
Malerei in Fensterlaibungen und Wandzonen – Eschfeld · Kirche St. Luzia, fotografische Ansicht 3Foto: Victor Kemp
Malerei in Fensterlaibungen und WandzonenEschfeld · Kirche St. Luzia · 1906–1921Foto: Victor Kemp
Malerei in Fensterlaibungen und Wandzonen – Eschfeld · Kirche St. Luzia, fotografische Ansicht 4Foto: Victor Kemp
Malerei in Fensterlaibungen und WandzonenEschfeld · Kirche St. Luzia · 1906–1921Foto: Victor Kemp
Malerei in Fensterlaibungen und Wandzonen – Eschfeld · Kirche St. Luzia, fotografische Ansicht 5Foto: Victor Kemp
Malerei in Fensterlaibungen und WandzonenEschfeld · Kirche St. Luzia · 1906–1921Foto: Victor Kemp
Malerei in Fensterlaibungen und Wandzonen – Eschfeld · Kirche St. Luzia, fotografische Ansicht 6Foto: Victor Kemp
Malerei in Fensterlaibungen und WandzonenEschfeld · Kirche St. Luzia · 1906–1921Foto: Victor Kemp

Europäische Kirchenkunst

Weitere Wand- und Deckenmalereien

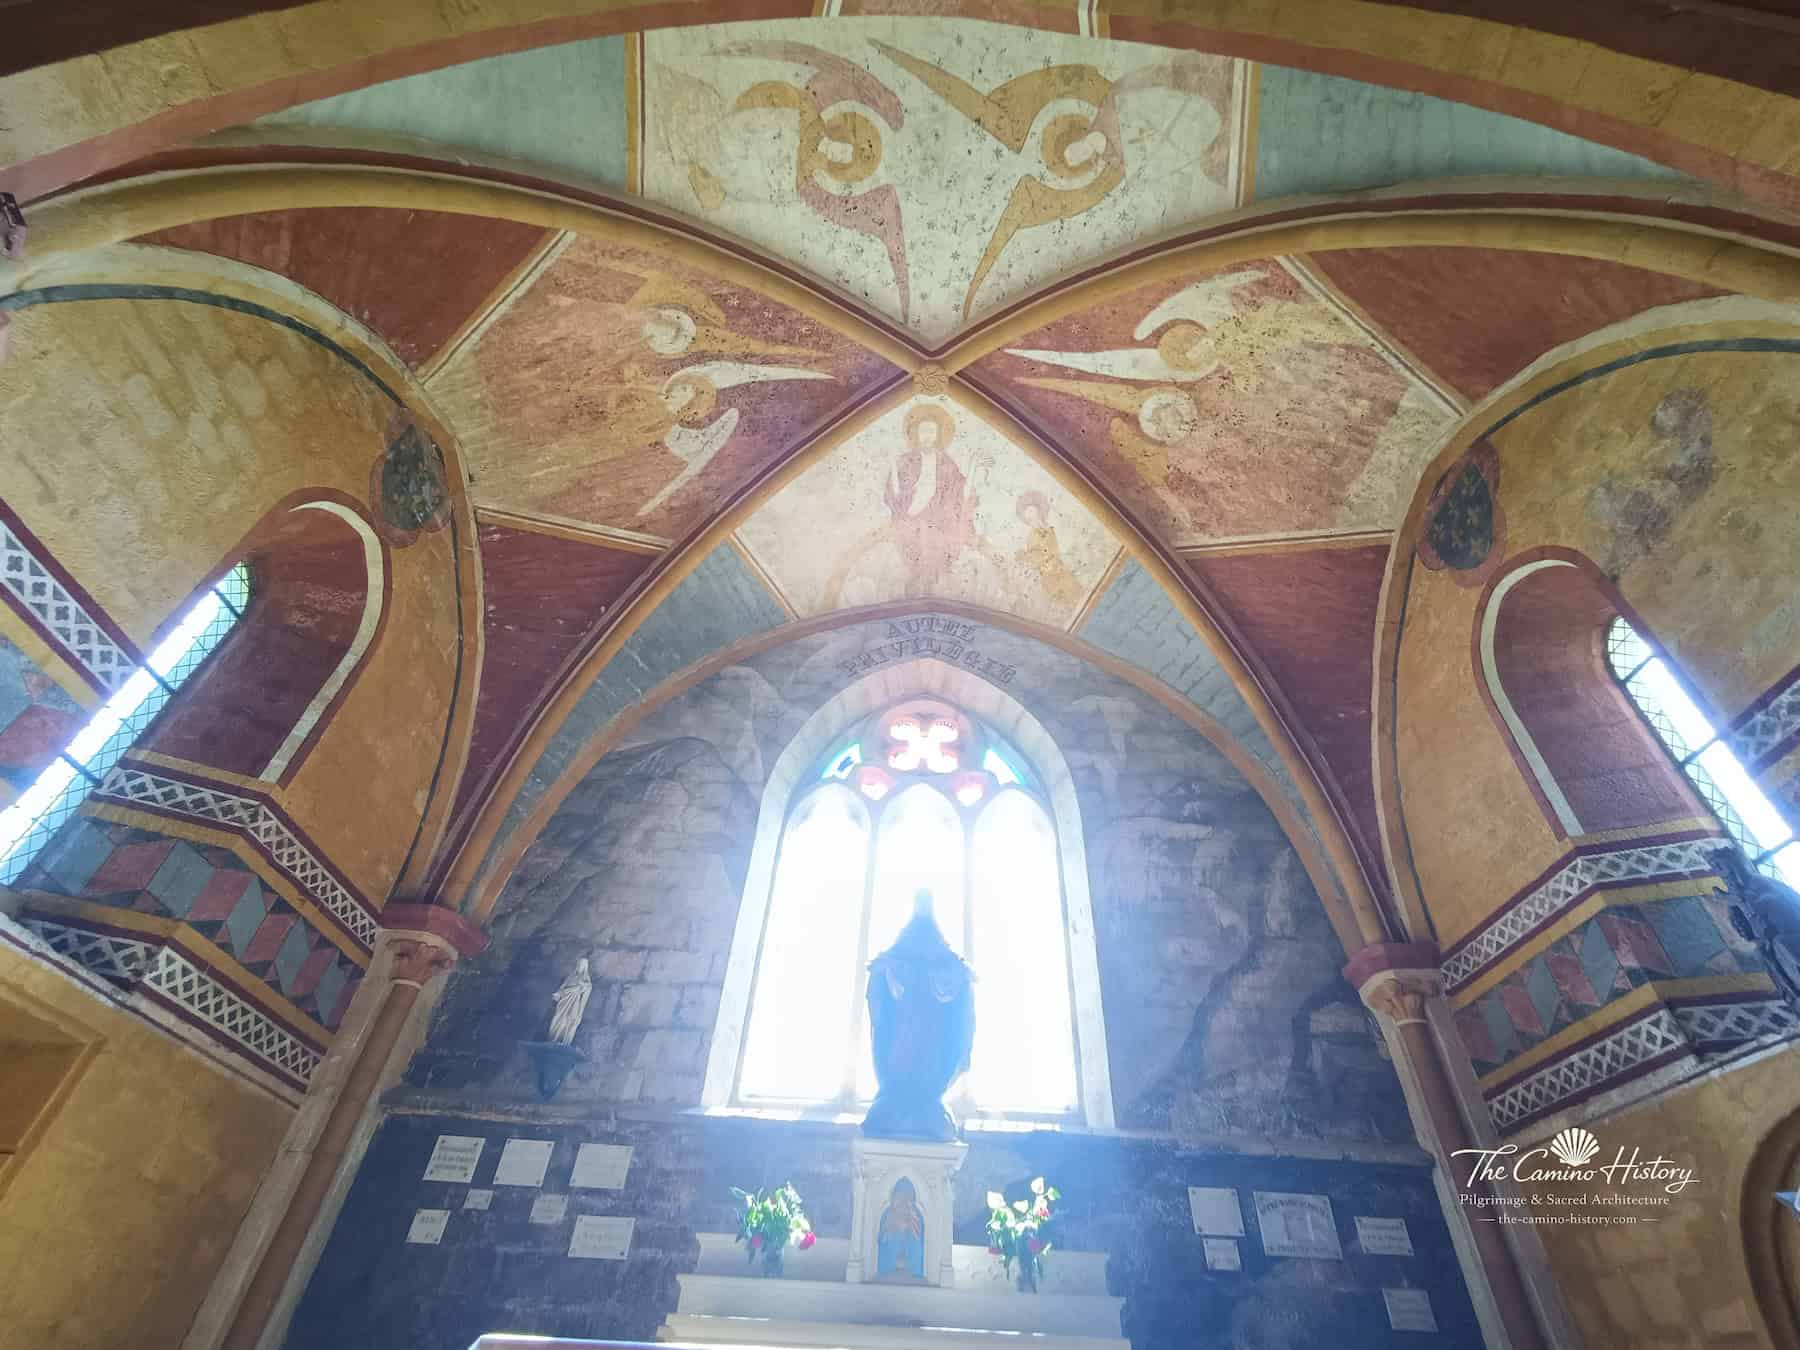
Bemalte Gewölbe und Bogenfelder – Alken · Sankt Michaels Kapelle, fotografische Ansicht 4
Bemalte Gewölbe und BogenfelderAlken · Sankt Michaels Kapelle · Um 1350Foto: The Camino HistoryZur Dokumentation →
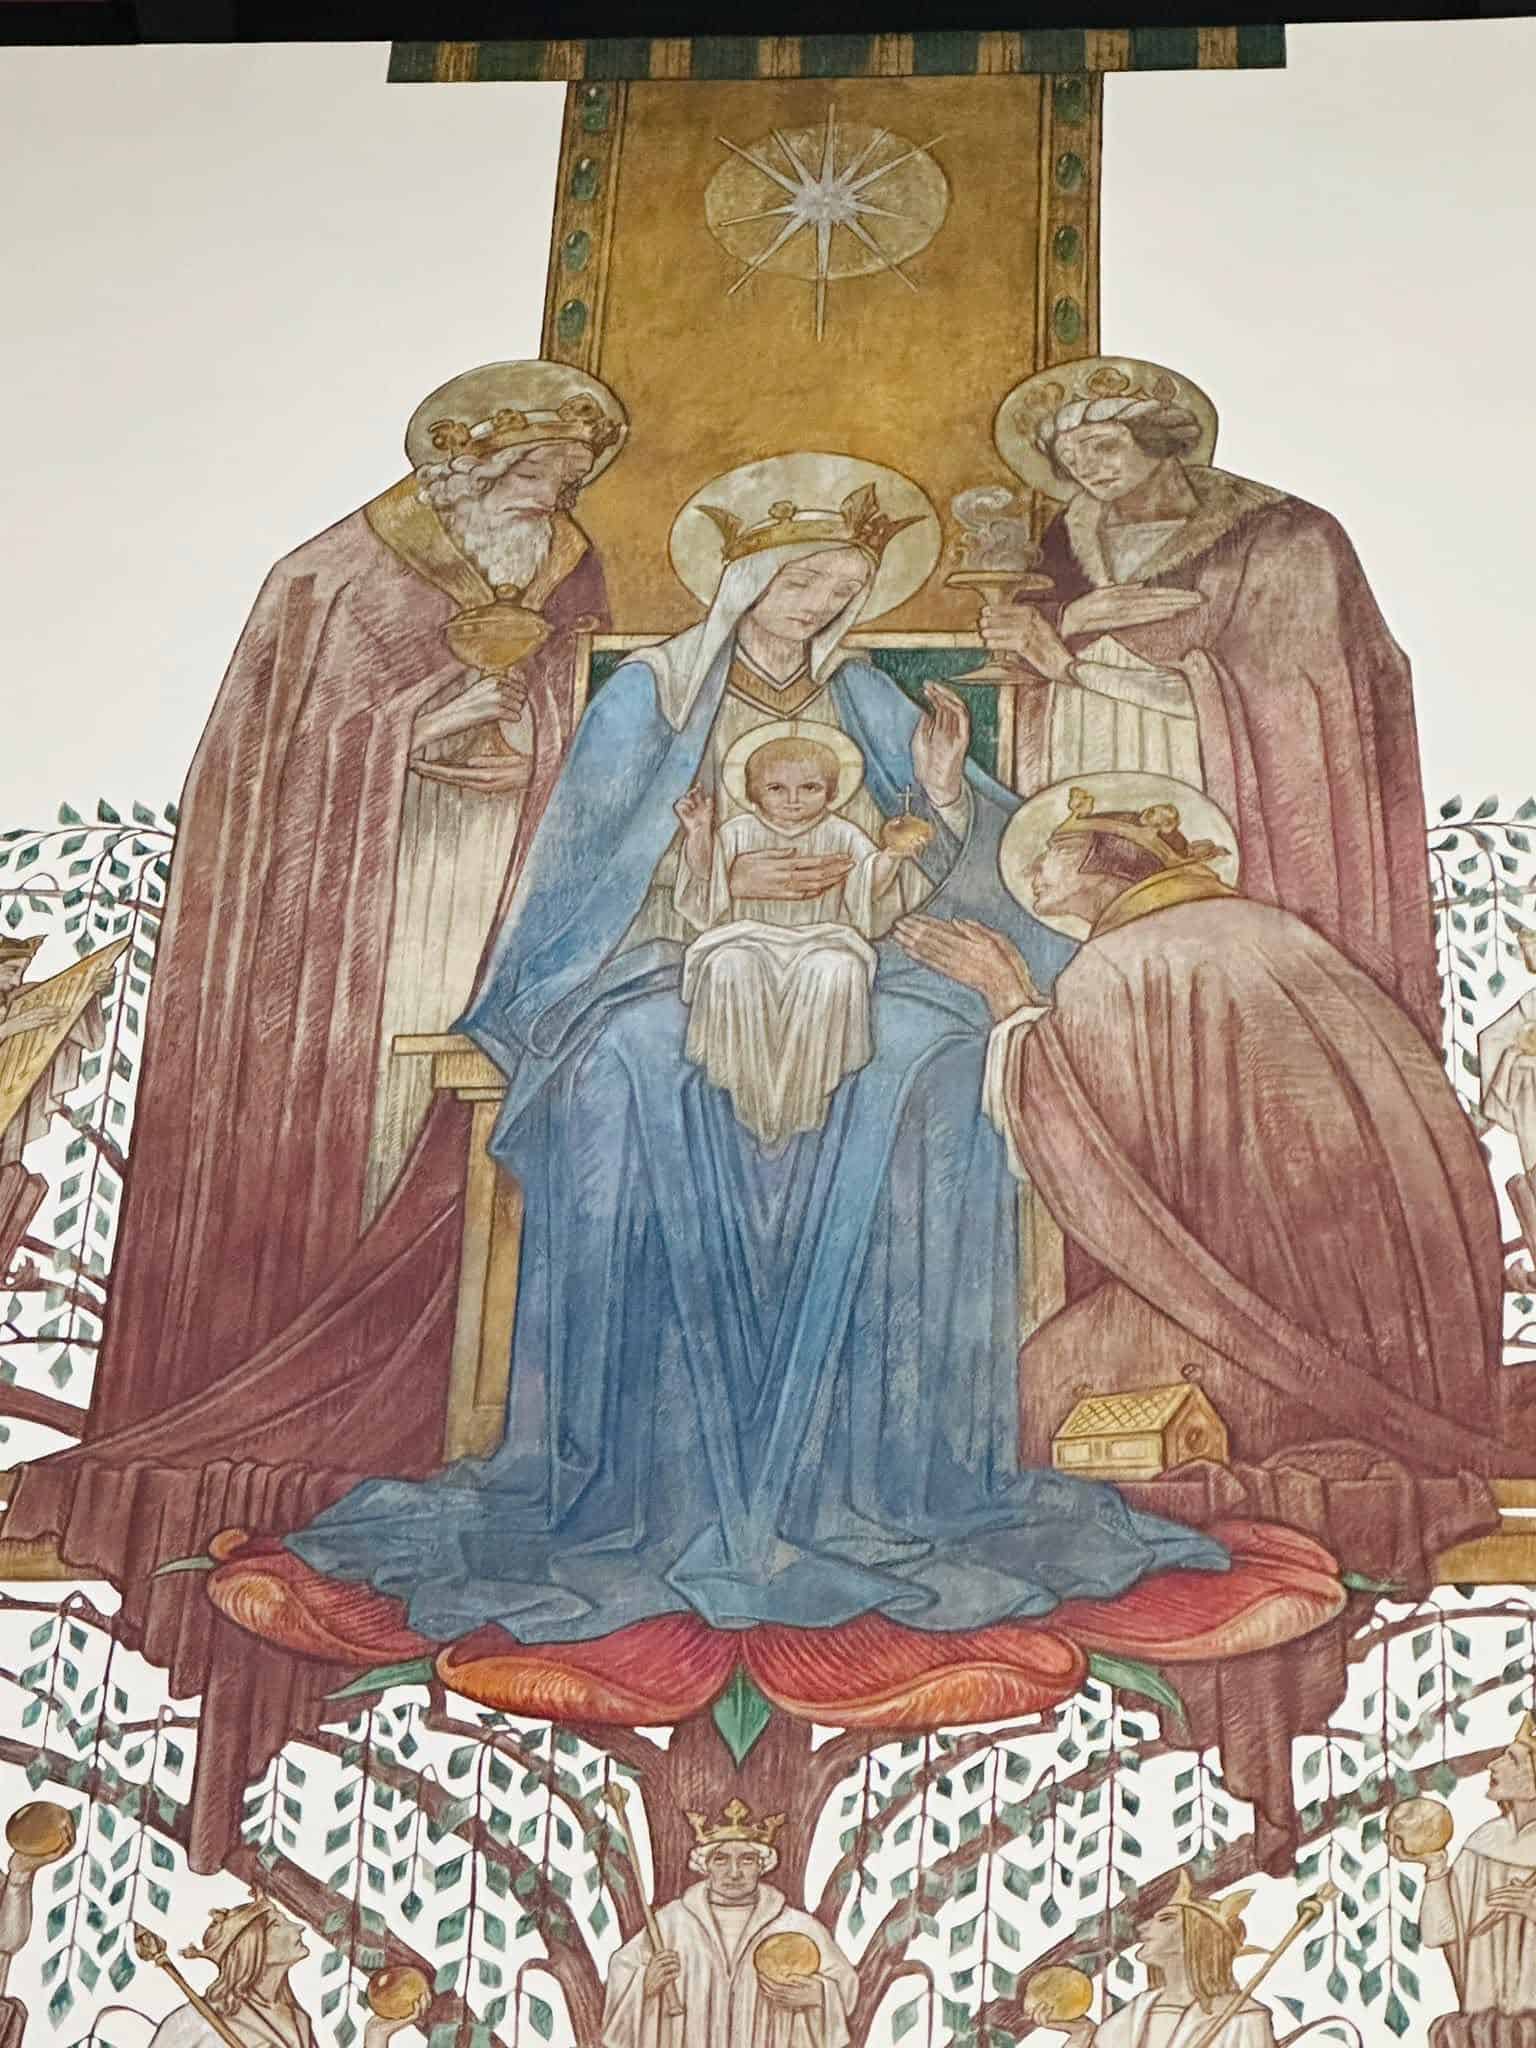
Historische Darstellung der Heiligen Drei Könige als Wandmalerei in St. Andreas in Köln
Wandmalerei der Heiligen Drei KönigeKöln · St. AndreasFoto: The Camino HistoryZur Dokumentation →
Bemalte Gewölbejoche – Rundmedaillons – Metz · Saint-Joseph, fotografische Ansicht 6
Bemalte Gewölbejoche – RundmedaillonsMetz · Saint-JosephFoto: The Camino History
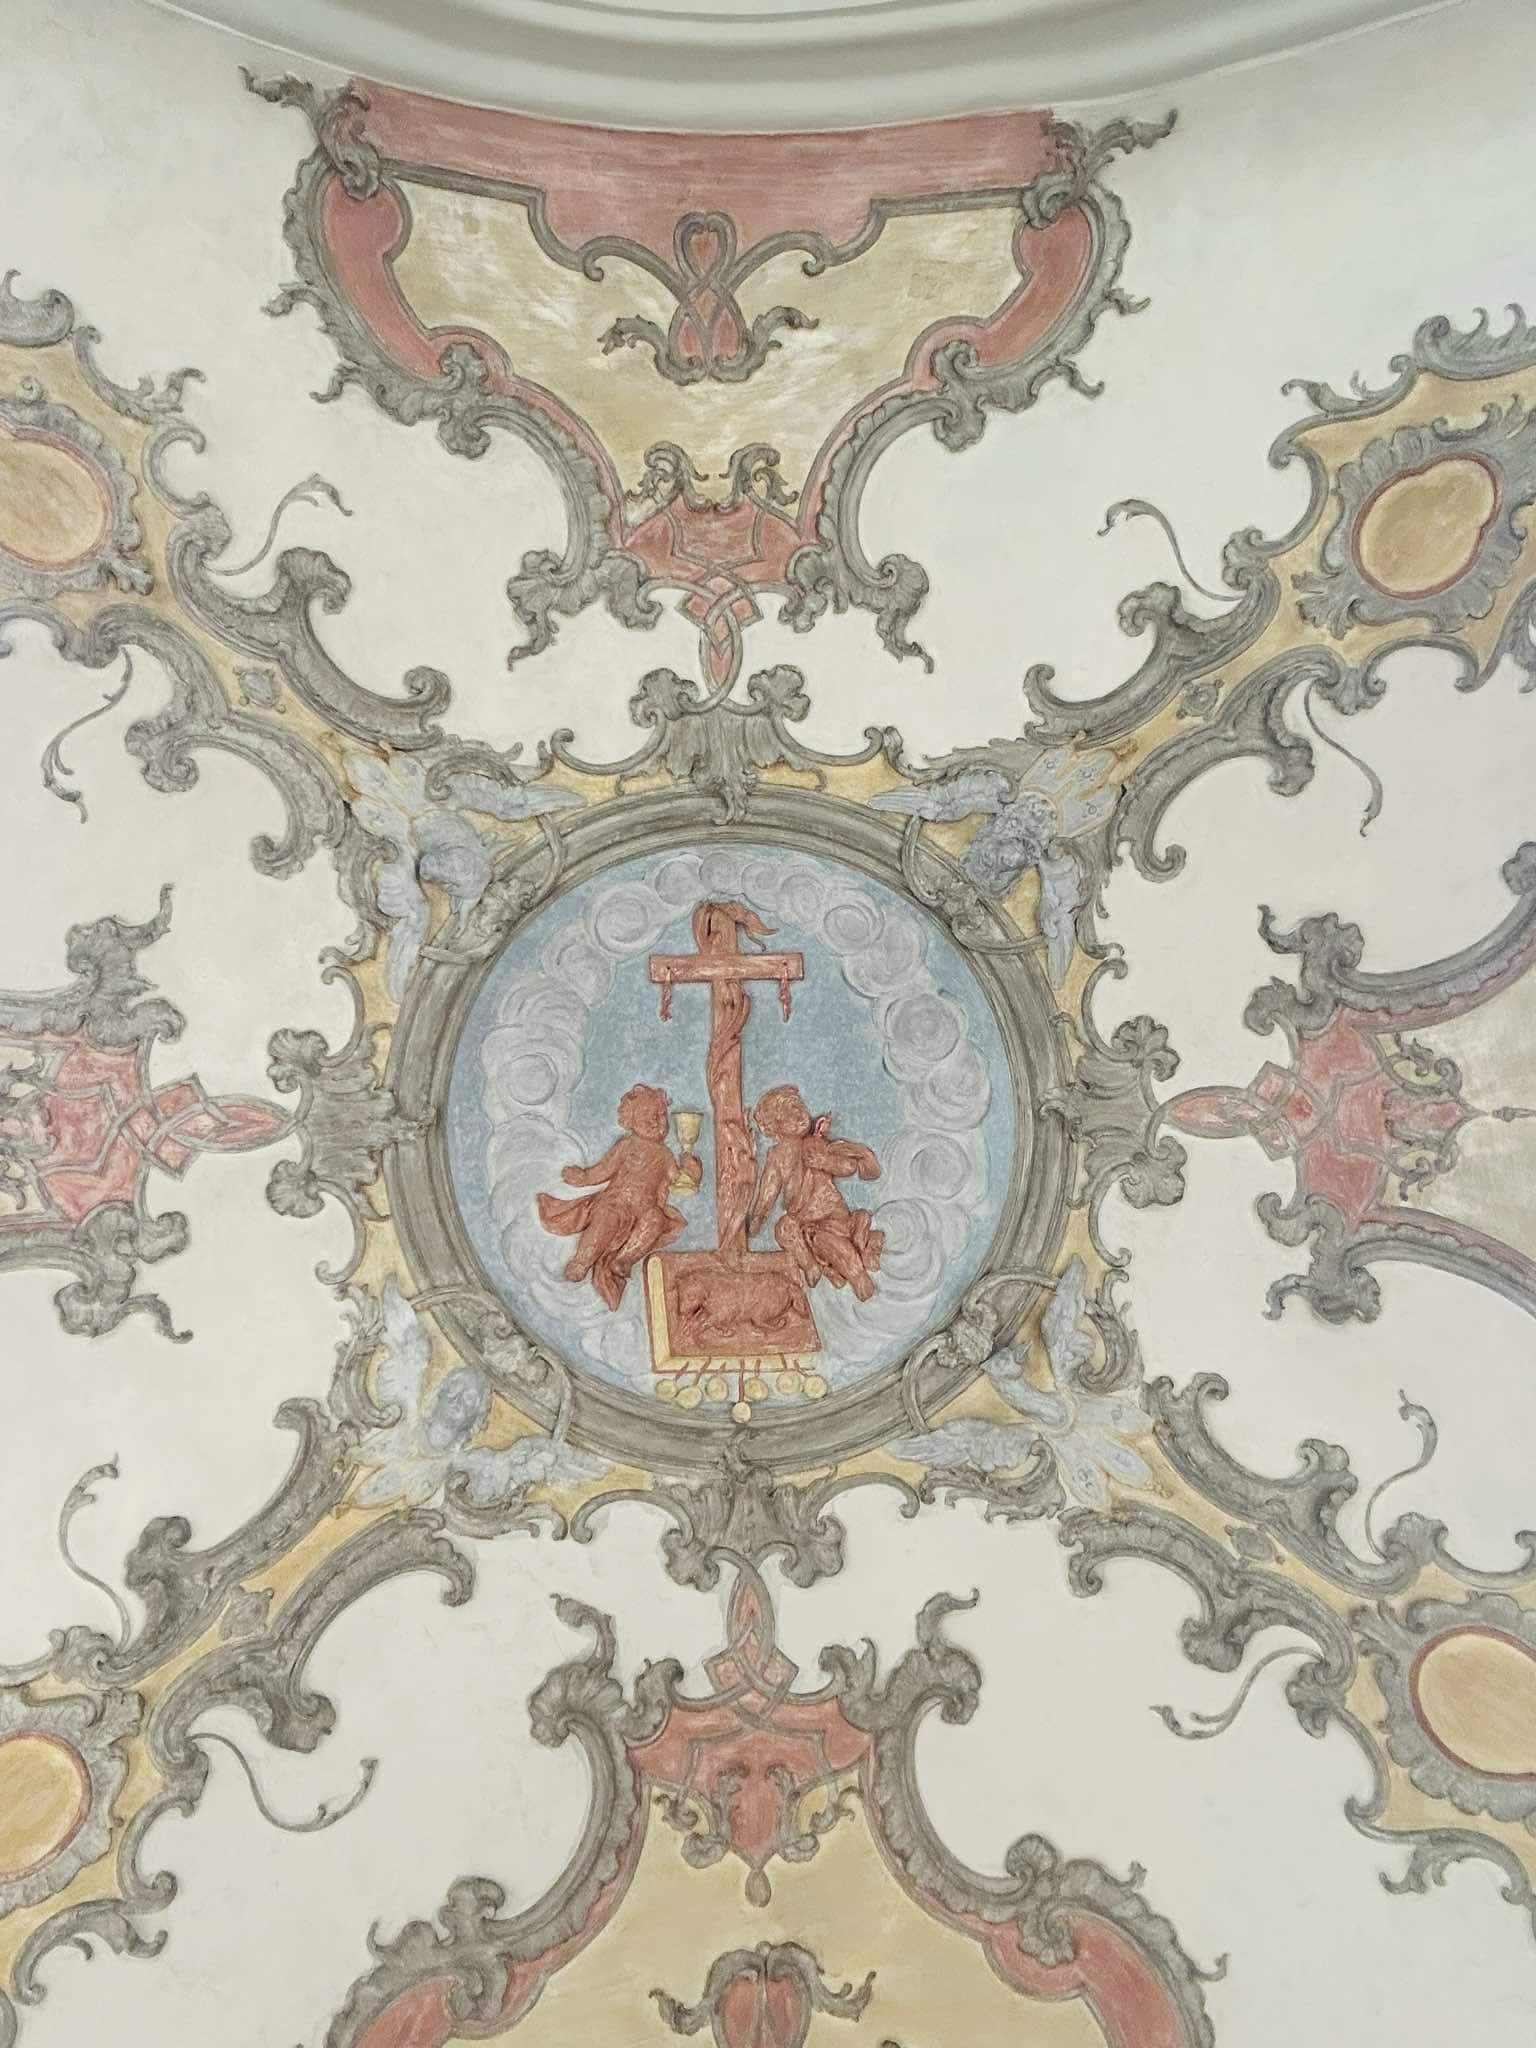
Barocke Deckenmedaillons und Stuckrahmen – Trier · St. Gangolf, fotografische Ansicht 6Foto: Victor Kemp
Barocke Deckenmedaillons und StuckrahmenTrier · St. GangolfFoto: Victor Kemp
Bemalte Gewölbe und Bogenfelder – Alken · Sankt Michaels Kapelle, fotografische Ansicht 1
Bemalte Gewölbe und BogenfelderAlken · Sankt Michaels Kapelle · Um 1350Foto: The Camino HistoryZur Dokumentation →
Bemalte Gewölbe und Bogenfelder – Alken · Sankt Michaels Kapelle, fotografische Ansicht 2
Bemalte Gewölbe und BogenfelderAlken · Sankt Michaels Kapelle · Um 1350Foto: The Camino HistoryZur Dokumentation →
Bemalte Gewölbe und Bogenfelder – Alken · Sankt Michaels Kapelle, fotografische Ansicht 3
Bemalte Gewölbe und BogenfelderAlken · Sankt Michaels Kapelle · Um 1350Foto: The Camino HistoryZur Dokumentation →
Bemalte Gewölbe und Bogenfelder – Alken · Sankt Michaels Kapelle, fotografische Ansicht 5
Bemalte Gewölbe und BogenfelderAlken · Sankt Michaels Kapelle · Um 1350Foto: The Camino HistoryZur Dokumentation →
Bemalte Gewölbe und Bogenfelder – Alken · Sankt Michaels Kapelle, fotografische Ansicht 6
Bemalte Gewölbe und BogenfelderAlken · Sankt Michaels Kapelle · Um 1350Foto: The Camino HistoryZur Dokumentation →
Wandmalereien – erhaltene Wandfelder – Alken · Sankt Michaels Kapelle, fotografische Ansicht 1
Wandmalereien – erhaltene WandfelderAlken · Sankt Michaels Kapelle · Um 1350Foto: The Camino HistoryZur Dokumentation →
Wandmalereien – erhaltene Wandfelder – Alken · Sankt Michaels Kapelle, fotografische Ansicht 2
Wandmalereien – erhaltene WandfelderAlken · Sankt Michaels Kapelle · Um 1350Foto: The Camino HistoryZur Dokumentation →
Wandmalereien – erhaltene Wandfelder – Alken · Sankt Michaels Kapelle, fotografische Ansicht 3
Wandmalereien – erhaltene WandfelderAlken · Sankt Michaels Kapelle · Um 1350Foto: The Camino HistoryZur Dokumentation →
Wandmalereien – erhaltene Wandfelder – Alken · Sankt Michaels Kapelle, fotografische Ansicht 4
Wandmalereien – erhaltene WandfelderAlken · Sankt Michaels Kapelle · Um 1350Foto: The Camino HistoryZur Dokumentation →
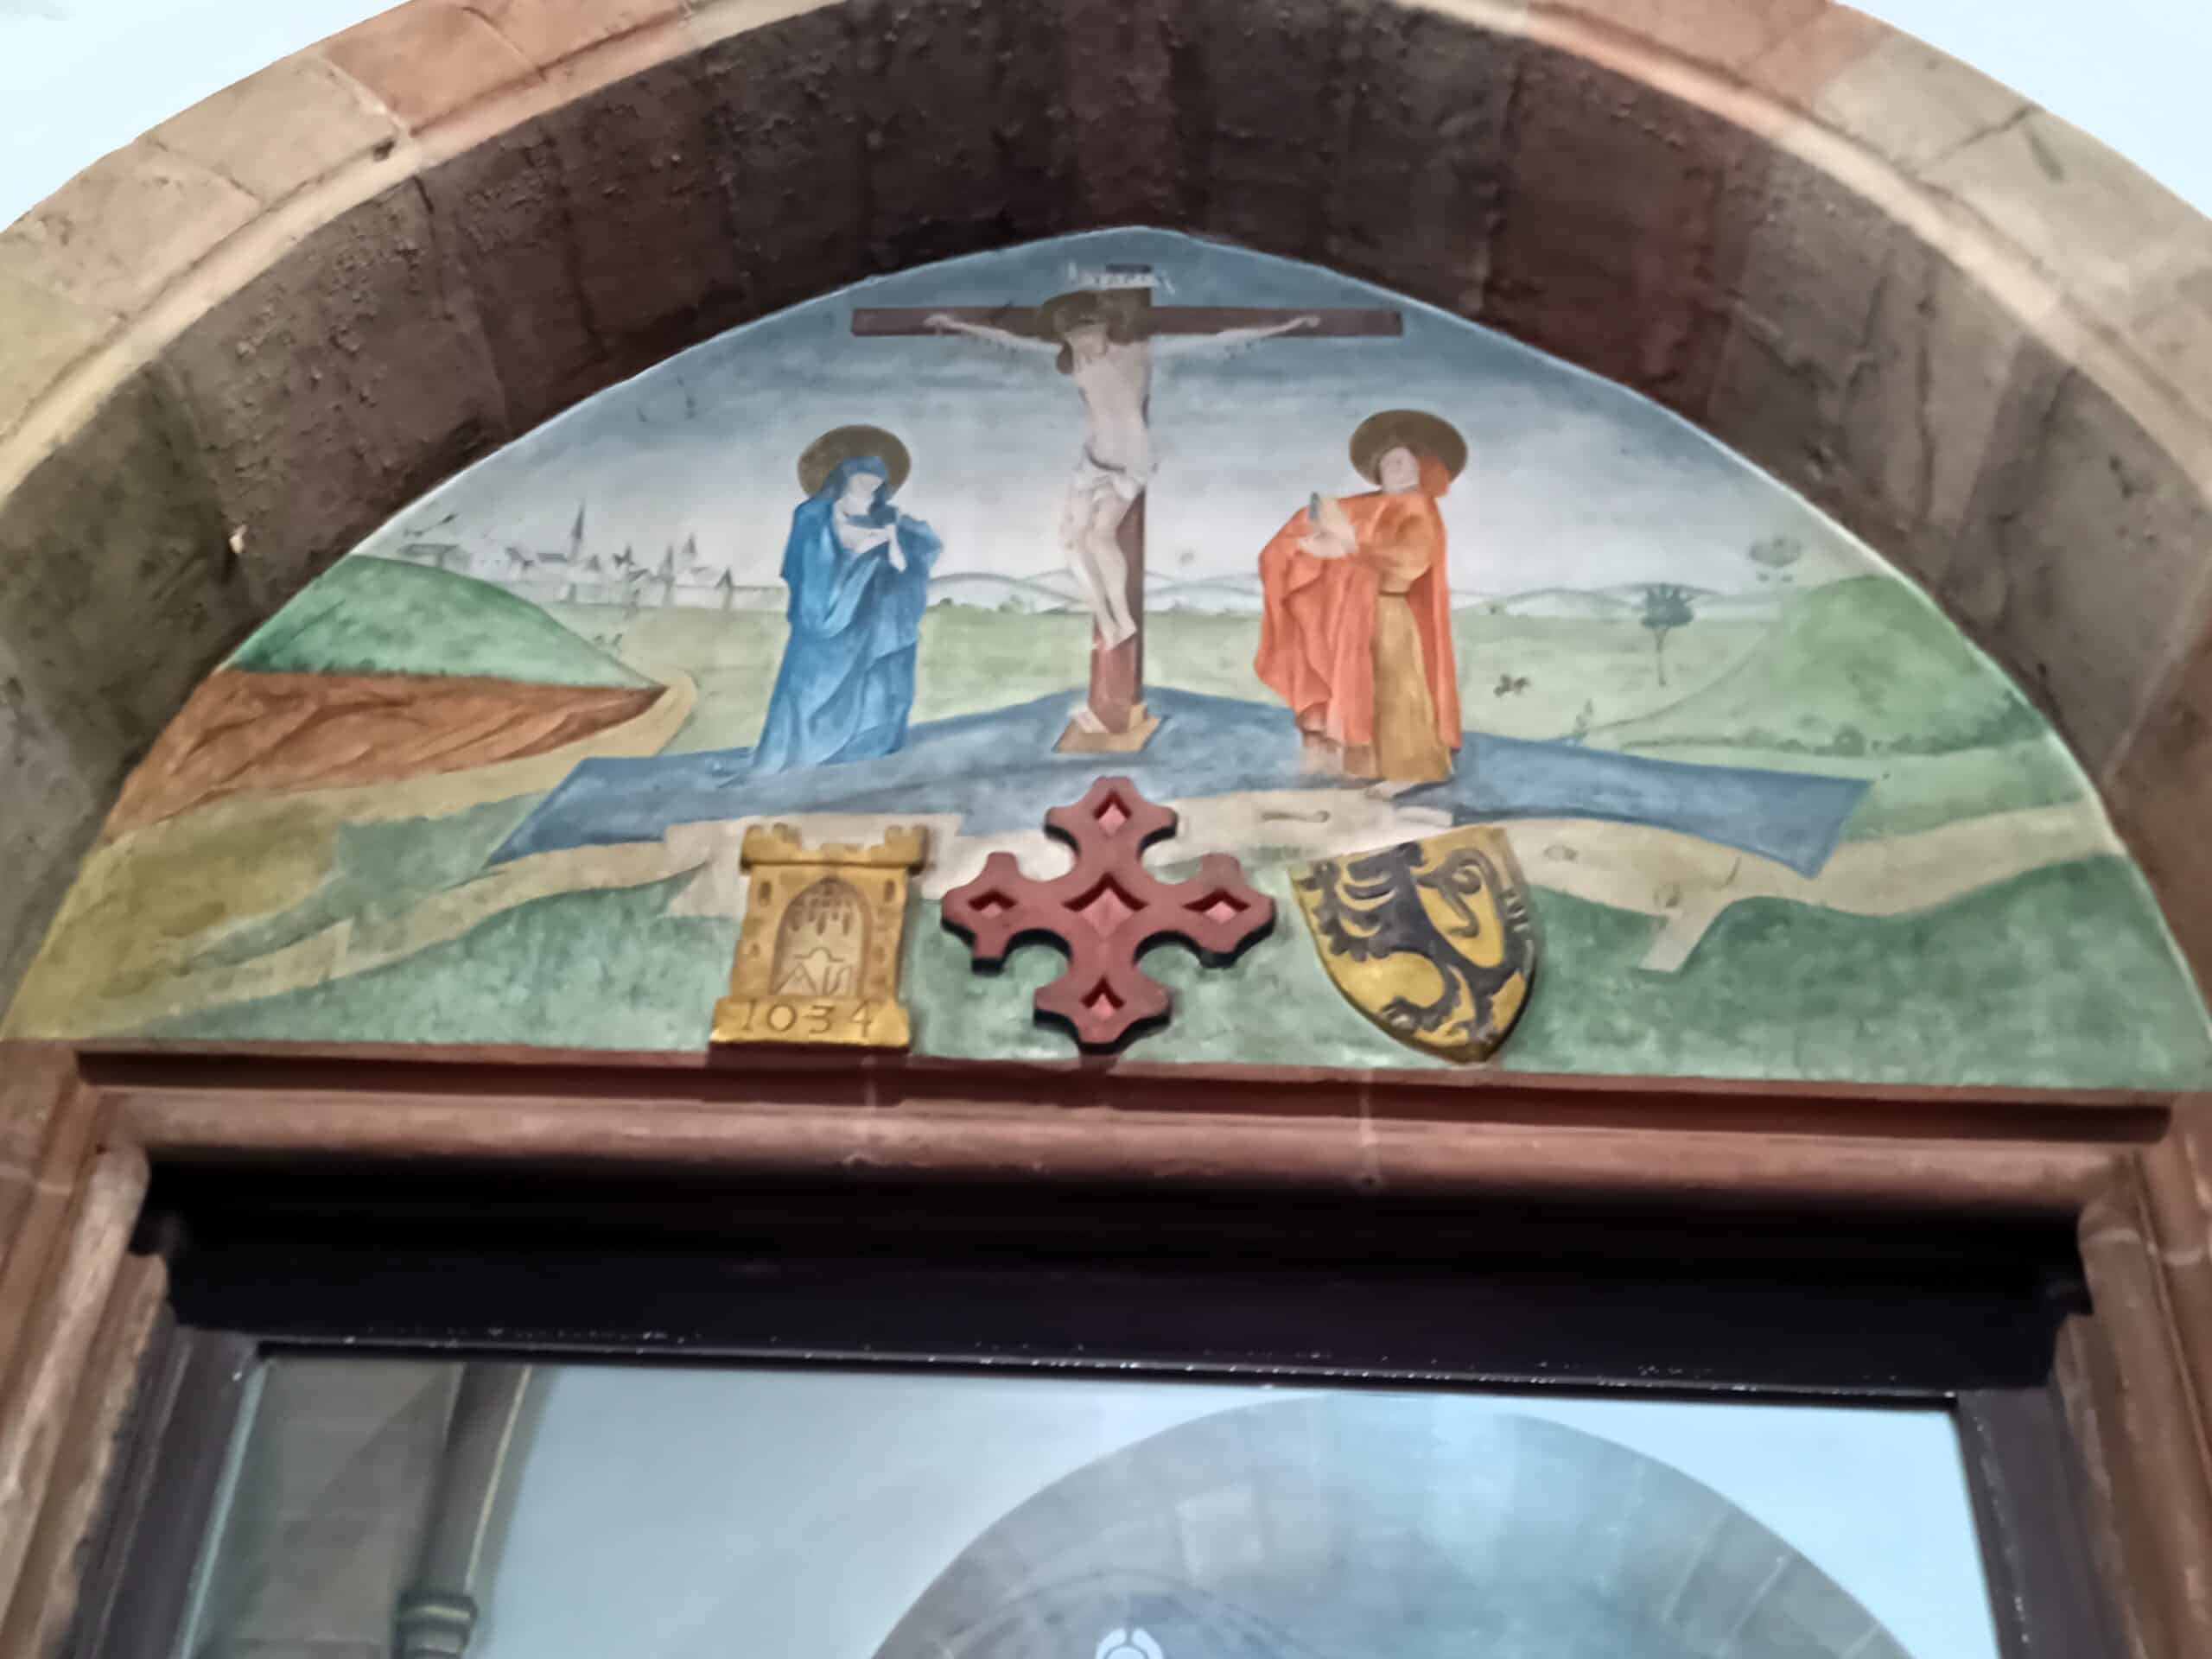
Kreuzigung über dem Bogen – Landau · Katharinenkapelle, fotografische Ansicht 1
Kreuzigung über dem BogenLandau · Katharinenkapelle · Zweite Hälfte des 14. JahrhundertsFoto: The Camino HistoryZur Dokumentation →
Mittelalterlicher Passionszyklus – Landau · Katharinenkapelle, fotografische Ansicht 1
Mittelalterlicher PassionszyklusLandau · Katharinenkapelle · Zweite Hälfte des 14. JahrhundertsFoto: The Camino HistoryZur Dokumentation →
Mittelalterlicher Passionszyklus – Landau · Katharinenkapelle, fotografische Ansicht 2
Mittelalterlicher PassionszyklusLandau · Katharinenkapelle · Zweite Hälfte des 14. JahrhundertsFoto: The Camino HistoryZur Dokumentation →
Mittelalterlicher Passionszyklus – Landau · Katharinenkapelle, fotografische Ansicht 3
Mittelalterlicher PassionszyklusLandau · Katharinenkapelle · Zweite Hälfte des 14. JahrhundertsFoto: The Camino HistoryZur Dokumentation →
Mittelalterlicher Passionszyklus – Landau · Katharinenkapelle, fotografische Ansicht 4
Mittelalterlicher PassionszyklusLandau · Katharinenkapelle · Zweite Hälfte des 14. JahrhundertsFoto: The Camino HistoryZur Dokumentation →
Mittelalterlicher Passionszyklus – Landau · Katharinenkapelle, fotografische Ansicht 5
Mittelalterlicher PassionszyklusLandau · Katharinenkapelle · Zweite Hälfte des 14. JahrhundertsFoto: The Camino HistoryZur Dokumentation →
Mittelalterlicher Passionszyklus – Landau · Katharinenkapelle, fotografische Ansicht 6
Mittelalterlicher PassionszyklusLandau · Katharinenkapelle · Zweite Hälfte des 14. JahrhundertsFoto: The Camino HistoryZur Dokumentation →
Mittelalterlicher Passionszyklus – Landau · Katharinenkapelle, fotografische Ansicht 7
Mittelalterlicher PassionszyklusLandau · Katharinenkapelle · Zweite Hälfte des 14. JahrhundertsFoto: The Camino HistoryZur Dokumentation →
Weitere Wandmalereien und Fragmente – Landau · Katharinenkapelle, fotografische Ansicht 1
Weitere Wandmalereien und FragmenteLandau · Katharinenkapelle · Zweite Hälfte des 14. JahrhundertsFoto: The Camino HistoryZur Dokumentation →
Weitere Wandmalereien und Fragmente – Landau · Katharinenkapelle, fotografische Ansicht 2
Weitere Wandmalereien und FragmenteLandau · Katharinenkapelle · Zweite Hälfte des 14. JahrhundertsFoto: The Camino HistoryZur Dokumentation →
Decken- und Gewölbemalereien – Alzette · Deckanatskirche zum heiligen Joseph Esch, fotografische Ansicht 1Foto: Victor Kemp
Decken- und GewölbemalereienAlzette · Deckanatskirche zum heiligen Joseph EschFoto: Victor Kemp
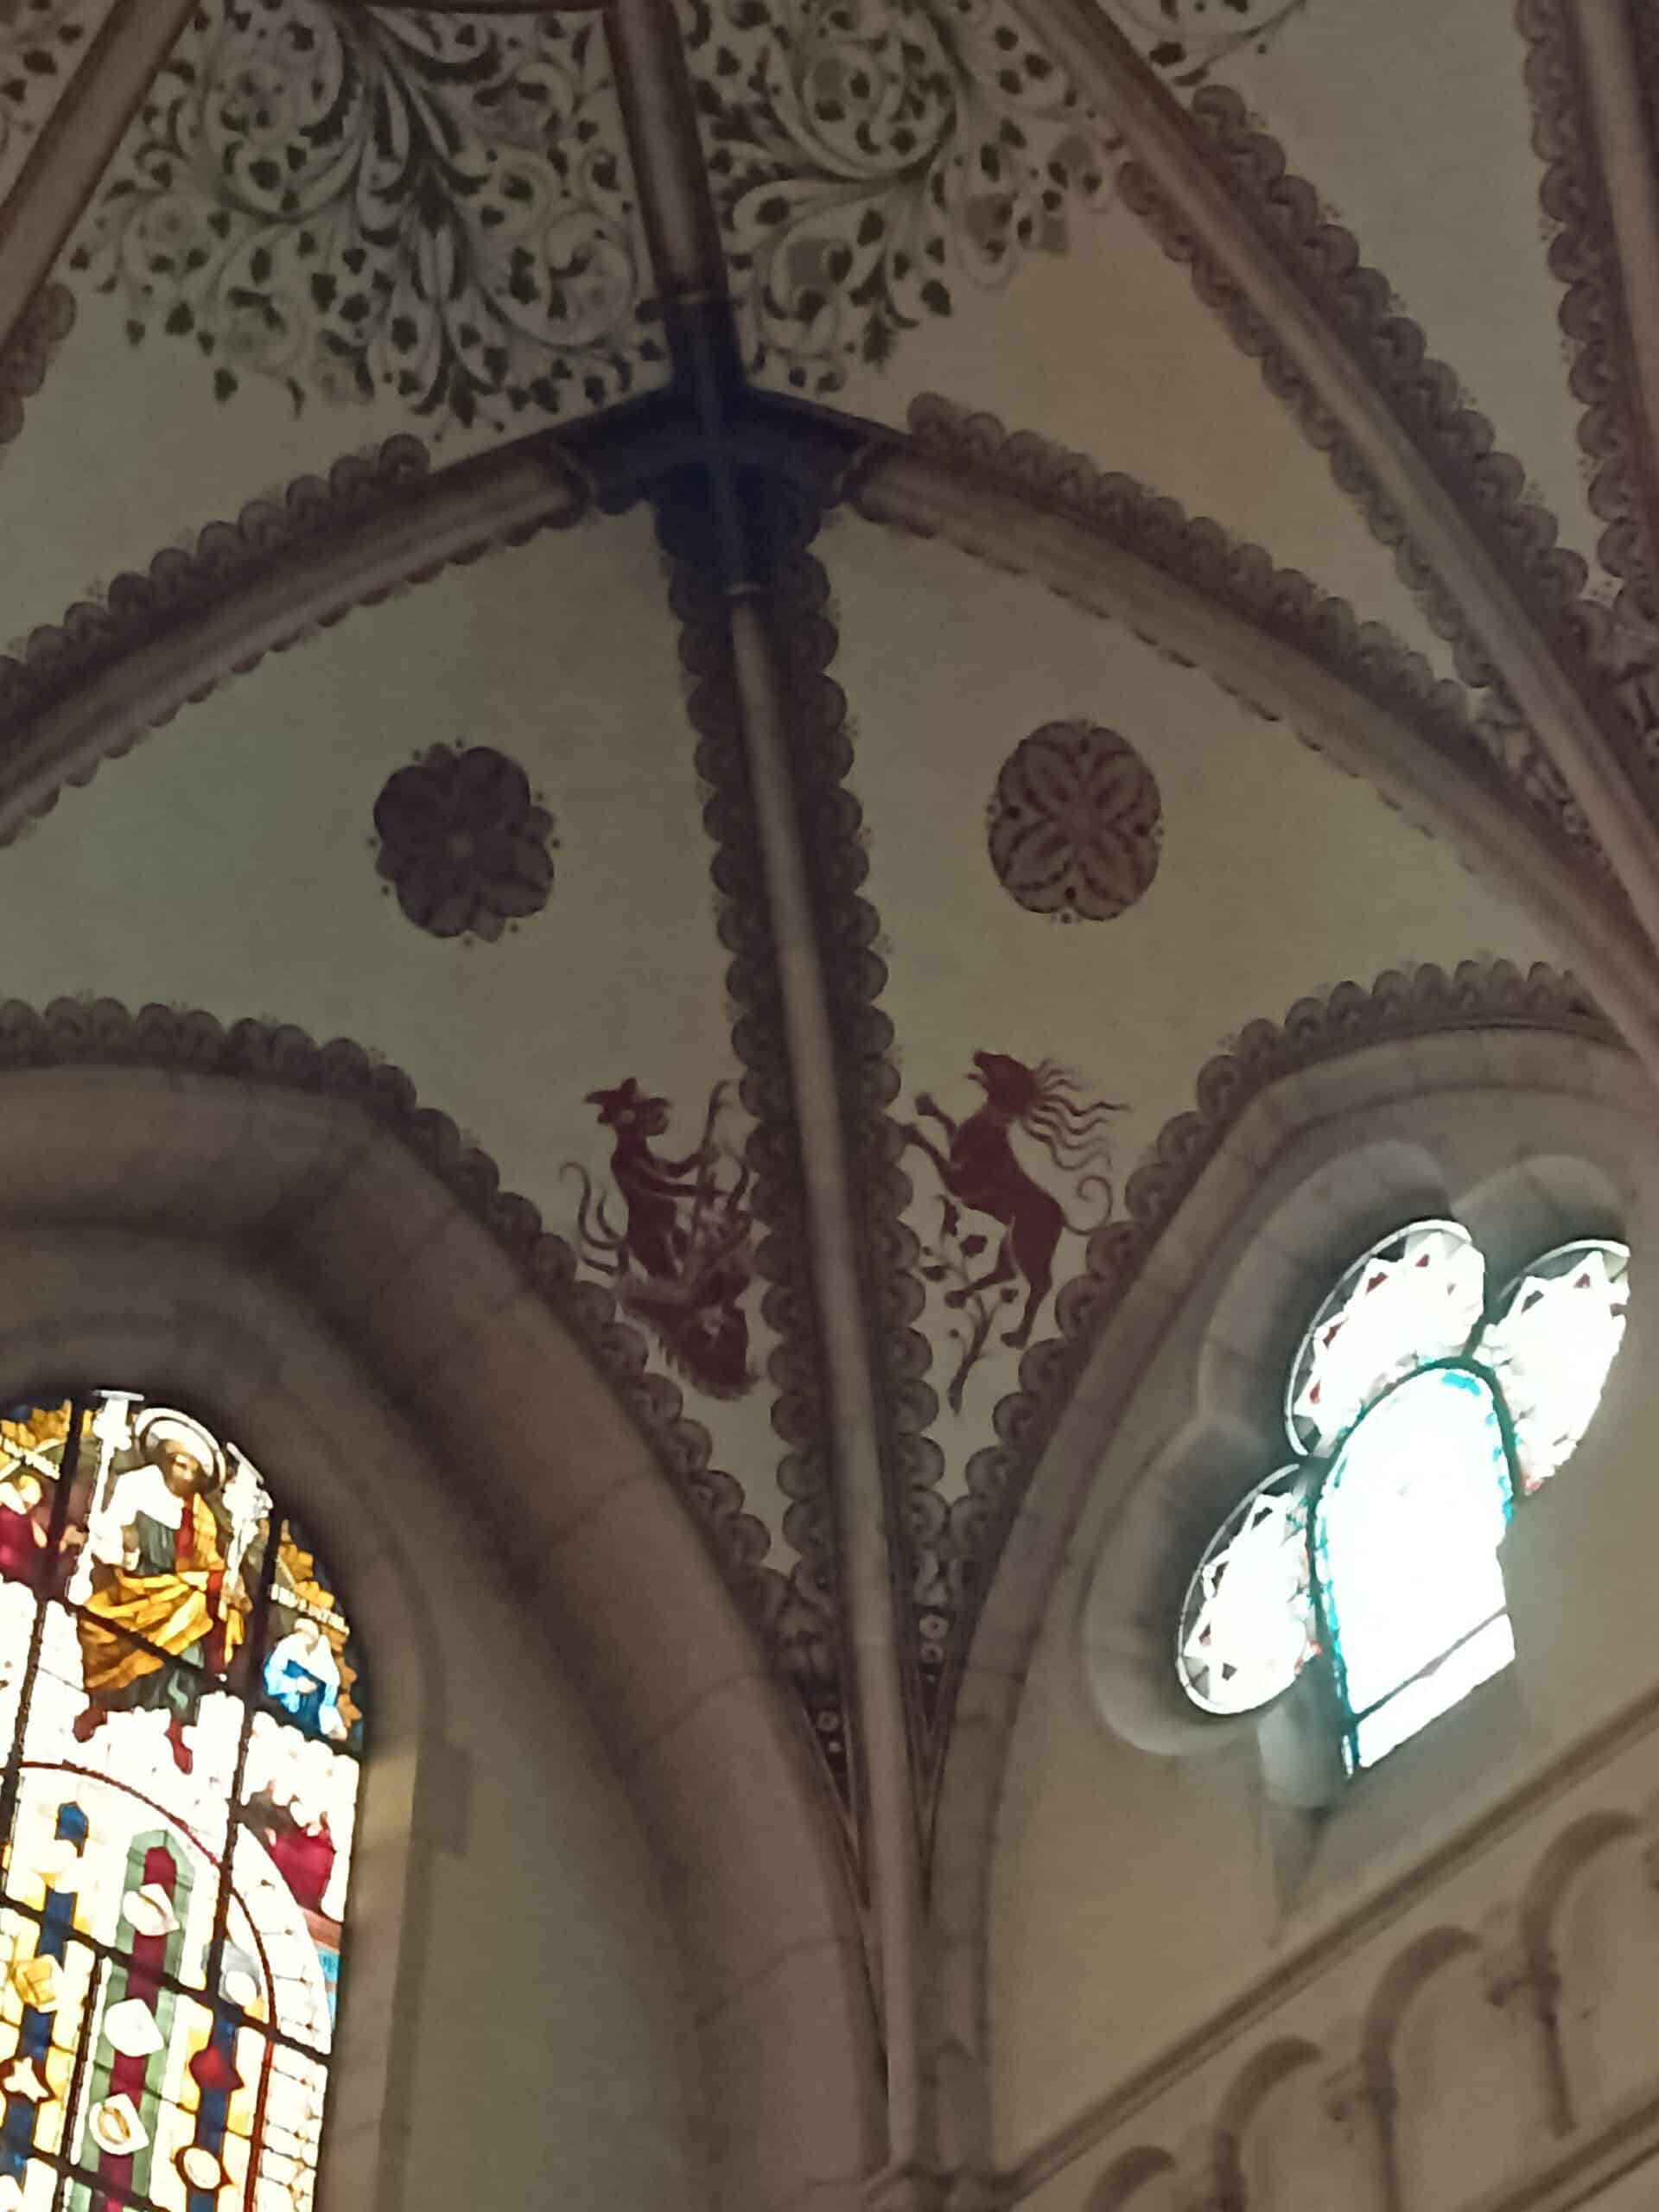
Decken- und Gewölbemalereien – Binscheid · Kirche St.  Nikolaus, fotografische Ansicht 1Foto: Victor Kemp
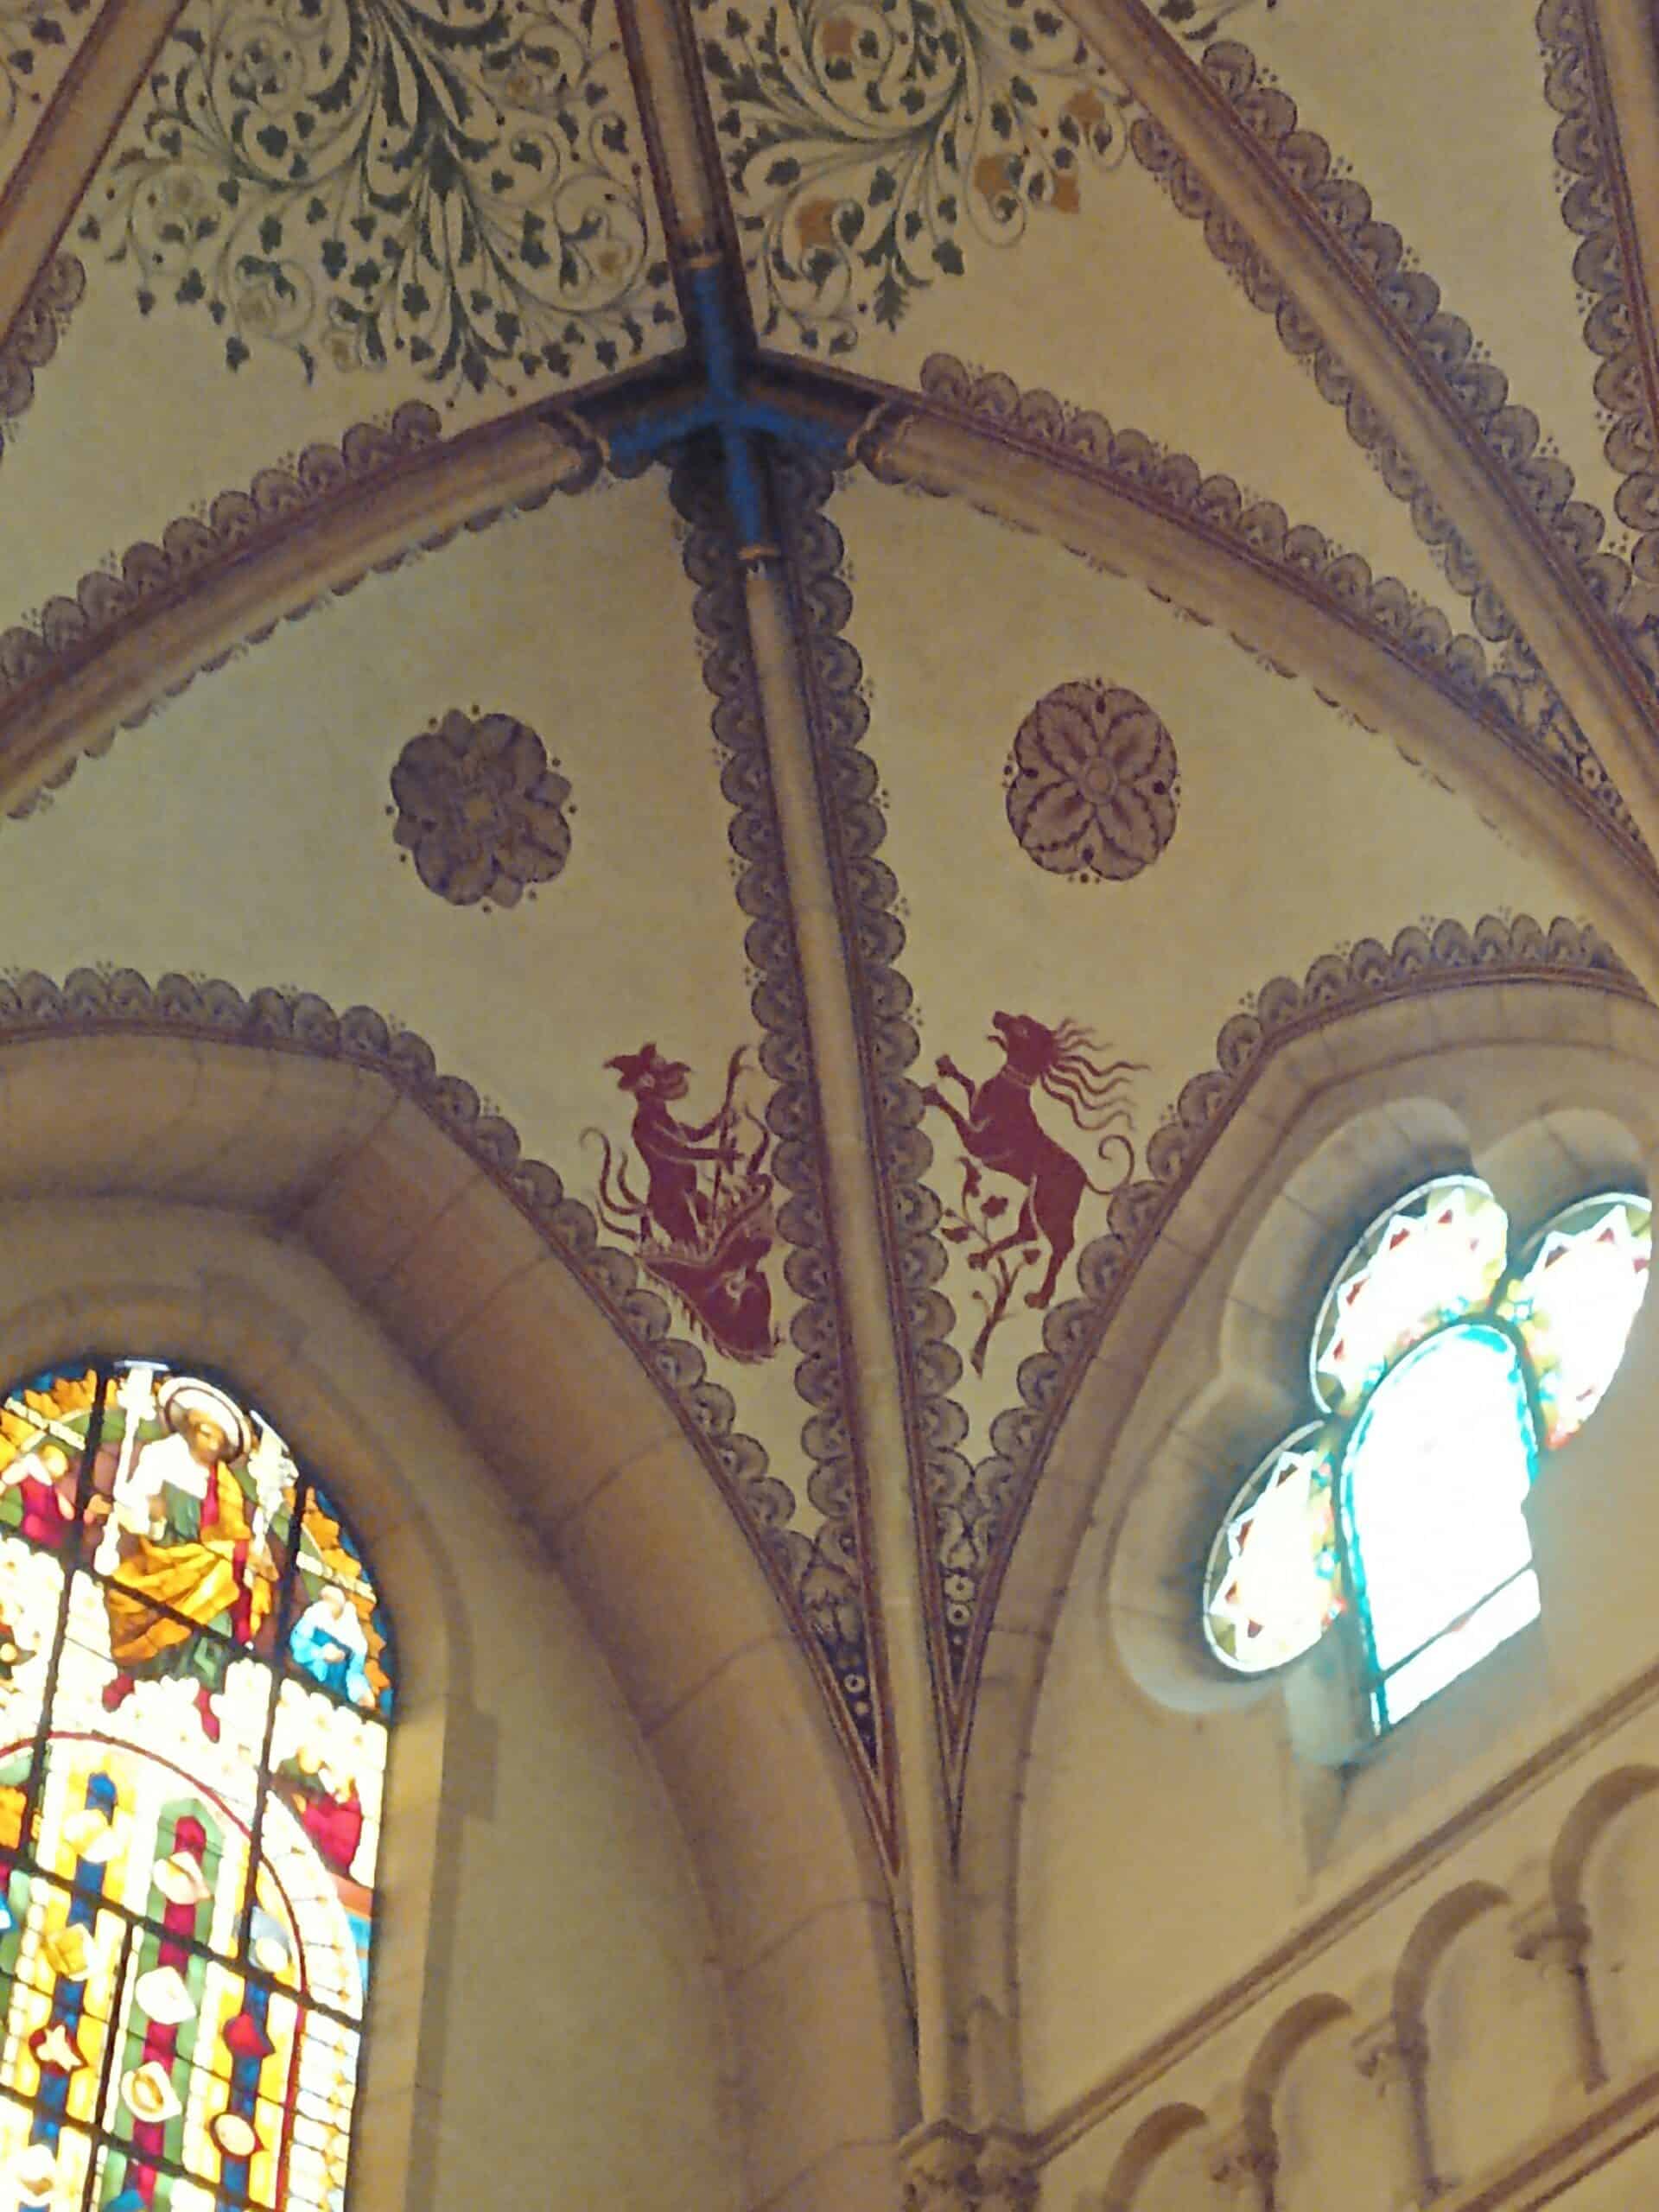
Decken- und GewölbemalereienBinscheid · Kirche St. NikolausFoto: Victor Kemp
Decken- und Gewölbemalereien – Binscheid · Kirche St.  Nikolaus, fotografische Ansicht 2Foto: Victor Kemp
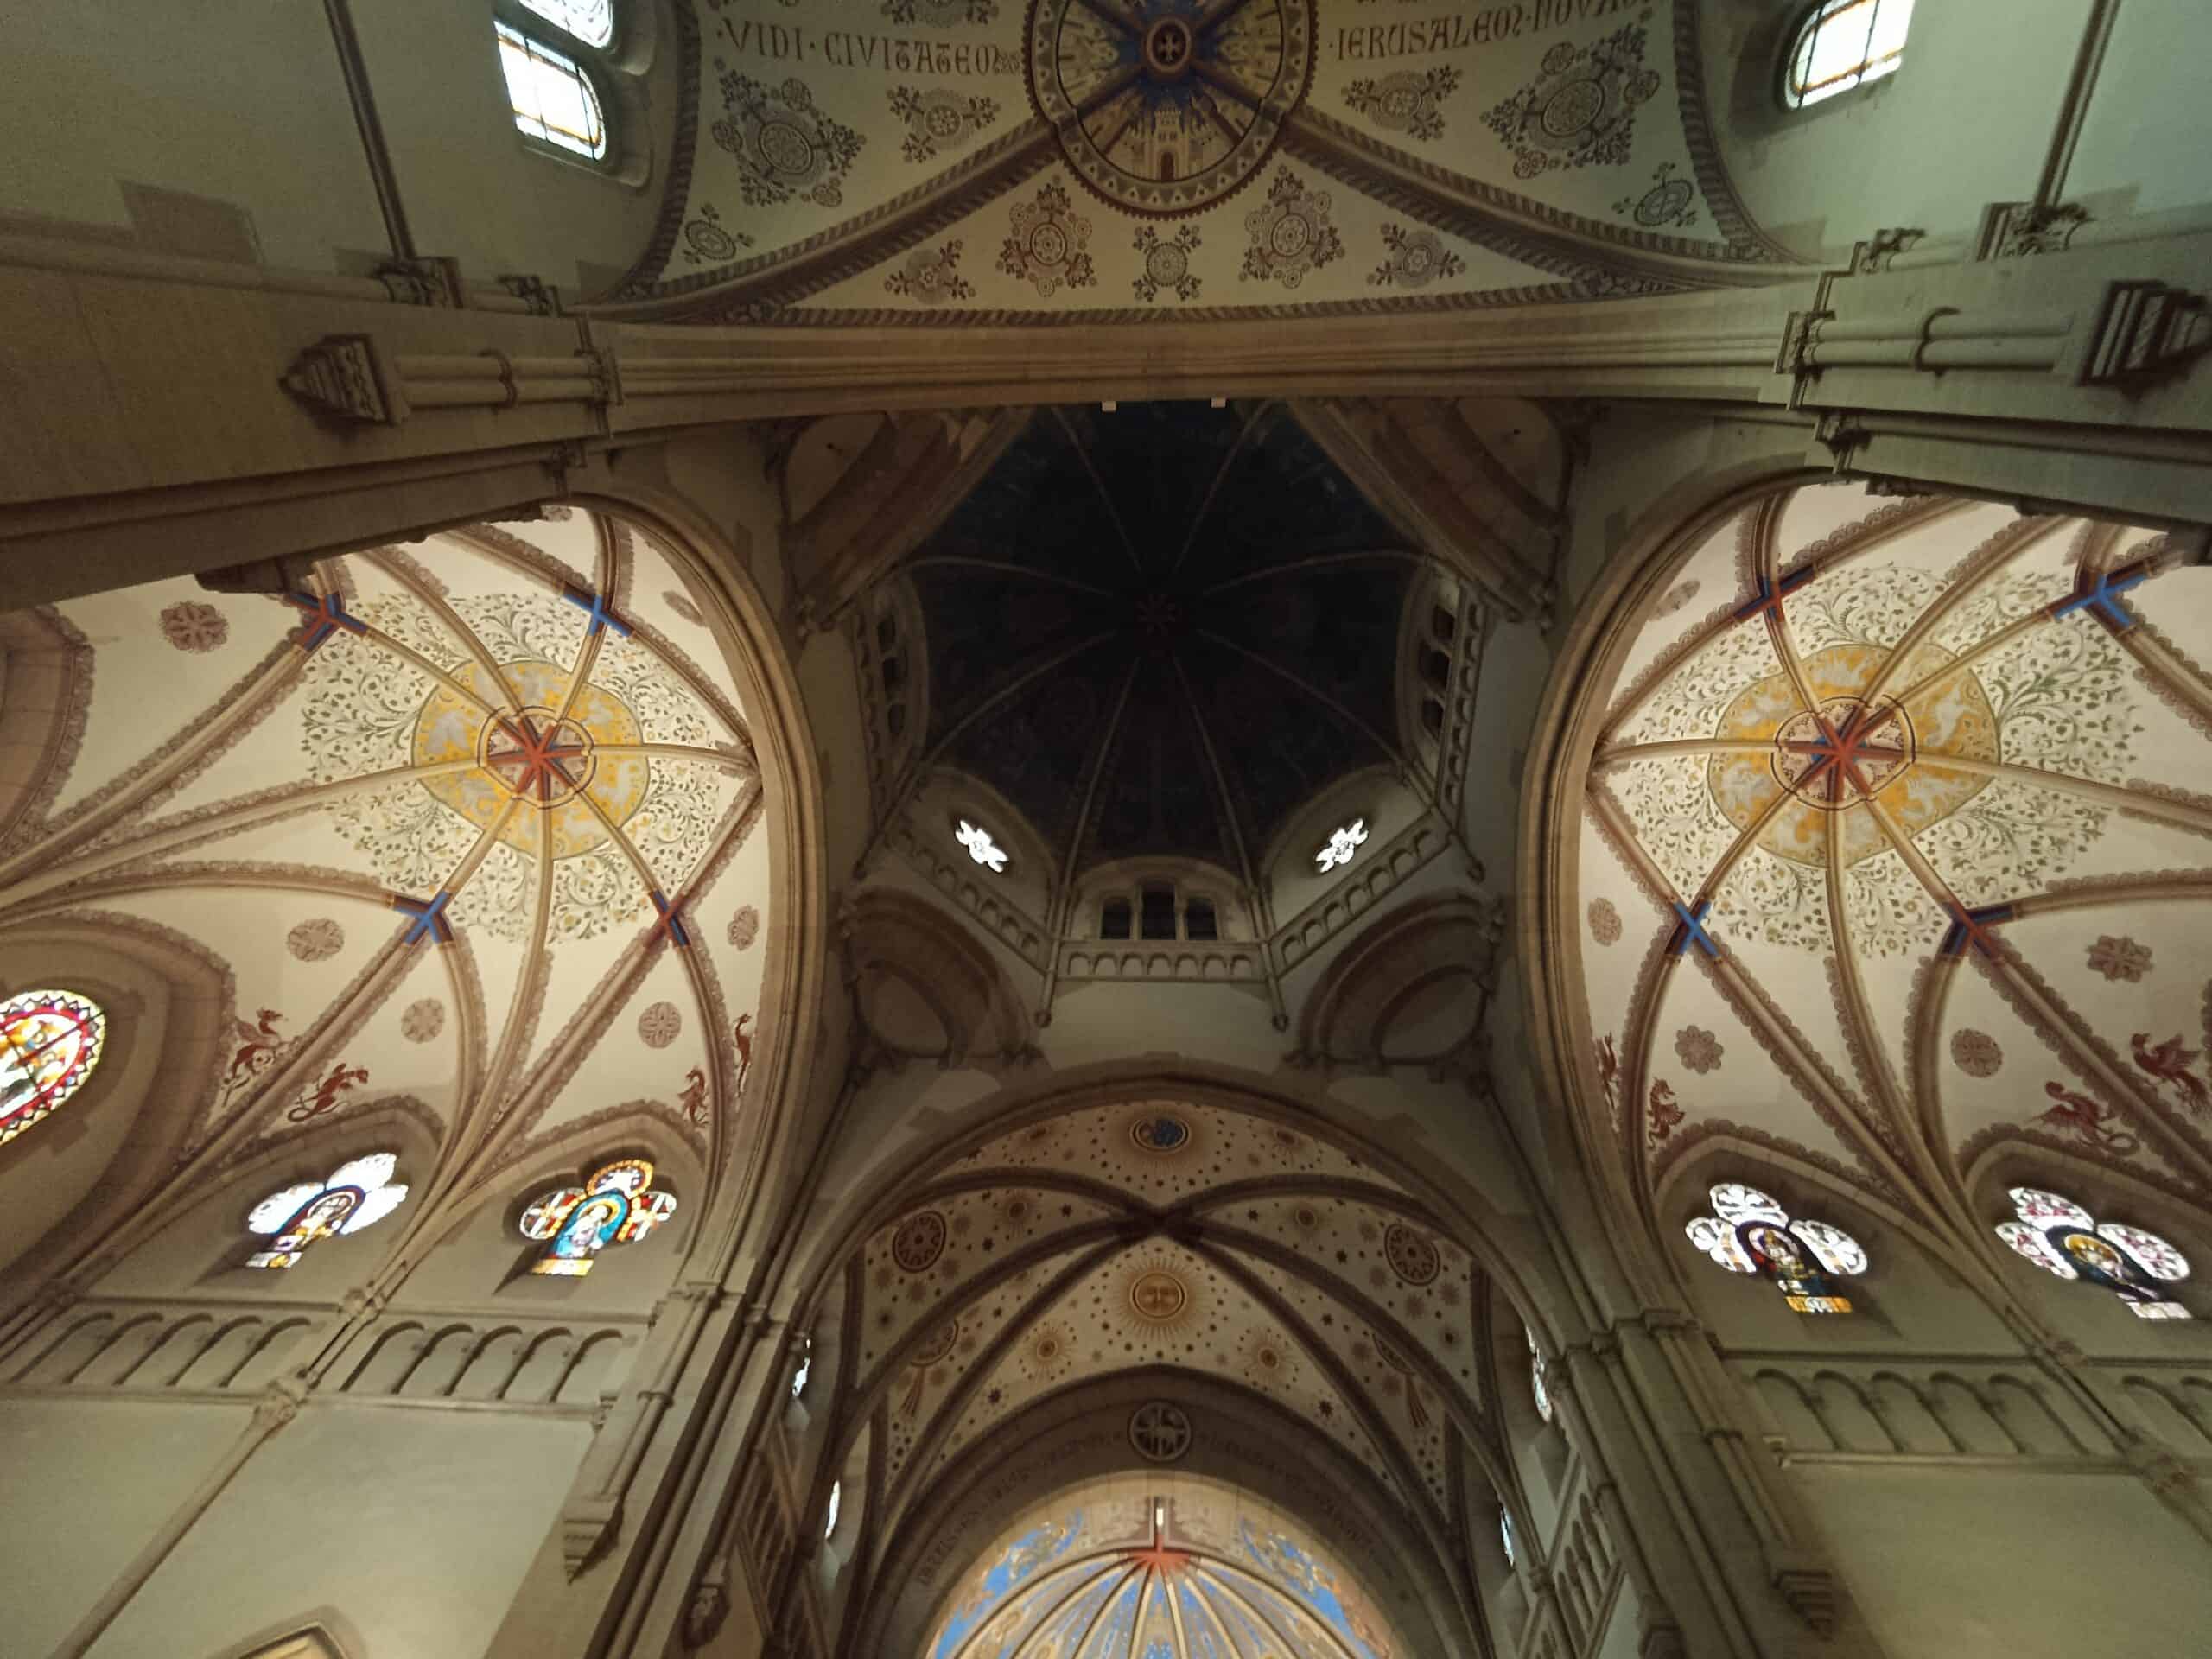
Decken- und GewölbemalereienBinscheid · Kirche St. NikolausFoto: Victor Kemp
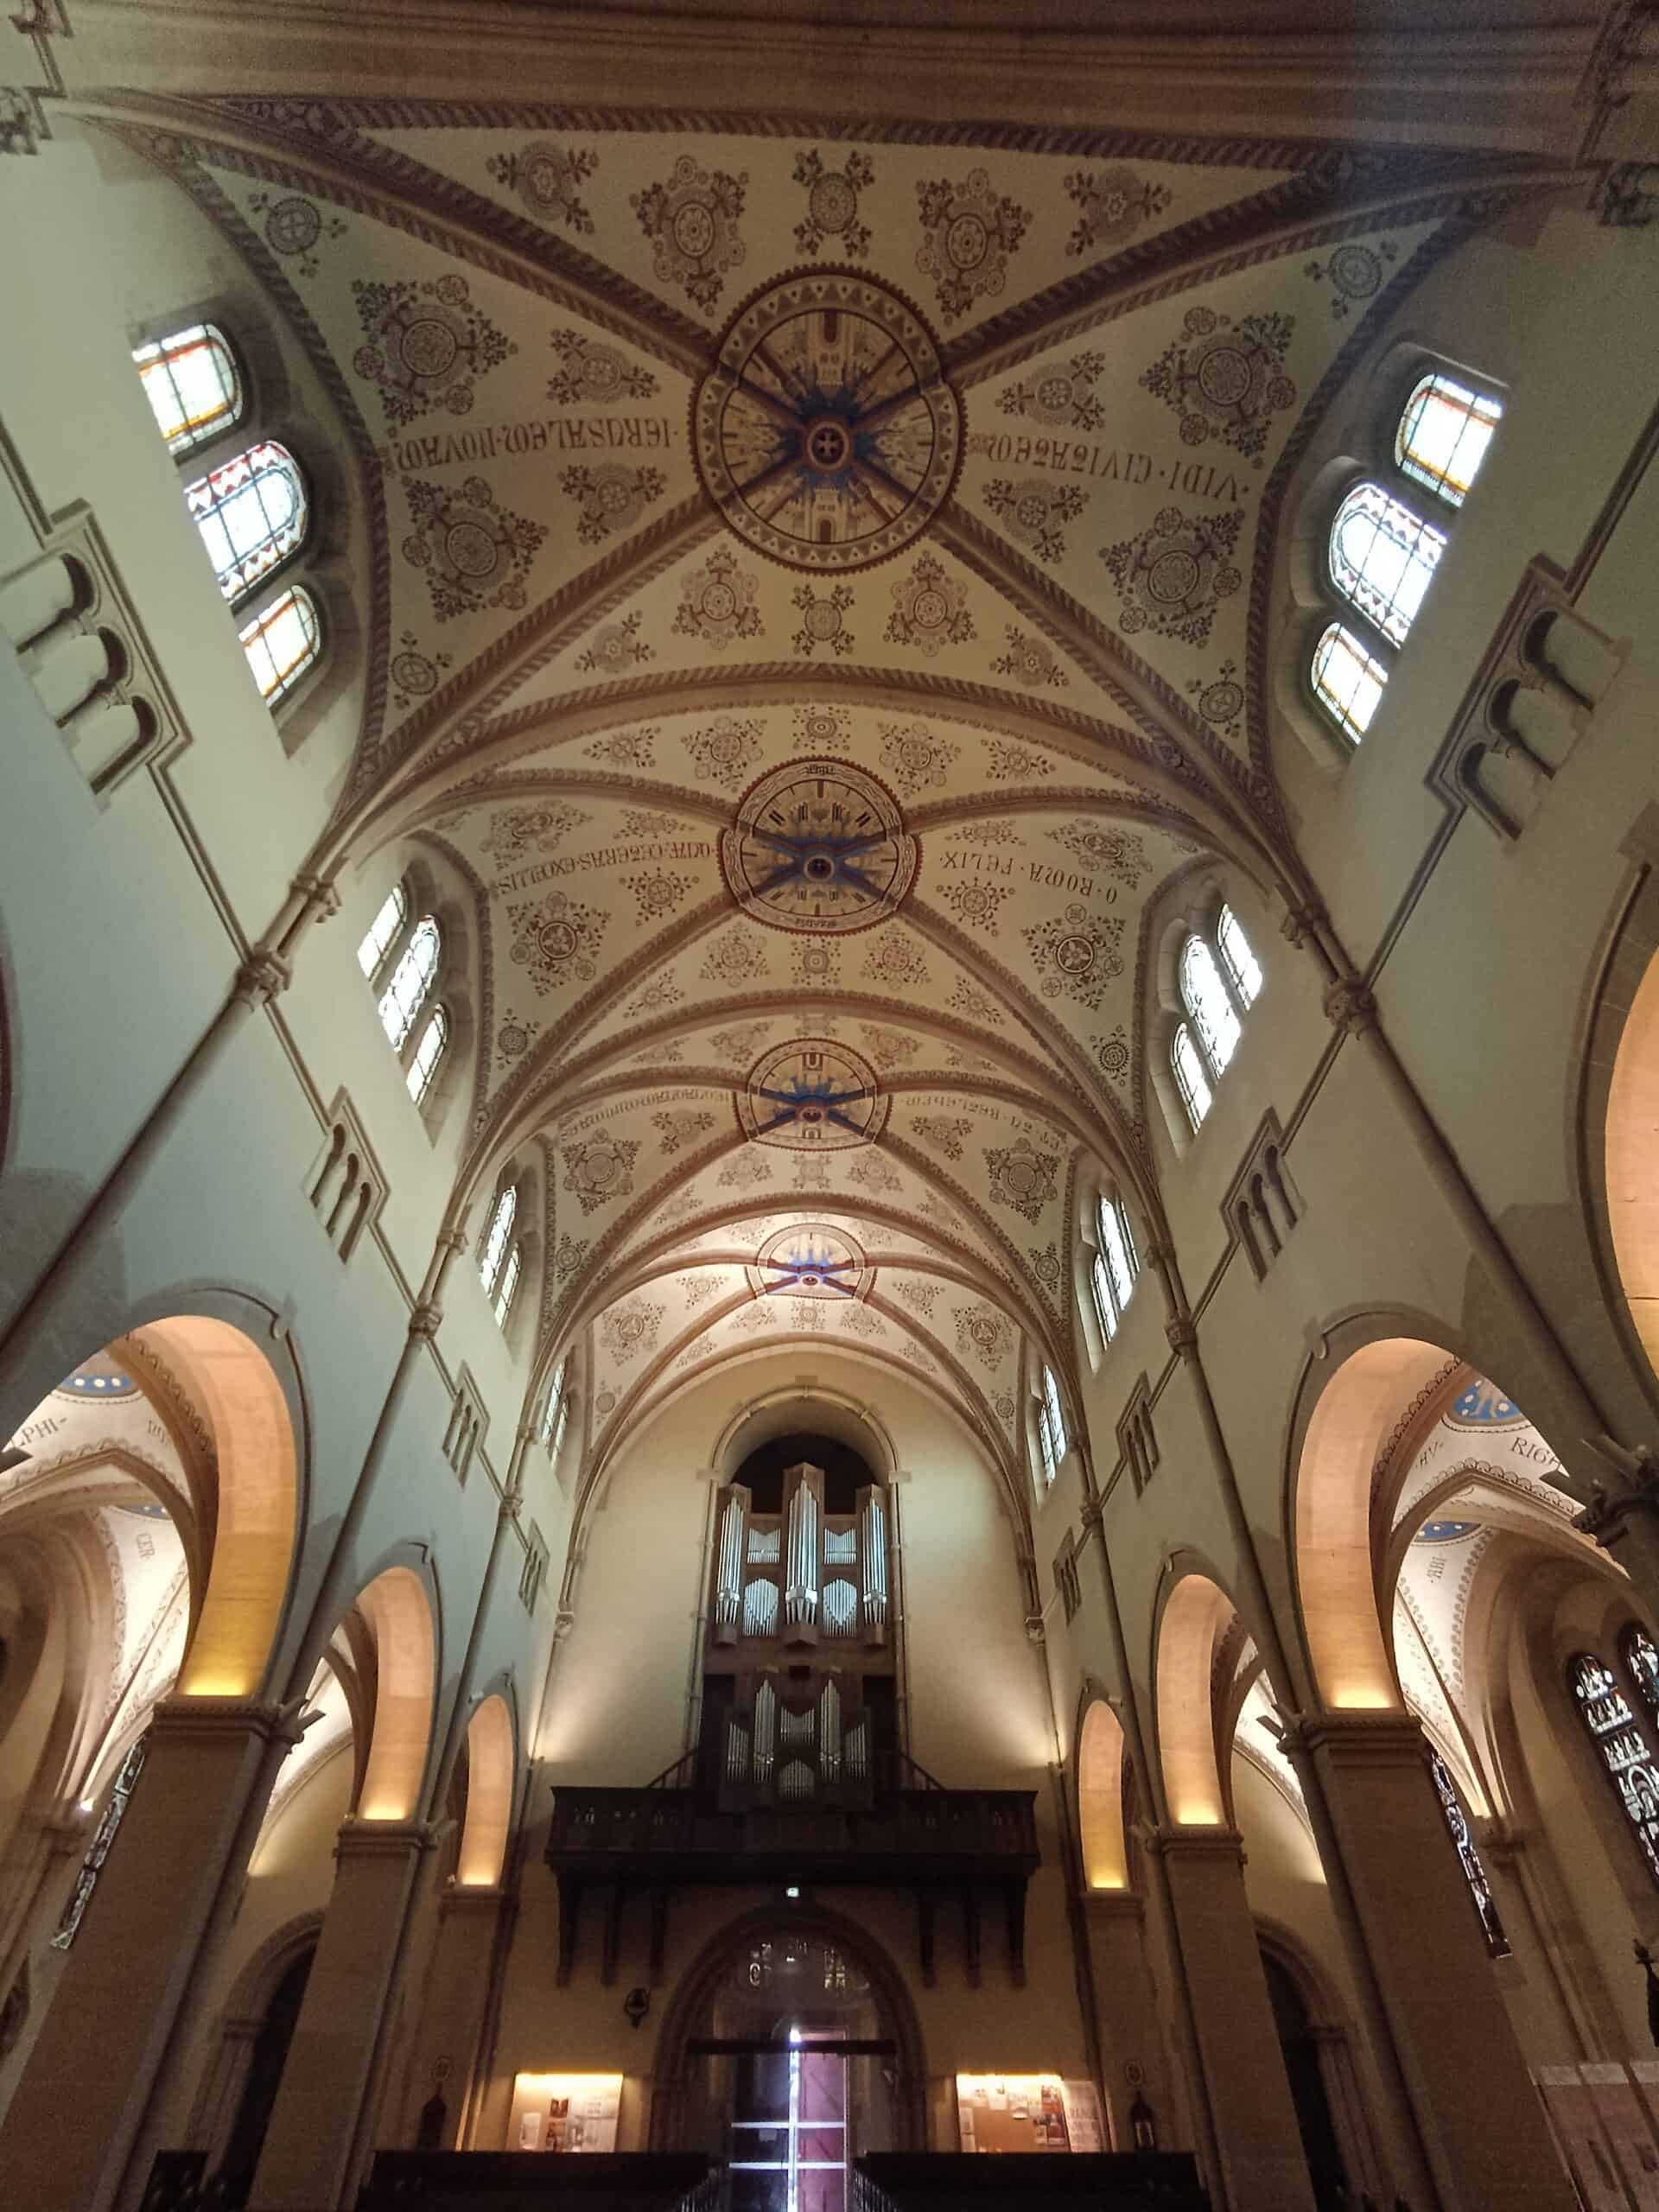
Decken- und Gewölbemalereien – Binscheid · Kirche St.  Nikolaus, fotografische Ansicht 3Foto: Victor Kemp
Decken- und GewölbemalereienBinscheid · Kirche St. NikolausFoto: Victor Kemp
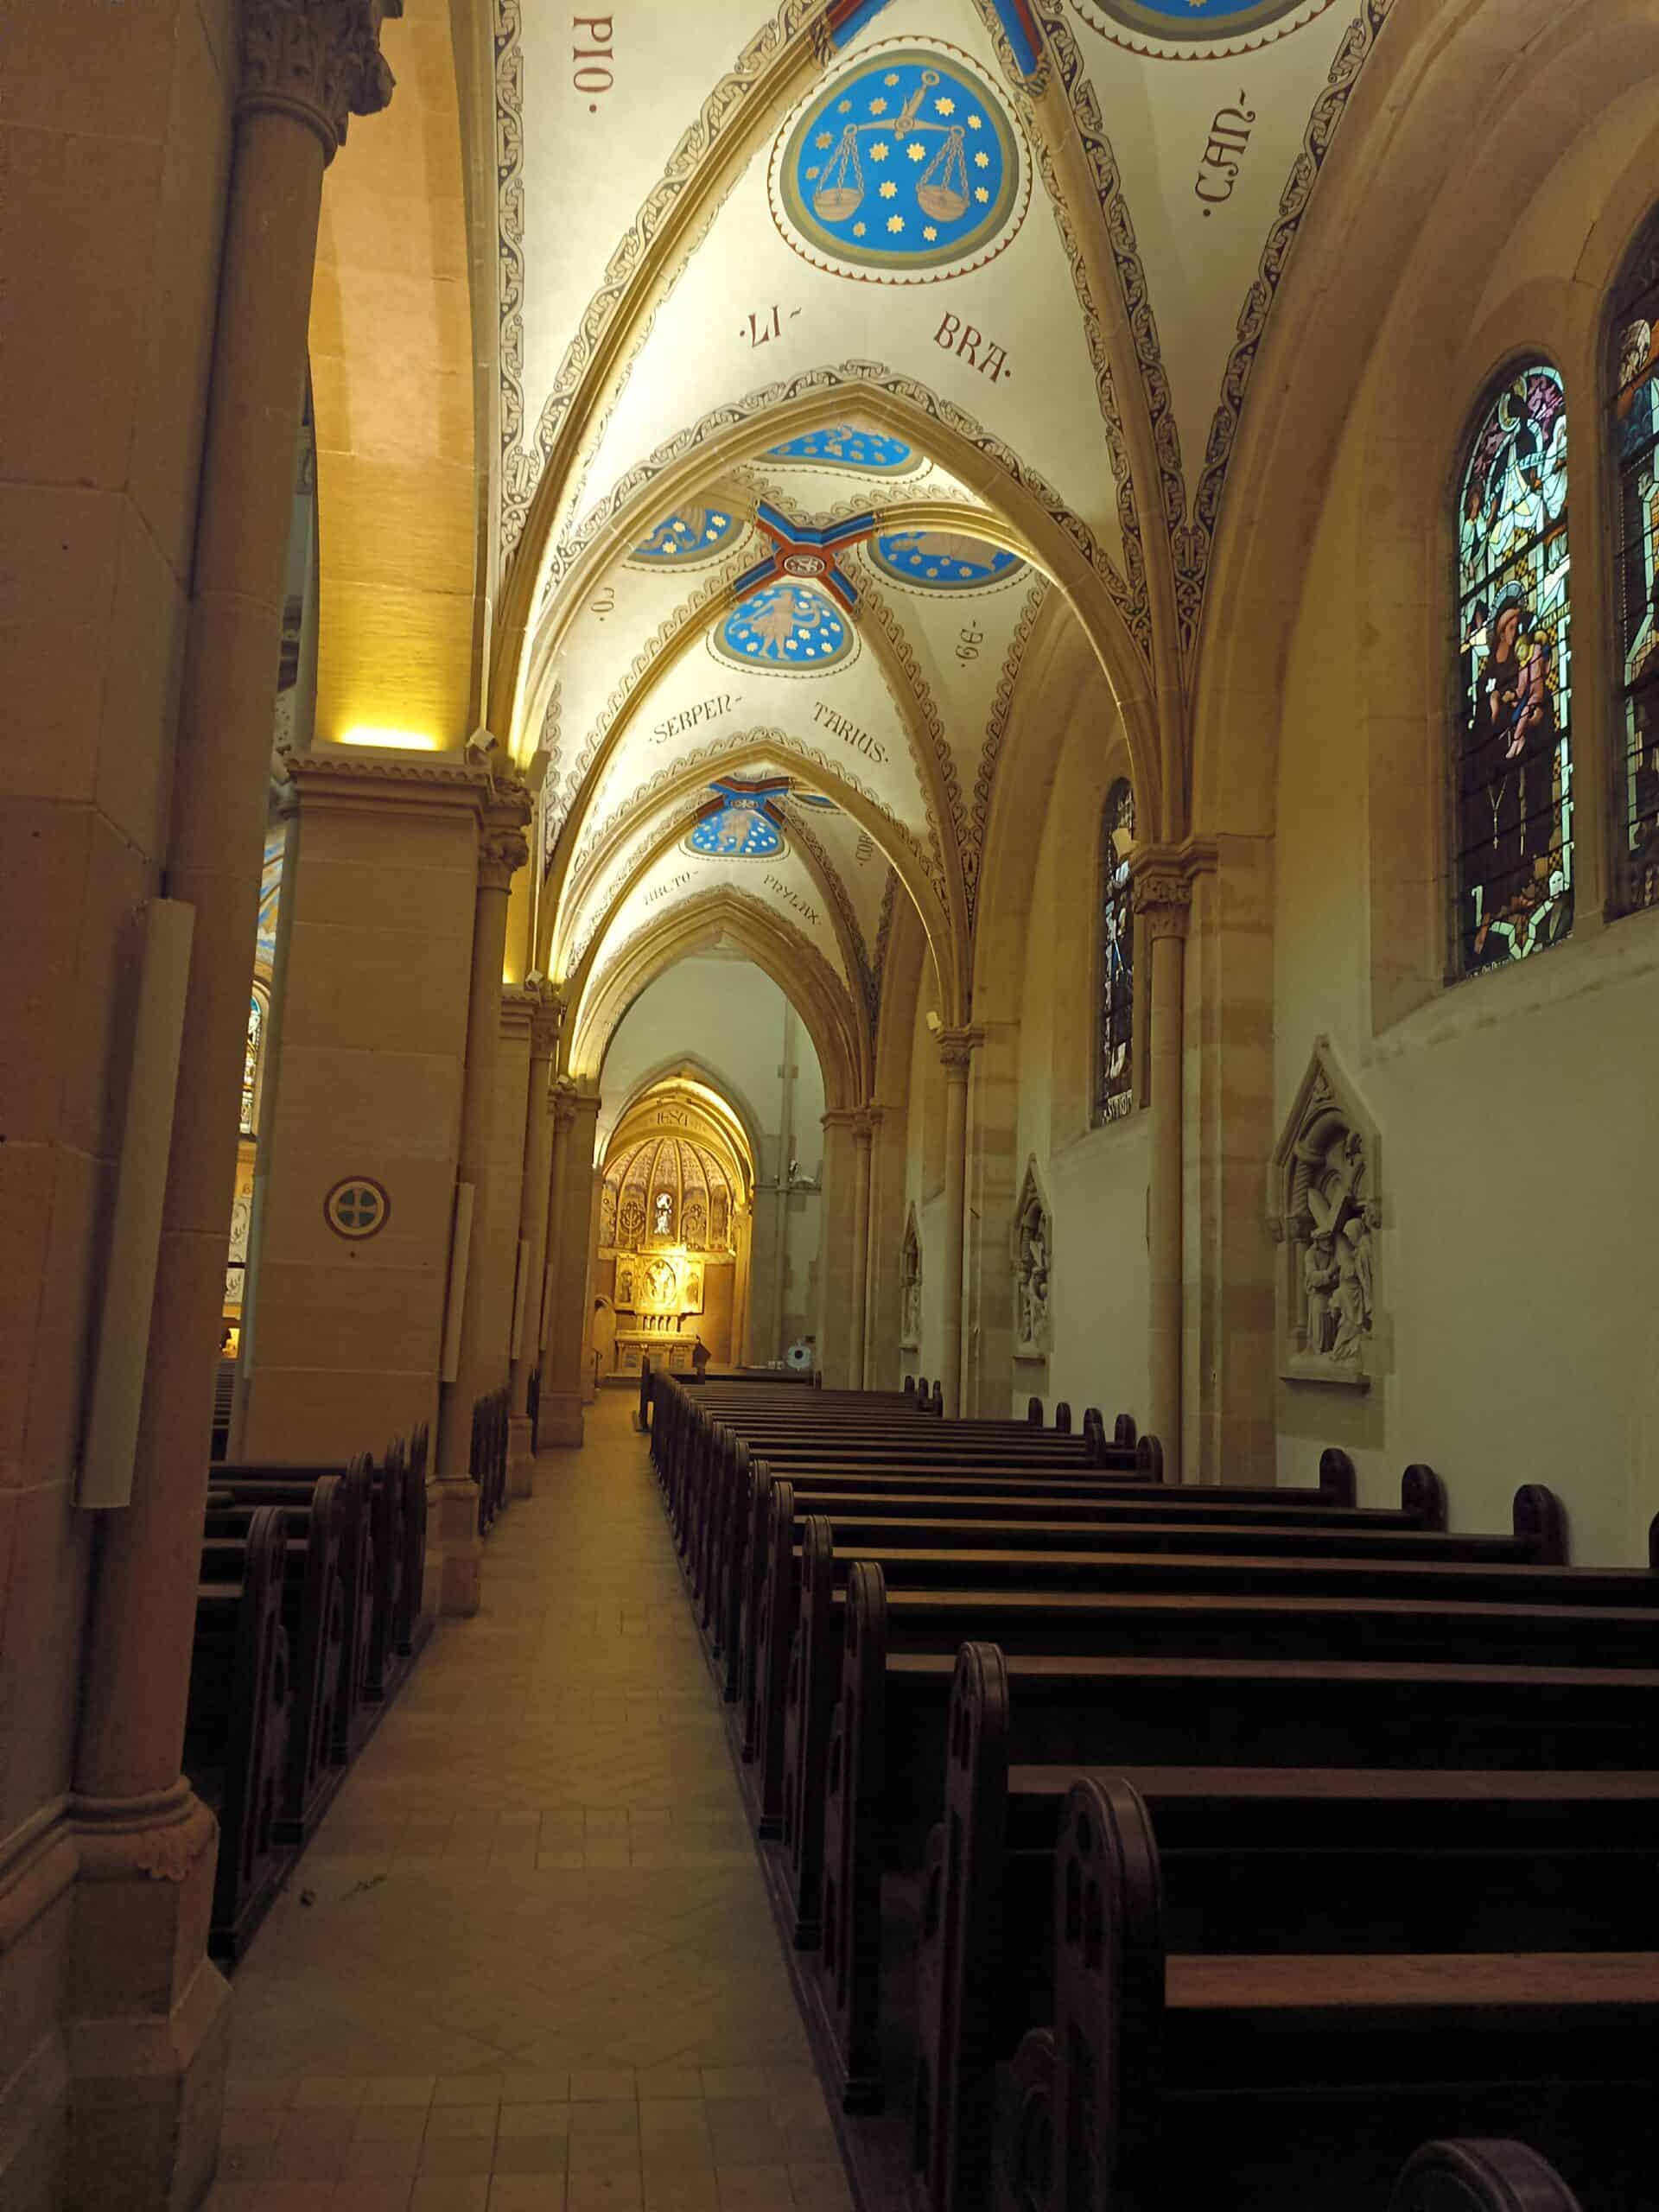
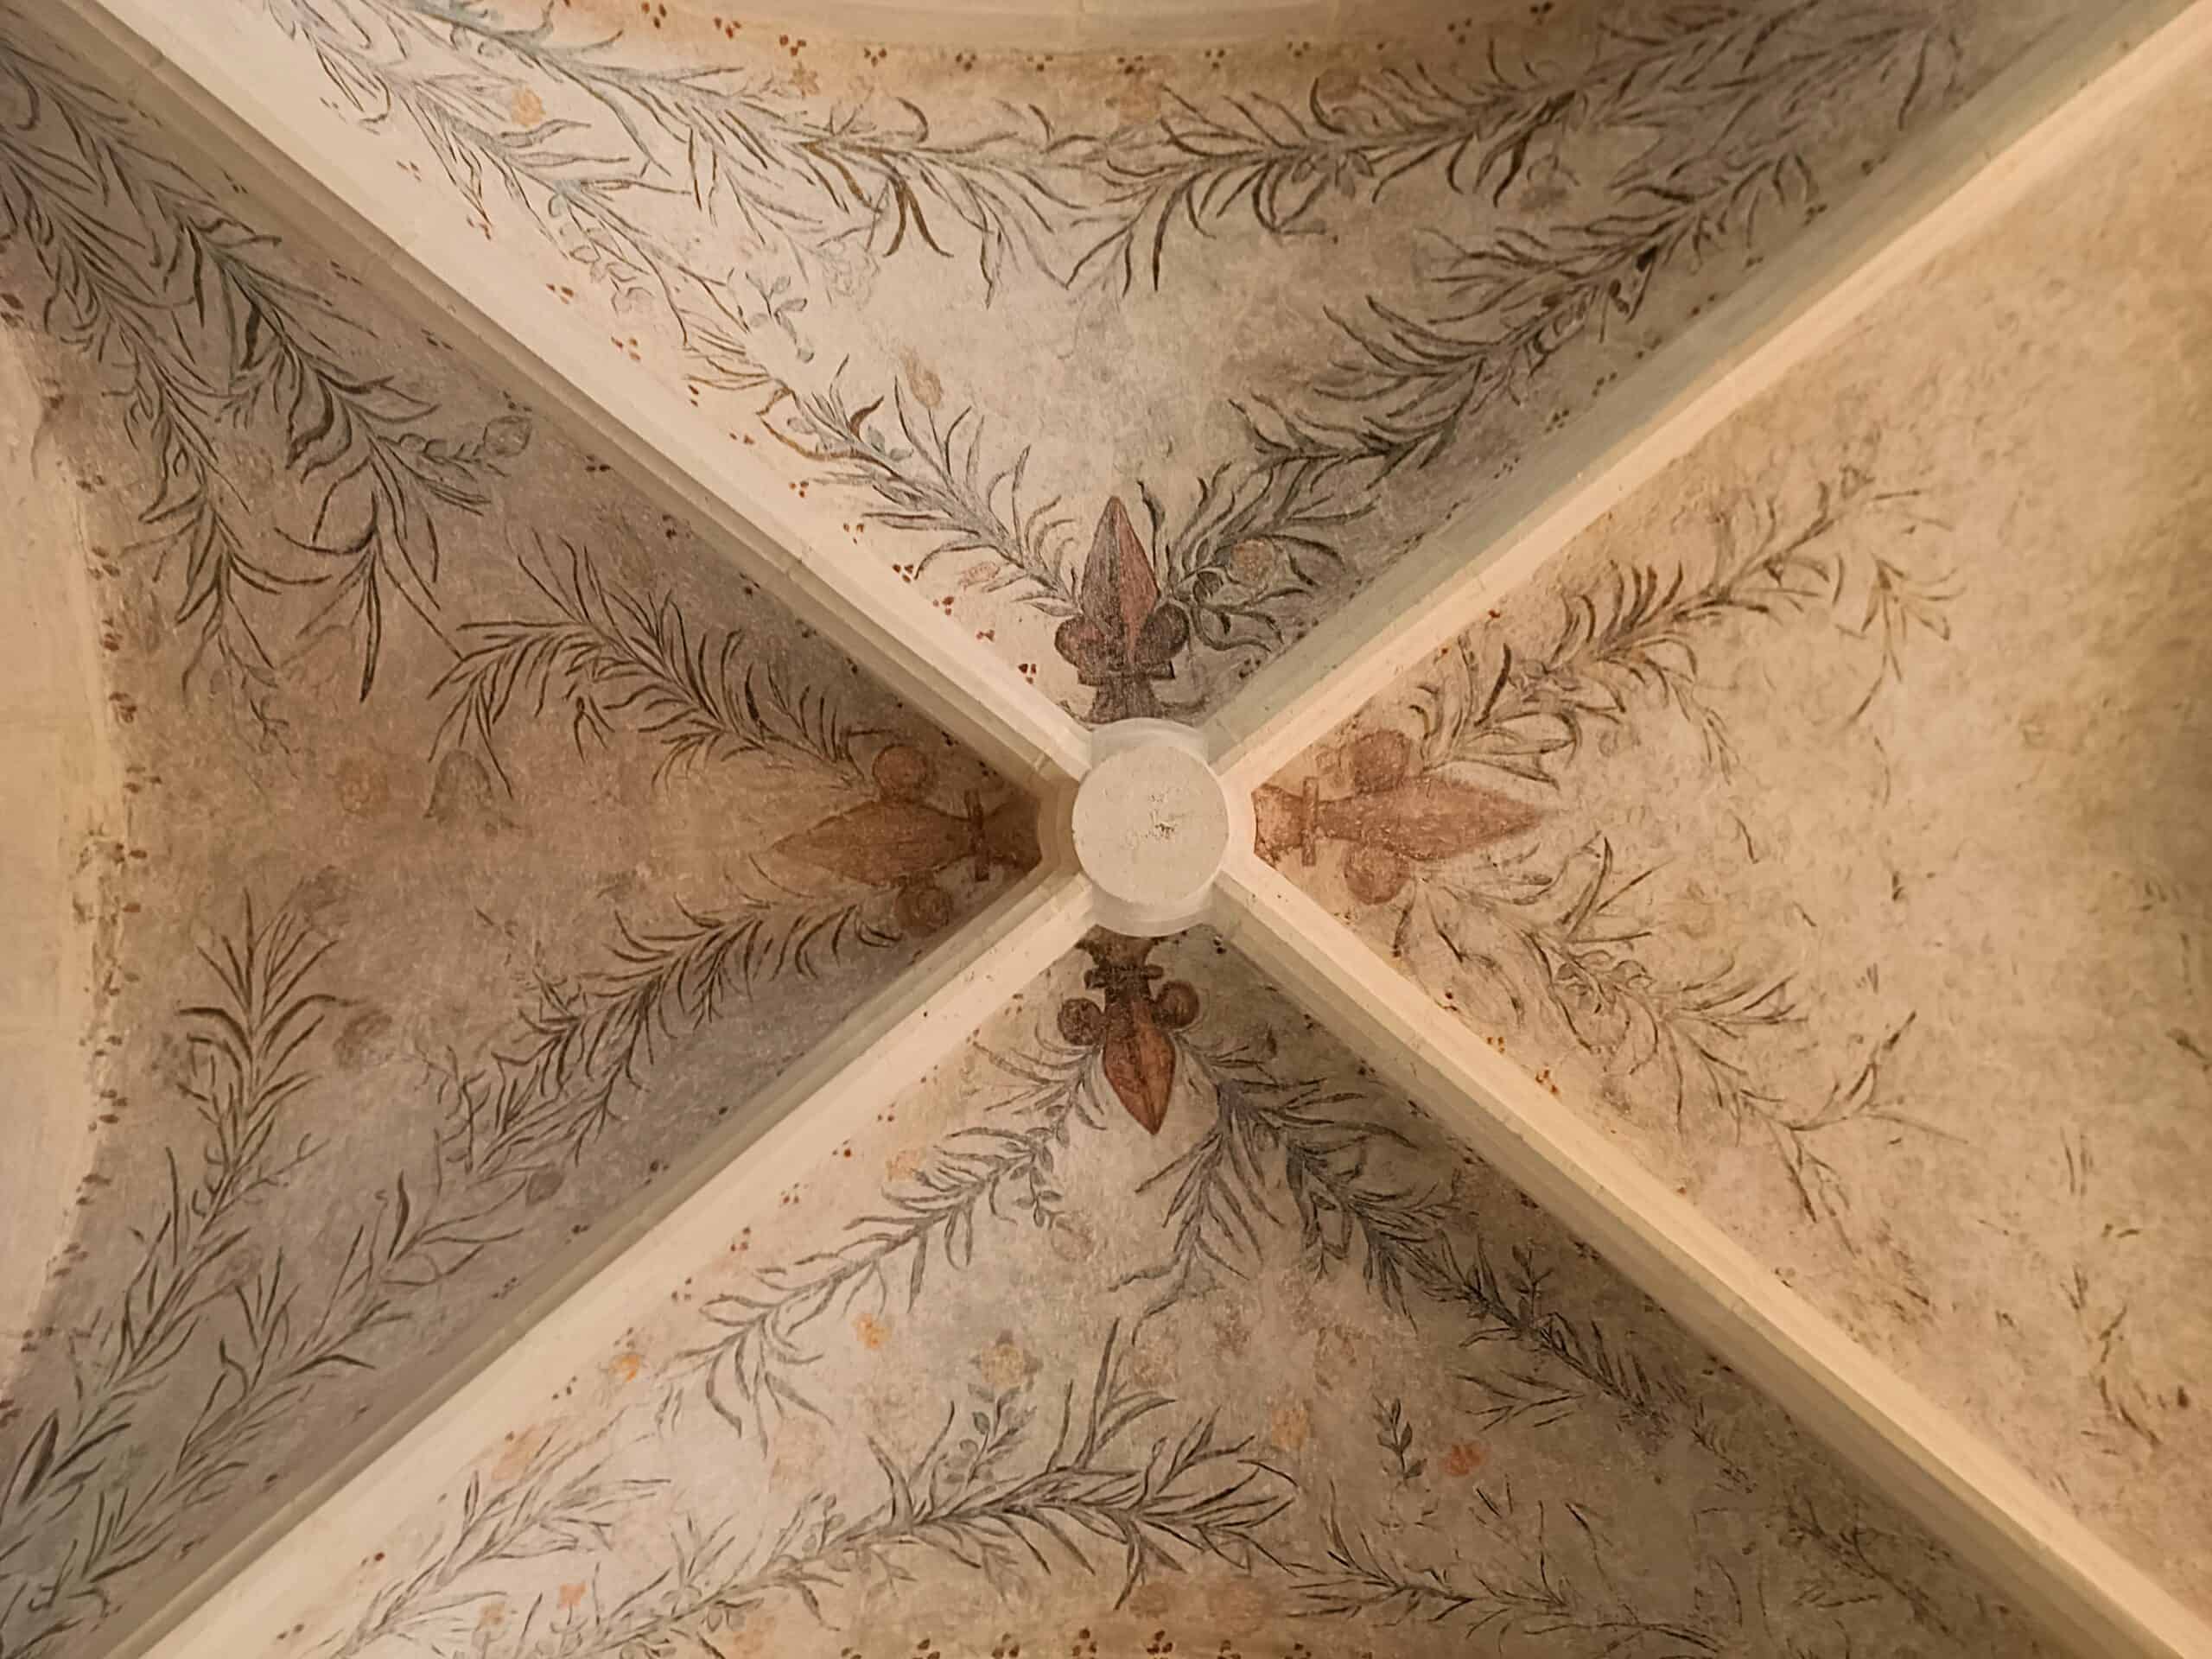
Ornamentale Gewölbemalerei – Dieulouard · Église Saint-Sébastien, fotografische Ansicht 1
Ornamentale GewölbemalereiDieulouard · Église Saint-SébastienFoto: The Camino History
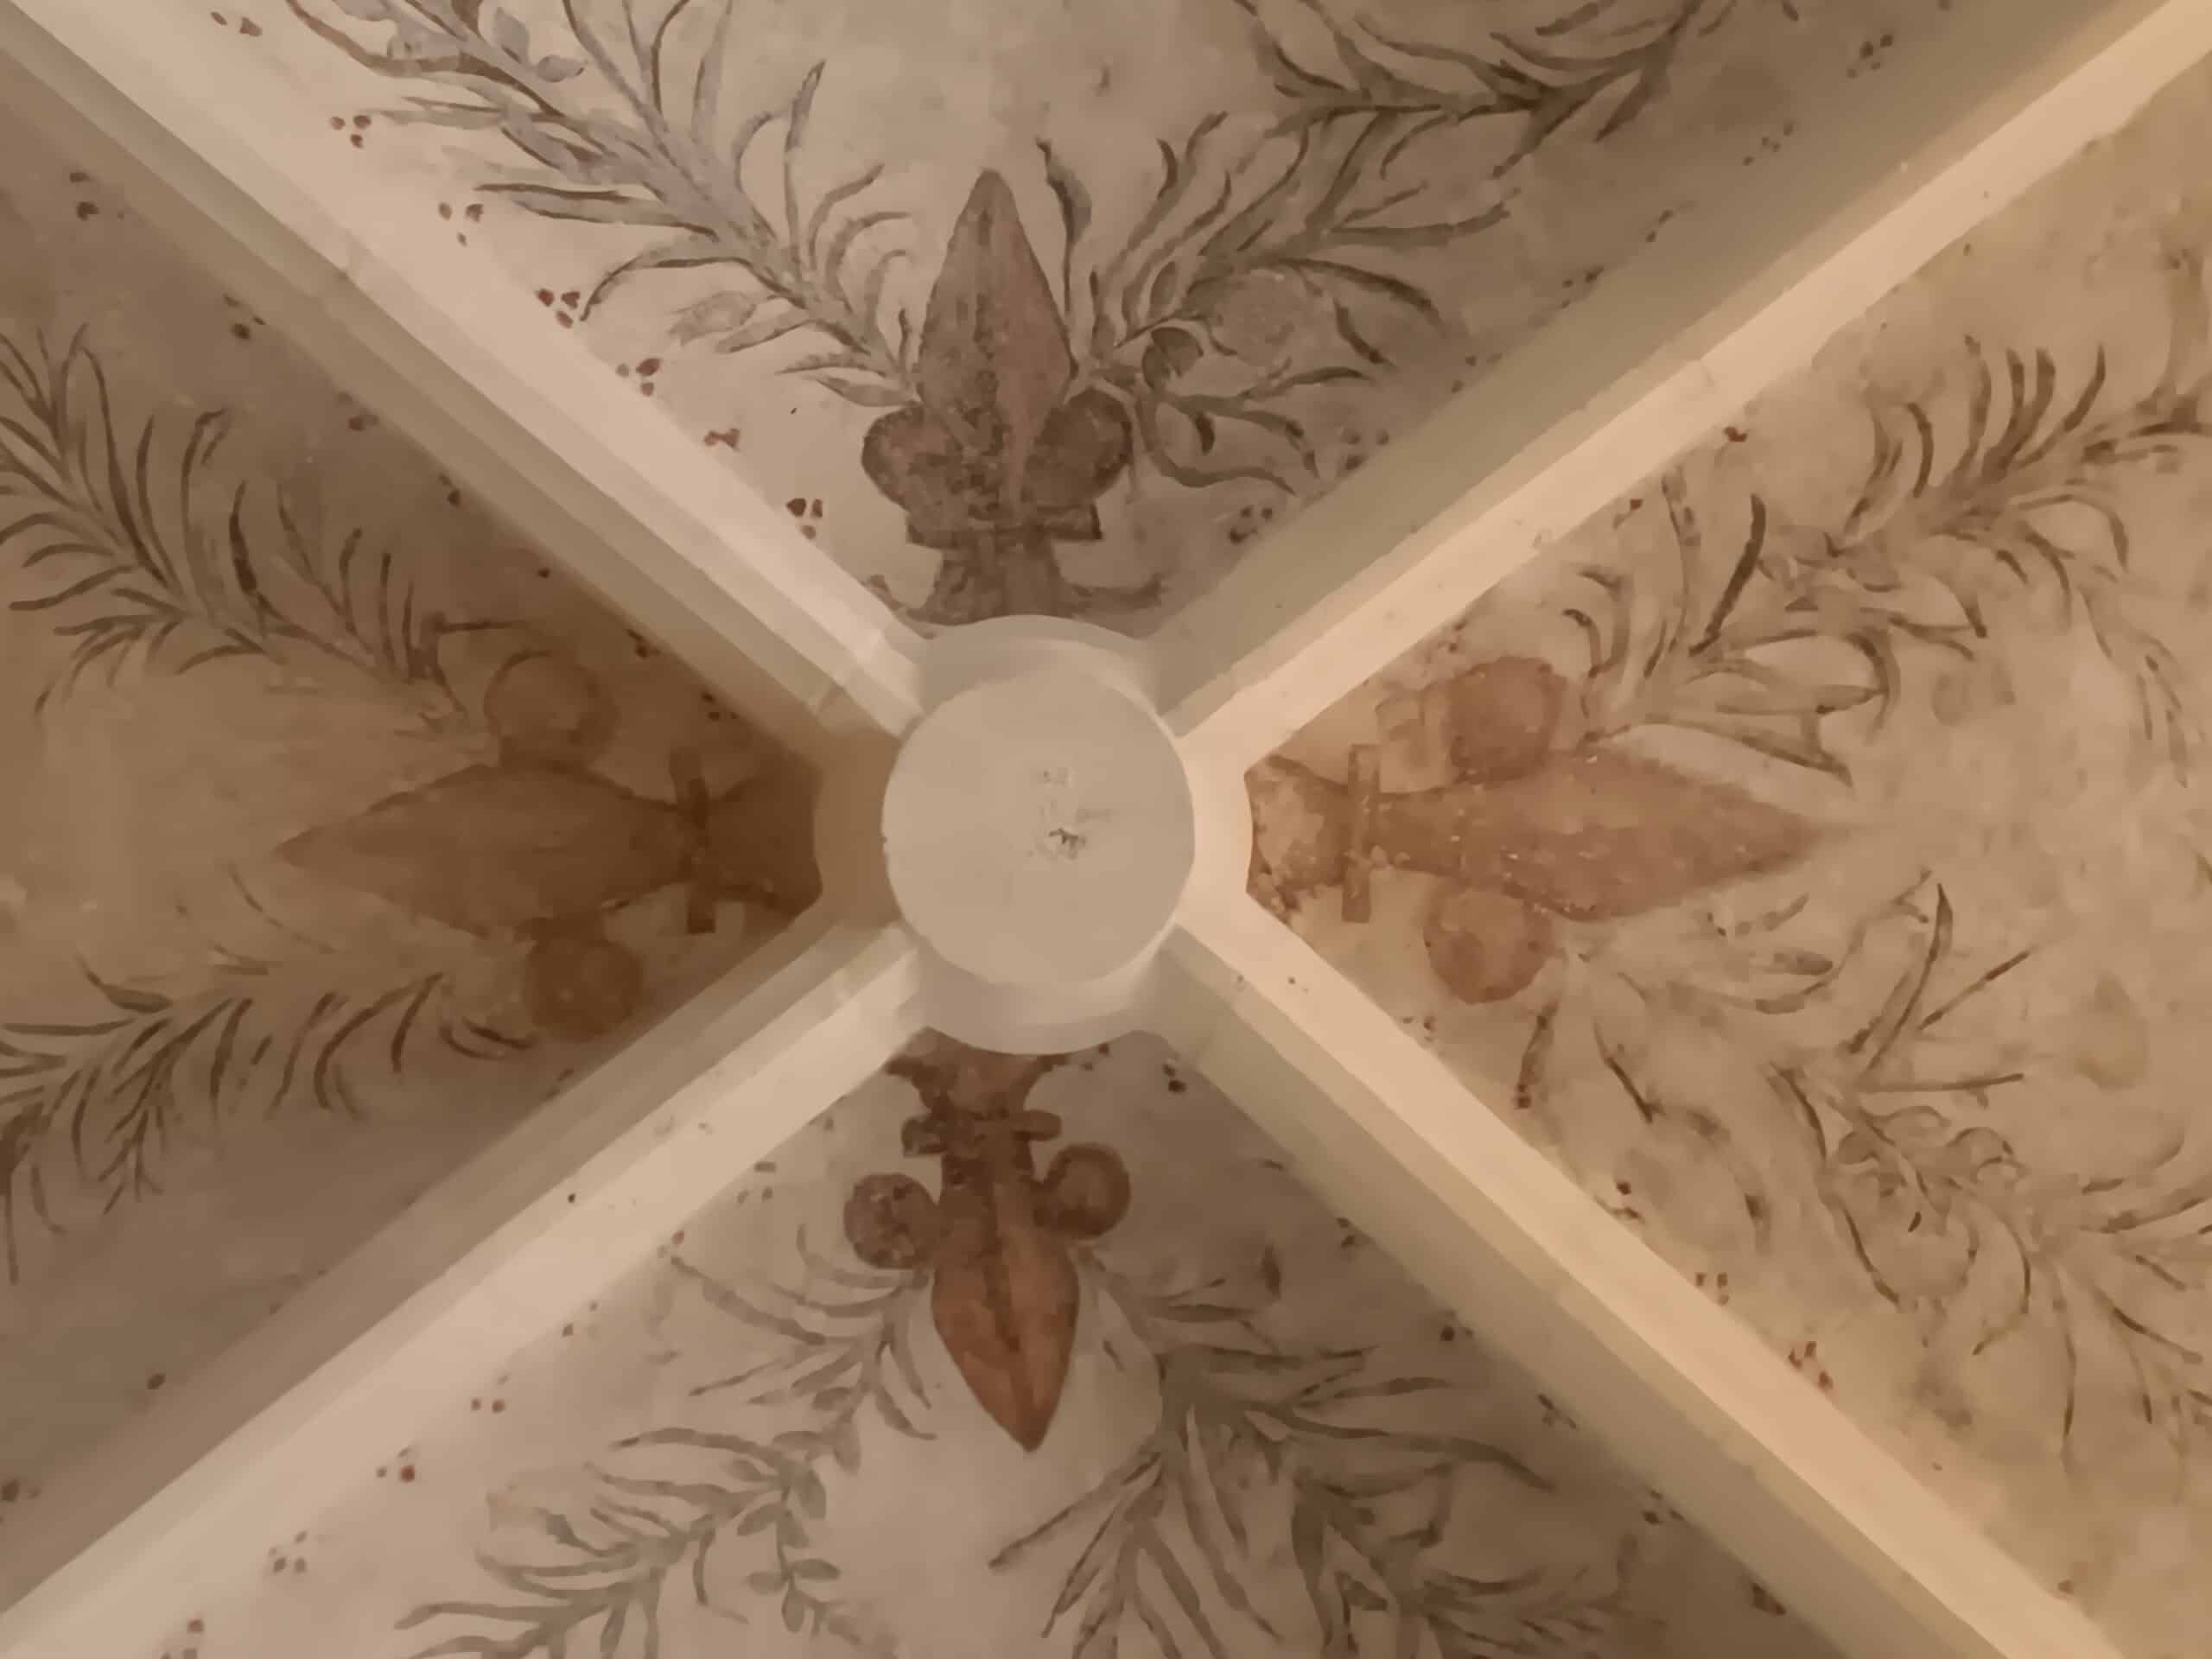
Ornamentale Gewölbemalerei – Dieulouard · Église Saint-Sébastien, fotografische Ansicht 2
Ornamentale GewölbemalereiDieulouard · Église Saint-SébastienFoto: The Camino History
Ornamentale Gewölbemalerei – Dieulouard · Église Saint-Sébastien, fotografische Ansicht 3
Ornamentale GewölbemalereiDieulouard · Église Saint-SébastienFoto: The Camino History
Ornamentale Gewölbemalerei – Dieulouard · Église Saint-Sébastien, fotografische Ansicht 4
Ornamentale GewölbemalereiDieulouard · Église Saint-SébastienFoto: The Camino History
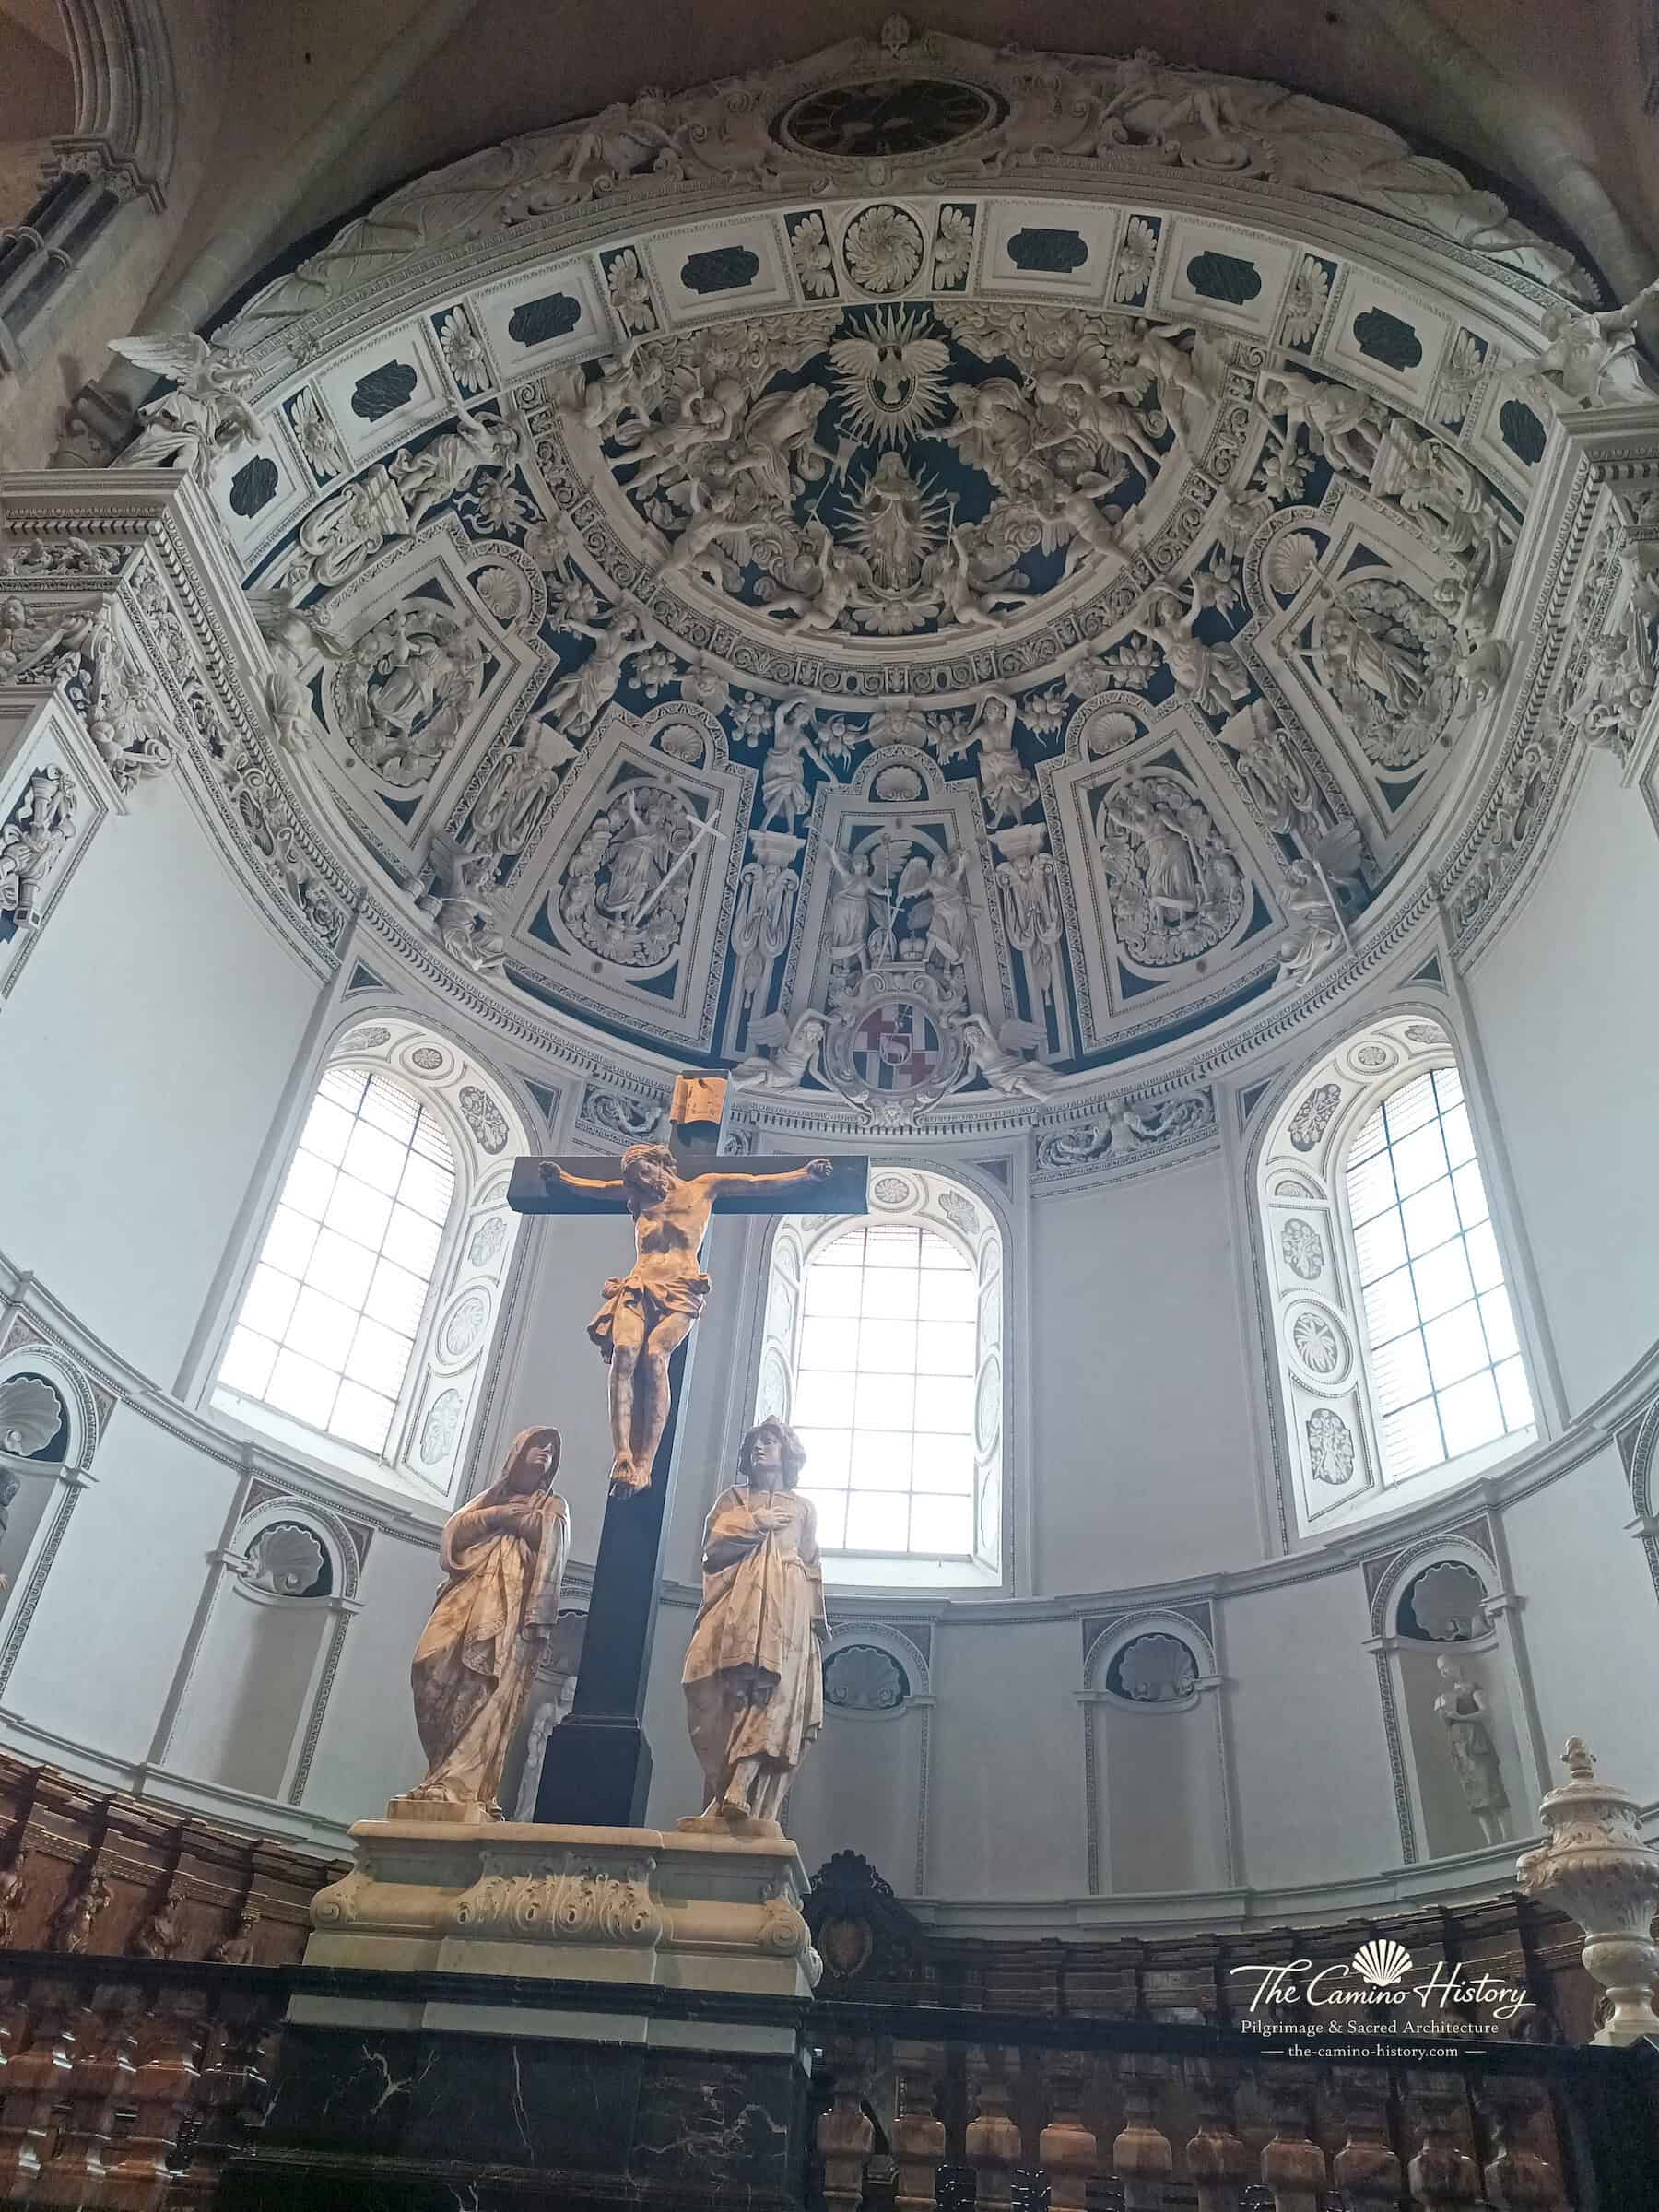
Stuck und malerische Ausstattung – Dom Trier, fotografische Ansicht 1
Stuck und malerische AusstattungDom TrierFoto: The Camino History
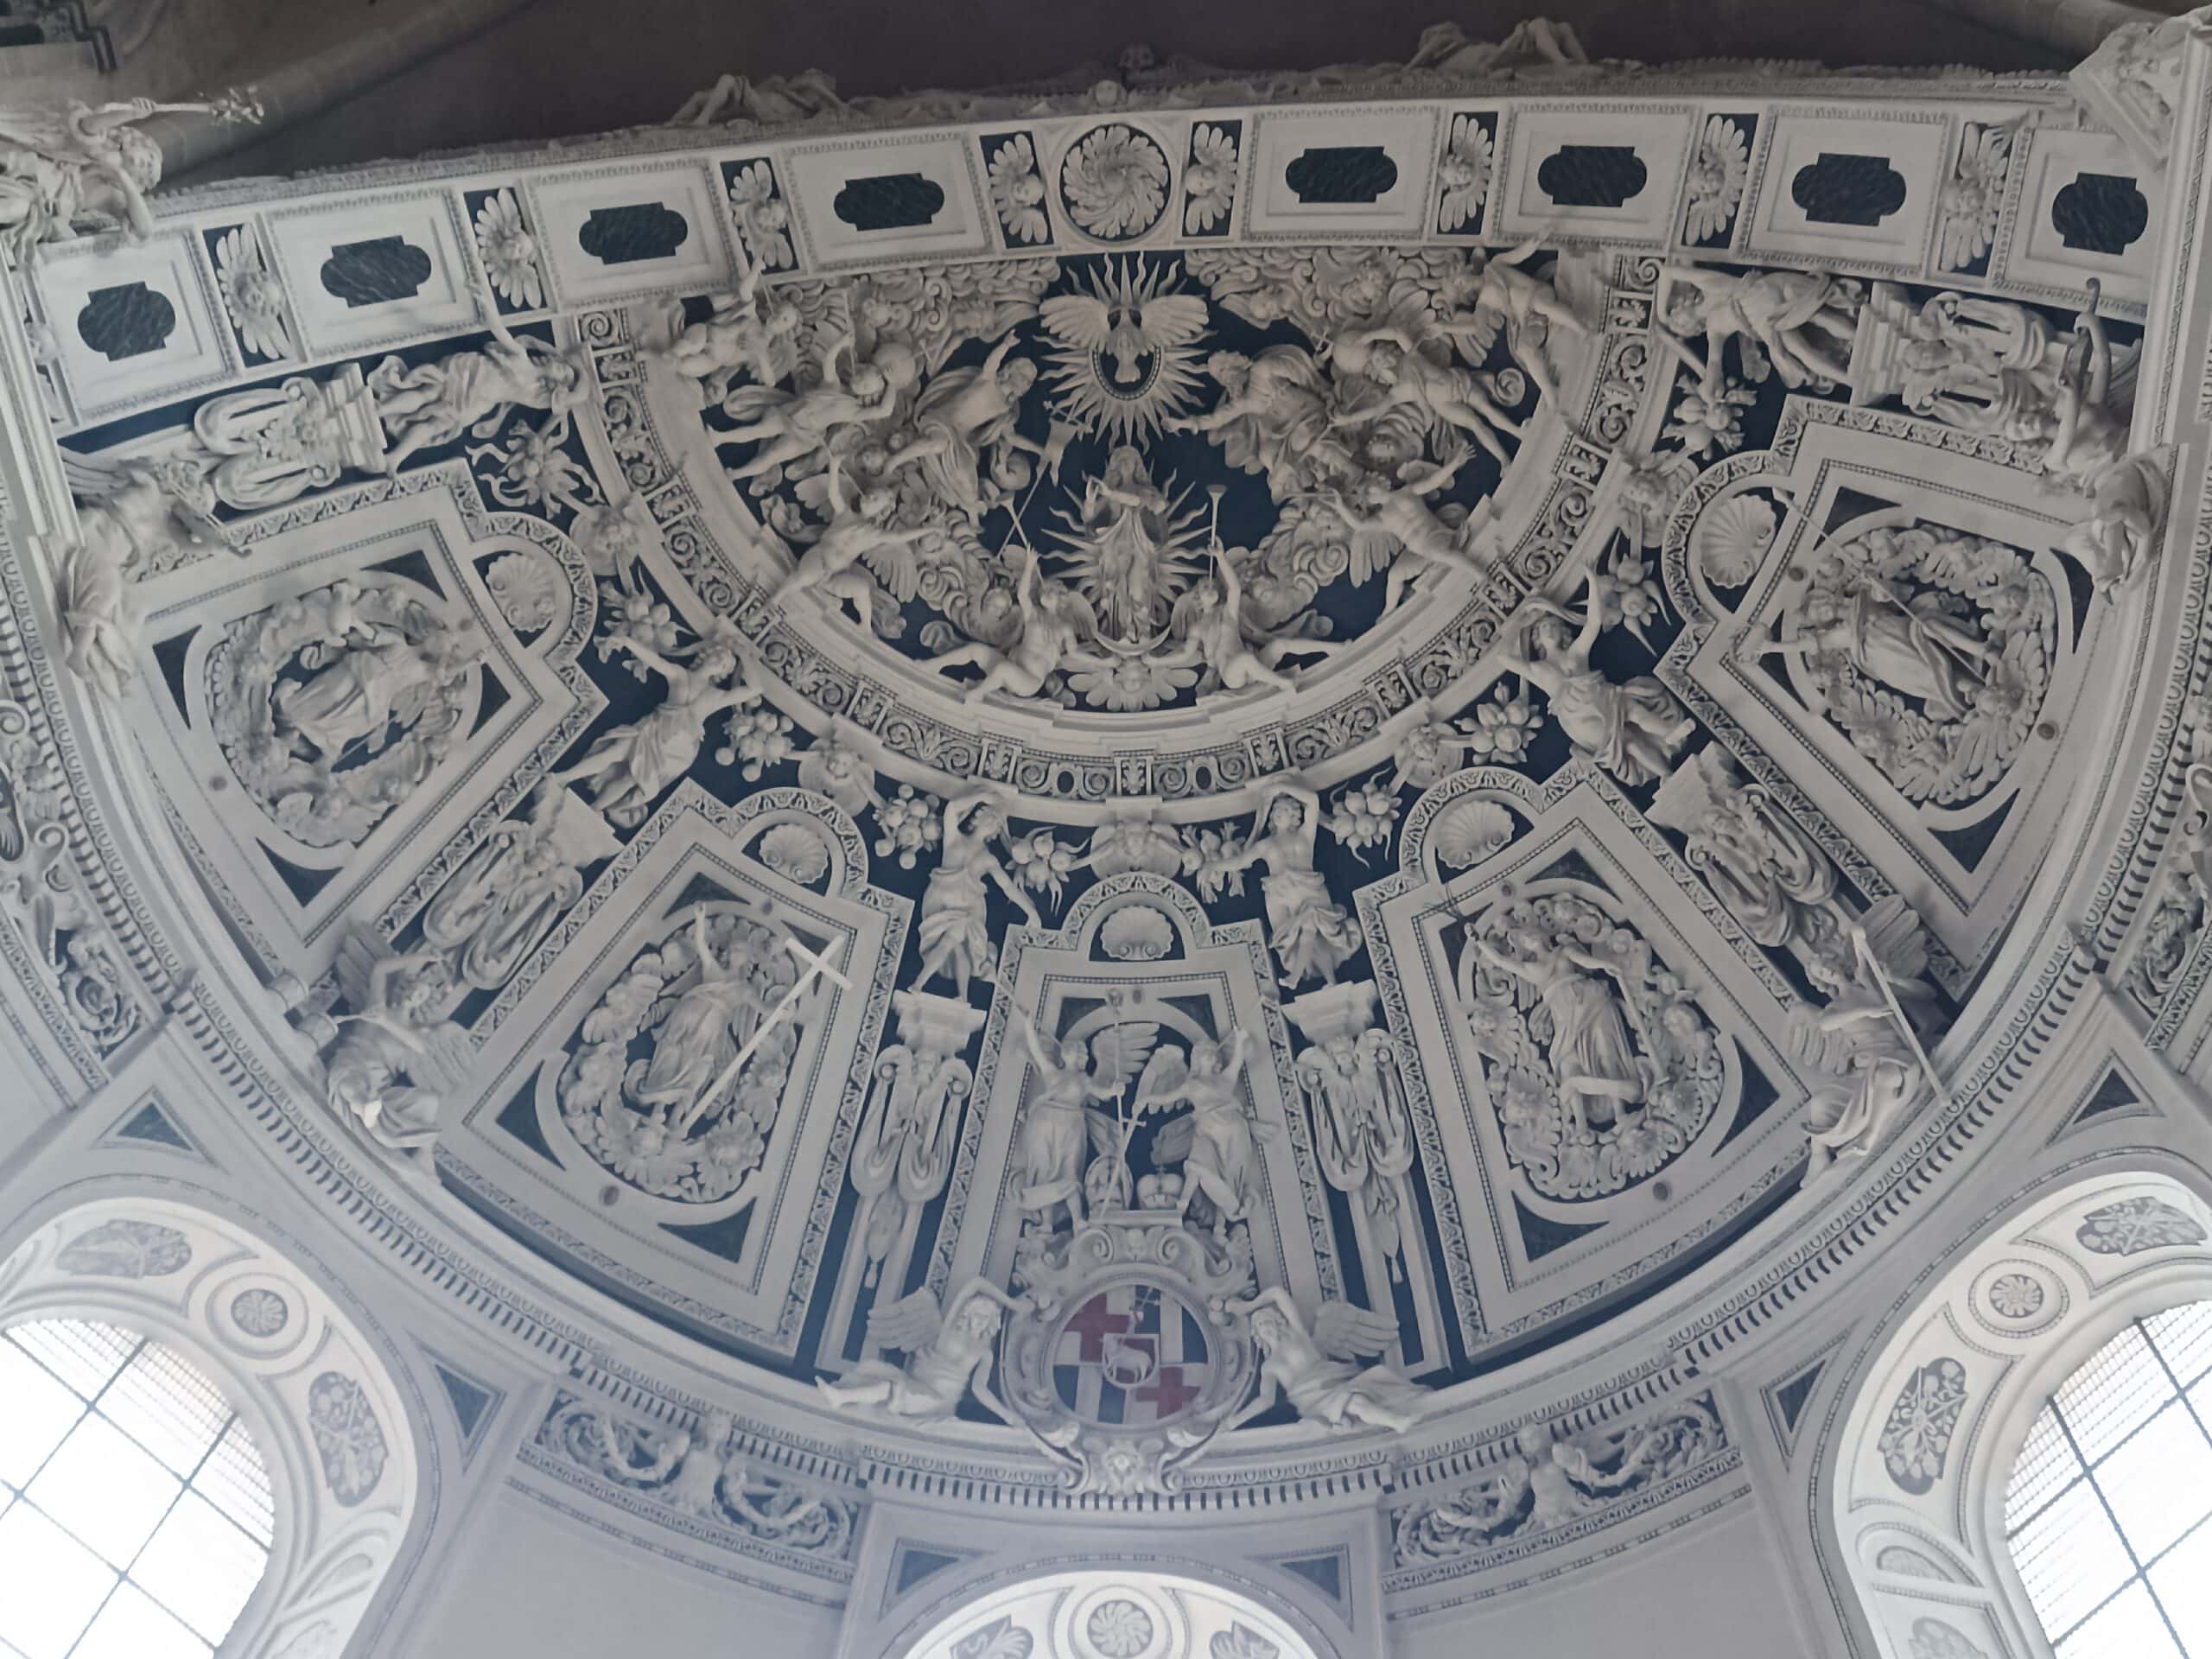
Stuck und malerische Ausstattung – Dom Trier, fotografische Ansicht 2
Stuck und malerische AusstattungDom TrierFoto: The Camino History
Figürliche Chor- und Apsismalereien – Église Saint-Donat à Larochette, fotografische Ansicht 1Foto: Victor Kemp
Figürliche Chor- und ApsismalereienÉglise Saint-Donat à LarochetteFoto: Victor Kemp
Figürliche Chor- und Apsismalereien – Église Saint-Donat à Larochette, fotografische Ansicht 2Foto: Victor Kemp
Figürliche Chor- und ApsismalereienÉglise Saint-Donat à LarochetteFoto: Victor Kemp
Figürliche Chor- und Apsismalereien – Église Saint-Donat à Larochette, fotografische Ansicht 3Foto: Victor Kemp
Figürliche Chor- und ApsismalereienÉglise Saint-Donat à LarochetteFoto: Victor Kemp
Figürliche Chor- und Apsismalereien – Église Saint-Donat à Larochette, fotografische Ansicht 4Foto: Victor Kemp
Figürliche Chor- und ApsismalereienÉglise Saint-Donat à LarochetteFoto: Victor Kemp
Ornamentale Gewölbe und Wandfelder – Église Saint-Donat à Larochette, fotografische Ansicht 1Foto: Victor Kemp
Ornamentale Gewölbe und WandfelderÉglise Saint-Donat à LarochetteFoto: Victor Kemp
Ornamentale Gewölbe und Wandfelder – Église Saint-Donat à Larochette, fotografische Ansicht 2Foto: Victor Kemp
Ornamentale Gewölbe und WandfelderÉglise Saint-Donat à LarochetteFoto: Victor Kemp
Ornamentale Gewölbe und Wandfelder – Église Saint-Donat à Larochette, fotografische Ansicht 3Foto: Victor Kemp
Ornamentale Gewölbe und WandfelderÉglise Saint-Donat à LarochetteFoto: Victor Kemp
Ornamentale Gewölbe und Wandfelder – Église Saint-Donat à Larochette, fotografische Ansicht 4Foto: Victor Kemp
Ornamentale Gewölbe und WandfelderÉglise Saint-Donat à LarochetteFoto: Victor Kemp
Ornamentale Gewölbe und Wandfelder – Église Saint-Donat à Larochette, fotografische Ansicht 5Foto: Victor Kemp
Ornamentale Gewölbe und WandfelderÉglise Saint-Donat à LarochetteFoto: Victor Kemp
Ornamentale Gewölbe und Wandfelder – Église Saint-Donat à Larochette, fotografische Ansicht 6Foto: Victor Kemp
Ornamentale Gewölbe und WandfelderÉglise Saint-Donat à LarochetteFoto: Victor Kemp
Ornamentale Gewölbe und Wandfelder – Église Saint-Donat à Larochette, fotografische Ansicht 7Foto: Victor Kemp
Ornamentale Gewölbe und WandfelderÉglise Saint-Donat à LarochetteFoto: Victor Kemp
Ornamentale Gewölbe und Wandfelder – Église Saint-Donat à Larochette, fotografische Ansicht 8Foto: Victor Kemp
Ornamentale Gewölbe und WandfelderÉglise Saint-Donat à LarochetteFoto: Victor Kemp
Ornamentale Gewölbe und Wandfelder – Église Saint-Donat à Larochette, fotografische Ansicht 9Foto: Victor Kemp
Ornamentale Gewölbe und WandfelderÉglise Saint-Donat à LarochetteFoto: Victor Kemp
Wandmalereien und Bildfelder – Euskirchen · St. Martin, fotografische Ansicht 1
Wandmalereien und BildfelderEuskirchen · St. MartinFoto: The Camino History
Wandmalereien und Bildfelder – Euskirchen · St. Martin, fotografische Ansicht 2
Wandmalereien und BildfelderEuskirchen · St. MartinFoto: The Camino History
Deckengemälde – Einzelszene – Fischbach bei Dahn · Kirche St. Bartholomäus, fotografische Ansicht 1
Deckengemälde – EinzelszeneFischbach bei Dahn · Kirche St. BartholomäusFoto: The Camino HistoryZur Dokumentation →
Großes Deckengemälde – Bildprogramm – Fischbach bei Dahn · Kirche St. Bartholomäus, fotografische Ansicht 1
Großes Deckengemälde – BildprogrammFischbach bei Dahn · Kirche St. BartholomäusFoto: The Camino HistoryZur Dokumentation →
Großes Deckengemälde – Bildprogramm – Fischbach bei Dahn · Kirche St. Bartholomäus, fotografische Ansicht 2
Großes Deckengemälde – BildprogrammFischbach bei Dahn · Kirche St. BartholomäusFoto: The Camino HistoryZur Dokumentation →
Großes Deckengemälde – Bildprogramm – Fischbach bei Dahn · Kirche St. Bartholomäus, fotografische Ansicht 3
Großes Deckengemälde – BildprogrammFischbach bei Dahn · Kirche St. BartholomäusFoto: The Camino HistoryZur Dokumentation →
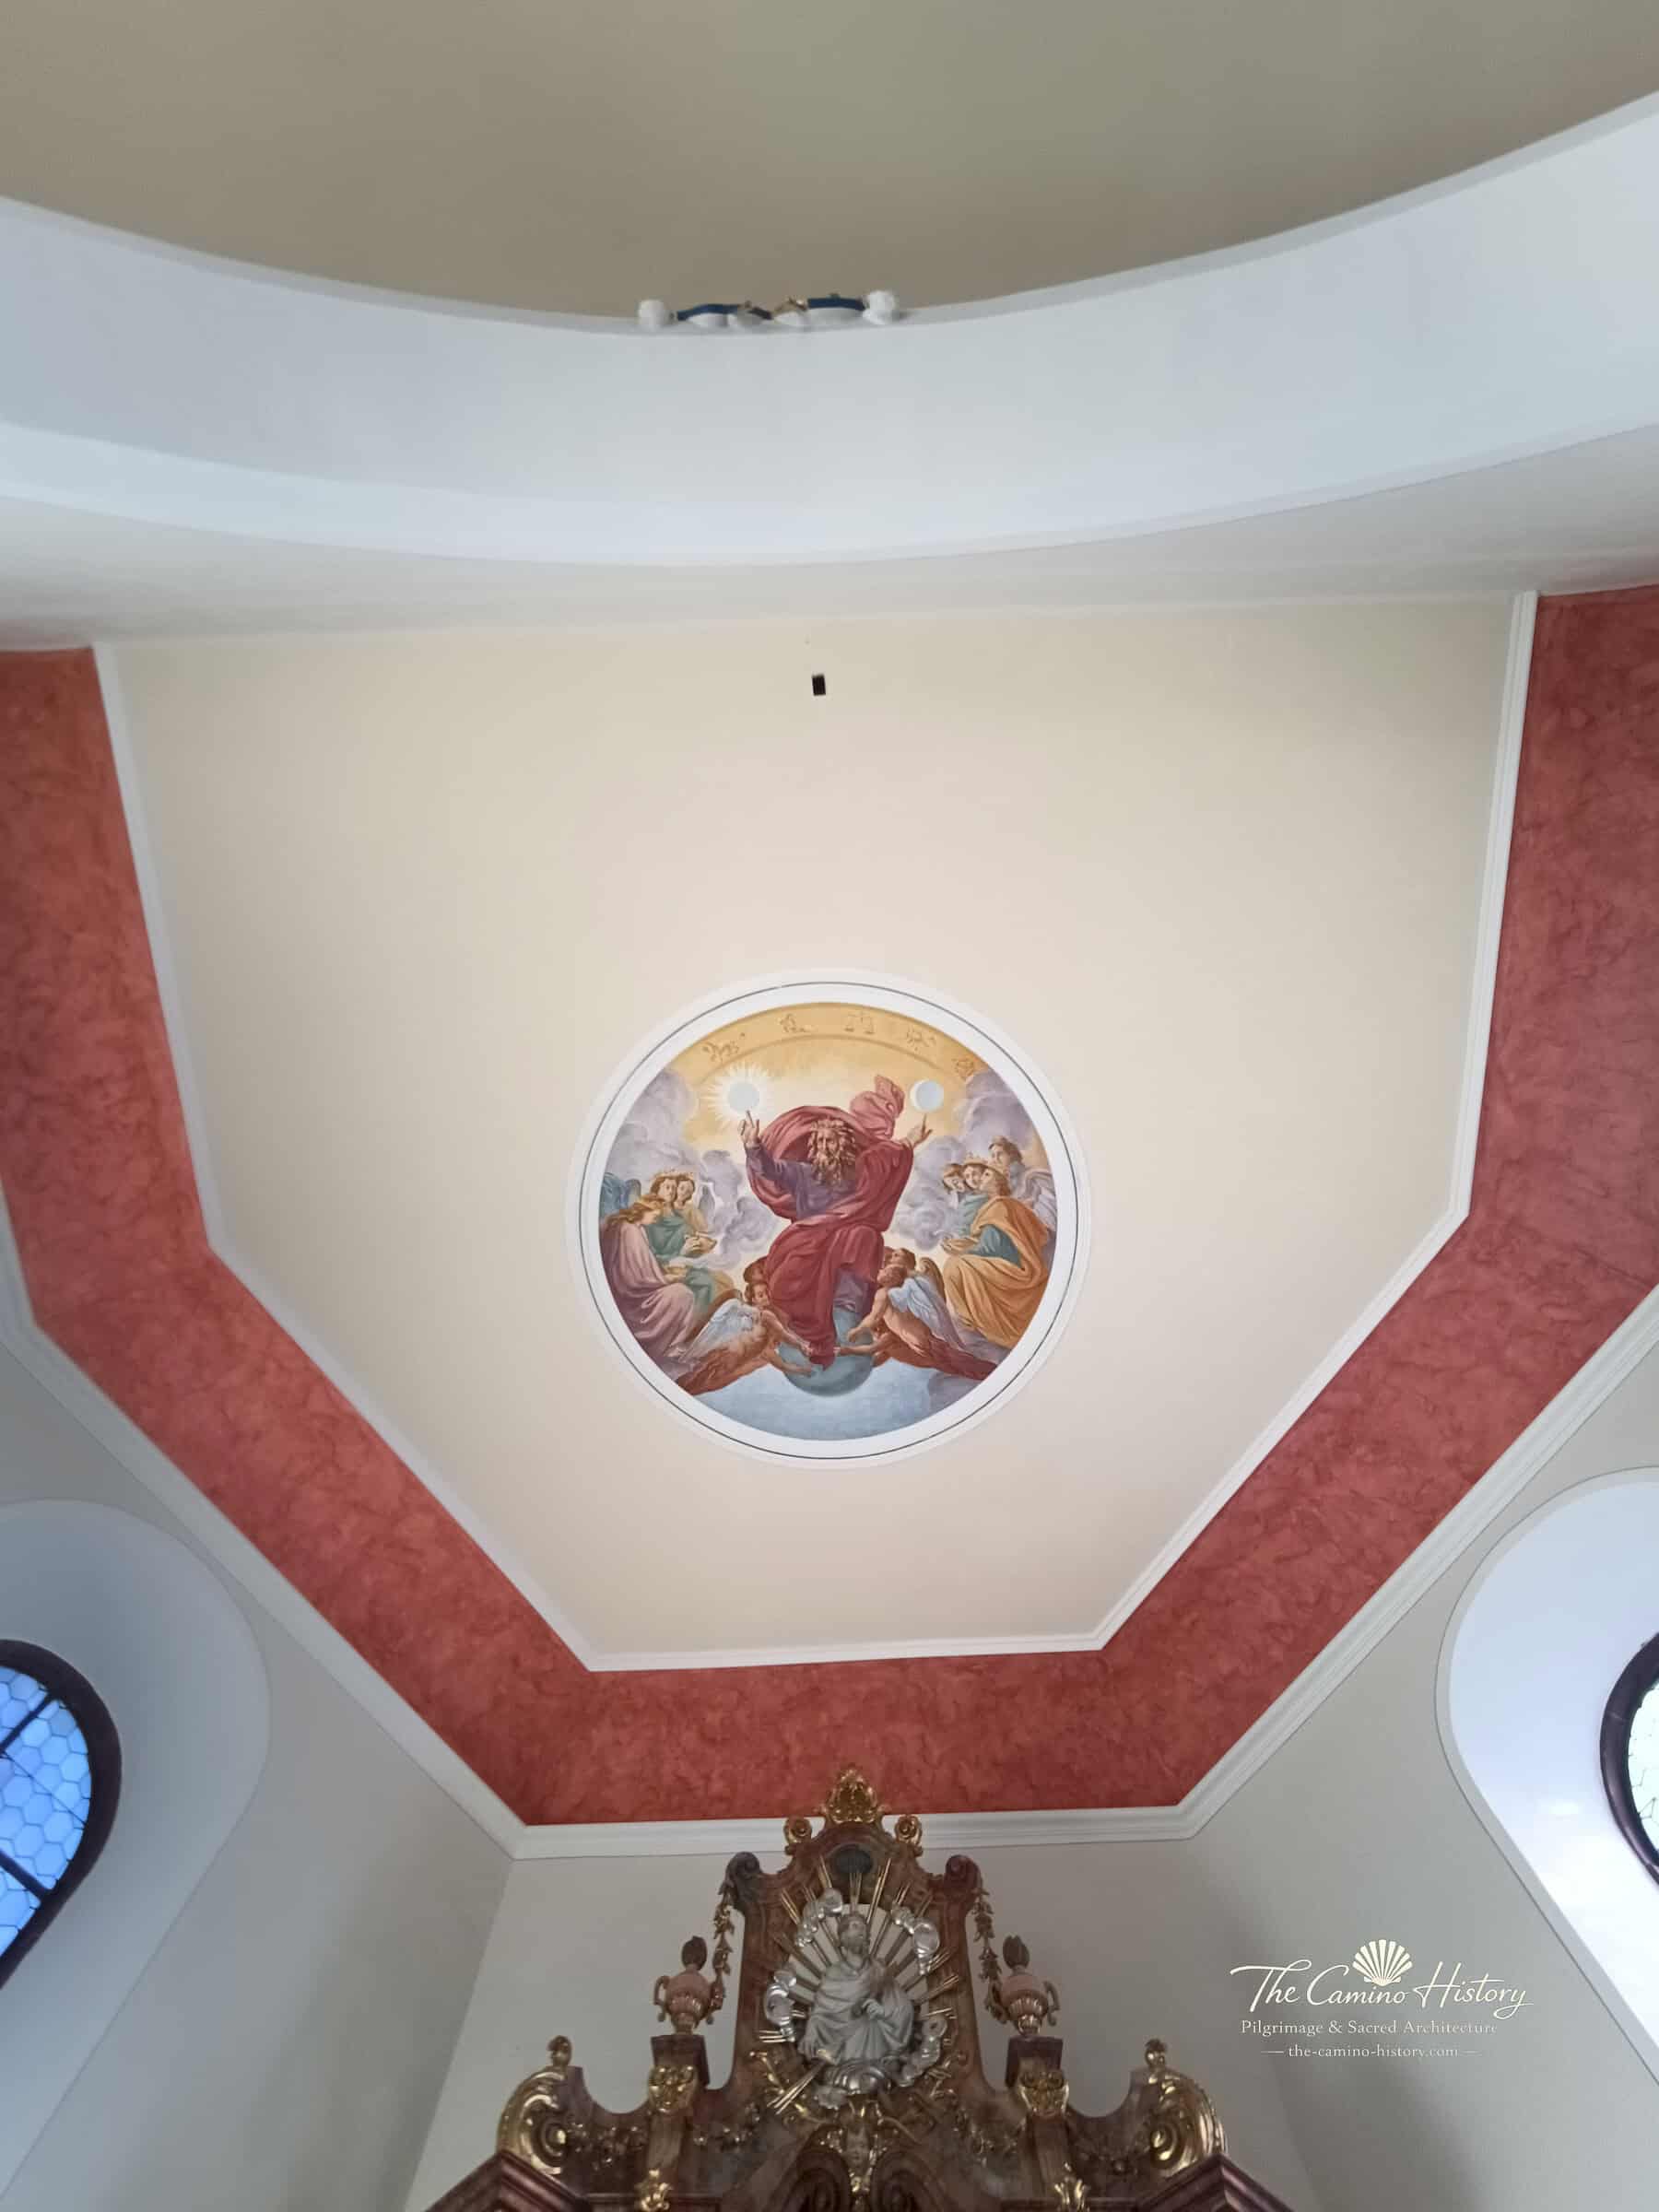
Rundes Deckengemälde im Chor – Fischbach bei Dahn · Kirche St. Bartholomäus, fotografische Ansicht 1
Rundes Deckengemälde im ChorFischbach bei Dahn · Kirche St. BartholomäusFoto: The Camino HistoryZur Dokumentation →
Rundes Deckengemälde im Chor – Fischbach bei Dahn · Kirche St. Bartholomäus, fotografische Ansicht 2
Rundes Deckengemälde im ChorFischbach bei Dahn · Kirche St. BartholomäusFoto: The Camino HistoryZur Dokumentation →
Bemalte Chorbogen-Zone – Germersheim · St. Jakobus, fotografische Ansicht 1
Bemalte Chorbogen-ZoneGermersheim · St. JakobusFoto: The Camino History
Bemalte Chorbogen-Zone – Germersheim · St. Jakobus, fotografische Ansicht 2
Bemalte Chorbogen-ZoneGermersheim · St. JakobusFoto: The Camino History
Figürliche Heiligenbilder an den Wänden – Germersheim · St. Jakobus, fotografische Ansicht 1
Figürliche Heiligenbilder an den WändenGermersheim · St. JakobusFoto: The Camino History
Figürliche Heiligenbilder an den Wänden – Germersheim · St. Jakobus, fotografische Ansicht 2
Figürliche Heiligenbilder an den WändenGermersheim · St. JakobusFoto: The Camino History
Figürliche Heiligenbilder an den Wänden – Germersheim · St. Jakobus, fotografische Ansicht 3
Figürliche Heiligenbilder an den WändenGermersheim · St. JakobusFoto: The Camino History
Figürliche Heiligenbilder an den Wänden – Germersheim · St. Jakobus, fotografische Ansicht 4
Figürliche Heiligenbilder an den WändenGermersheim · St. JakobusFoto: The Camino History
Figürliche Heiligenbilder an den Wänden – Germersheim · St. Jakobus, fotografische Ansicht 5
Figürliche Heiligenbilder an den WändenGermersheim · St. JakobusFoto: The Camino History
Figürliche Heiligenbilder an den Wänden – Germersheim · St. Jakobus, fotografische Ansicht 6
Figürliche Heiligenbilder an den WändenGermersheim · St. JakobusFoto: The Camino History
Figürliche Heiligenbilder an den Wänden – Germersheim · St. Jakobus, fotografische Ansicht 7
Figürliche Heiligenbilder an den WändenGermersheim · St. JakobusFoto: The Camino History
Figürliche Heiligenbilder an den Wänden – Germersheim · St. Jakobus, fotografische Ansicht 8
Figürliche Heiligenbilder an den WändenGermersheim · St. JakobusFoto: The Camino History
Figürliche Wandmalereien – Kapelle Wiesenbach · St.-Bartholomäus, fotografische Ansicht 1Foto: Victor Kemp
Figürliche WandmalereienKapelle Wiesenbach · St.-BartholomäusFoto: Victor Kemp
Figürliche Wandmalereien – Kapelle Wiesenbach · St.-Bartholomäus, fotografische Ansicht 2Foto: Victor Kemp
Figürliche WandmalereienKapelle Wiesenbach · St.-BartholomäusFoto: Victor Kemp
Figürliche Wandmalereien – Kapelle Wiesenbach · St.-Bartholomäus, fotografische Ansicht 3Foto: Victor Kemp
Figürliche WandmalereienKapelle Wiesenbach · St.-BartholomäusFoto: Victor Kemp
Figürliche Wandmalereien – Kapelle Wiesenbach · St.-Bartholomäus, fotografische Ansicht 4Foto: Victor Kemp
Figürliche WandmalereienKapelle Wiesenbach · St.-BartholomäusFoto: Victor Kemp
Pflanzenornamente und Tiermotive am Gewölbe – Kapelle Wiesenbach · St.-Bartholomäus, fotografische Ansicht 1Foto: Victor Kemp
Pflanzenornamente und Tiermotive am GewölbeKapelle Wiesenbach · St.-BartholomäusFoto: Victor Kemp
Pflanzenornamente und Tiermotive am Gewölbe – Kapelle Wiesenbach · St.-Bartholomäus, fotografische Ansicht 2Foto: Victor Kemp
Pflanzenornamente und Tiermotive am GewölbeKapelle Wiesenbach · St.-BartholomäusFoto: Victor Kemp
Pflanzenornamente und Tiermotive am Gewölbe – Kapelle Wiesenbach · St.-Bartholomäus, fotografische Ansicht 3Foto: Victor Kemp
Pflanzenornamente und Tiermotive am GewölbeKapelle Wiesenbach · St.-BartholomäusFoto: Victor Kemp
Pflanzenornamente und Tiermotive am Gewölbe – Kapelle Wiesenbach · St.-Bartholomäus, fotografische Ansicht 4Foto: Victor Kemp
Pflanzenornamente und Tiermotive am GewölbeKapelle Wiesenbach · St.-BartholomäusFoto: Victor Kemp
Pflanzenornamente und Tiermotive am Gewölbe – Kapelle Wiesenbach · St.-Bartholomäus, fotografische Ansicht 5Foto: Victor Kemp
Pflanzenornamente und Tiermotive am GewölbeKapelle Wiesenbach · St.-BartholomäusFoto: Victor Kemp
Pflanzenornamente und Tiermotive am Gewölbe – Kapelle Wiesenbach · St.-Bartholomäus, fotografische Ansicht 6Foto: Victor Kemp
Pflanzenornamente und Tiermotive am GewölbeKapelle Wiesenbach · St.-BartholomäusFoto: Victor Kemp
Pflanzenornamente und Tiermotive am Gewölbe – Kapelle Wiesenbach · St.-Bartholomäus, fotografische Ansicht 7Foto: Victor Kemp
Pflanzenornamente und Tiermotive am GewölbeKapelle Wiesenbach · St.-BartholomäusFoto: Victor Kemp
Pflanzenornamente und Tiermotive am Gewölbe – Kapelle Wiesenbach · St.-Bartholomäus, fotografische Ansicht 8Foto: Victor Kemp
Pflanzenornamente und Tiermotive am GewölbeKapelle Wiesenbach · St.-BartholomäusFoto: Victor Kemp
Pflanzenornamente und Tiermotive am Gewölbe – Kapelle Wiesenbach · St.-Bartholomäus, fotografische Ansicht 9Foto: Victor Kemp
Pflanzenornamente und Tiermotive am GewölbeKapelle Wiesenbach · St.-BartholomäusFoto: Victor Kemp
Pflanzenornamente und Tiermotive am Gewölbe – Kapelle Wiesenbach · St.-Bartholomäus, fotografische Ansicht 10Foto: Victor Kemp
Pflanzenornamente und Tiermotive am GewölbeKapelle Wiesenbach · St.-BartholomäusFoto: Victor Kemp
Pflanzenornamente und Tiermotive am Gewölbe – Kapelle Wiesenbach · St.-Bartholomäus, fotografische Ansicht 11Foto: Victor Kemp
Pflanzenornamente und Tiermotive am GewölbeKapelle Wiesenbach · St.-BartholomäusFoto: Victor Kemp
Wandmalereien und Bildfelder – Köln · Basilika St. Aposteln, fotografische Ansicht 1
Wandmalereien und BildfelderKöln · Basilika St. ApostelnFoto: The Camino History
Kreuzigungsdarstellung – Köln · St. Andreas, fotografische Ansicht 1
KreuzigungsdarstellungKöln · St. AndreasFoto: The Camino HistoryZur Dokumentation →
Kreuzigungsdarstellung – Köln · St. Andreas, fotografische Ansicht 2
KreuzigungsdarstellungKöln · St. AndreasFoto: The Camino HistoryZur Dokumentation →
Kreuzigungsdarstellung – Köln · St. Andreas, fotografische Ansicht 3
KreuzigungsdarstellungKöln · St. AndreasFoto: The Camino HistoryZur Dokumentation →
Kreuzigungsdarstellung – Köln · St. Andreas, fotografische Ansicht 4
KreuzigungsdarstellungKöln · St. AndreasFoto: The Camino HistoryZur Dokumentation →
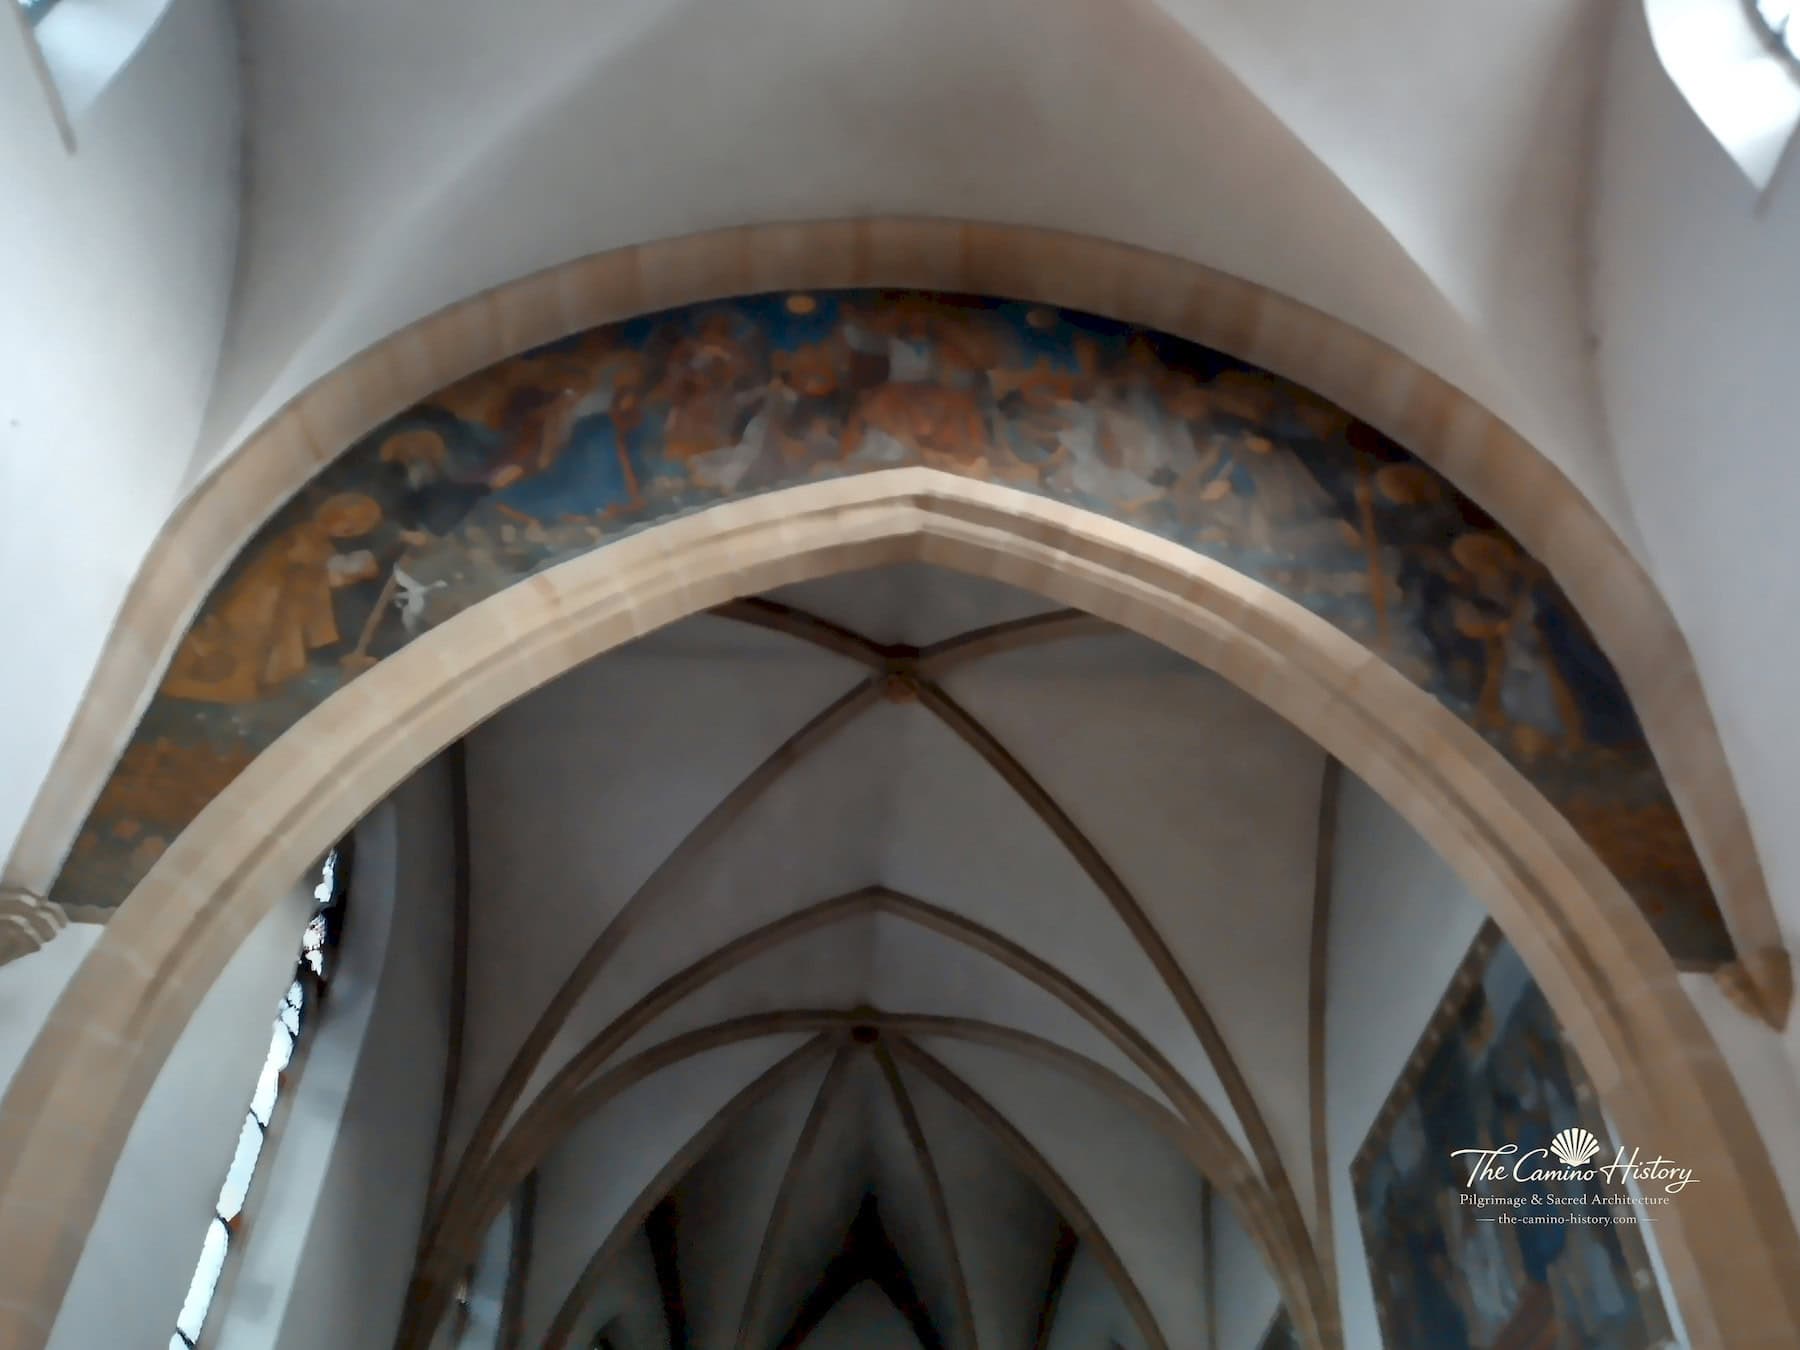
Malereireste im Wandbogen – Köln · St. Andreas, fotografische Ansicht 1
Malereireste im WandbogenKöln · St. AndreasFoto: The Camino HistoryZur Dokumentation →
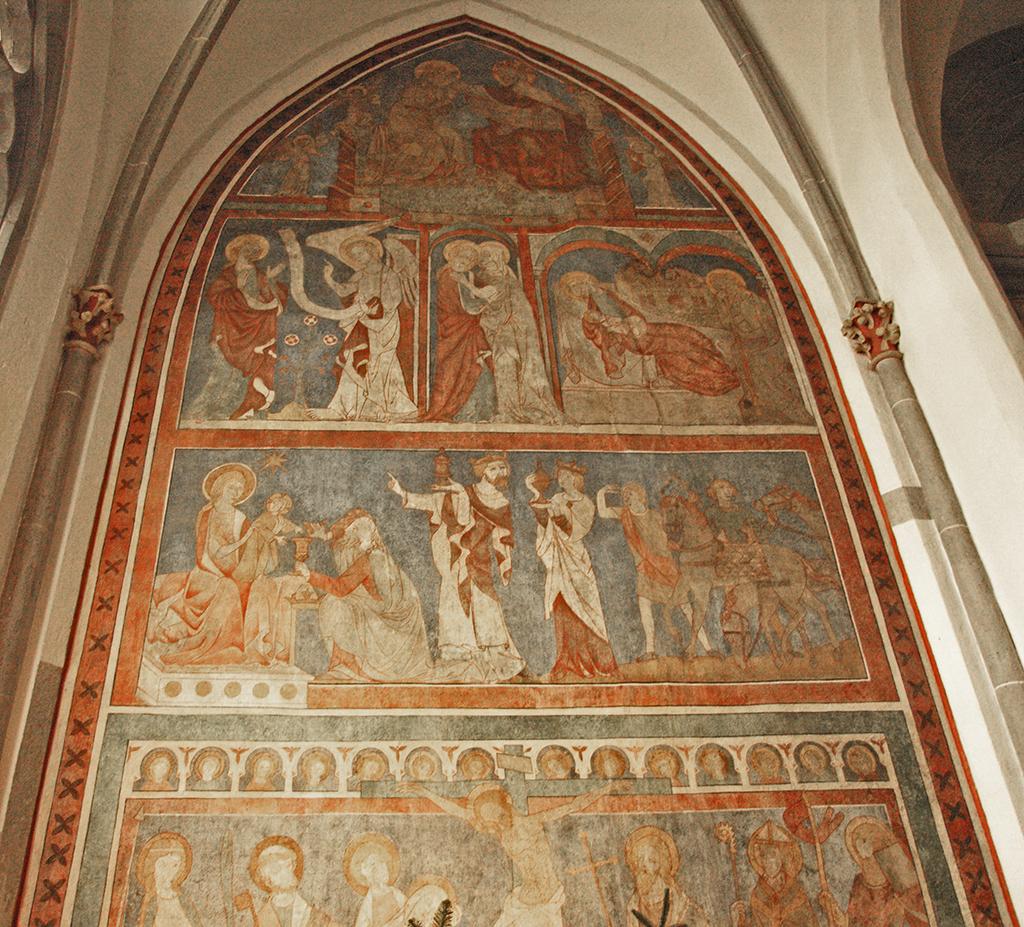
Mehrteilige Wandbildszene – Köln · St. Andreas, fotografische Ansicht 1
Mehrteilige WandbildszeneKöln · St. AndreasFoto: The Camino HistoryZur Dokumentation →
Mehrteilige Wandbildszene – Köln · St. Andreas, fotografische Ansicht 2
Mehrteilige WandbildszeneKöln · St. AndreasFoto: The Camino HistoryZur Dokumentation →
Mehrzonige Wandmalerei – Köln · St. Andreas, fotografische Ansicht 1
Mehrzonige WandmalereiKöln · St. AndreasFoto: The Camino HistoryZur Dokumentation →
Mehrzonige Wandmalerei – Köln · St. Andreas, fotografische Ansicht 2
Mehrzonige WandmalereiKöln · St. AndreasFoto: The Camino HistoryZur Dokumentation →
Decken- und Gewölbemalereien – Kronenburg · St. Johann Baptist Kirche, fotografische Ansicht 1Foto: Victor Kemp
Decken- und GewölbemalereienKronenburg · St. Johann Baptist KircheFoto: Victor Kemp
Decken- und Gewölbemalereien – Kronenburg · St. Johann Baptist Kirche, fotografische Ansicht 2Foto: Victor Kemp
Decken- und GewölbemalereienKronenburg · St. Johann Baptist KircheFoto: Victor Kemp
Decken- und Gewölbemalereien – Kronenburg · St. Johann Baptist Kirche, fotografische Ansicht 3Foto: Victor Kemp
Decken- und GewölbemalereienKronenburg · St. Johann Baptist KircheFoto: Victor Kemp
Decken- und Gewölbemalereien – Kronenburg · St. Johann Baptist Kirche, fotografische Ansicht 4Foto: Victor Kemp
Decken- und GewölbemalereienKronenburg · St. Johann Baptist KircheFoto: Victor Kemp
Decken- und Gewölbemalereien – Lieser · Kirche St. Peter,, fotografische Ansicht 1
Decken- und GewölbemalereienLieser · Kirche St. Peter,Foto: The Camino History
Decken- und Gewölbemalereien – Lieser · Kirche St. Peter,, fotografische Ansicht 2
Decken- und GewölbemalereienLieser · Kirche St. Peter,Foto: The Camino History
Decken- und Gewölbemalereien – Lieser · Kirche St. Peter,, fotografische Ansicht 3
Decken- und GewölbemalereienLieser · Kirche St. Peter,Foto: The Camino History
Decken- und Gewölbemalereien – Liverdun · Église Saint-Pierre, fotografische Ansicht 1
Decken- und GewölbemalereienLiverdun · Église Saint-PierreFoto: The Camino History
Decken- und Gewölbemalereien – Liverdun · Église Saint-Pierre, fotografische Ansicht 2
Decken- und GewölbemalereienLiverdun · Église Saint-PierreFoto: The Camino History
Decken- und Gewölbemalereien – Liverdun · Église Saint-Pierre, fotografische Ansicht 3
Decken- und GewölbemalereienLiverdun · Église Saint-PierreFoto: The Camino History
Decken- und Gewölbemalereien – Luxemburg-Gare · Herz-Jesu-Kirche, fotografische Ansicht 1Foto: Victor Kemp
Decken- und GewölbemalereienLuxemburg-Gare · Herz-Jesu-KircheFoto: Victor Kemp
Farbig gestaltete Gewölbe und Wände – Marcilly-en-Bassigny · Chapelle Notre-Dame de Presles, fotografische Ansicht 1
Farbig gestaltete Gewölbe und WändeMarcilly-en-Bassigny · Chapelle Notre-Dame de PreslesFoto: The Camino History
Farbig gestaltete Gewölbe und Wände – Marcilly-en-Bassigny · Chapelle Notre-Dame de Presles, fotografische Ansicht 2
Farbig gestaltete Gewölbe und WändeMarcilly-en-Bassigny · Chapelle Notre-Dame de PreslesFoto: The Camino History
Farbig gestaltete Gewölbe und Wände – Marcilly-en-Bassigny · Chapelle Notre-Dame de Presles, fotografische Ansicht 3
Farbig gestaltete Gewölbe und WändeMarcilly-en-Bassigny · Chapelle Notre-Dame de PreslesFoto: The Camino History
Farbig gestaltete Gewölbe und Wände – Marcilly-en-Bassigny · Chapelle Notre-Dame de Presles, fotografische Ansicht 4
Farbig gestaltete Gewölbe und WändeMarcilly-en-Bassigny · Chapelle Notre-Dame de PreslesFoto: The Camino History
Farbig gestaltete Gewölbe und Wände – Marcilly-en-Bassigny · Chapelle Notre-Dame de Presles, fotografische Ansicht 5
Farbig gestaltete Gewölbe und WändeMarcilly-en-Bassigny · Chapelle Notre-Dame de PreslesFoto: The Camino History
Farbig gestaltete Gewölbe und Wände – Marcilly-en-Bassigny · Chapelle Notre-Dame de Presles, fotografische Ansicht 6
Farbig gestaltete Gewölbe und WändeMarcilly-en-Bassigny · Chapelle Notre-Dame de PreslesFoto: The Camino History
Farbig gestaltete Gewölbe und Wände – Marcilly-en-Bassigny · Chapelle Notre-Dame de Presles, fotografische Ansicht 7
Farbig gestaltete Gewölbe und WändeMarcilly-en-Bassigny · Chapelle Notre-Dame de PreslesFoto: The Camino History
Farbig gestaltete Gewölbe und Wände – Marcilly-en-Bassigny · Chapelle Notre-Dame de Presles, fotografische Ansicht 8
Farbig gestaltete Gewölbe und WändeMarcilly-en-Bassigny · Chapelle Notre-Dame de PreslesFoto: The Camino History
Farbig gestaltete Gewölbe und Wände – Marcilly-en-Bassigny · Chapelle Notre-Dame de Presles, fotografische Ansicht 9
Farbig gestaltete Gewölbe und WändeMarcilly-en-Bassigny · Chapelle Notre-Dame de PreslesFoto: The Camino History
Christologische Wandbilder – Mersch · Sankt Michael Kirche, fotografische Ansicht 1Foto: Victor Kemp
Christologische WandbilderMersch · Sankt Michael KircheFoto: Victor Kemp
Christologische Wandbilder – Mersch · Sankt Michael Kirche, fotografische Ansicht 2Foto: Victor Kemp
Christologische WandbilderMersch · Sankt Michael KircheFoto: Victor Kemp
Christologische Wandbilder – Mersch · Sankt Michael Kirche, fotografische Ansicht 3Foto: Victor Kemp
Christologische WandbilderMersch · Sankt Michael KircheFoto: Victor Kemp
Christologische Wandbilder – Mersch · Sankt Michael Kirche, fotografische Ansicht 4Foto: Victor Kemp
Christologische WandbilderMersch · Sankt Michael KircheFoto: Victor Kemp
Christologische Wandbilder – Mersch · Sankt Michael Kirche, fotografische Ansicht 5Foto: Victor Kemp
Christologische WandbilderMersch · Sankt Michael KircheFoto: Victor Kemp
Christologische Wandbilder – Mersch · Sankt Michael Kirche, fotografische Ansicht 6Foto: Victor Kemp
Christologische WandbilderMersch · Sankt Michael KircheFoto: Victor Kemp
Heiligen- und Marienbilder – Mersch · Sankt Michael Kirche, fotografische Ansicht 1Foto: Victor Kemp
Heiligen- und MarienbilderMersch · Sankt Michael KircheFoto: Victor Kemp
Heiligen- und Marienbilder – Mersch · Sankt Michael Kirche, fotografische Ansicht 2Foto: Victor Kemp
Heiligen- und MarienbilderMersch · Sankt Michael KircheFoto: Victor Kemp
Heiligen- und Marienbilder – Mersch · Sankt Michael Kirche, fotografische Ansicht 3Foto: Victor Kemp
Heiligen- und MarienbilderMersch · Sankt Michael KircheFoto: Victor Kemp
Heiligen- und Marienbilder – Mersch · Sankt Michael Kirche, fotografische Ansicht 4Foto: Victor Kemp
Heiligen- und MarienbilderMersch · Sankt Michael KircheFoto: Victor Kemp
Ornamentale Wand- und Bogenmalerei – Mersch · Sankt Michael Kirche, fotografische Ansicht 1Foto: Victor Kemp
Ornamentale Wand- und BogenmalereiMersch · Sankt Michael KircheFoto: Victor Kemp
Ornamentale Wand- und Bogenmalerei – Mersch · Sankt Michael Kirche, fotografische Ansicht 2Foto: Victor Kemp
Ornamentale Wand- und BogenmalereiMersch · Sankt Michael KircheFoto: Victor Kemp
Ornamentale Wand- und Bogenmalerei – Mersch · Sankt Michael Kirche, fotografische Ansicht 3Foto: Victor Kemp
Ornamentale Wand- und BogenmalereiMersch · Sankt Michael KircheFoto: Victor Kemp
Weitere figürliche Wandbilder – Mersch · Sankt Michael Kirche, fotografische Ansicht 1Foto: Victor Kemp
Weitere figürliche WandbilderMersch · Sankt Michael KircheFoto: Victor Kemp
Weitere figürliche Wandbilder – Mersch · Sankt Michael Kirche, fotografische Ansicht 2Foto: Victor Kemp
Weitere figürliche WandbilderMersch · Sankt Michael KircheFoto: Victor Kemp
Weitere figürliche Wandbilder – Mersch · Sankt Michael Kirche, fotografische Ansicht 3Foto: Victor Kemp
Weitere figürliche WandbilderMersch · Sankt Michael KircheFoto: Victor Kemp
Weitere figürliche Wandbilder – Mersch · Sankt Michael Kirche, fotografische Ansicht 4Foto: Victor Kemp
Weitere figürliche WandbilderMersch · Sankt Michael KircheFoto: Victor Kemp
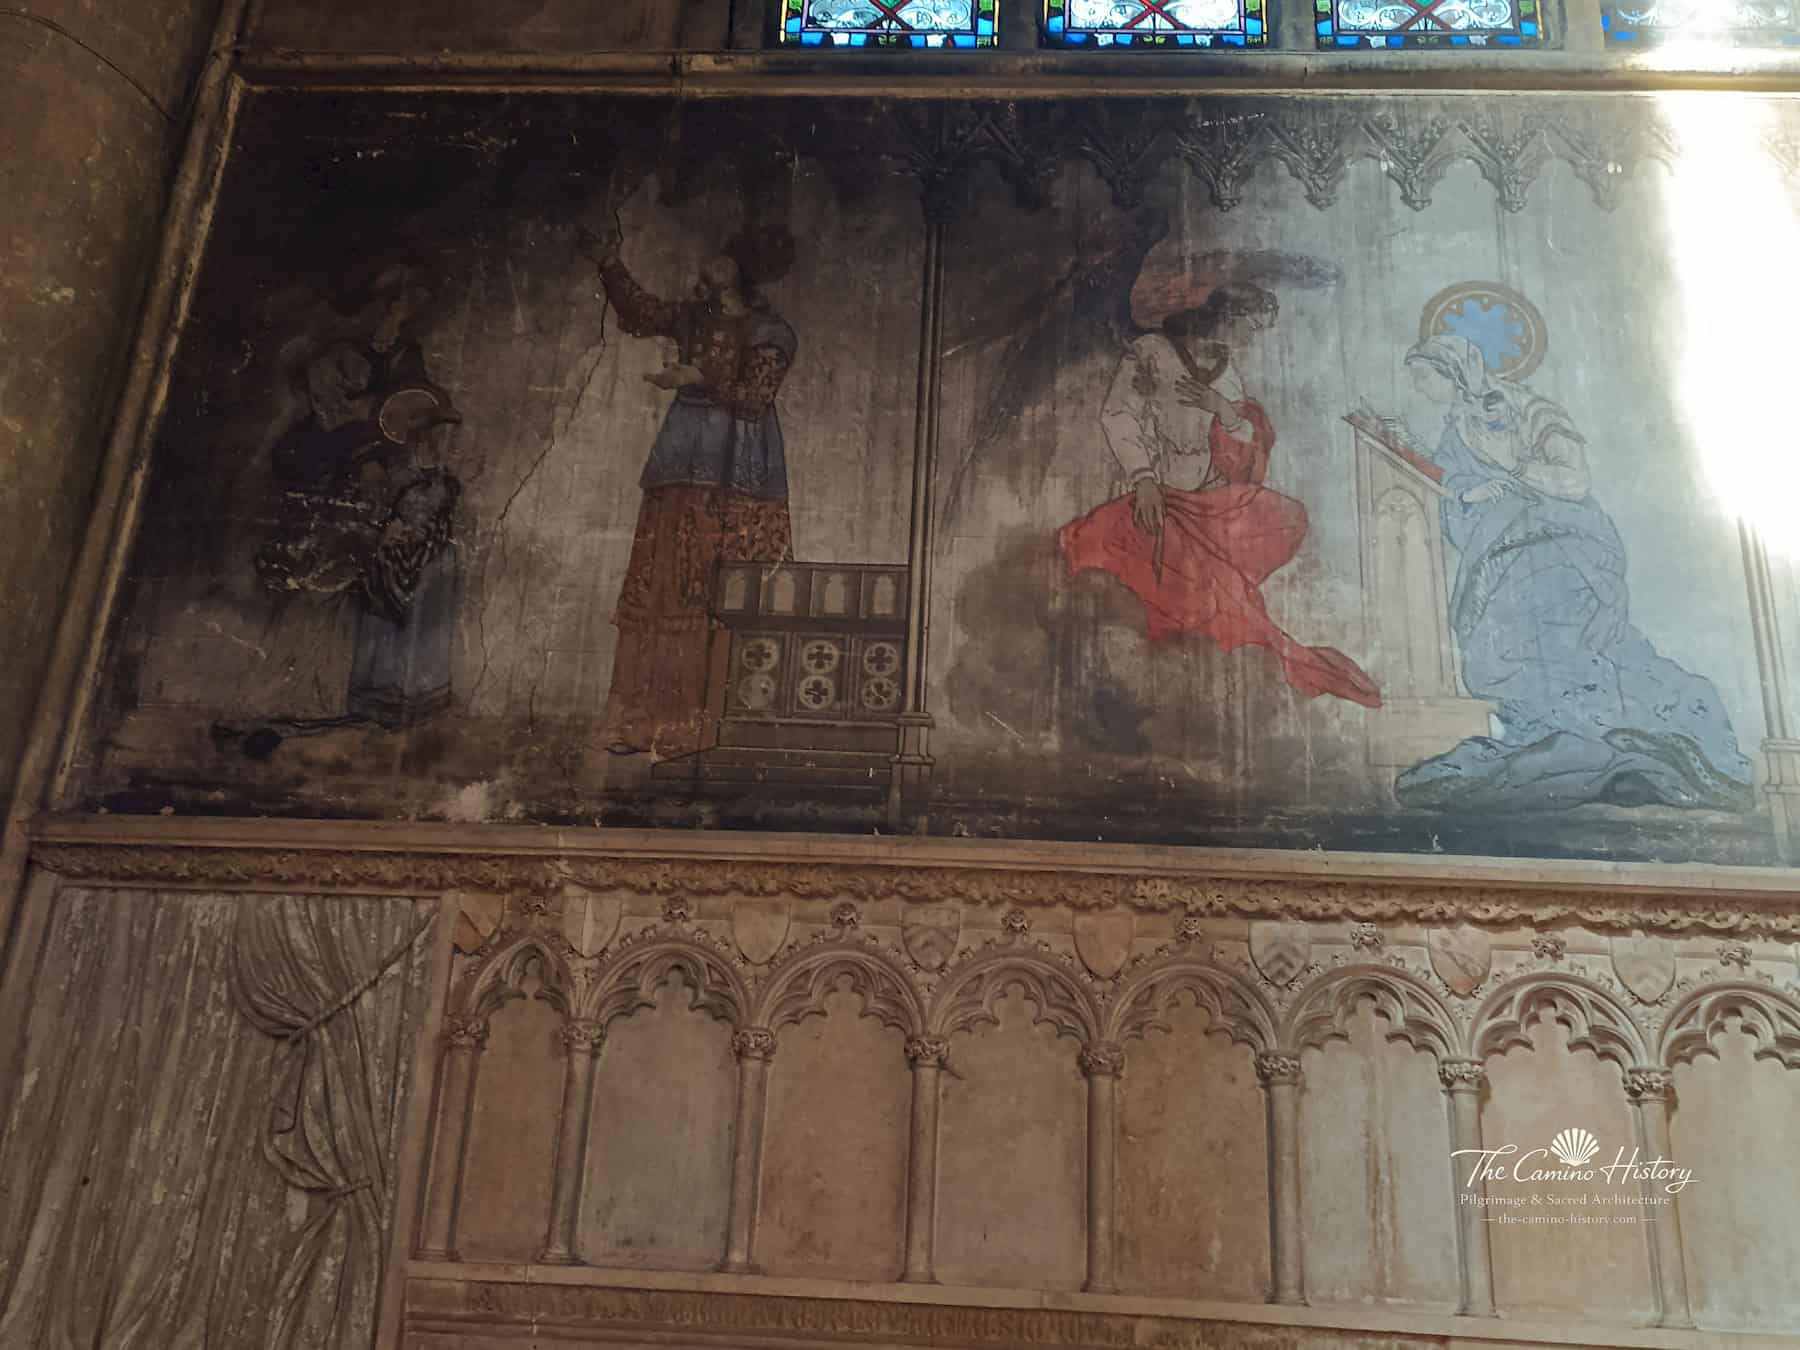
Metz, Église Saint-Martin: Wandmalerei mit mehreren Szenen aus dem Leben Mariens über dem steinernen Grabdenkmal
Drei Szenen aus dem Marienleben und GrabdenkmalMetz · Église Saint-MartinFoto: The Camino HistoryZur Dokumentation →
Metz, Église Saint-Martin: Marienzyklus mit Figuren und gemalter Architektur über dem Grabdenkmal
Drei Szenen aus dem Marienleben und GrabdenkmalMetz · Église Saint-MartinFoto: The Camino HistoryZur Dokumentation →
Metz, Église Saint-Martin: Detail der Marienmalerei mit zwei einander zugewandten Figuren
Drei Szenen aus dem Marienleben und GrabdenkmalMetz · Église Saint-MartinFoto: The Camino HistoryZur Dokumentation →
Chor der ehemaligen Stiftskirche St MarienKarmelkapelle – Metz · Saint Etienne, fotografische Ansicht 1
Chor der ehemaligen Stiftskirche St MarienKarmelkapelleMetz · Saint EtienneFoto: The Camino History
Chor der ehemaligen Stiftskirche St MarienKarmelkapelle – Metz · Saint Etienne, fotografische Ansicht 2
Chor der ehemaligen Stiftskirche St MarienKarmelkapelleMetz · Saint EtienneFoto: The Camino History
Chor der ehemaligen Stiftskirche St MarienKarmelkapelle – Metz · Saint Etienne, fotografische Ansicht 3
Chor der ehemaligen Stiftskirche St MarienKarmelkapelleMetz · Saint EtienneFoto: The Camino History
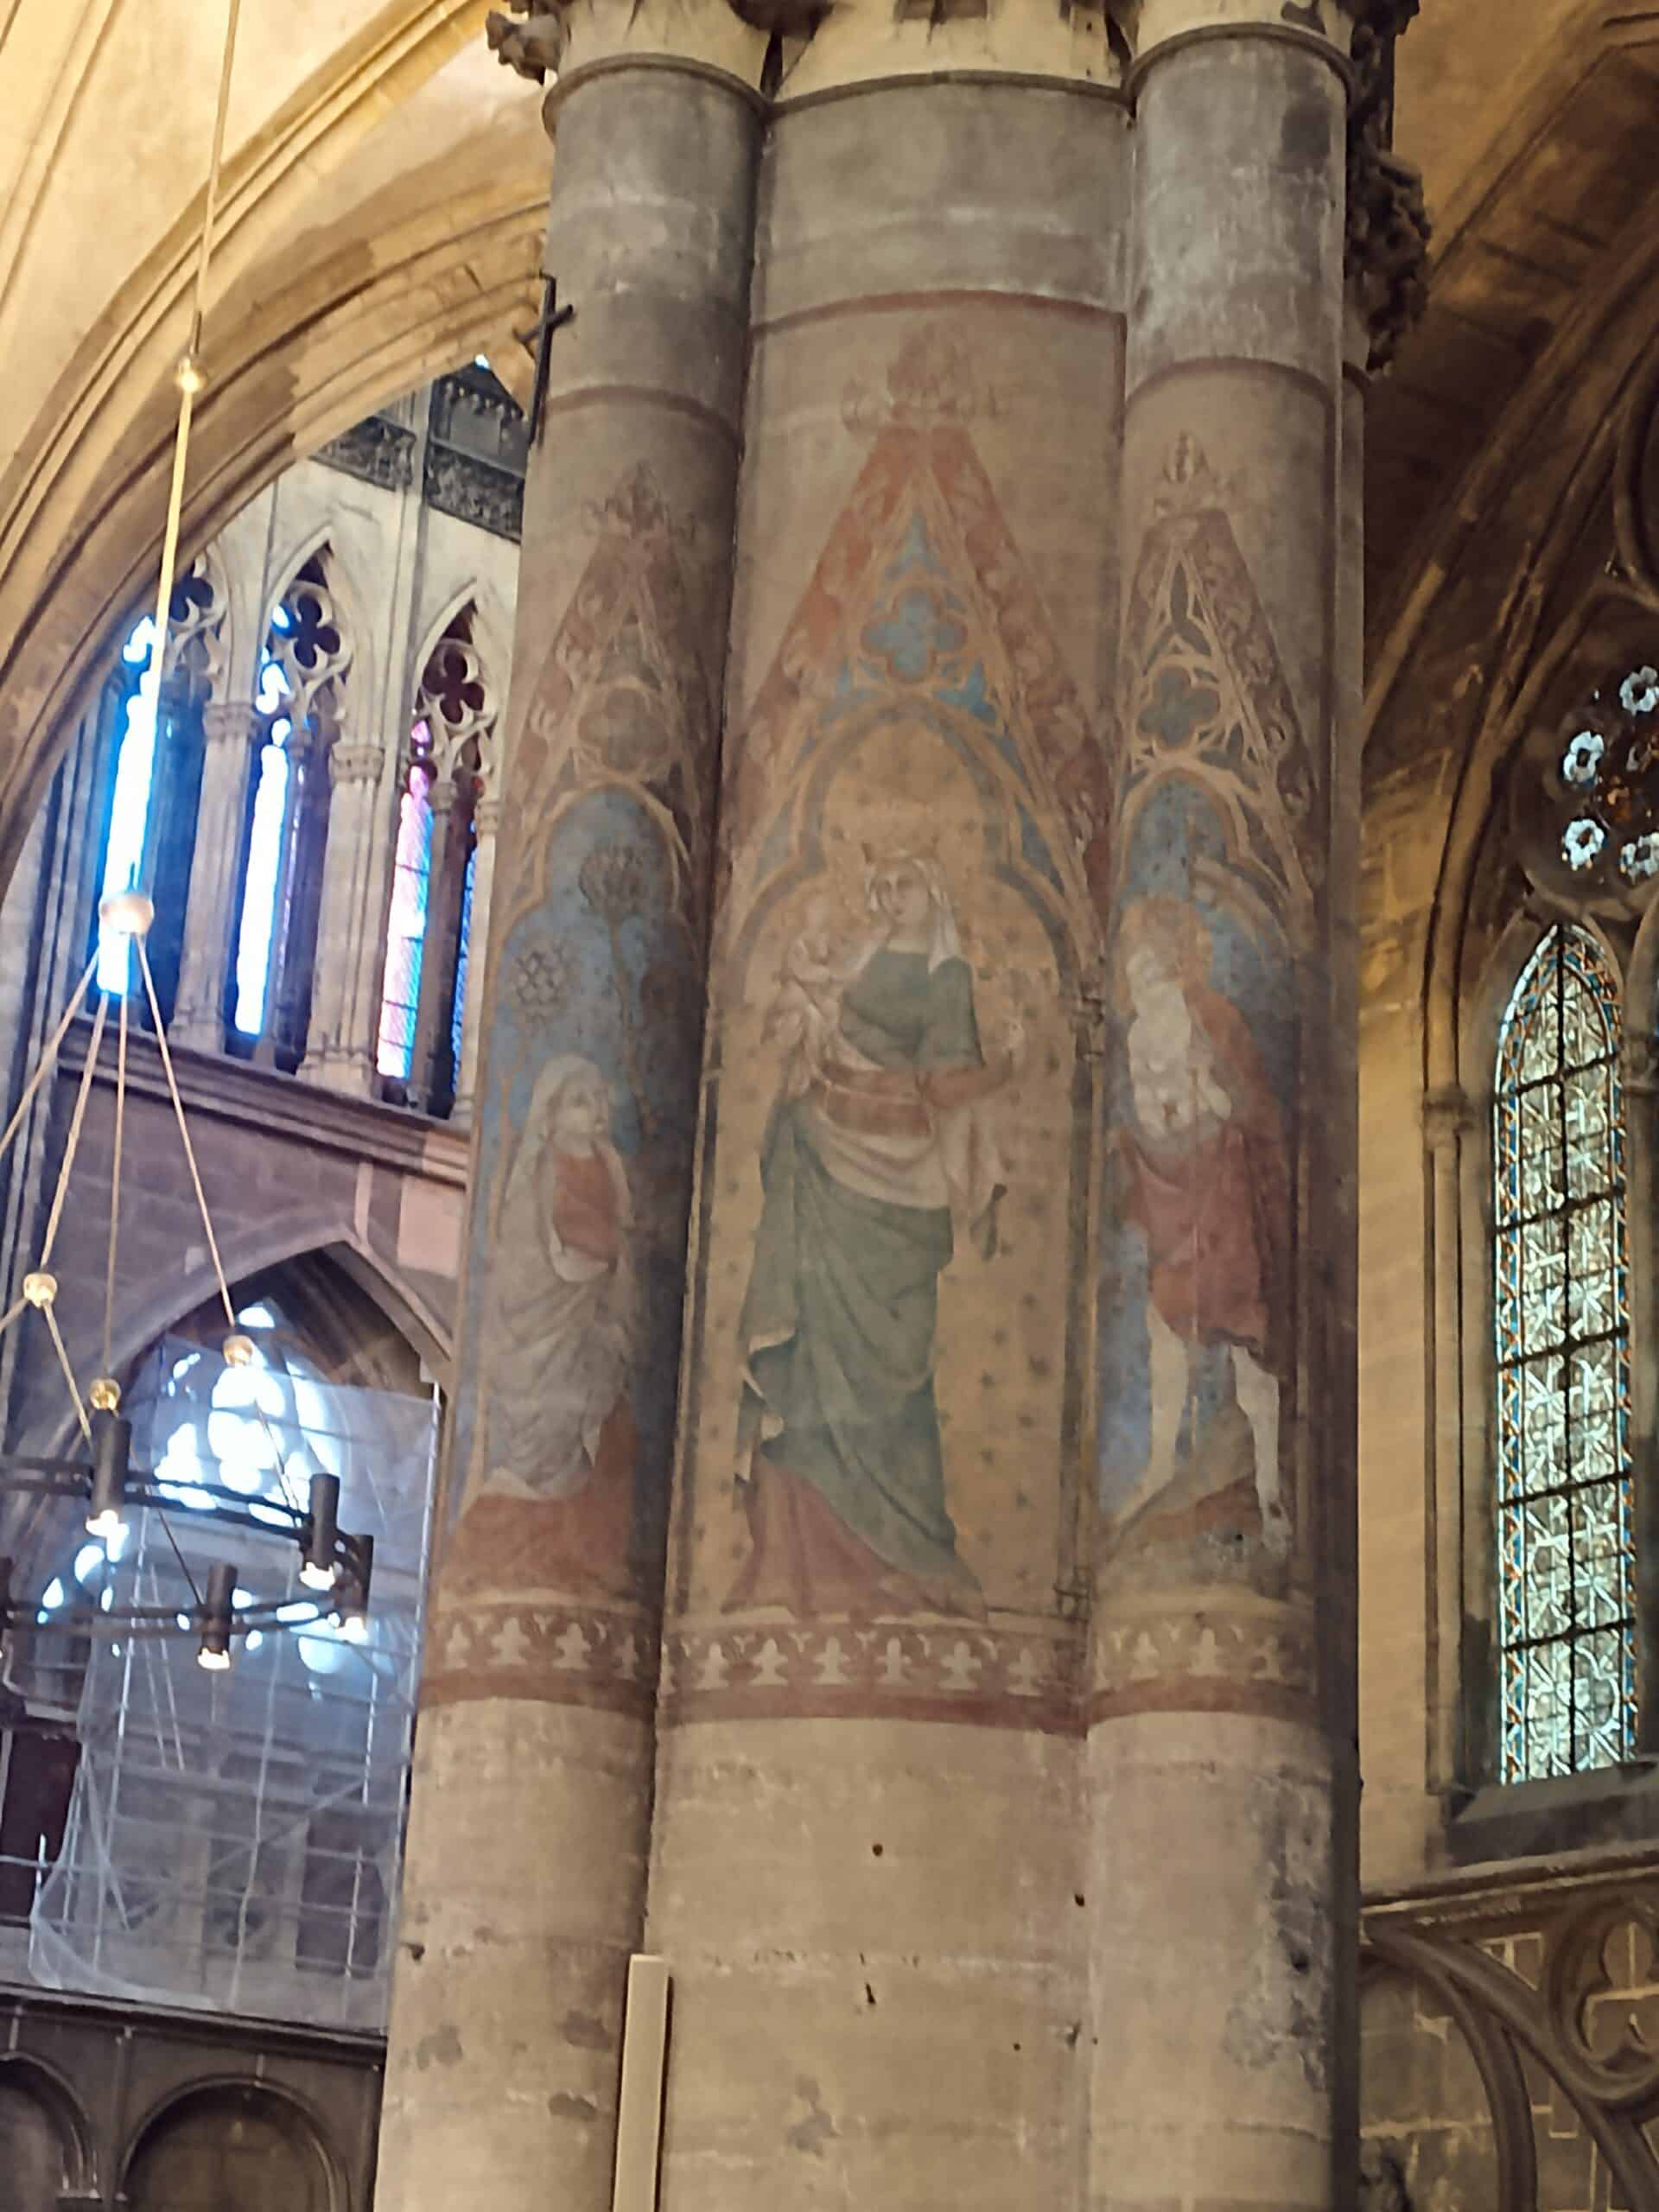
Figürliche Malereien an den Pfeilern – Gruppe I – Metz · Saint Etienne, fotografische Ansicht 1
Figürliche Malereien an den Pfeilern – Gruppe IMetz · Saint EtienneFoto: The Camino History
Figürliche Malereien an den Pfeilern – Gruppe I – Metz · Saint Etienne, fotografische Ansicht 2
Figürliche Malereien an den Pfeilern – Gruppe IMetz · Saint EtienneFoto: The Camino History
Figürliche Malereien an den Pfeilern – Gruppe II – Metz · Saint Etienne, fotografische Ansicht 1
Figürliche Malereien an den Pfeilern – Gruppe IIMetz · Saint EtienneFoto: The Camino History
Figürliche Malereien an den Pfeilern – Gruppe II – Metz · Saint Etienne, fotografische Ansicht 2
Figürliche Malereien an den Pfeilern – Gruppe IIMetz · Saint EtienneFoto: The Camino History
Figürliche Malereien an den Pfeilern – Gruppe II – Metz · Saint Etienne, fotografische Ansicht 3
Figürliche Malereien an den Pfeilern – Gruppe IIMetz · Saint EtienneFoto: The Camino History
Figürliche Malereien an den Pfeilern – Gruppe II – Metz · Saint Etienne, fotografische Ansicht 4
Figürliche Malereien an den Pfeilern – Gruppe IIMetz · Saint EtienneFoto: The Camino History
Figürliche Malereien an den Pfeilern – Gruppe II – Metz · Saint Etienne, fotografische Ansicht 5
Figürliche Malereien an den Pfeilern – Gruppe IIMetz · Saint EtienneFoto: The Camino History
Bemalte Gewölbejoche – Rundmedaillons – Metz · Saint-Joseph, fotografische Ansicht 1
Bemalte Gewölbejoche – RundmedaillonsMetz · Saint-JosephFoto: The Camino History
Bemalte Gewölbejoche – Rundmedaillons – Metz · Saint-Joseph, fotografische Ansicht 2
Bemalte Gewölbejoche – RundmedaillonsMetz · Saint-JosephFoto: The Camino History
Bemalte Gewölbejoche – Rundmedaillons – Metz · Saint-Joseph, fotografische Ansicht 3
Bemalte Gewölbejoche – RundmedaillonsMetz · Saint-JosephFoto: The Camino History
Bemalte Gewölbejoche – Rundmedaillons – Metz · Saint-Joseph, fotografische Ansicht 4
Bemalte Gewölbejoche – RundmedaillonsMetz · Saint-JosephFoto: The Camino History
Bemalte Gewölbejoche – Rundmedaillons – Metz · Saint-Joseph, fotografische Ansicht 5
Bemalte Gewölbejoche – RundmedaillonsMetz · Saint-JosephFoto: The Camino History
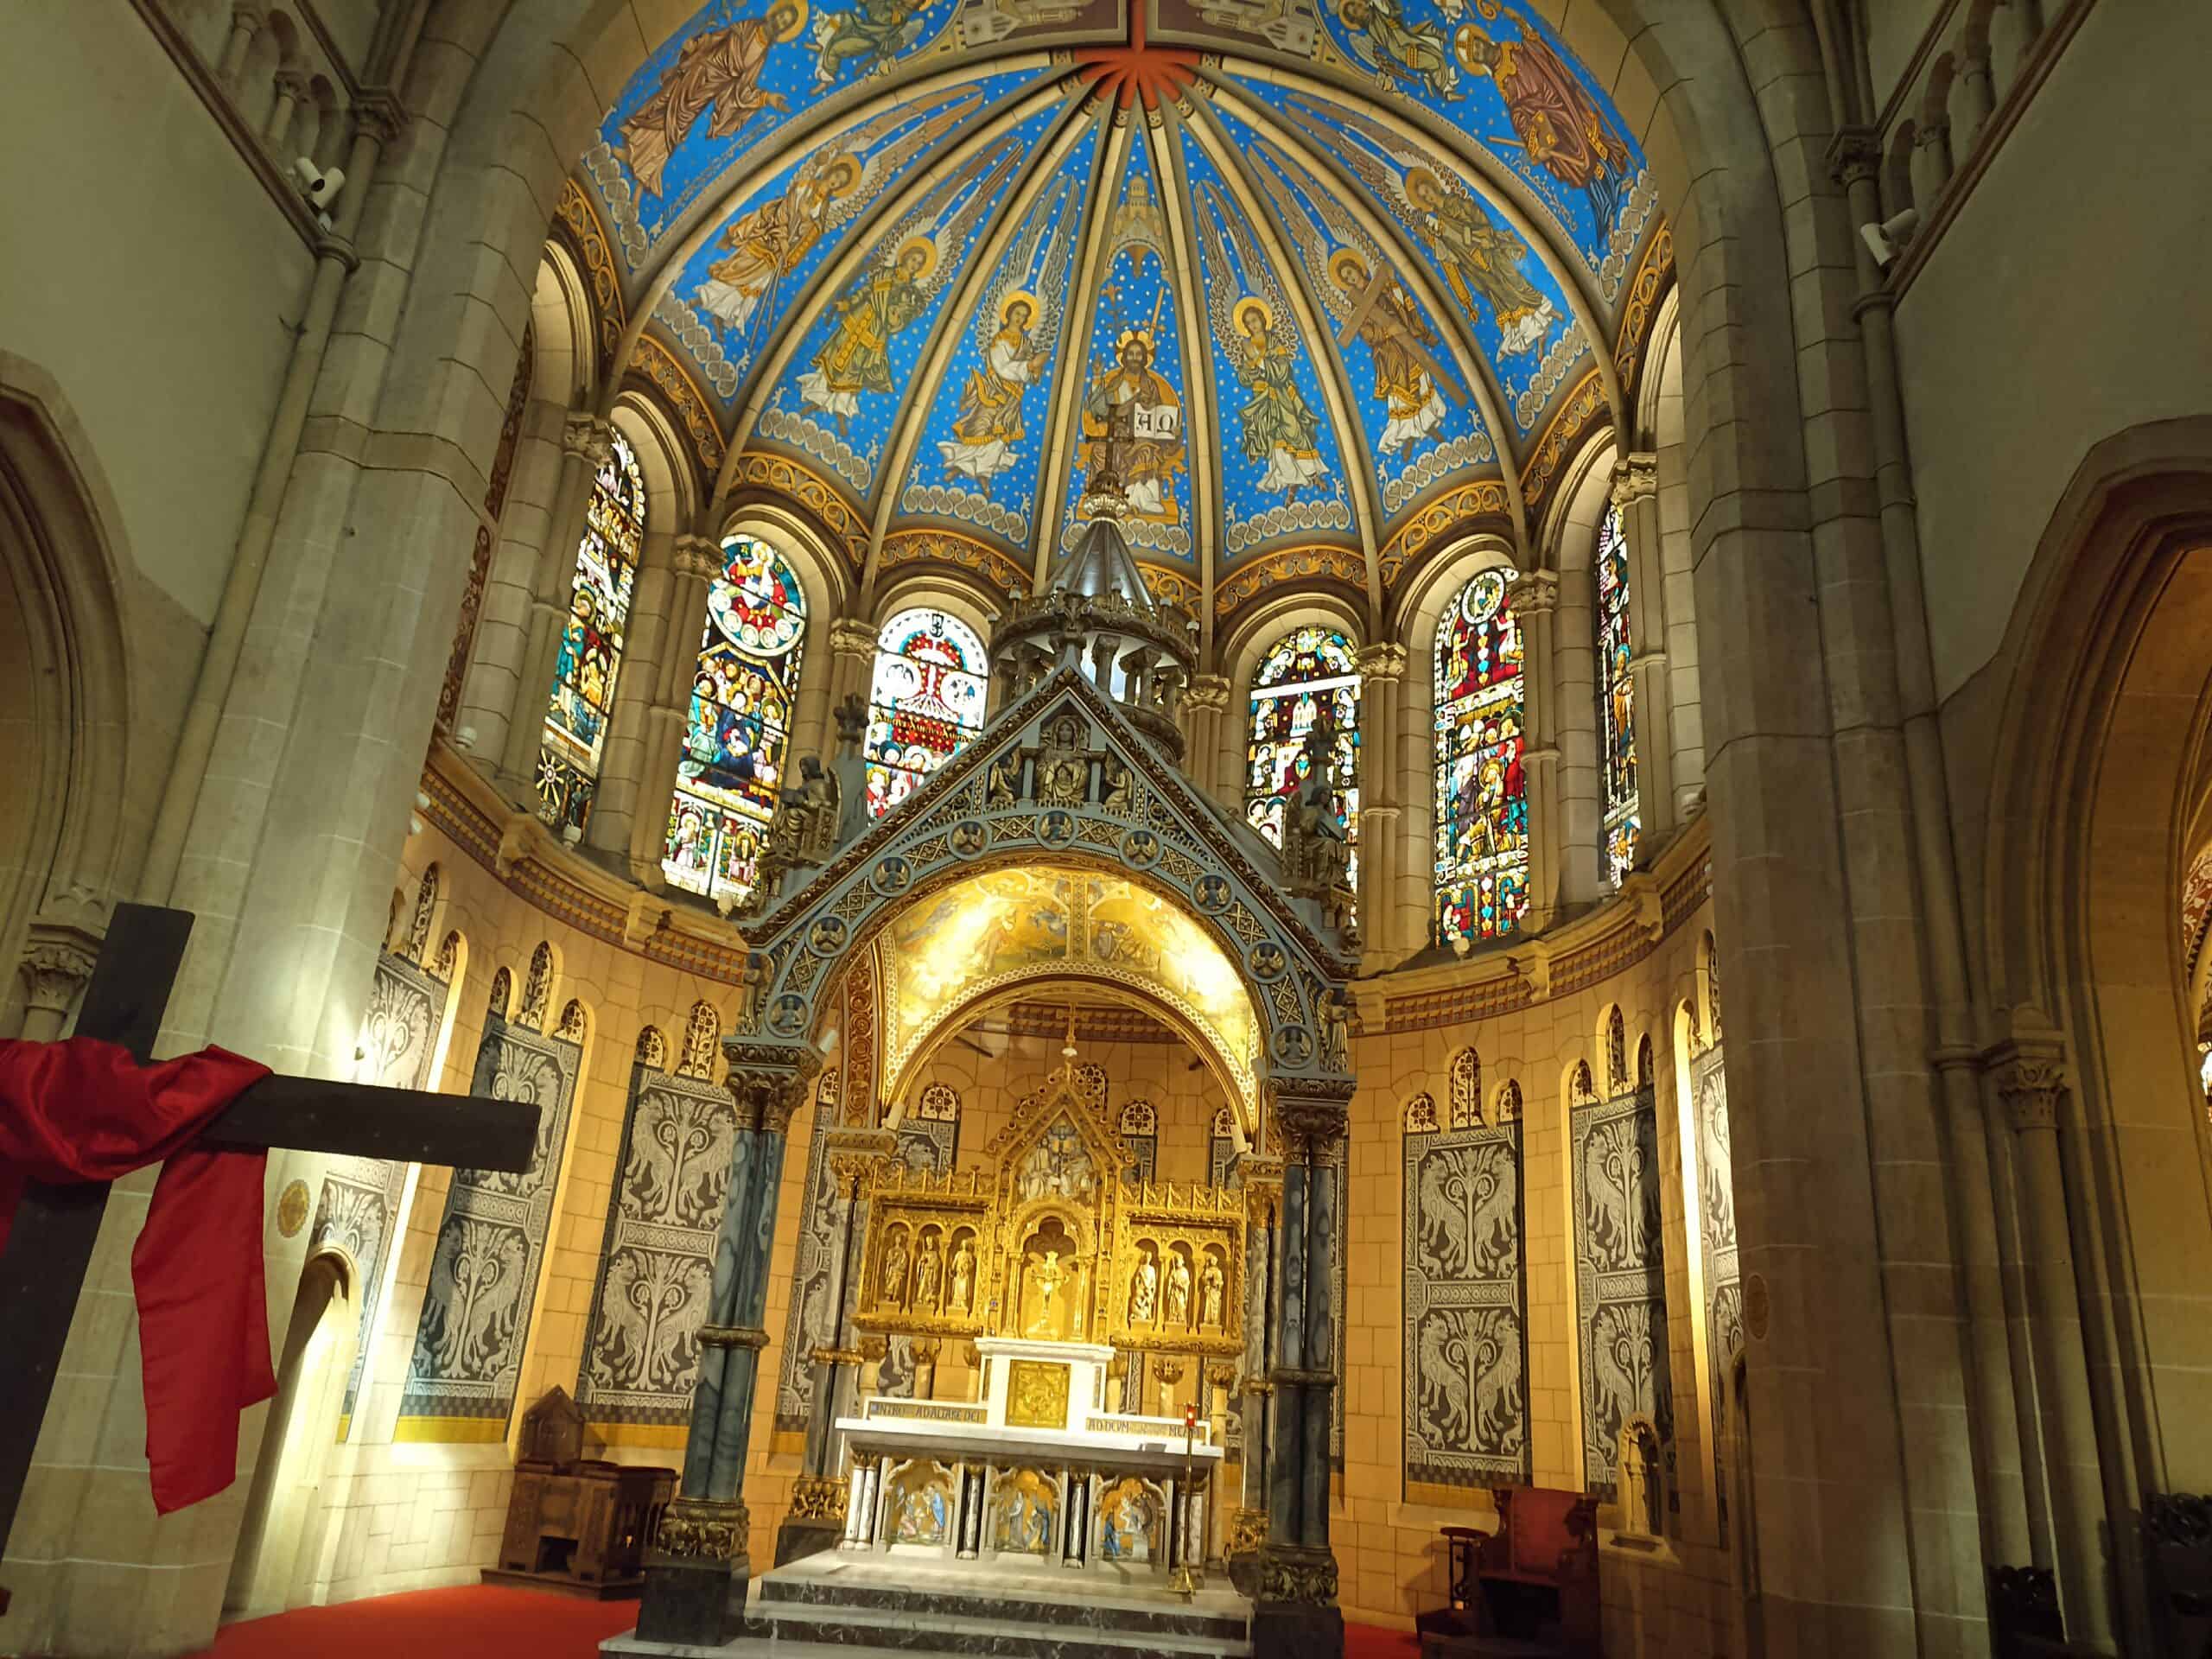
Chor- und Apsisgewölbe – Metz · Saint-Joseph, fotografische Ansicht 1
Chor- und ApsisgewölbeMetz · Saint-JosephFoto: The Camino History
Chor- und Apsisgewölbe – Metz · Saint-Joseph, fotografische Ansicht 2
Chor- und ApsisgewölbeMetz · Saint-JosephFoto: The Camino History
Chor- und Apsisgewölbe – Metz · Saint-Joseph, fotografische Ansicht 3
Chor- und ApsisgewölbeMetz · Saint-JosephFoto: The Camino History
Chor- und Apsisgewölbe – Metz · Saint-Joseph, fotografische Ansicht 4
Chor- und ApsisgewölbeMetz · Saint-JosephFoto: The Camino History
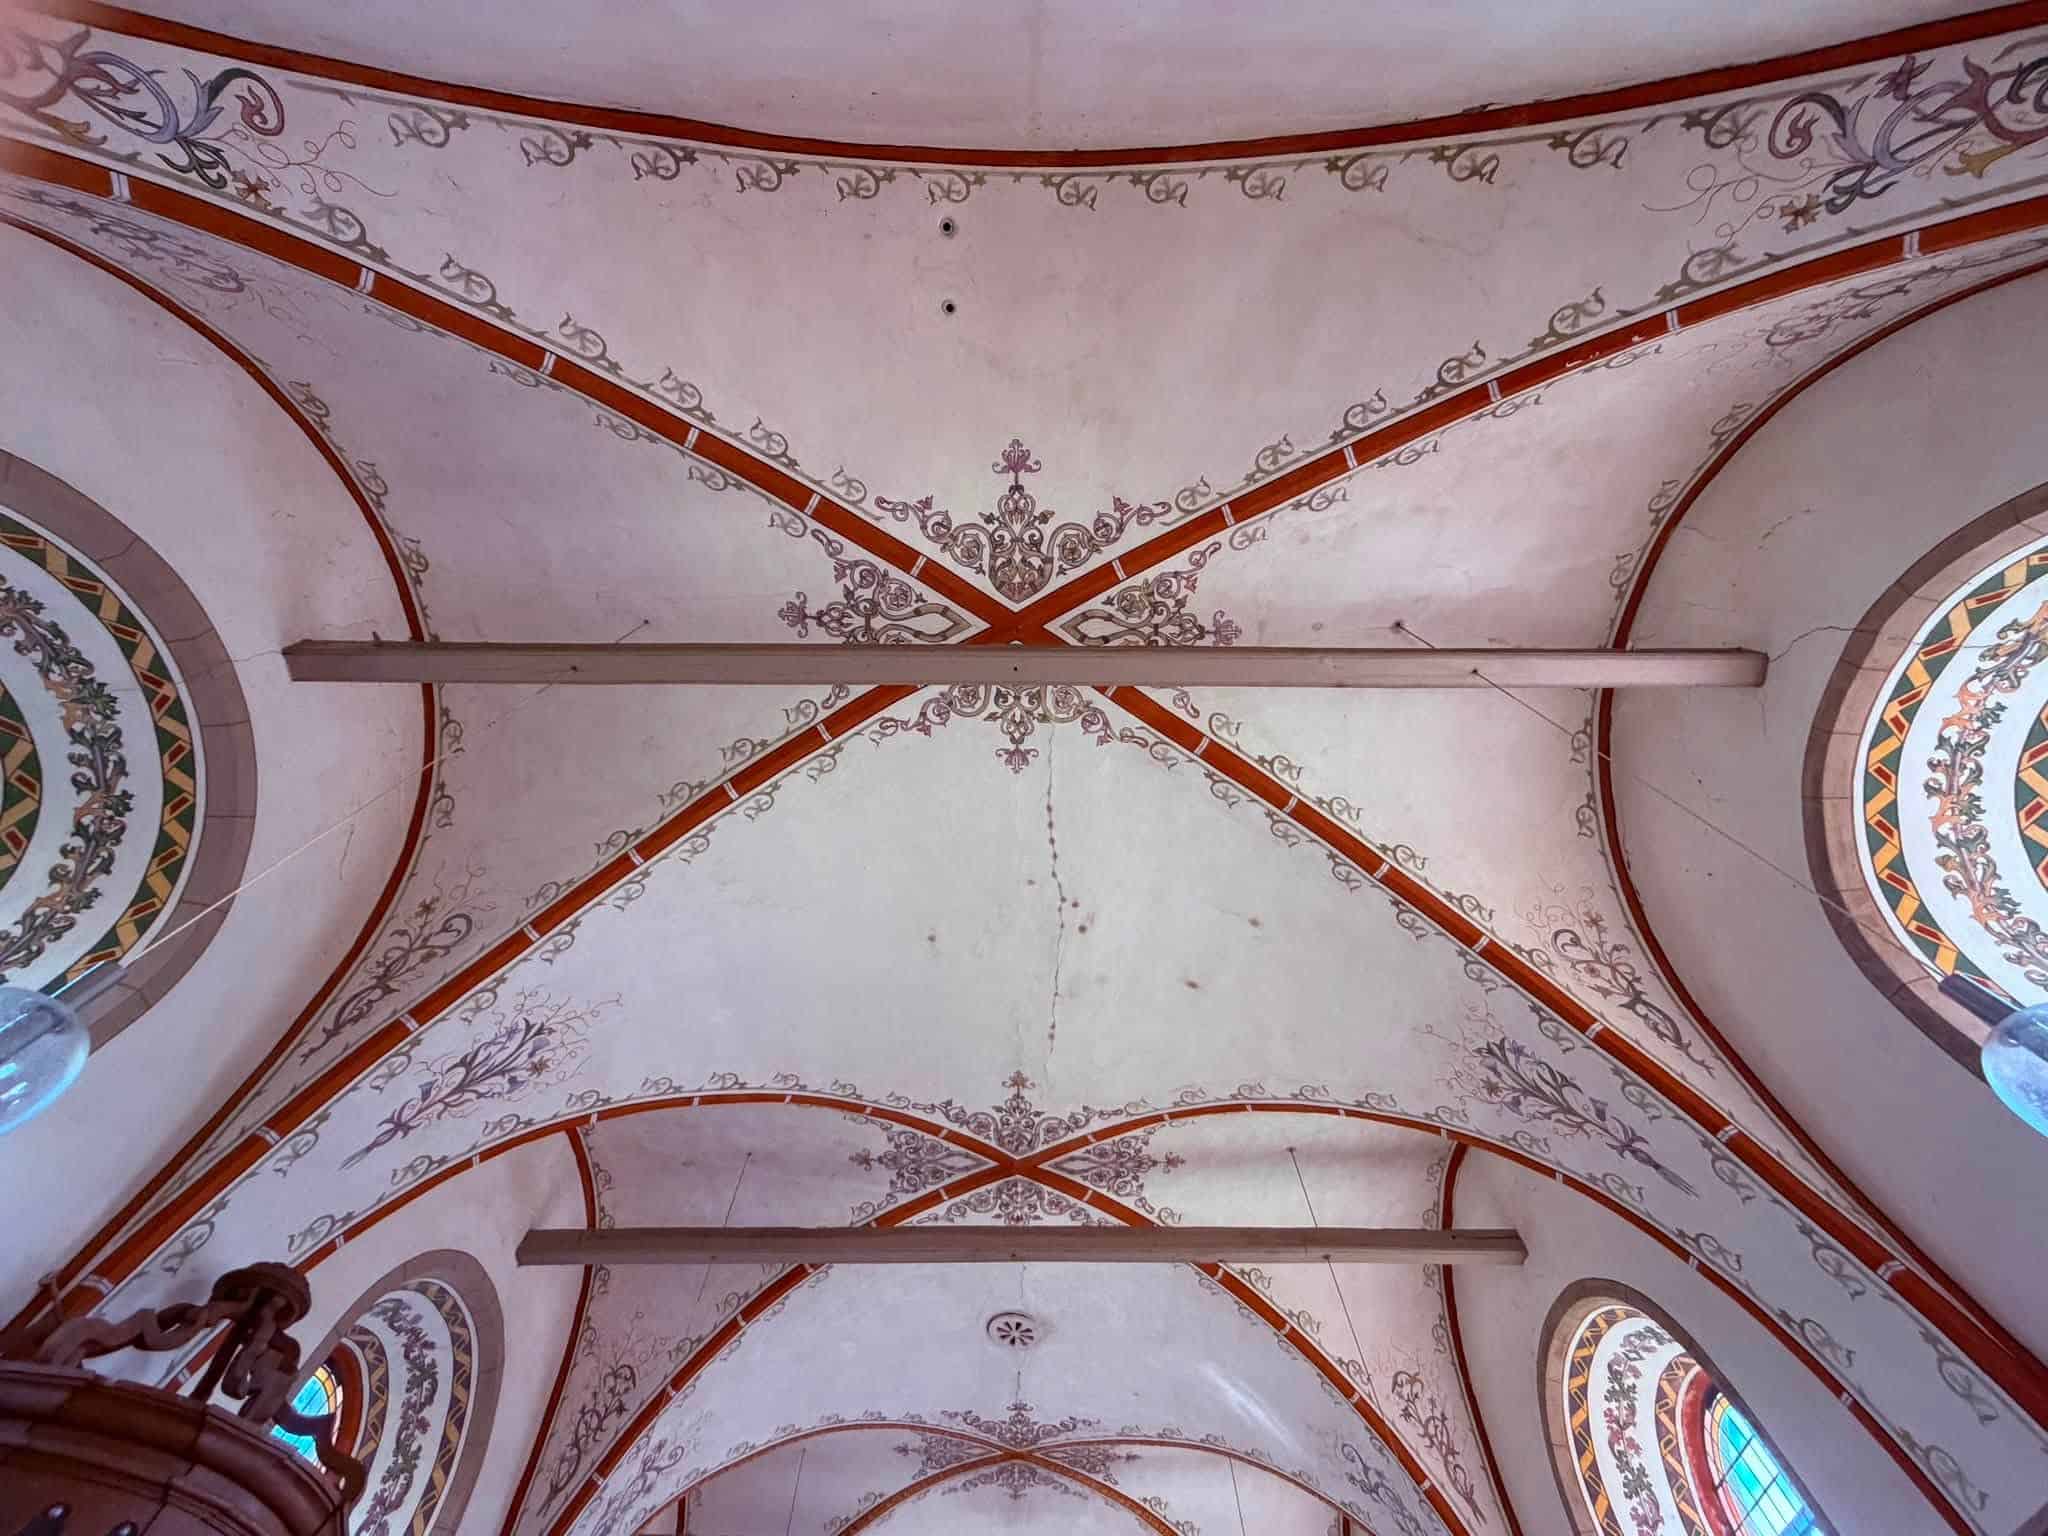
Dekorative Langhausgewölbe – Metz · Saint-Joseph, fotografische Ansicht 1
Dekorative LanghausgewölbeMetz · Saint-JosephFoto: The Camino History
Dekorative Langhausgewölbe – Metz · Saint-Joseph, fotografische Ansicht 2
Dekorative LanghausgewölbeMetz · Saint-JosephFoto: The Camino History
Dekorative Langhausgewölbe – Metz · Saint-Joseph, fotografische Ansicht 3
Dekorative LanghausgewölbeMetz · Saint-JosephFoto: The Camino History
Dekorative Langhausgewölbe – Metz · Saint-Joseph, fotografische Ansicht 4
Dekorative LanghausgewölbeMetz · Saint-JosephFoto: The Camino History
Dekorative Langhausgewölbe – Metz · Saint-Joseph, fotografische Ansicht 5
Dekorative LanghausgewölbeMetz · Saint-JosephFoto: The Camino History
Dekorative Langhausgewölbe – Metz · Saint-Joseph, fotografische Ansicht 6
Dekorative LanghausgewölbeMetz · Saint-JosephFoto: The Camino History
Dekorative Langhausgewölbe – Metz · Saint-Joseph, fotografische Ansicht 7
Dekorative LanghausgewölbeMetz · Saint-JosephFoto: The Camino History
Dekorative Langhausgewölbe – Metz · Saint-Joseph, fotografische Ansicht 8
Dekorative LanghausgewölbeMetz · Saint-JosephFoto: The Camino History
Dekorative Langhausgewölbe – Metz · Saint-Joseph, fotografische Ansicht 9
Dekorative LanghausgewölbeMetz · Saint-JosephFoto: The Camino History
Dekorative Langhausgewölbe – Metz · Saint-Joseph, fotografische Ansicht 10
Dekorative LanghausgewölbeMetz · Saint-JosephFoto: The Camino History
Dekorative Langhausgewölbe – Metz · Saint-Joseph, fotografische Ansicht 11
Dekorative LanghausgewölbeMetz · Saint-JosephFoto: The Camino History
Gewölbeprogramm mit blauen Bildmedaillons – Metz · Saint-Joseph, fotografische Ansicht 1
Gewölbeprogramm mit blauen BildmedaillonsMetz · Saint-JosephFoto: The Camino History
Gewölbeprogramm mit blauen Bildmedaillons – Metz · Saint-Joseph, fotografische Ansicht 2
Gewölbeprogramm mit blauen BildmedaillonsMetz · Saint-JosephFoto: The Camino History
Gewölbeprogramm mit blauen Bildmedaillons – Metz · Saint-Joseph, fotografische Ansicht 3
Gewölbeprogramm mit blauen BildmedaillonsMetz · Saint-JosephFoto: The Camino History
Gewölbeprogramm mit blauen Bildmedaillons – Metz · Saint-Joseph, fotografische Ansicht 4
Gewölbeprogramm mit blauen BildmedaillonsMetz · Saint-JosephFoto: The Camino History
Gewölbeprogramm mit blauen Bildmedaillons – Metz · Saint-Joseph, fotografische Ansicht 5
Gewölbeprogramm mit blauen BildmedaillonsMetz · Saint-JosephFoto: The Camino History
Gewölbeprogramm mit blauen Bildmedaillons – Metz · Saint-Joseph, fotografische Ansicht 6
Gewölbeprogramm mit blauen BildmedaillonsMetz · Saint-JosephFoto: The Camino History
Gewölbeprogramm mit blauen Bildmedaillons – Metz · Saint-Joseph, fotografische Ansicht 7
Gewölbeprogramm mit blauen BildmedaillonsMetz · Saint-JosephFoto: The Camino History
Gewölbeprogramm mit blauen Bildmedaillons – Metz · Saint-Joseph, fotografische Ansicht 8
Gewölbeprogramm mit blauen BildmedaillonsMetz · Saint-JosephFoto: The Camino History
Gewölbeprogramm mit blauen Bildmedaillons – Metz · Saint-Joseph, fotografische Ansicht 9
Gewölbeprogramm mit blauen BildmedaillonsMetz · Saint-JosephFoto: The Camino History
Wandmalereien und Bildfelder – Perl Borg · St. Johannes der Täufer, fotografische Ansicht 1
Wandmalereien und BildfelderPerl Borg · St. Johannes der TäuferFoto: The Camino History
Wandmalereien und Bildfelder – Perl Borg · St. Johannes der Täufer, fotografische Ansicht 2
Wandmalereien und BildfelderPerl Borg · St. Johannes der TäuferFoto: The Camino History
Wandmalereien und Bildfelder – Remagen · Apollinariskirche, fotografische Ansicht 1
Wandmalereien und BildfelderRemagen · ApollinariskircheFoto: The Camino History
Wandmalereien und Bildfelder – Remagen · Apollinariskirche, fotografische Ansicht 2
Wandmalereien und BildfelderRemagen · ApollinariskircheFoto: The Camino History
Wandmalereien und Bildfelder – Remagen · Apollinariskirche, fotografische Ansicht 3
Wandmalereien und BildfelderRemagen · ApollinariskircheFoto: The Camino History
Wandmalereien und Bildfelder – Remagen · Apollinariskirche, fotografische Ansicht 4
Wandmalereien und BildfelderRemagen · ApollinariskircheFoto: The Camino History
Wandmalereien und Bildfelder – Remagen · Apollinariskirche, fotografische Ansicht 5
Wandmalereien und BildfelderRemagen · ApollinariskircheFoto: The Camino History
Decken- und Gewölbemalereien – Sevenig · Kirche St. Johannes, fotografische Ansicht 1Foto: Victor Kemp
Decken- und GewölbemalereienSevenig · Kirche St. JohannesFoto: Victor Kemp
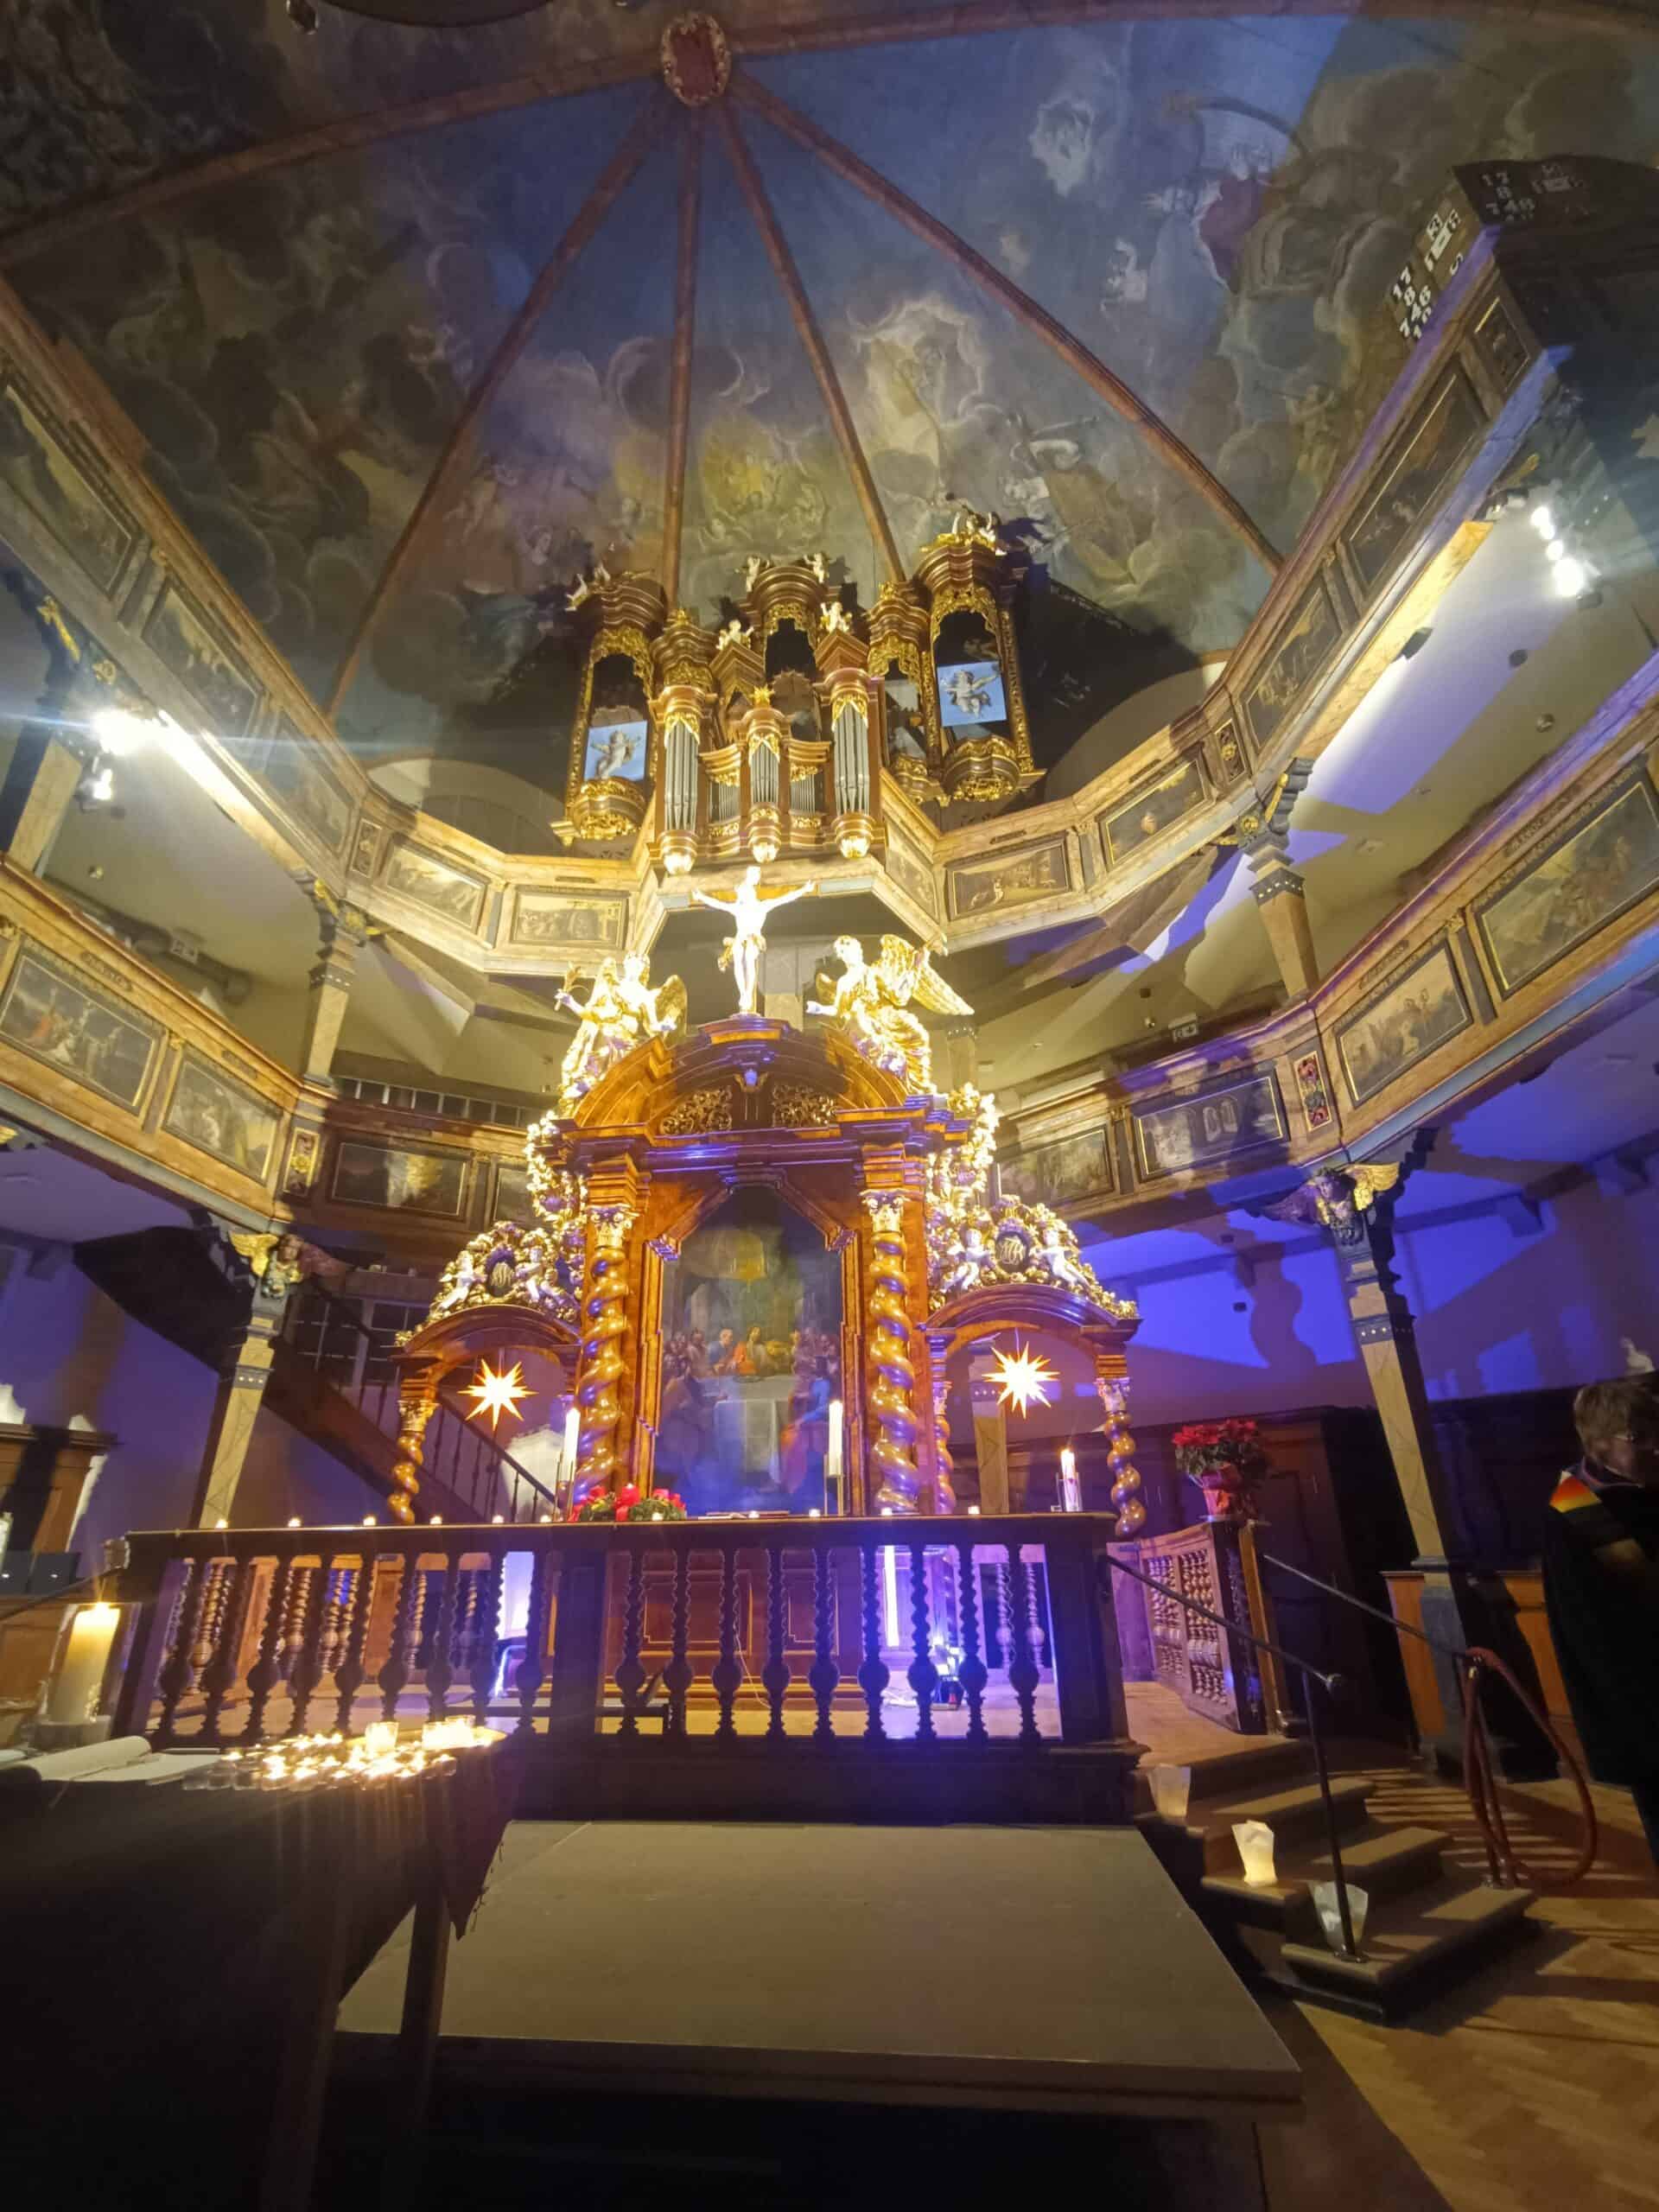
Dreifaltigkeitskirche Speyer: Innenraum mit Orgelempore und den darüber angeordneten barocken Deckenmalereien
Barocke DeckenmalereienSpeyer · DreifaltigkeitskircheFoto: The Camino History
Barocke Deckenmedaillons und Stuckrahmen – Trier · St. Gangolf, fotografische Ansicht 1Foto: Victor Kemp
Barocke Deckenmedaillons und StuckrahmenTrier · St. GangolfFoto: Victor Kemp
Barocke Deckenmedaillons und Stuckrahmen – Trier · St. Gangolf, fotografische Ansicht 2Foto: Victor Kemp
Barocke Deckenmedaillons und StuckrahmenTrier · St. GangolfFoto: Victor Kemp
Barocke Deckenmedaillons und Stuckrahmen – Trier · St. Gangolf, fotografische Ansicht 3Foto: Victor Kemp
Barocke Deckenmedaillons und StuckrahmenTrier · St. GangolfFoto: Victor Kemp
Barocke Deckenmedaillons und Stuckrahmen – Trier · St. Gangolf, fotografische Ansicht 4Foto: Victor Kemp
Barocke Deckenmedaillons und StuckrahmenTrier · St. GangolfFoto: Victor Kemp
Barocke Deckenmedaillons und Stuckrahmen – Trier · St. Gangolf, fotografische Ansicht 5Foto: Victor Kemp
Barocke Deckenmedaillons und StuckrahmenTrier · St. GangolfFoto: Victor Kemp
Barocke Deckenmedaillons und Stuckrahmen – Trier · St. Gangolf, fotografische Ansicht 7Foto: Victor Kemp
Barocke Deckenmedaillons und StuckrahmenTrier · St. GangolfFoto: Victor Kemp
Dekorative Wand- und Gewölbemalereien – Trier · St. Gangolf, fotografische Ansicht 1Foto: Victor Kemp
Dekorative Wand- und GewölbemalereienTrier · St. GangolfFoto: Victor Kemp
Dekorative Wand- und Gewölbemalereien – Trier · St. Gangolf, fotografische Ansicht 2Foto: Victor Kemp
Dekorative Wand- und GewölbemalereienTrier · St. GangolfFoto: Victor Kemp
Dekorative Wand- und Gewölbemalereien – Trier · St. Gangolf, fotografische Ansicht 3Foto: Victor Kemp
Dekorative Wand- und GewölbemalereienTrier · St. GangolfFoto: Victor Kemp
Dekorative Wand- und Gewölbemalereien – Trier · St. Gangolf, fotografische Ansicht 4Foto: Victor Kemp
Dekorative Wand- und GewölbemalereienTrier · St. GangolfFoto: Victor Kemp
Dekorative Wand- und Gewölbemalereien – Trier · St. Gangolf, fotografische Ansicht 5Foto: Victor Kemp
Dekorative Wand- und GewölbemalereienTrier · St. GangolfFoto: Victor Kemp
Dekorative Wand- und Gewölbemalereien – Trier · St. Gangolf, fotografische Ansicht 6Foto: Victor Kemp
Dekorative Wand- und GewölbemalereienTrier · St. GangolfFoto: Victor Kemp